Topic: RepRapDiscount "Bulldog XL" Geared Metal Extruder on a Solidoodle 3!
I received yesterday my RepRapDiscount (RRD) Bulldog XL 5:1 Geared All Metal Extruder. Lots more info on where to get one is over at http://www.soliforum.com/topic/4491/rep … ot-hotend/ - you can still get one via the IndieGoGo campaign. But read on for a *very* early review.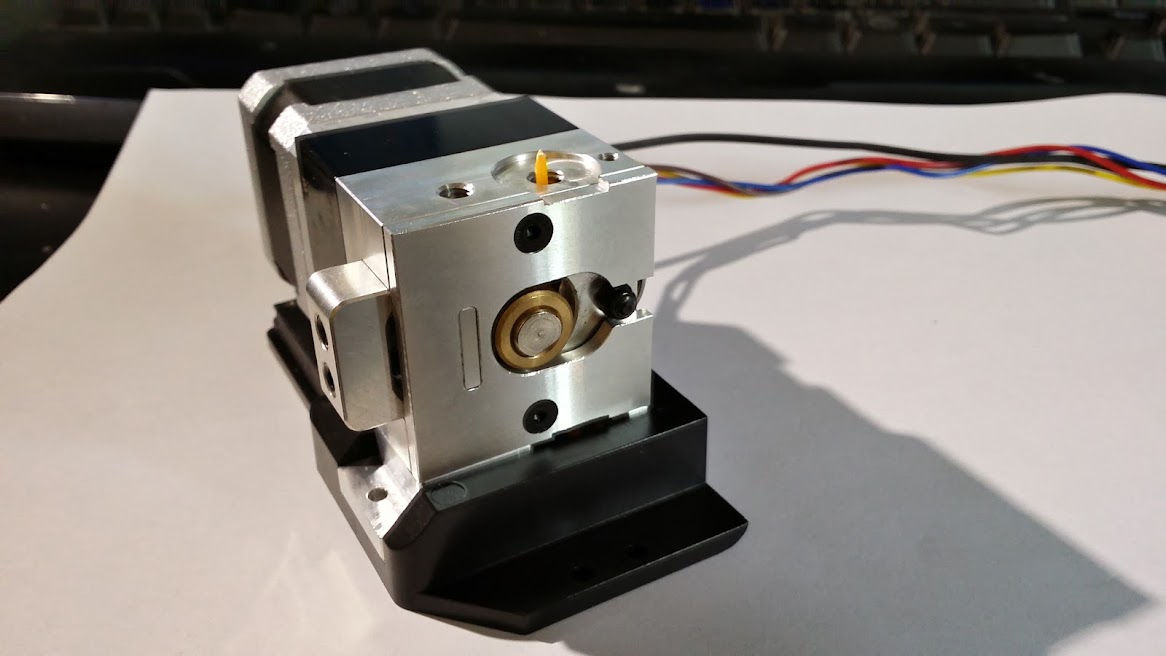
The extruders are very well packaged! RRD has taken the ingenious (in my opinion) route of using older iPhone 3GS-esque boxes - there probably is 100000s of them over there ![]()

Inside the Bulldog is bubble wrapped generously along with the injection molded 'universal' fan plate designed to accomodate 90% of the popular hotends on the market today that utilise the 'Groove Mount' system. So J-Head, Prusa V1 + MkII, Merlin, Magma, and the original SD Hotend.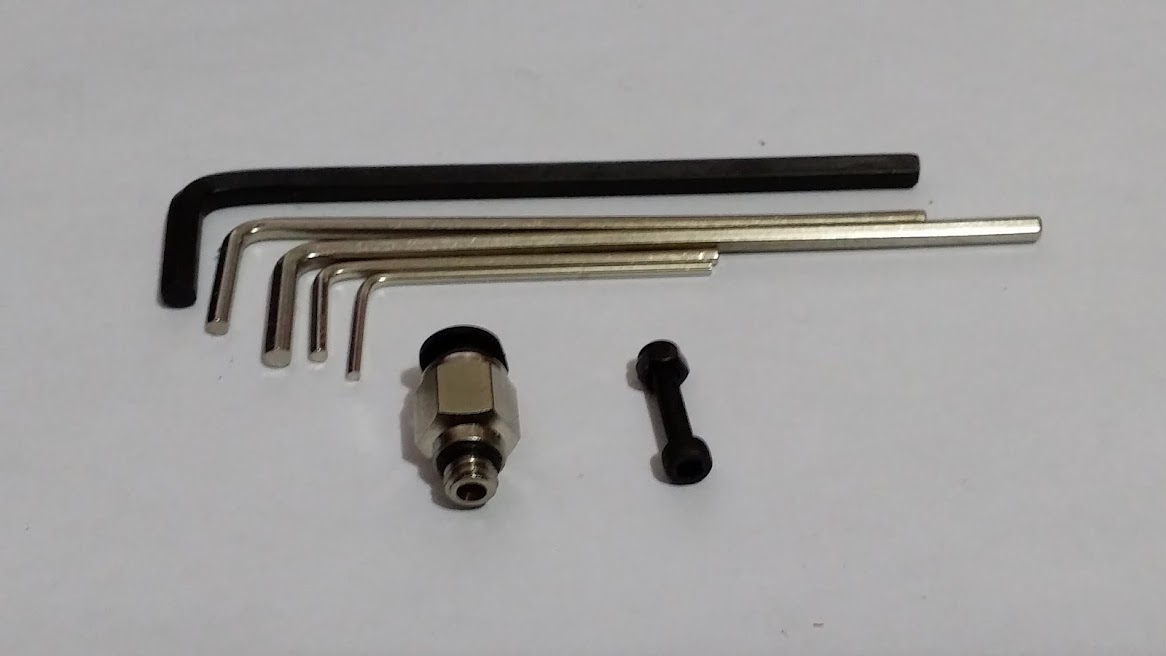
Additionally inside the box is a retaining bolt + nut and an allen key for all of the various caphead bolts on the extruder.
Unfortunately, the ever-popular around here E3D isn't quite Groove Mount compatible - its close, but actually a smidgen taller in its collar. It also has considerably larger cooling fins than other hotends. This means that a few mods are needed to make it E3D compatible - namely a Shim of some description (Washer, or u-mold ![]() - as the E3D stays cold at the top) and you need to print the modified Fan Plate ( http://www.soliforum.com/misc.php?actio … download=1 ). I'll get a neater printed shim posted in the next day or so.
- as the E3D stays cold at the top) and you need to print the modified Fan Plate ( http://www.soliforum.com/misc.php?actio … download=1 ). I'll get a neater printed shim posted in the next day or so.
The extruder is designed with all-metal hotends that require active-cooling in mind. The fan on the fan plate is actually a Blower-style, designed to pull air down over the stepper to cool it, whilst also directing the outlet down and over the hotend. So far in my testing, this has worked quite nicely with the E3D even - there is a noticeable amount of air movement across the entire hotend. As you can see in the pics/video this frees up a huge chunk of real-estate for mounting extrusion fans!
The advantage of this extruder design is that its also an enclosed path almost the entire channel - in fact the filament leaves the very high-quality hobbed geared and enters another channel before going straight into the top of the hotend. There is no possibility of spaghetti between gear and hotend.
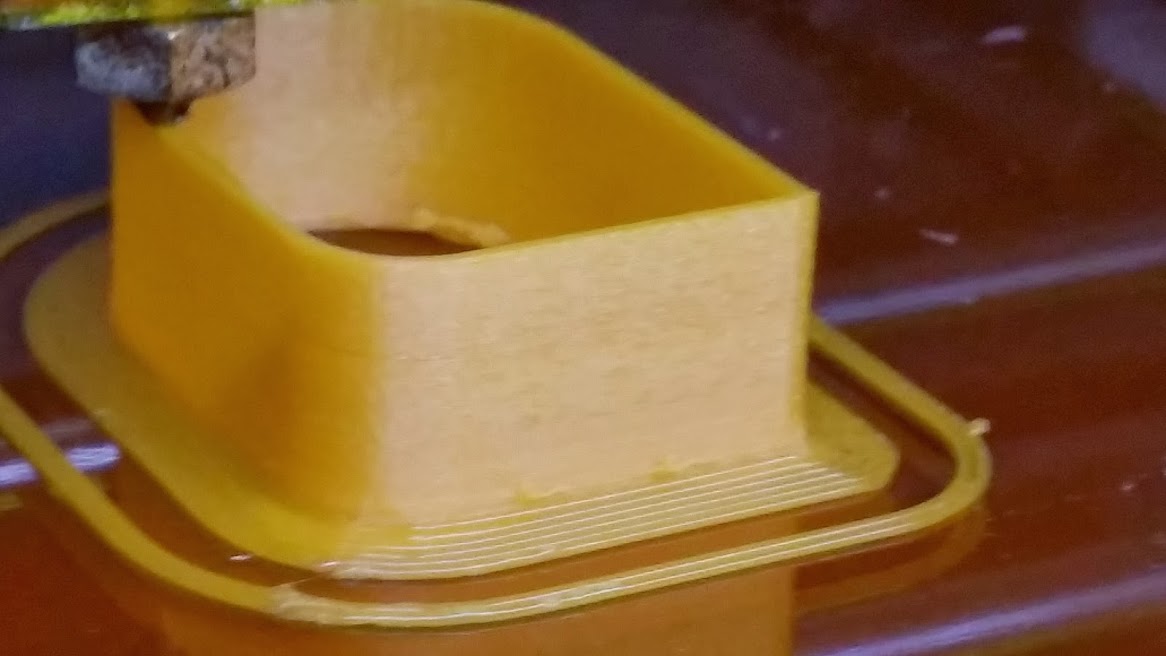
This is also the XL version, meaning its a 5:1 geared NEMA with 495 steps/mm @ 1/16 and 990 @ 1/32 - this in theory will lead to being able to do silky smooth walls and certainly from the first few test prints there is virtually no moire.
The tension arm is fantastic - its 'over/under' in the horizontal plane across the gear with very firm springs. Combined with the deep-grove hobbed gear, it really grips the filament. The XL is designed for 1.75mm or 3mm filament and so far its working beautifully with 1.75mm with no adjustment.
Oh - the exit channel is also threaded just like the top - so you can very easily use this in a Bowden setup with the supplied push-fit coupler.
Now to the bit you all want to know - how do I get it onto the Solidoodle?
So far I have mounted it on Lawsy's carriages using a plate 2n2r5 (almost entirely ![]() ) and I sorted out yesterday. I'll leave it to him to post the final version. With a mild amount of further tweaking, it *will* work on the stock carriage as well.
) and I sorted out yesterday. I'll leave it to him to post the final version. With a mild amount of further tweaking, it *will* work on the stock carriage as well.
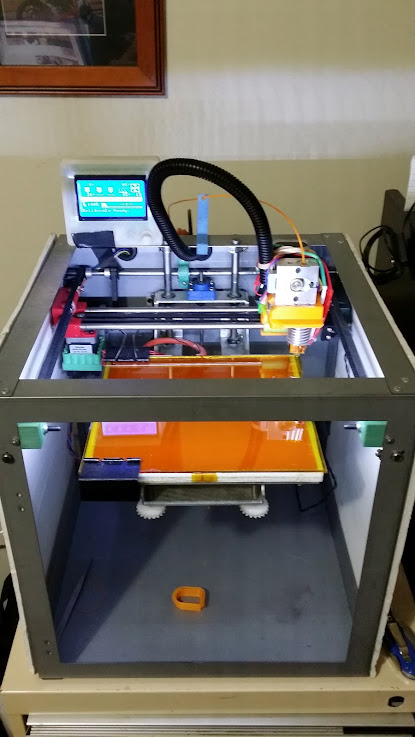
Bonus: This setup has returned my Z-height back to be about +2-3mm's above stock! No more lost height from the E3D! But yes, it pokes the stepper outside the frame fractionally - so those with a top on the immediate top would have need to revise the plate height.
Double Bonus: You dont loose any quick-change abilities.. I haven't even bolted mine to the fan plate, and its rock solid without movement. This means its a simple slide to the left and then lever up to swap the entire hotend over. So in practice almost the same as using a Mk5 with a clipped-on-blank to help 'retain' the arm (as I do ![]() ).
).
Tip re feeding filament As the filament path is almost entirely guided by polished alu - all you need to do is get the new filament just into the tip of the hobbed gear - let the extruder to the rest of the work! Its not like the existing setups we are used to where there is a large path for the filament to 'wander' once it gets past the extruder gear.
I also took the opportunity to replace my loom with a more stiff one to make it stay upright and make some future upcoming tests easier. I ran new wires for everything and have included a motor and fan plug.
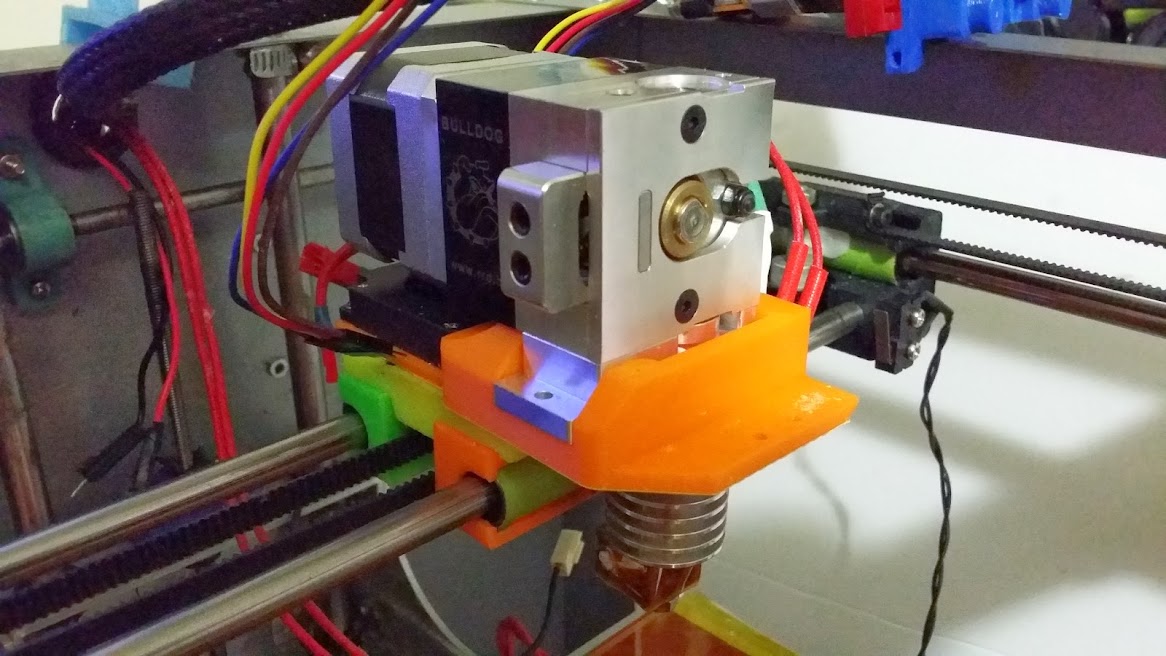
I think the BullDog looks fantastic combined with the E3D. So stay tuned for the mounting STL's once we know they definitely work - and for details on if the 5:1 massively helps with quality. Either way, its a massive improvement over the stock acrylic jigsaw and tension arm system.