Re: [HOWTO] Convert Da Vinci Jr to RAMPS 1.4
Well damn, I missed that in the instructions. I'm heading to radioshack now, hopefully they've got any sort of hobby electronics gear, it's basically a glorified phone store now.
You are not logged in. Please login or register.
SoliForum - 3D Printing Community → XYZ Printing Hacks & Mods → [HOWTO] Convert Da Vinci Jr to RAMPS 1.4
Well damn, I missed that in the instructions. I'm heading to radioshack now, hopefully they've got any sort of hobby electronics gear, it's basically a glorified phone store now.
they do thats where i got mine, just make sure to get thick gauge wiring for the terminals small 28 gauge is too small.
they do thats where i got mine, just make sure to get thick gauge wiring for the terminals small 28 gauge is too small.
Just got back. They had one, but it's got some weird housing I'll work around. Am I able to double up on 26 gague wire? I think that's the best I've got.
EDIT: Found some thicker stuff
double up is fine too, to be safe i would triple up lol i ended up sacrificing a cheap outlet strip from walmart for mine
fingers crossed!
I ended up getting distracted, working now. I'm using 16 AWG wire, hopefully no issues arise because of it.
thats plenty thick enough just feel it during heat up (same for hot end wires) if you feel thermal resistance you need to thicken the guage. I doubled my wires to hot end and have no issues(though i never tried with single wire)
Alright, I just want to clarify. I'm putting wall power into the furthest right two green terminals? And then, I plug the hotend into what? The same two terminals?
when you got it all working... http://www.thingiverse.com/thing:761806
this case is awesome. i printed it and im using it now
leave all the wiring the same, just the wall wart terminals go into the far right green plugs. no other power to the device anywhere else
Alright, everything is working! Heat turns on, fan kicks on @ 50C, and I'm getting accurate temp readings. On to the next step I go. Thanks a ton! I'll probably harass you again in an hour or so.
ill be around you can also add me on skype if you have it ill PM yo my handle
Added you. I'm starting on the steppers, and the instructions make basically no sense to me.
i didnt get the add i dont think (i dont see you at least) pm your skype address ill try adding you
The conversion to RAMPS 1.4 is pretty much finished. Below are some images of the finished printer and RAMPS board.
Almost all closed up. Need to trim the cover around the display so that it will close fully and route the power connection to the side.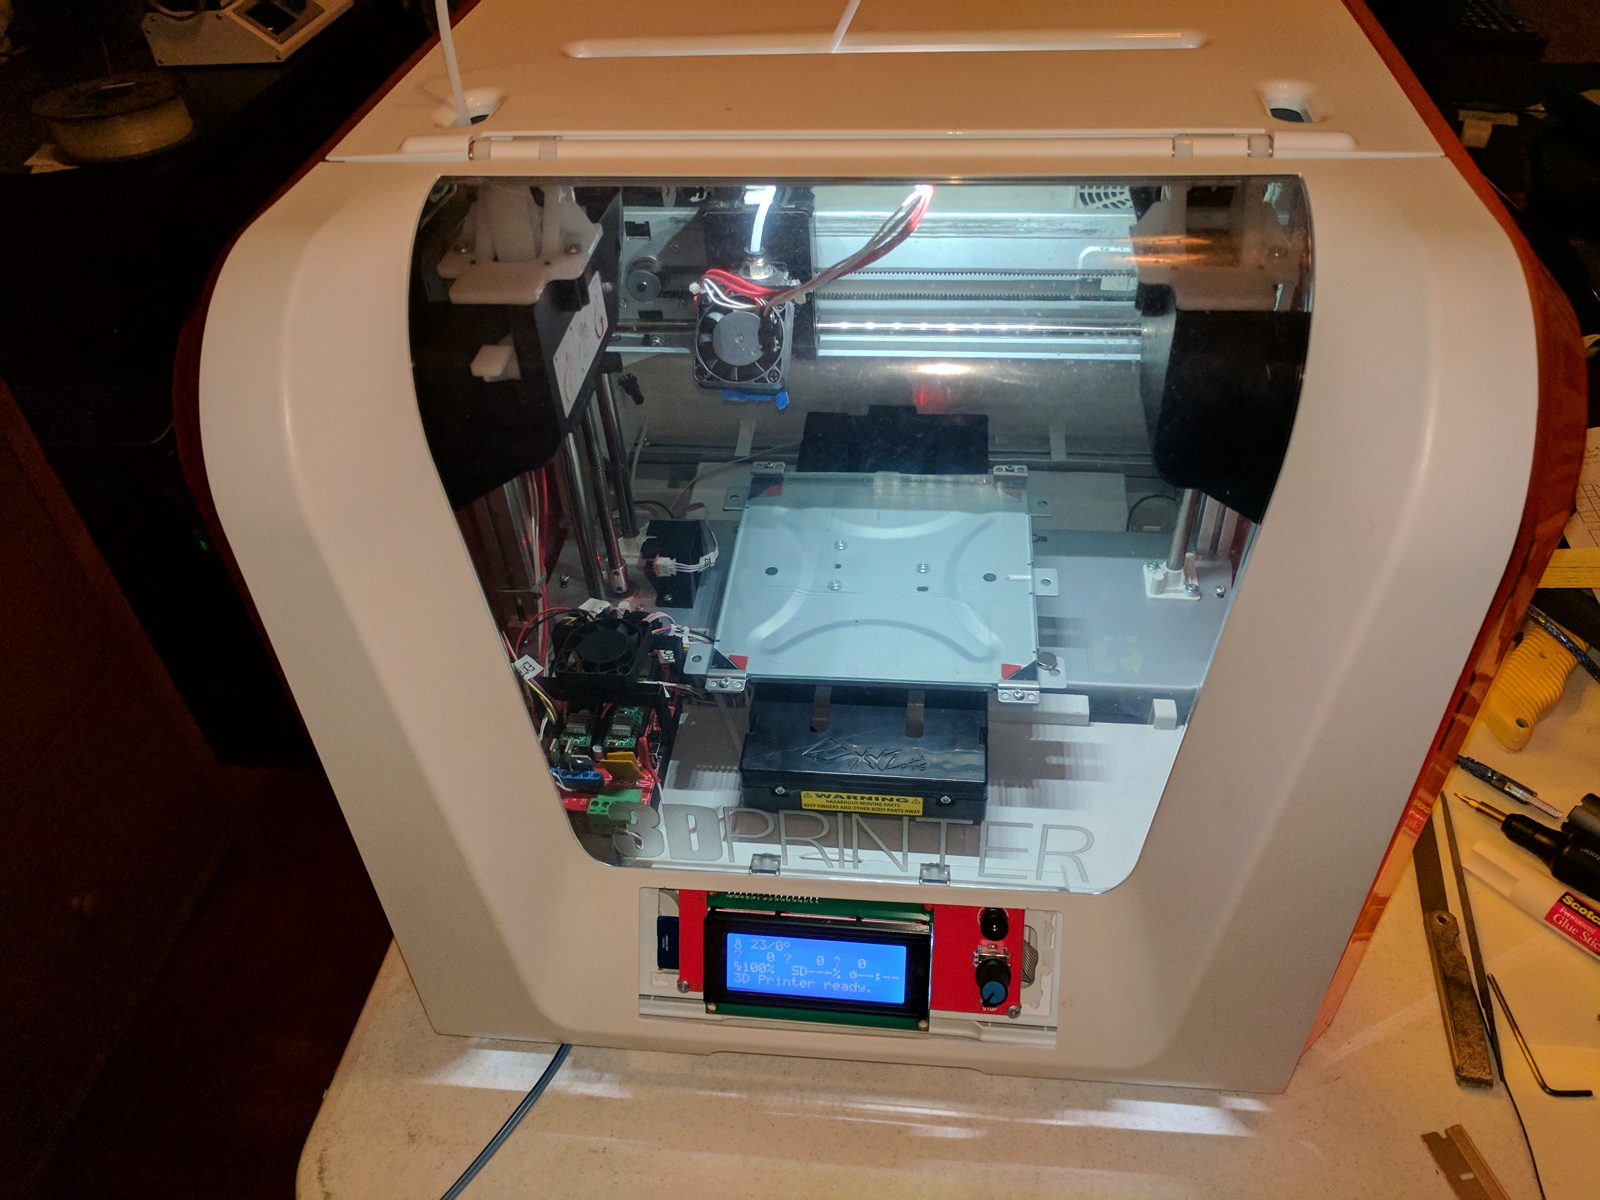
Here is the RAMPS board mounted to a holder and with a cooling fan for the drivers. Need to hook up the power to the fan, will be connected in parallel to the hot end fan. 
The original extruder was not working well so I replaced it with the slightly less crappy original extruder from my Monoprice Select Mini. 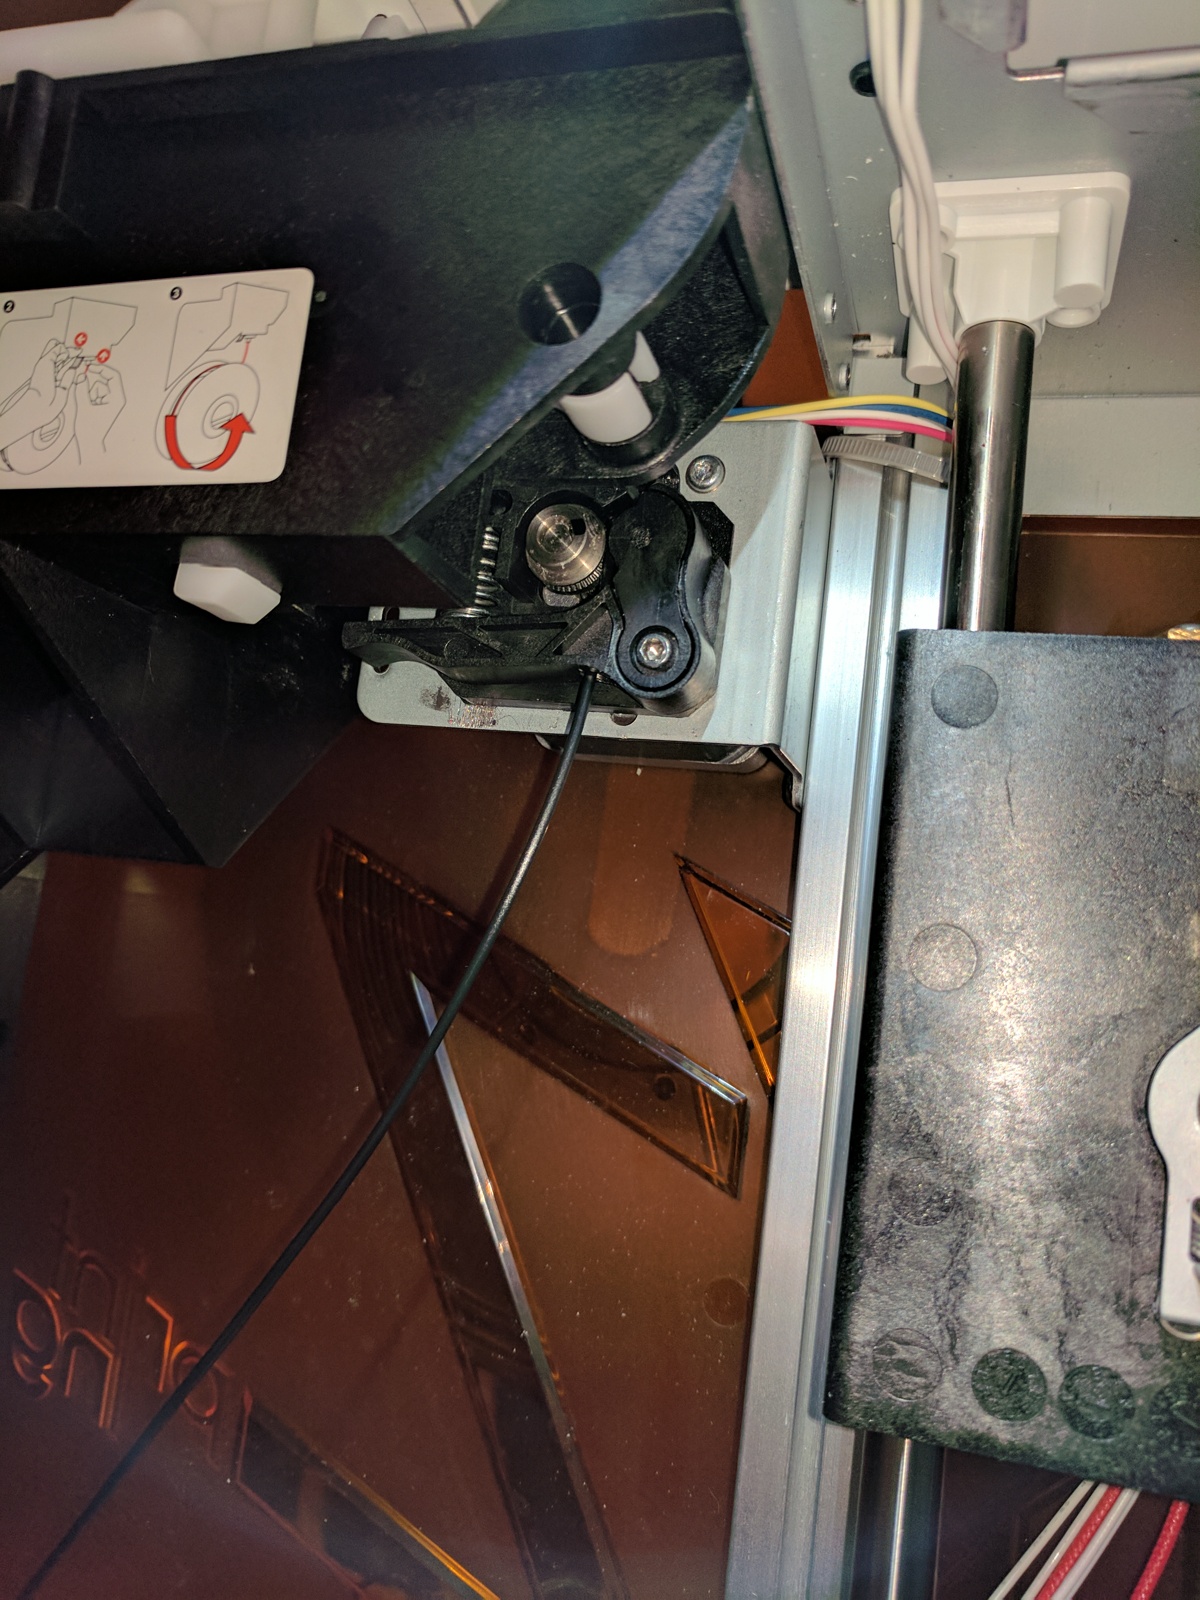
This was only until my cheap Mk7 extruder arrived from Amazon>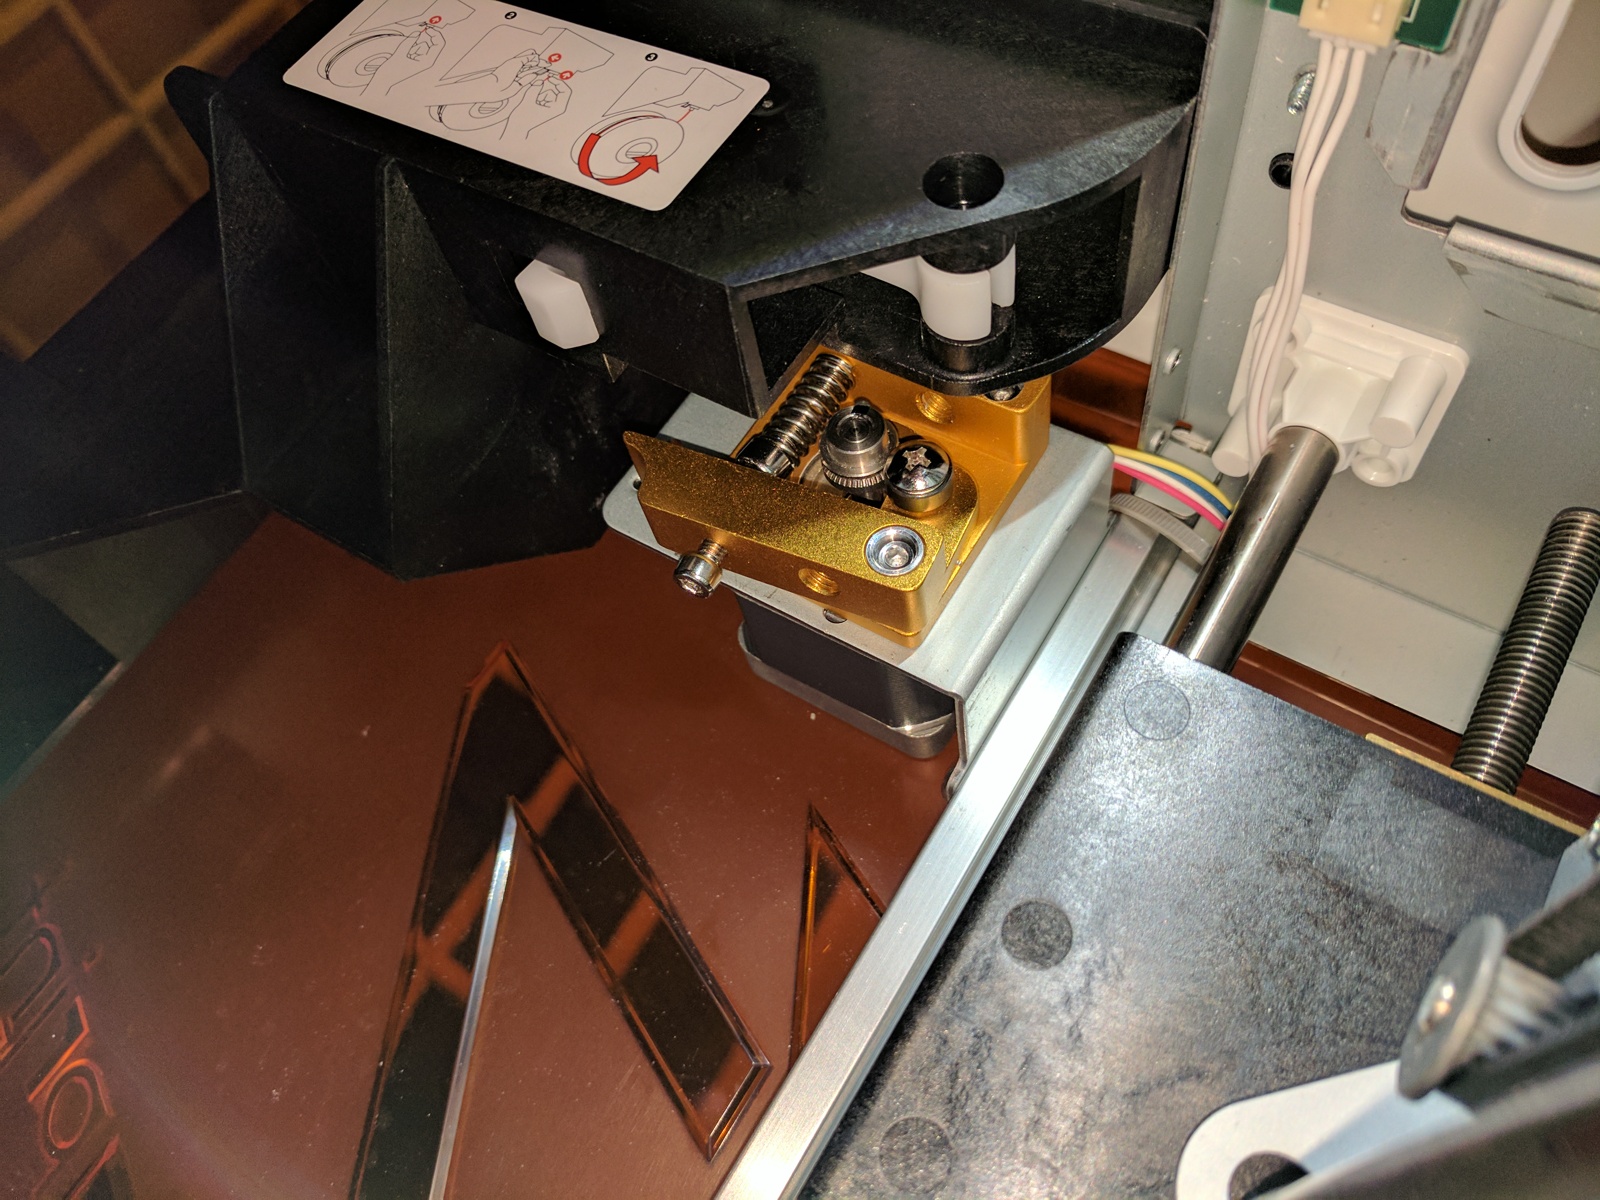
During testing I found that the X-axis was drooping on the right side. After some research I decided to try a cheap fix: adding a 15mm 3mm hex head bolt. Some quick adjustments and the prints are turning out much better. 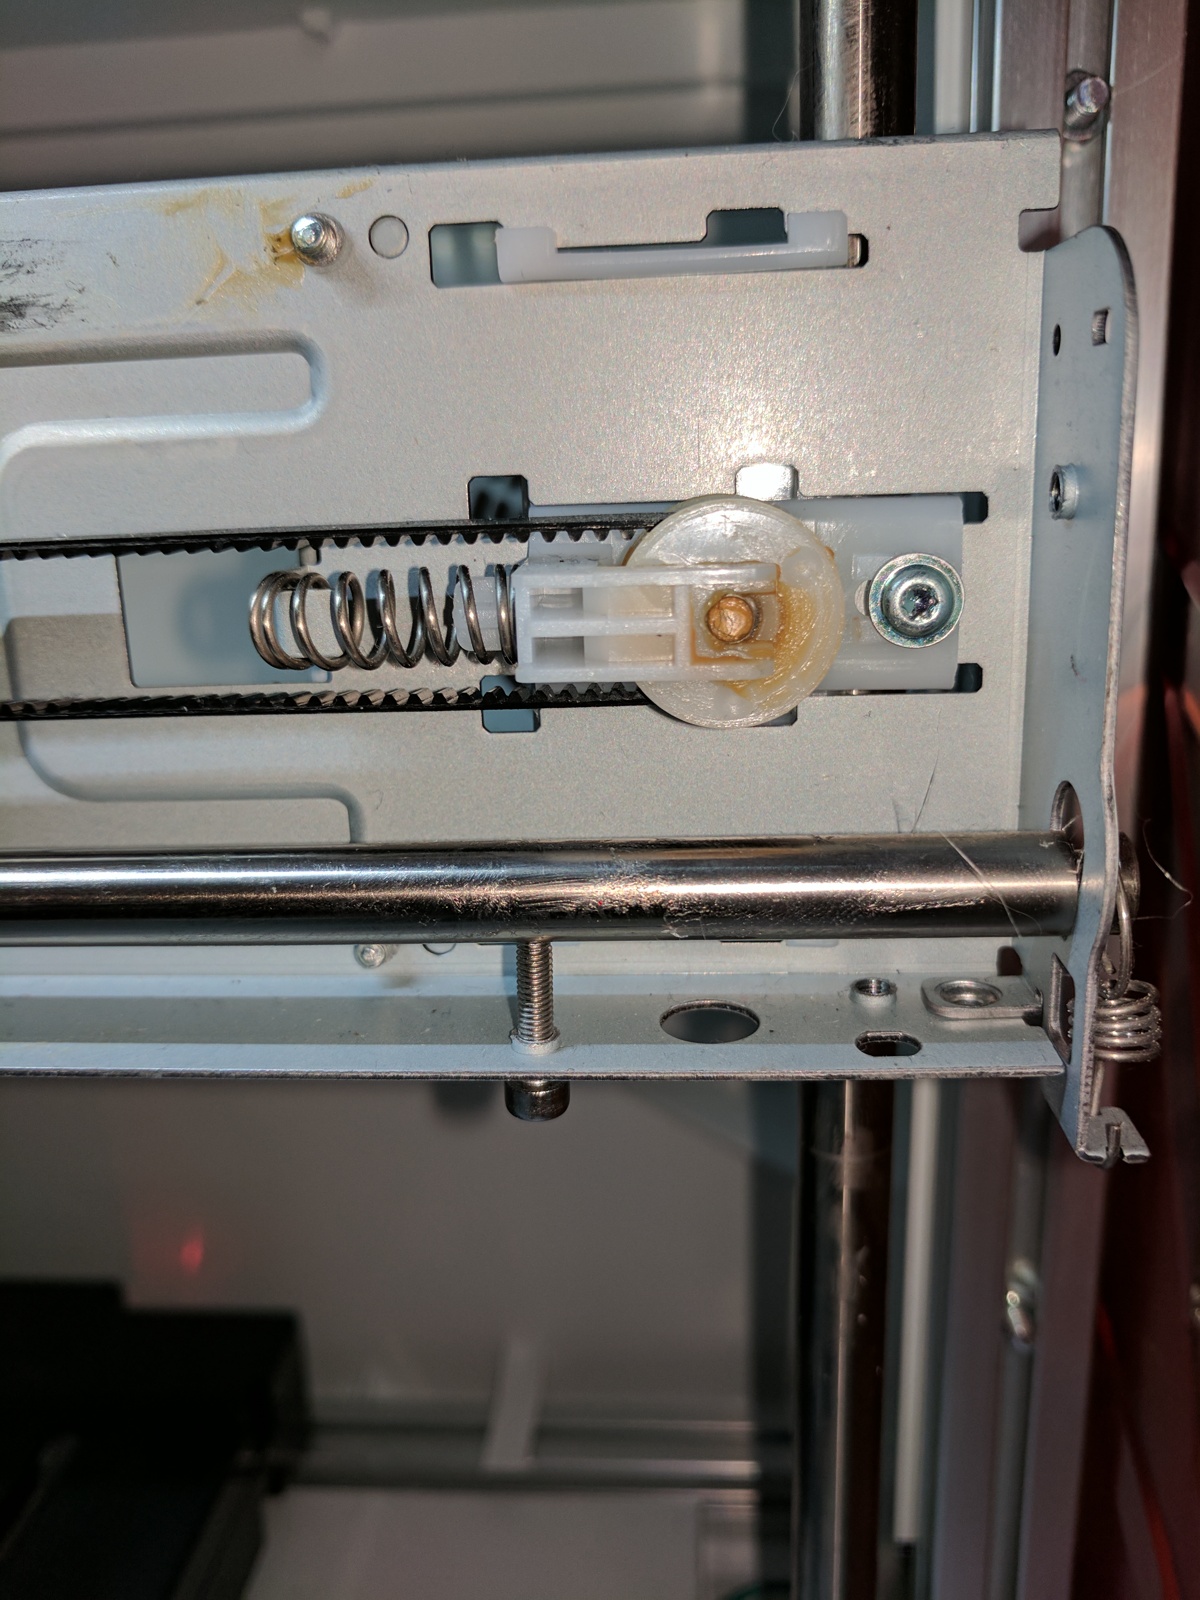
Does anybody have a need to the original controller, display, a NFC card from the filament sppol and the 3 axis endstops? First request gets them shipped for free (sorry US only). The firmware on the controller is 2.0x I believe. 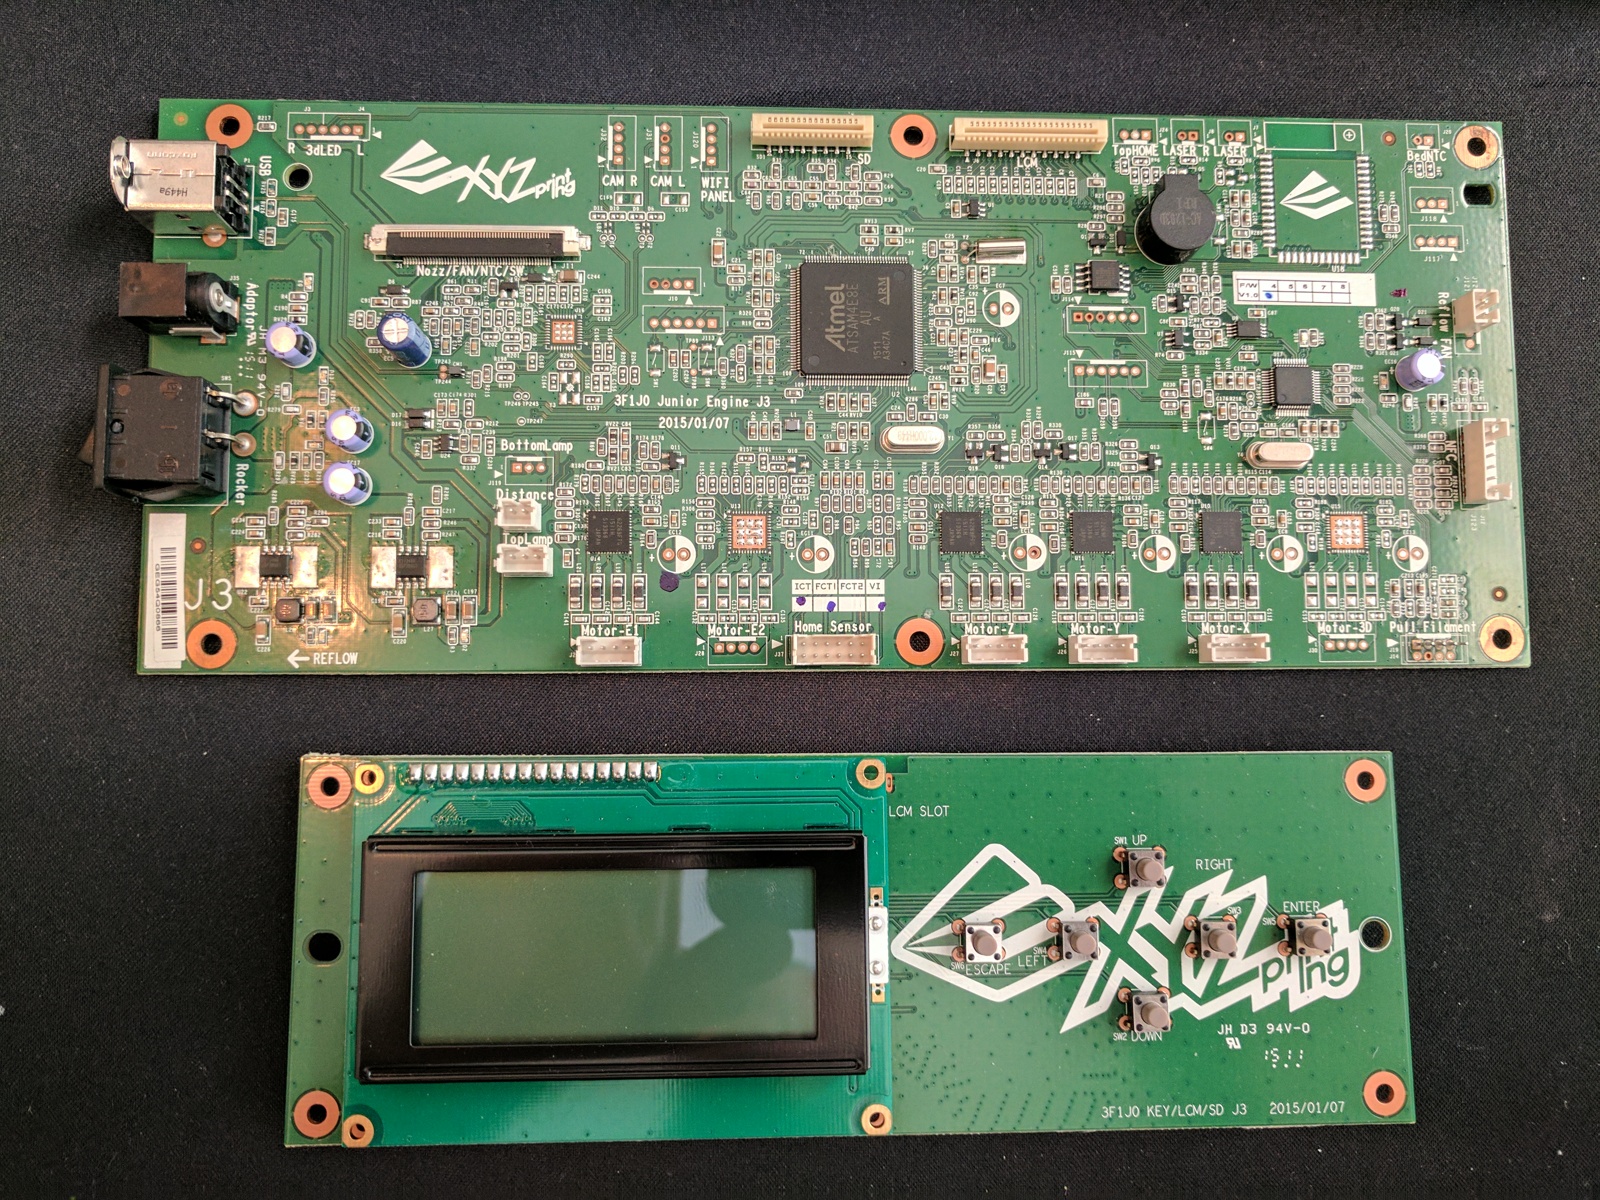
So far it is working very well. Still needs some tweaking and more experimenting with settings. I do want to replace the Z-axis threaded rod and brass threaded bushing since it has about 0.3mm of vertical backlash. Any ideas?
Well that did not last long. One of the screws for the driver board fan fell onto the Y-axis motor drivers and shorted the board. Don't know for sure what is dead. I replaced the motor driver but no go. Have new driver board and Arduino on order so I guess I'll find out when they arrive. Should be back up and running Wed. night.
Can I have this please? if so I will PM you my address details.
Many thanks
Simon
Does anybody have a need to the original controller, display, a NFC card from the filament sppol and the 3 axis endstops? First request gets them shipped for free (sorry US only). The firmware on the controller is 2.0x I believe.
Well that did not last long. One of the screws for the driver board fan fell onto the Y-axis motor drivers and shorted the board. Don't know for sure what is dead. I replaced the motor driver but no go. Have new driver board and Arduino on order so I guess I'll find out when they arrive. Should be back up and running Wed. night.
Installed the new Mega2560 controller with the old driver board and all is back up and running so now I have a spare driver board. Found another loose screw in the fan bracket so now all 4 screws have been replaced with better ones. Now that it is back up and running tuning can continue.
I found that the glass print bed only has 3 of the little foam corner pieces so the right rear corner feel very loose. I will replace all 4 with slightly thicker foam.
The vertical adjustment method I came up with for the dropping end of the X-axis seems to be working well. I may replace it with a longer bolt and add a nut(s) to be able to lock it in place after properly leveling the rod.
I want to place the power input somewhere convenient once all the plastic covers are in place, probably at the rear left corner of the machine.
I printed a spool holder from Thingiverse which works very well. Had to adjust the STL so that it would fit in the print volume. I find that the prints have better adhesion and less warping when the cover is closed during printing. I have only printed with PLA. I have some PETG and ABS that I'd like to try.
The new Anycubic extruder is of slightly lower quality and the one i bought back in October for MP Select Mini so it will need a little bit of tweaking (another case of you get what you pay for). Also need to adjust the position of the extruder wheel on the stepper to better match up with the bearing in the spring loaded arm. After all that is said it is still harder to use than the old extruder due to the black plastic bracket that the front cover attaches to.
The cheap E3 V6 hot end is working great so far but I've only printed PLA at 220C max, usually around 200C for best quality.
I'll keep posting updates as I find new things.
You can get that print spool holder to fit my rotating it diagonally, i managed to do it actually to my surprise but its just barely!
ABS will need a heated bed for sure. When it cools too fast the plastic warps. I have a da vinci pro as well as the jr and i have been playing with abs and it will not printproperly without heat. I have been reading that you can lay a piece of denim(jean material) down at your bed surface and abs will print on it without a heated bed but sounds like alot of trouble to avoid buying a 50 dollar heated bed from amazon and fitting the jr with it.
If anyone else is getting rid of their old DaVinci Jr motherboard with firmware less than 2.4 I will gladly take it
Guys, it's been a while since I've checked on this thread. I apologize to those that needed support if you found the photos and resources a little lacking. To be honest, when I started my conversion I didn't really think it would work -- it was just a last-ditch effort to avoid having to pray for an RMA and ship the thing back to XYZPrinting ![]() so sadly I forgot to take pictures of every step.
so sadly I forgot to take pictures of every step.
I want to say Thank You to all of you who have undertaken this project and posted about it, and *especially* to those of you who so graciously have provided support to the others ![]() It's gratifying to think my instructions have been helpful and/or inspiring.
It's gratifying to think my instructions have been helpful and/or inspiring.
I've just about finished decking out my Da Vinci Jr as far as I'm going to go. Since converting to RAMPS, I've also:
Added a second extruder
Built and installed a new Y-axis, extending it to 425mm
Added a dedicated cooling fan (electrically connected and working, but I haven't printed a shroud to mount it yet)
Most of these other escapades you can follow in a separate thread if you're interested: http://www.soliforum.com/topic/15319/th … -vinci-jr/
I've posted many of the models I designed and/or remixed for these upgraded on Thingiverse. Sadly I haven't gotten around to compiling instructions or parts/print lists for the Y-axis extension. Maybe one day...
I'm not planning to do too much more to this printer, since most anything else I do will require extensive rebuilds of the frame. I've decided it'll be much more cost effective (and fun!) to design and build my own for a next project.
@Anthem are you using any microstepping in your setup?
Yes, I'm using the full 16x microstepping supported by the A4988 drivers that came with my RAMPS board (all three jumpers installed per driver).
i upgraded to the drv8825 and bumped my da vinci jr to 1/32 microstepping and the detail is very noticeable. Layers are much cleaner and look much better.
Note if you do this you will need to change the steps in the conf to twice the number!
and the run WAYYYY cooler once the pot is trimmed properly to .5v you dont even need active cooling on them anymore.
I'm going to be doing my own writeup and video on this shortly. It'll be all the same information, but written in a different style for anyone who needs it. I'll include all the dumb stuff I did that I needed help figuring out, etc.
SoliForum - 3D Printing Community → XYZ Printing Hacks & Mods → [HOWTO] Convert Da Vinci Jr to RAMPS 1.4
Powered by PunBB, supported by Informer Technologies, Inc.