I noticed the issue with the sensors when I was putting my breadboard together as well. I have the guide set button on Pin 12. I also added a button on Pin 1 for setting the setpoint for the spool tension PID. You hold the button down and move the arm to the point you want it to maintain, then let go of the button. I'm attaching the firmware as it stands for me. Some of the PWM pins are probably moved around. I was having trouble with the motors not working for some reason unless I moved them around to different PWM pins. I tested all the PWM with the servo and they still worked, so I don't know what the issue was. It's easy enough to change them around in the pin assignments to however you want to wire them up.
I'm not sure if I mentioned it before, but you will need to download the PIDl library. There is a page about it here- http://playground.arduino.cc/Code/PIDLibrary
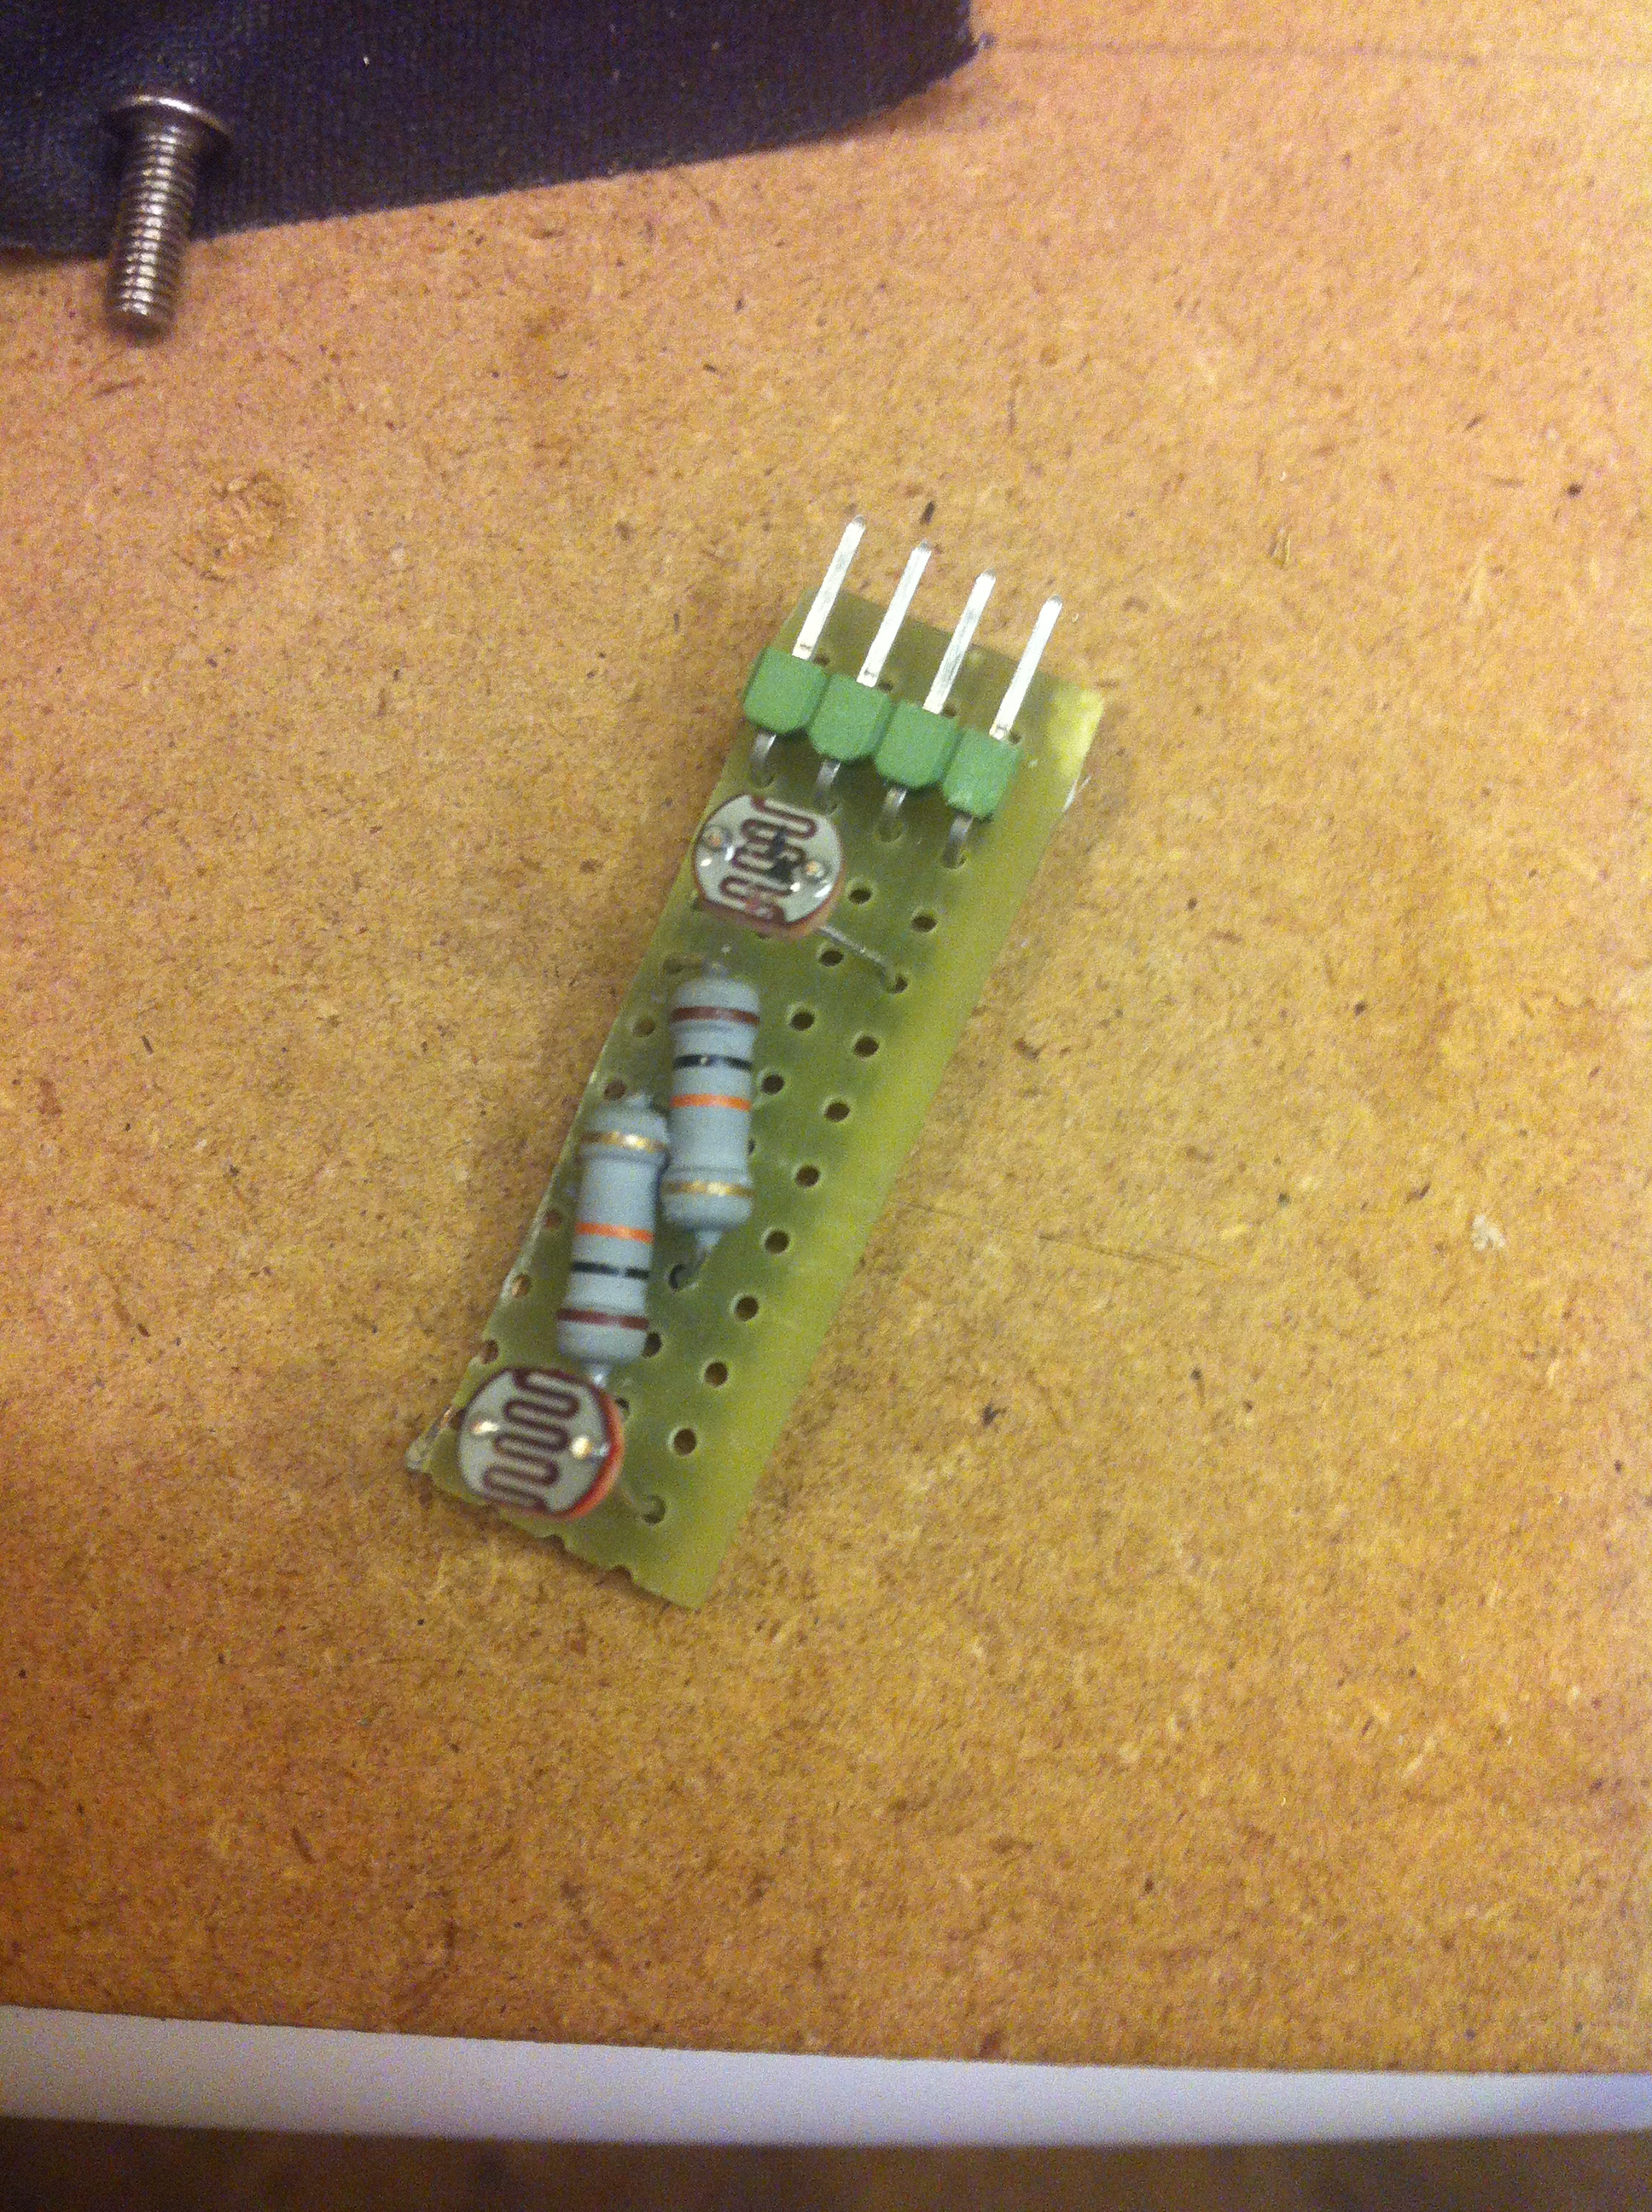
Polarity matters with the hall sensors, so you will need to test them to figure out which way the magnets need to point. I stacked two magnets together to get them to stick out far enough to run close enough to the sensors. To test them, you can add a line like
Serial.println(digitalRead(hall_a_Pin));
and watch for the value to change in the serial monitor. I included a serial monitor function to make it easier to comment it in and out as you test stuff. One thing to keep in mind is that the PID won't work very well if you are outputting data to the serial monitor, because it slows the program down so much. At least it does at 9600 baud, I suppose it could be run faster. I don't know if the Uno has an upper limit.
I uploaded a new sensor mount yesterday, I don't know if you saw. The previous one had the laser too close to the sensors, and I wasn't getting very good reliability. The new one has a notched base, and the sensor holder, laser holder, and guides can slide back and forth along it so you can find the best positions for all of them. I would recommend screwing the base down to a small board to give the whole thing a little weight and stability.
I still want to add another button and switch. The button would be for calibrating the photo sensors. You would hold the button, then wave a piece of filament past them. It would save the highest value read for each sensor, using that as the ambient, and save the lowest value for each sensor, making that the shaded value. Then it would figure a value somewhere between those two points for being the trigger value.
The switch would be to set whether the speed knob was for the pull up speed or the let down speed. Also I want to add in the RGB LED to indicate what setting mode you are in, and whether the filament is being pulled up or let down.
I changed the puller as well. I kept having trouble with the filament slipping behind the bearing, so I switched to a MK3 jigsaw replacement for better filament guidance. I changed the puller mount to be flat on the front with NEMA17 holes and the holes for the gearmotor. This way you can attach whatever NEMA17 compatible direct drive extruder you want.