26

Re: Filament Winder

I think the key would be keeping the extruder and the puller out of alignment with each other.   Because the filament is self supporting to a degree, you need a setup where if you hold the puller end of the filament, the extruder end can't continue to hang in front of the extruder.  The more the end can droop from gravity, the easier it will be for the extruded plastic to push it away rather than backing into it, increasing diameter.  If the extruded plastic can push away the filament ahead of it, that drops the loop.  Or the filament should already be falling away.  Extruding straight down gives you the second effect.

Also if the pulling is out of alignment with the extruder, then the filament is getting pulled out of the way of the plastic that is coming out.   Having them face each other works over a long distance, because there is a long enough and heavy enough length of filament that gravity will pull the ends down away from the die.  With a short shallow loop, the bottom of the curve can hold up the ends.  I think the distance can be shortened pretty well by going straight down, then up.   The extrusion may not need to be straight down, some angle may be ok.  But I think the more you can align the extrusion force with gravity, the more likely a burst of speed will push the loop down rather than push into filament that isn't moving away fast enough.

I don't think the loop needs to be regulated that tightly to control the diameter.  If a burst of outgoing plastic can make the loop move down, then the job is done.  The control serves to keep a consistent weight hanging off the die, and make sure that over the course of hours the winder doesn't outrun the extruder or fall behind.

Direct drawdown would be the holy grail of filament winding, but that would require a DIY laser micrometer to attempt.  It's totally doable, but I would consider that a separate project.   I need to learn quite a bit more about coding  to read the sensors and analyze the output, and don't want to hold up the whole project when I have what I need to finish it as-is.   

PID control with the LEDs would help reliability.  I can set min and max puller speeds, but there is no guarantee that they won't be too fast or too slow if something changes with the extruder.  I would like to be able to run the motor speed manually until the loop is in the sensor zone, and then hit a button to change it over to auto.  If it moves up or down 1/8"-1/4", I don't really see that affecting accuracy too much.

27

Re: Filament Winder

Don't hold up the project.  Run fast with what you have.  Quite acceptable and viable.

Last pic there was a guide in front of the extruder, while earlier pics, you were extruding straight down.  What is the preference?  I kind of like the straight down option, because there is just the force of gravity pulling on the filament as it cools. 

I seem to recall a pic of an extruder at OSP that seemed to be doing direct draw down.  Wonder how that worked out. 

We need a glossary of names for these configurations tongue  So in the straight down gravity loop, are you seeing the filament wander very much at the bottom of the loop and does the shape of the loop remain constant?

I am going to transfer the full LED algorithm in to the Arduino so it is standalone and then feed it into a capstan PID.  This will let me experiment with the horizontal configuration.  As the capstan is moved closer and closer to the extruder, the filament weights less, so the amount of sag will be made proportionately less, the filament angle will become more horizontal, and more of the total force on the filament will come from the capstan.  With the 40"Span/14"Sag H config, I think the average diameter could be regulated by adjusting the amount of sag.  But at 40" that is 3-4 minutes of delay to close the loop, so it would be only a long term average.

Put the tip of a piece of 10" filament into the beam and tapped it so it would vibrate up and down.  Could see the oscillations continue for 10 seconds on the PC graph.

28

Re: Filament Winder

I'm extruding straight down through a hole drilled in the side of the plug.  Every time I've tried to guide the filament horizontally, it has backfired.  Having the force of extrusion pushing out while gravity pulls down at the same time while the cooled filament sometimes pushing back is too complicated. 

The natural twisting effect that causes it to coil on the floor, or lay in figure eights makes the loop tend to sway to one side or the other.  That is why I have the guides at the sensor to maintain it's distance from the light.  With the long, 40" pull there was probably too much mass of filament out there for the twisting force to budge it.   I'm thinking that running a long distance with a lot of filament between the extruder and winder is more stable in general, since the extra gravity is stronger than the forces from the filament's stiffness.  For a shorter distance, you have to work around it.  So if someone doesn't want a 90 degree die and wants to extrude horizontally, we would recommend something like a 40" pull.  If you want to keep it short, we would recommend extruding downward.

Using PID in Arduino is simpler than I thought it was.  I have it set up to manage the tension on the spool with a switch, but I think I'll change that to a lever with a pot at the pivot, using that as the input of a PID to control the spool speed.

29

Re: Filament Winder

impressive results in the video! I love the tiny footprint of the winding device.

30

Re: Filament Winder

Unfortunately the tiny footprint isn't surviving.  It needs to be longer to accomodate 8" spools and have room for the guider to work without bending the filament too sharply.

31

Re: Filament Winder

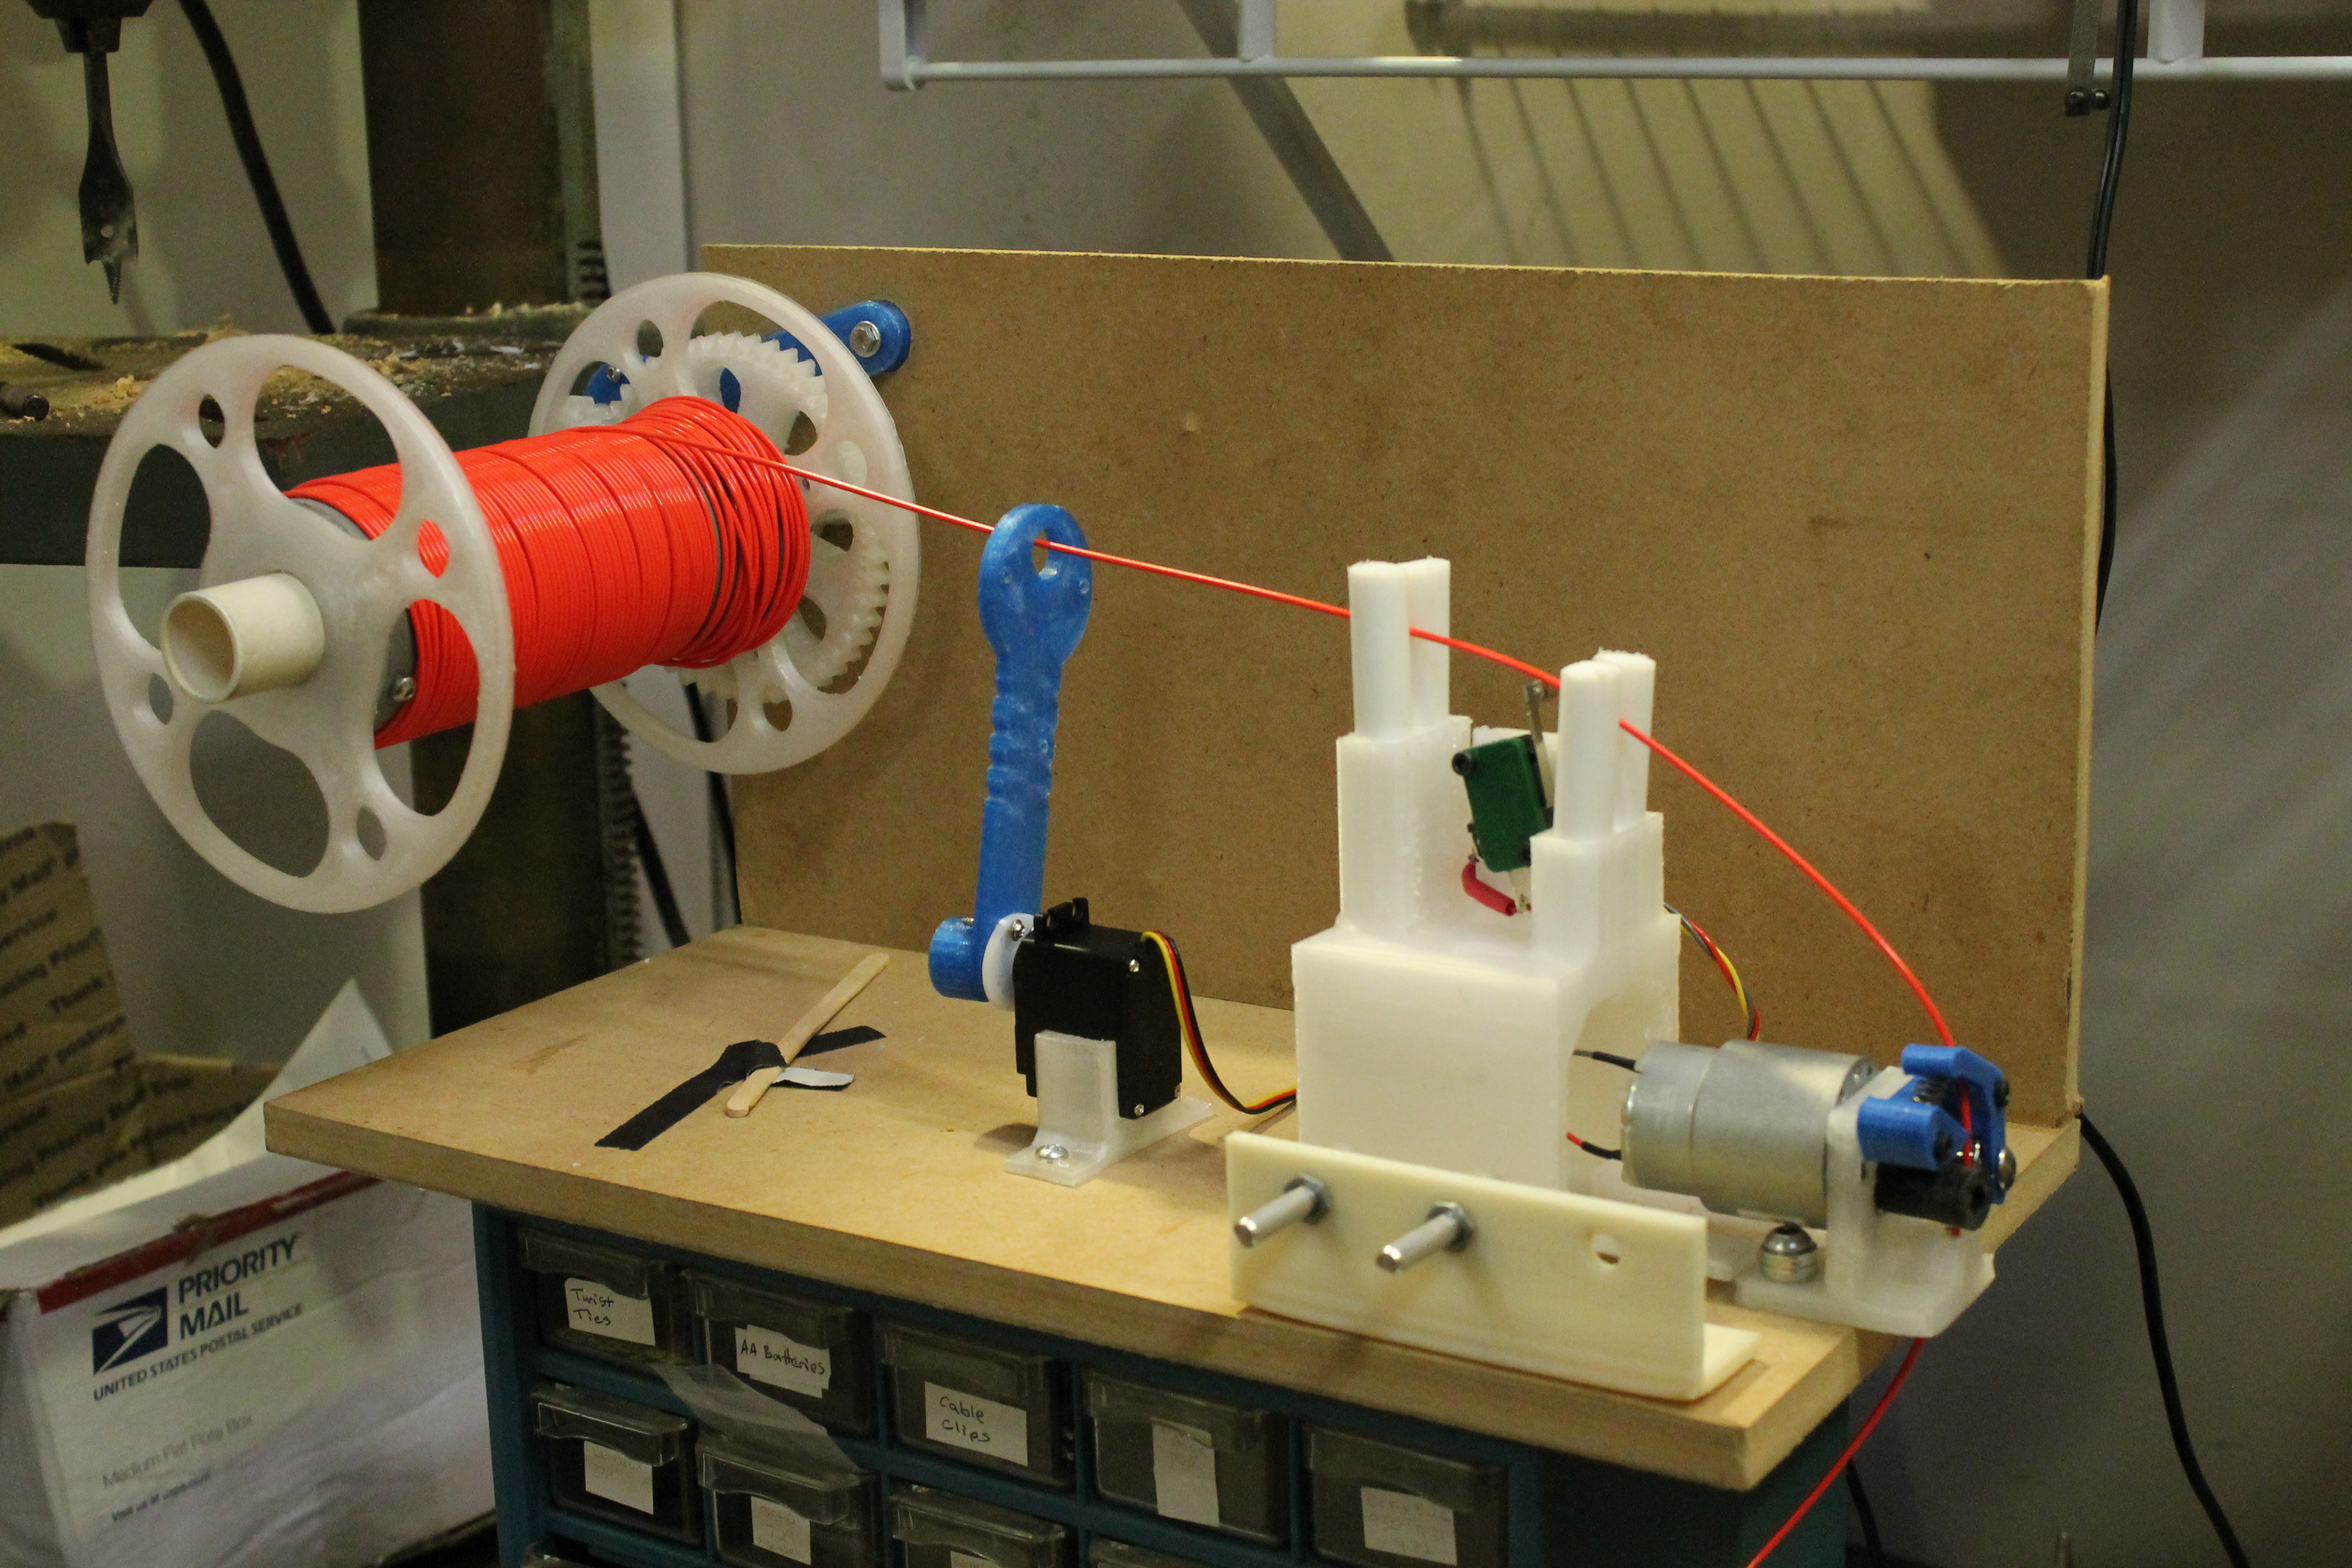
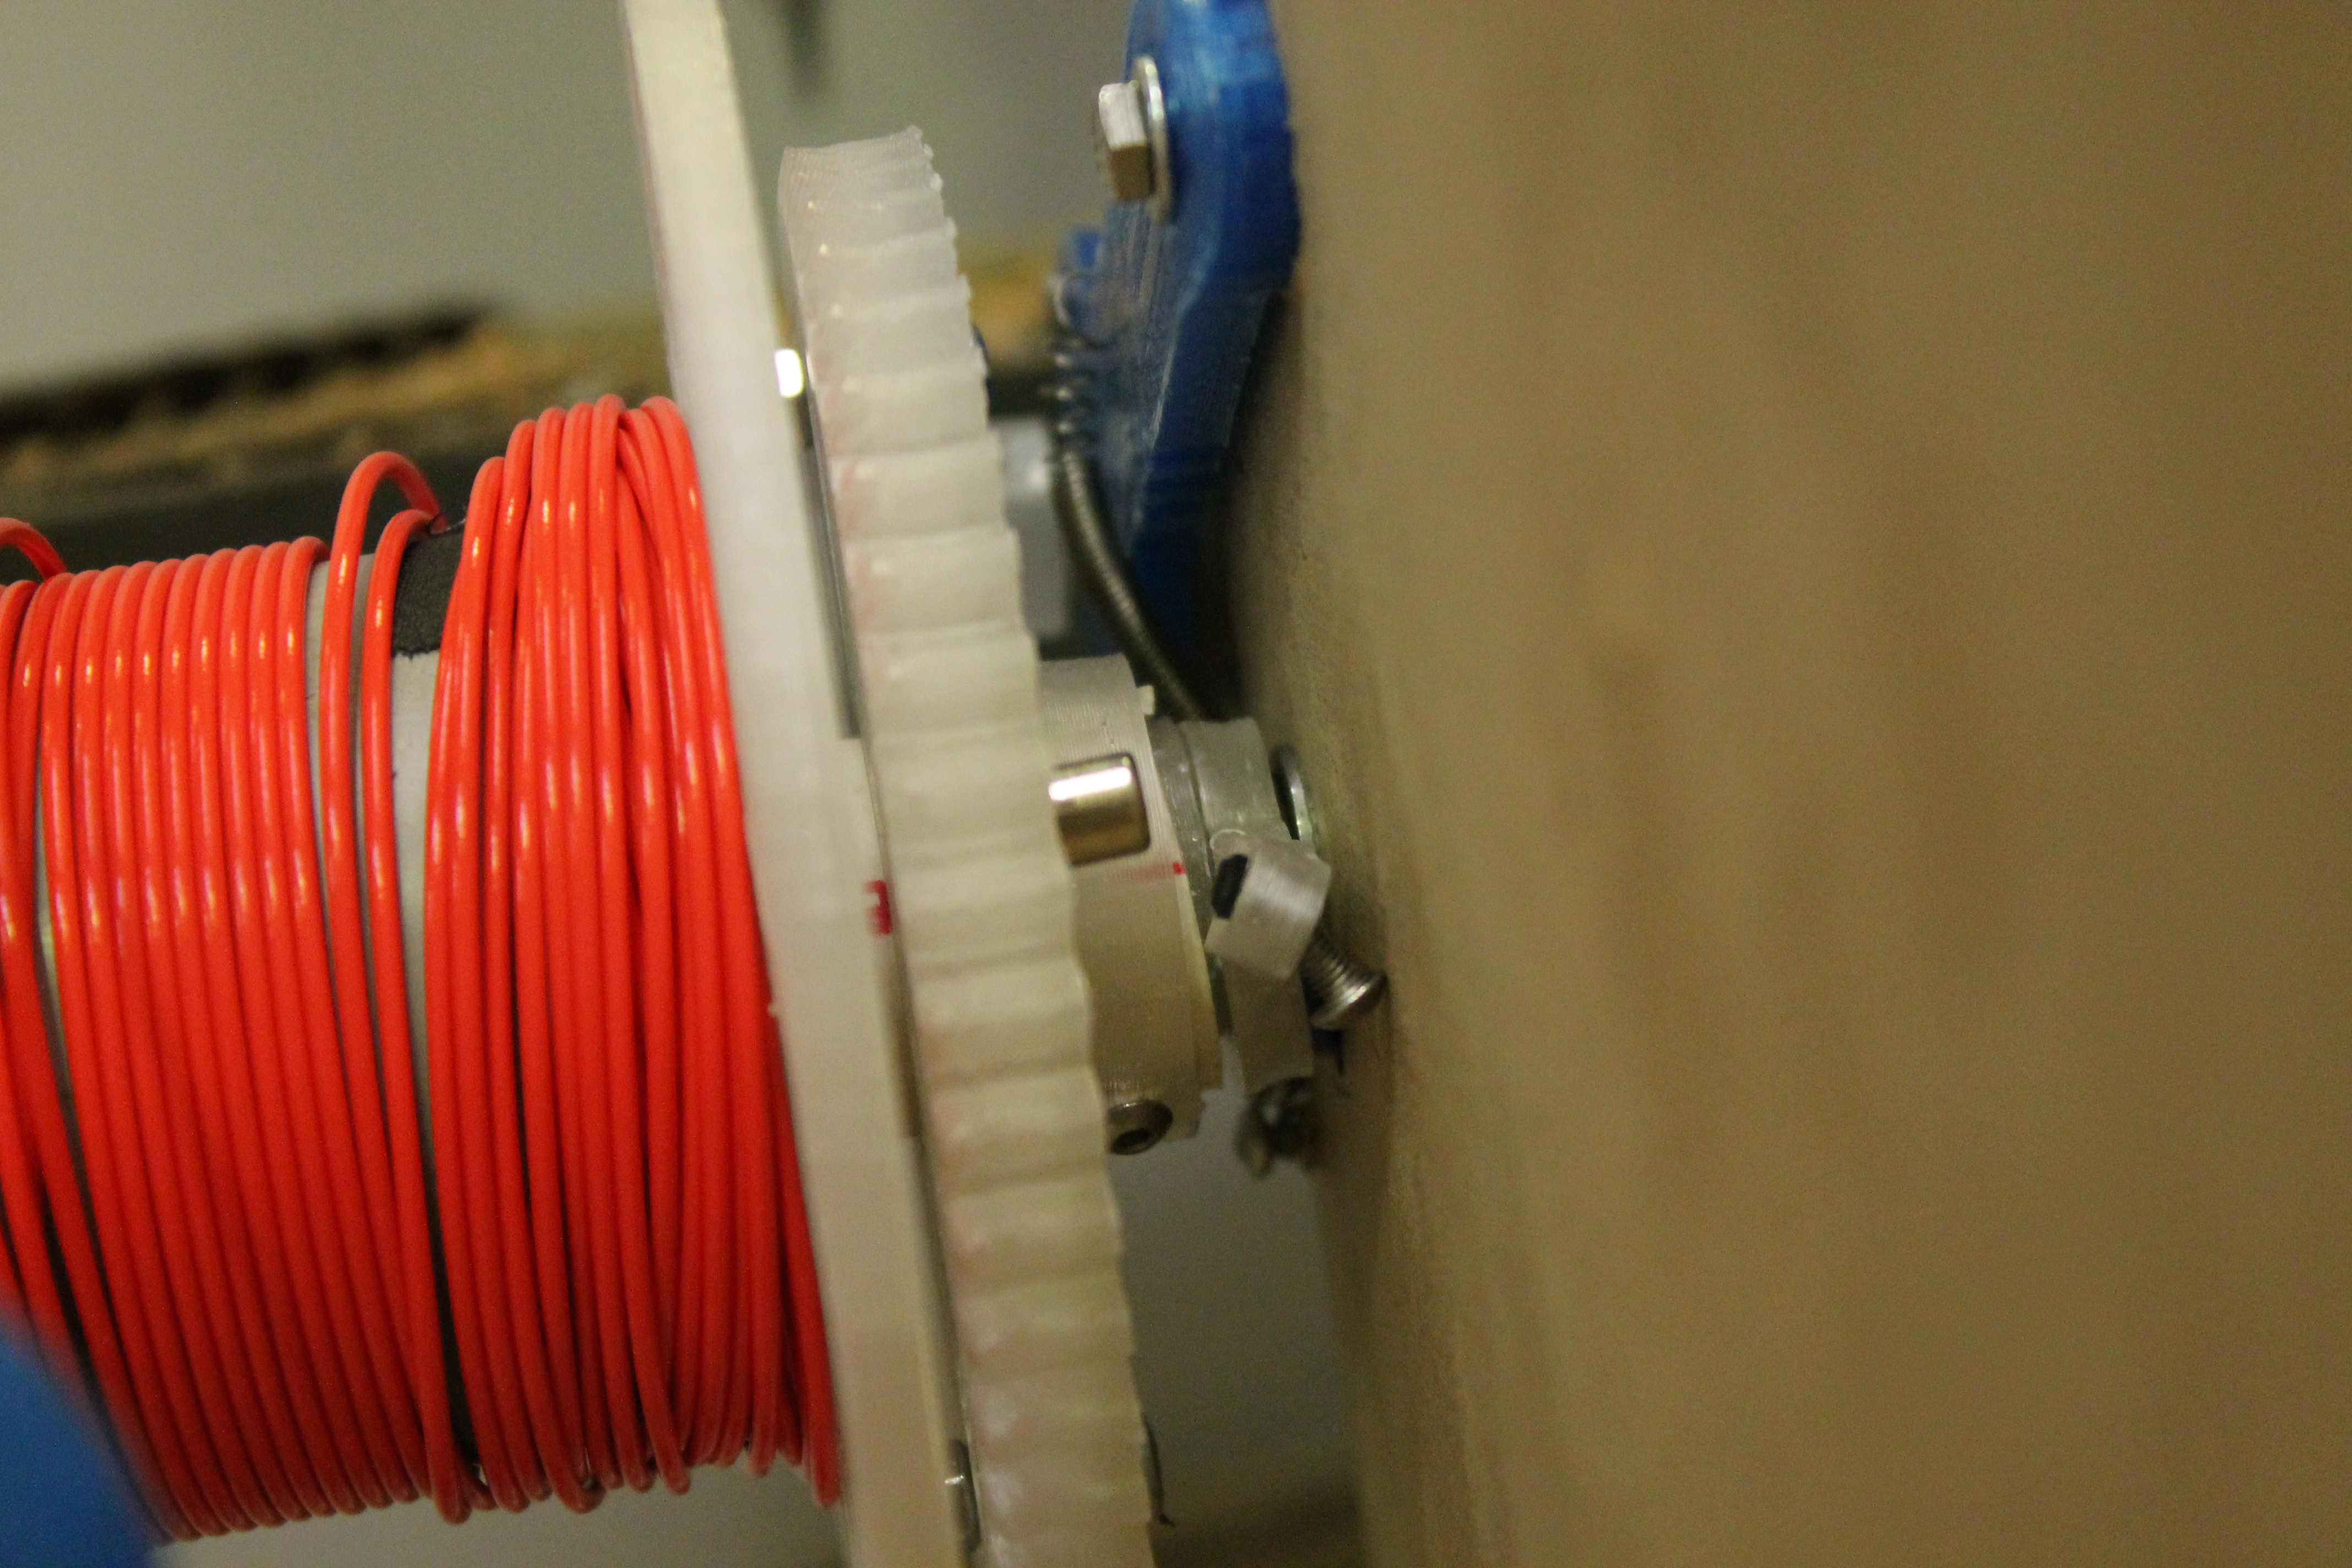
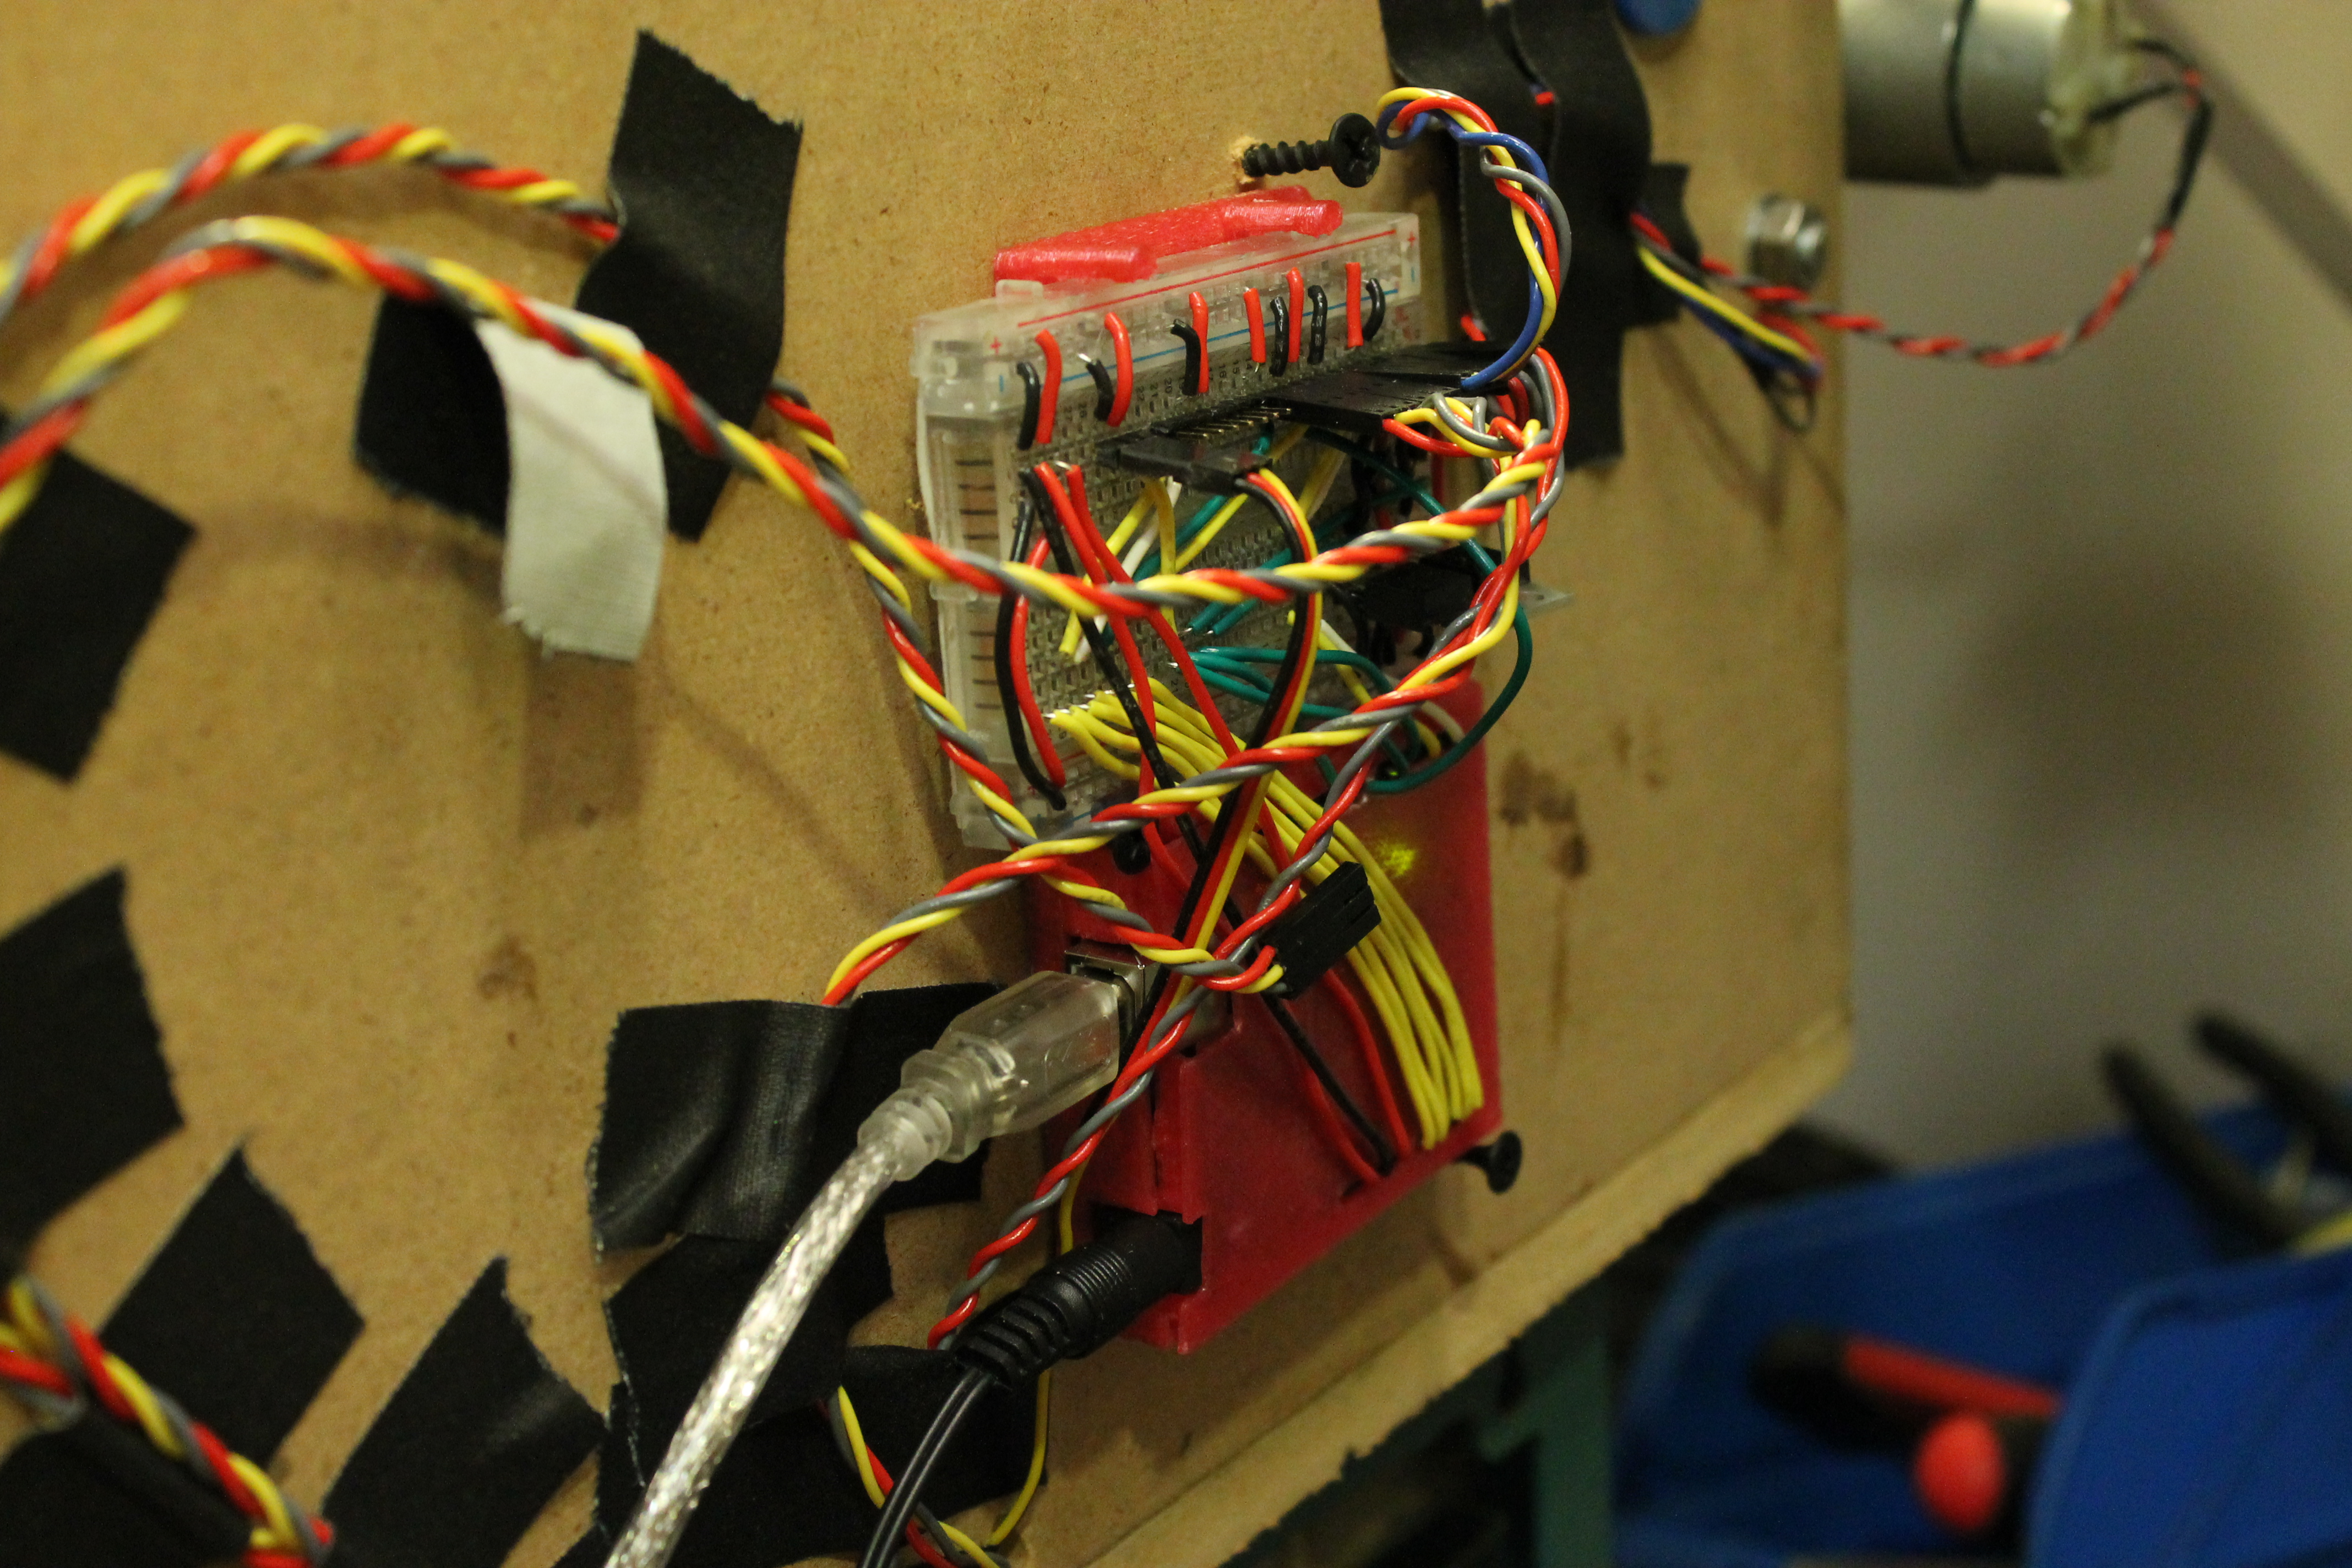
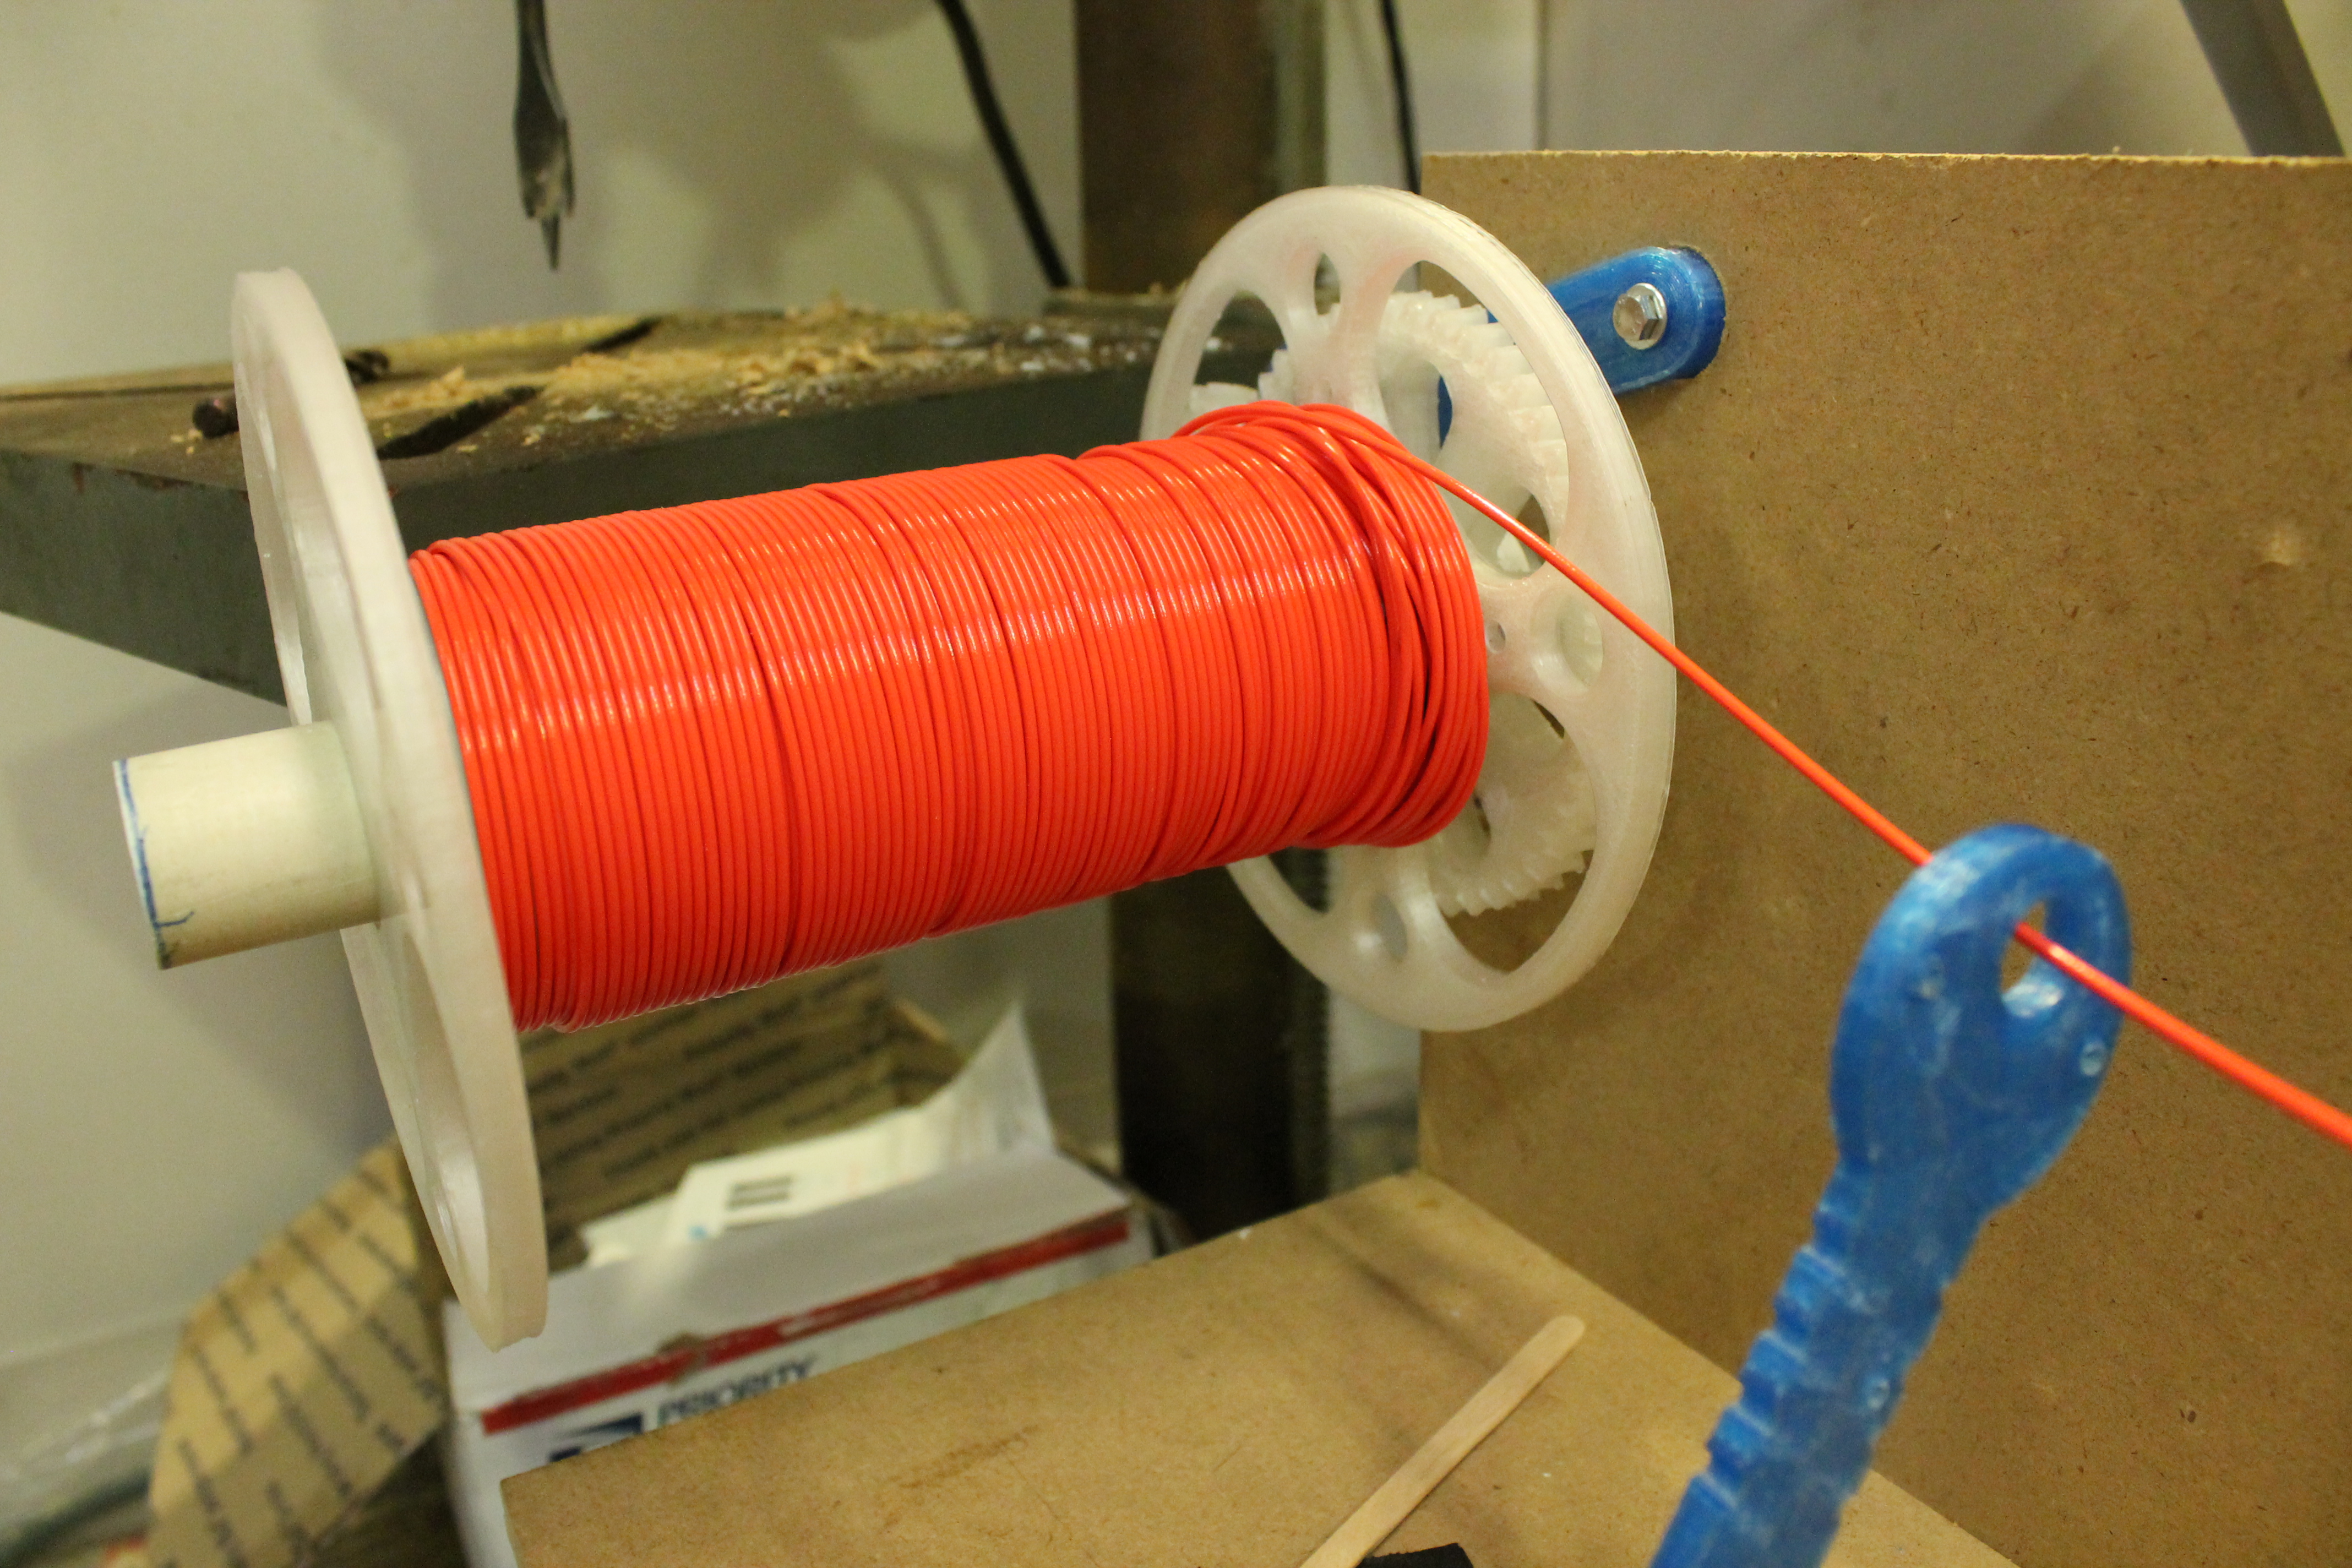
http://solidoodletips.files.wordpress.com/2013/04/img_4487.jpg

http://solidoodletips.files.wordpress.com/2013/04/img_4492.jpg

http://solidoodletips.files.wordpress.com/2013/04/img_4498.jpg

http://solidoodletips.files.wordpress.com/2013/04/img_4499.jpg


I'm working on getting some preliminary stuff up on Thingiverse today or tomorrow.  I want to change the tension management to a spring loaded arm and PID, but that needs to wait until I get a new PEEK in the mail.

Post's attachments

Winder half breadboard_bb.pdf 1.78 mb, 43 downloads since 2013-04-29 

You don't have the permssions to download the attachments of this post.

32

Re: Filament Winder

Ian, first of all awesome work as usual.  Second, why not partner up with someone and make/sell kits.  If Tim can do it...  haha  j/k.   I think you'd get a lot of takers from Tim's customers that would love to have a full assembly line rather than spooling it off the floor.

33

Re: Filament Winder

I'm happy to offer my services (PCB/CAD design) and my connections (board production/assembly, CNC machine shops) if he ever wants to go that direction. smile

34

Re: Filament Winder

Nice, Ian as I said on KS, it would be great if you could partner up with Tim, to offer this to his customer base and put some sort of kit together.

35

Re: Filament Winder

Here's another update.  I replaced the tension control switch with a spring loaded arm attached to a potentiometer.  The Arduino reads the pot and and constantly changes the speed of the spool to try and keep the arm in the same position, which keeps the tension more steady than the on-off switch.

Here is another video on setting up the filament guide.

http://youtu.be/1snEOnw5JKE

36

Re: Filament Winder

Hello, Jan,

Are you going to post also the code for the filament winder?

Thank you.

37

Re: Filament Winder

zoltan wrote:

Hello, Jan,

Are you going to post also the code for the filament winder?

Thank you.

Wrong name, no please or thank you for all his hard work?!

sad

38

Re: Filament Winder

Hello, Ian,

I apologize Ian for the misspelling of your name. It was a mistype, and I did not realize.

Thank you.

Hello, Tim,

As you can see in my message there is a Thank you, and btw my previous question in forum about distance between screw head and brass cap was about filastruder construction, and not about other extruder. As a kickstarter backer of filastruder it is just a matter a time till I found out the answer as my payment was already done, so, this is the reason for which I dared to ask. I apologize for inconvenience, but for sure what a man was able to do for sure another one will be able to improve. Anyway, as you could see in the pictures I have succeeded to build myself  two extruders which are running each at 12"/min with 1.75 +_ 0.02, it is true at 220 Celsius degree, and with less than 100$ investment each.
At my +50 yrs I would dare to advise you that a more positive customer service approach will help you.

Thank you for all your work and effort.

Post's attachments

IMG-20130504-00108.jpg
IMG-20130504-00108.jpg 264.92 kb, 1 downloads since 2013-05-05 

IMG-20130504-00113.jpg
IMG-20130504-00113.jpg 276.38 kb, 1 downloads since 2013-05-05 

IMG-20130504-00116.jpg
IMG-20130504-00116.jpg 201.35 kb, 1 downloads since 2013-05-05 

You don't have the permssions to download the attachments of this post.

39

Re: Filament Winder

Zoltan,

My apologies. A few people have felt very entitled and acted demanding. Previously, when you posted "nobody can help with an answer?", it seemed like you were one of those people, demanding and impatient.

Perhaps my first impression was wrong, and for that I am sorry.  Lets stay on topic here, keep it about Ian's winder.

40

Re: Filament Winder

I wanted to make sure I had the spring loaded tension control thing working before posting code.  I also have a wiring diagram I made in Fritzing for laying out the breadboard.  A couple of the PWM pins may not match what is in the code, so the pin assignments should be double checked.

I have STLs about ready to go on Thingiverse, there are just a couple that need to be finalized.

Post's attachments

Winder_half_breadboard_bb.pdf 1.78 mb, 48 downloads since 2013-05-05 

You don't have the permssions to download the attachments of this post.

41

Re: Filament Winder

I couldn't see how to attach a second file so here is the code-

Post's attachments

Winder_PID_v3.zip 2.69 kb, 29 downloads since 2013-05-05 

You don't have the permssions to download the attachments of this post.

42

Re: Filament Winder

Thank you very much. I will give a try.

43

Re: Filament Winder

Ian
You are amazing. I can not keep up with all the innovation that is going on with the winder. I hope to get to build one soon. I have built the original winder and look forward to building this one. If there is a need for beta testers I would like to be one.
Thanks for all you do...

44

Re: Filament Winder

What RPM motors did you use for the original?  I got 15rpm for this one, I had 75 for the Lyman winder but I couldn't get them to run slow enough without gearing.  If your motors are slow enough you should be able to use them with this one.  I am still using 1 motor arm from Lyman's winder.  Not sure if that is enough to call it a derivative.

45

Re: Filament Winder

I couldn't get them to run slow enough without gearing.

Ian, couldn't you use a stepper motor?

Ralph

46

Re: Filament Winder

Ralphxyz wrote:

I couldn't get them to run slow enough without gearing.

Ian, couldn't you use a stepper motor?

Ralph

Yes, but then you need a stepper driver too so it's more expensive than just selecting the right size DC motor from the start since he doesn't need open loop control.

47

Re: Filament Winder

I did at first.  The stepper needs a driver, which is an extra $15 or so, and the driver I got also needed to be cooled to prevent skipping.  In addition the stepper is driven by switching it on and off constantly with a delay that determines the speed.  If you run it in the regular loop with the rest of the program, the motor gets paused while the other functions run.  There is a way to run a stepper separately using interrupts, but I was having a hard time figuring it out and went with the more simple method of sending PWM values to a DC motor.

48

Re: Filament Winder

I tried to use 120RPM motors.

49

Re: Filament Winder

This is nothing like the Lyman winder. controlling tension and loop length(diameter?) should put it in a class by itself.

50

Re: Filament Winder

If you want to use the 120 rpm motor you could put together a Wade's Reloaded extruder http://www.thingiverse.com/thing:18379 which is what I was using before I changed to the Minimalistic for simplicity.  Instead of a hobbed bolt chewing up the filament, I used an M8 bolt with a piece of 8MM ID rubber tubing on it- Mcmaster #5102K442.