Topic: Cleaning out a clogged nozzle with poking it with a wire doesn't work
The first thing you should do is order a roll of 1/4" Kapton. Anything you do with the nozzle will require taking the thermistor off, and you will need to be able to tape it back on. I get a lot of use out my roll for taping anything to the printer, like fan cables, etc.
Solidoodle support will recommend using a guitar string to clear a clog, but if that doesn't work they are reluctant to recommend the next steps because they involve acetone or a torch. Acetone will either blow up in your face or kill you if you breathe any of it, except when your daughter is using it to remove nail polish. If you use a torch, you will burn your house down and tell the courts that Solidoodle told you to do it. So I will tell you to do it instead.
Undo the thermistor and heater connectors on the side of the extruder. Take out the four bolts holding it to the motor and pull the motor out, setting it on the back of the carriage. Unscrew the nuts on the bottom that hold it to the carriage and take the extruder out of the printer. Basically follow Lawsy's directions in reverse until you have the hot end clear of the acrylic extruder - http://www.soliforum.com/topic/235/extr … bly-guide/ You don't have to take the idler arm (the part with the bearing) completely apart, just remove it from the rest of the extruder.
Take off the black insulating sleeves and slice the Kapton on the nozzle to free the thermistor. Put a socket on the nozzle and hold the black barrel with some pliers, preferably with some fabric or something to keep from scratching it. Gently turn the nozzle with the socket wrench. Probably the brass barrel will start to unscrew from the PEEK (the black barrel). If the nozzle comes off the brass barrel instead, your job got easier.
Once the brass barrel is free, unscrew the ceramic heat core, taking it out the top. Find two nut that will fit the barrel and thread them on a little ways. Hold the bottom nut with a wrench and tighten the top nut against it to lock them in place. You will use the nuts as a handle for the wrench so you can hold the barrel without mashing the threads. Hold the bottom nut with a wrench while you use a socket to remove the nozzle.
Here is what the top of the barrel will look like, depending on the color of filament you used -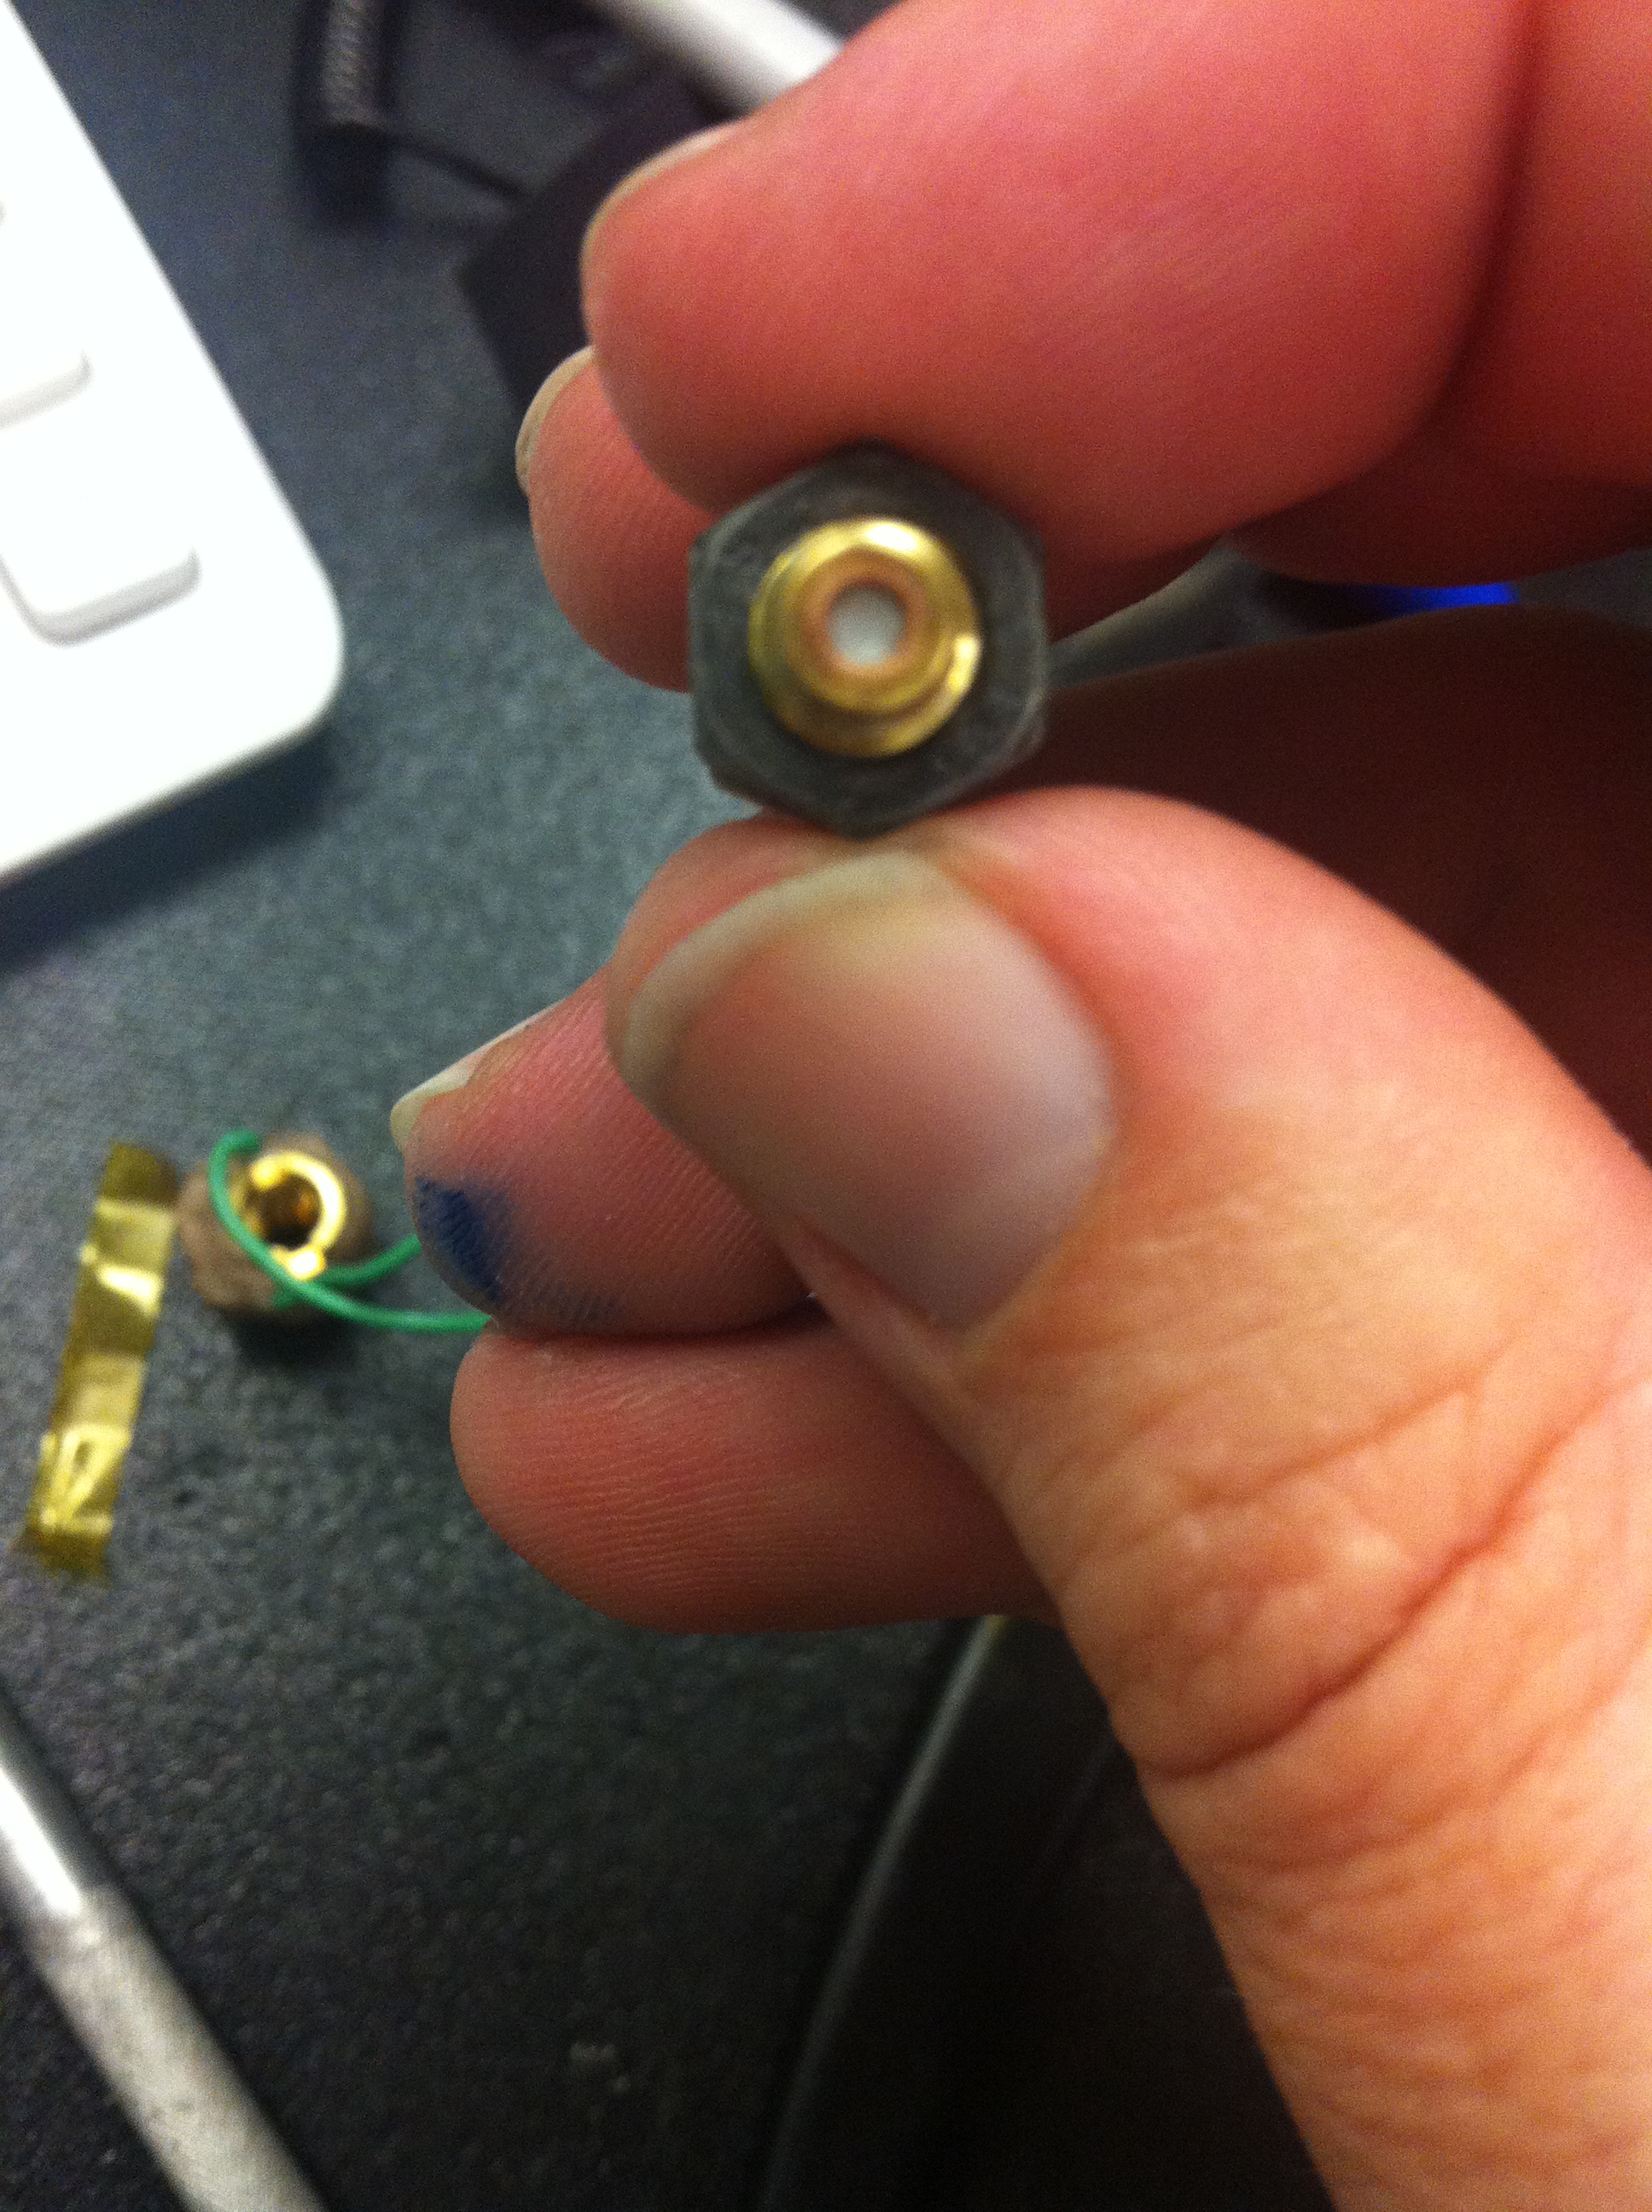
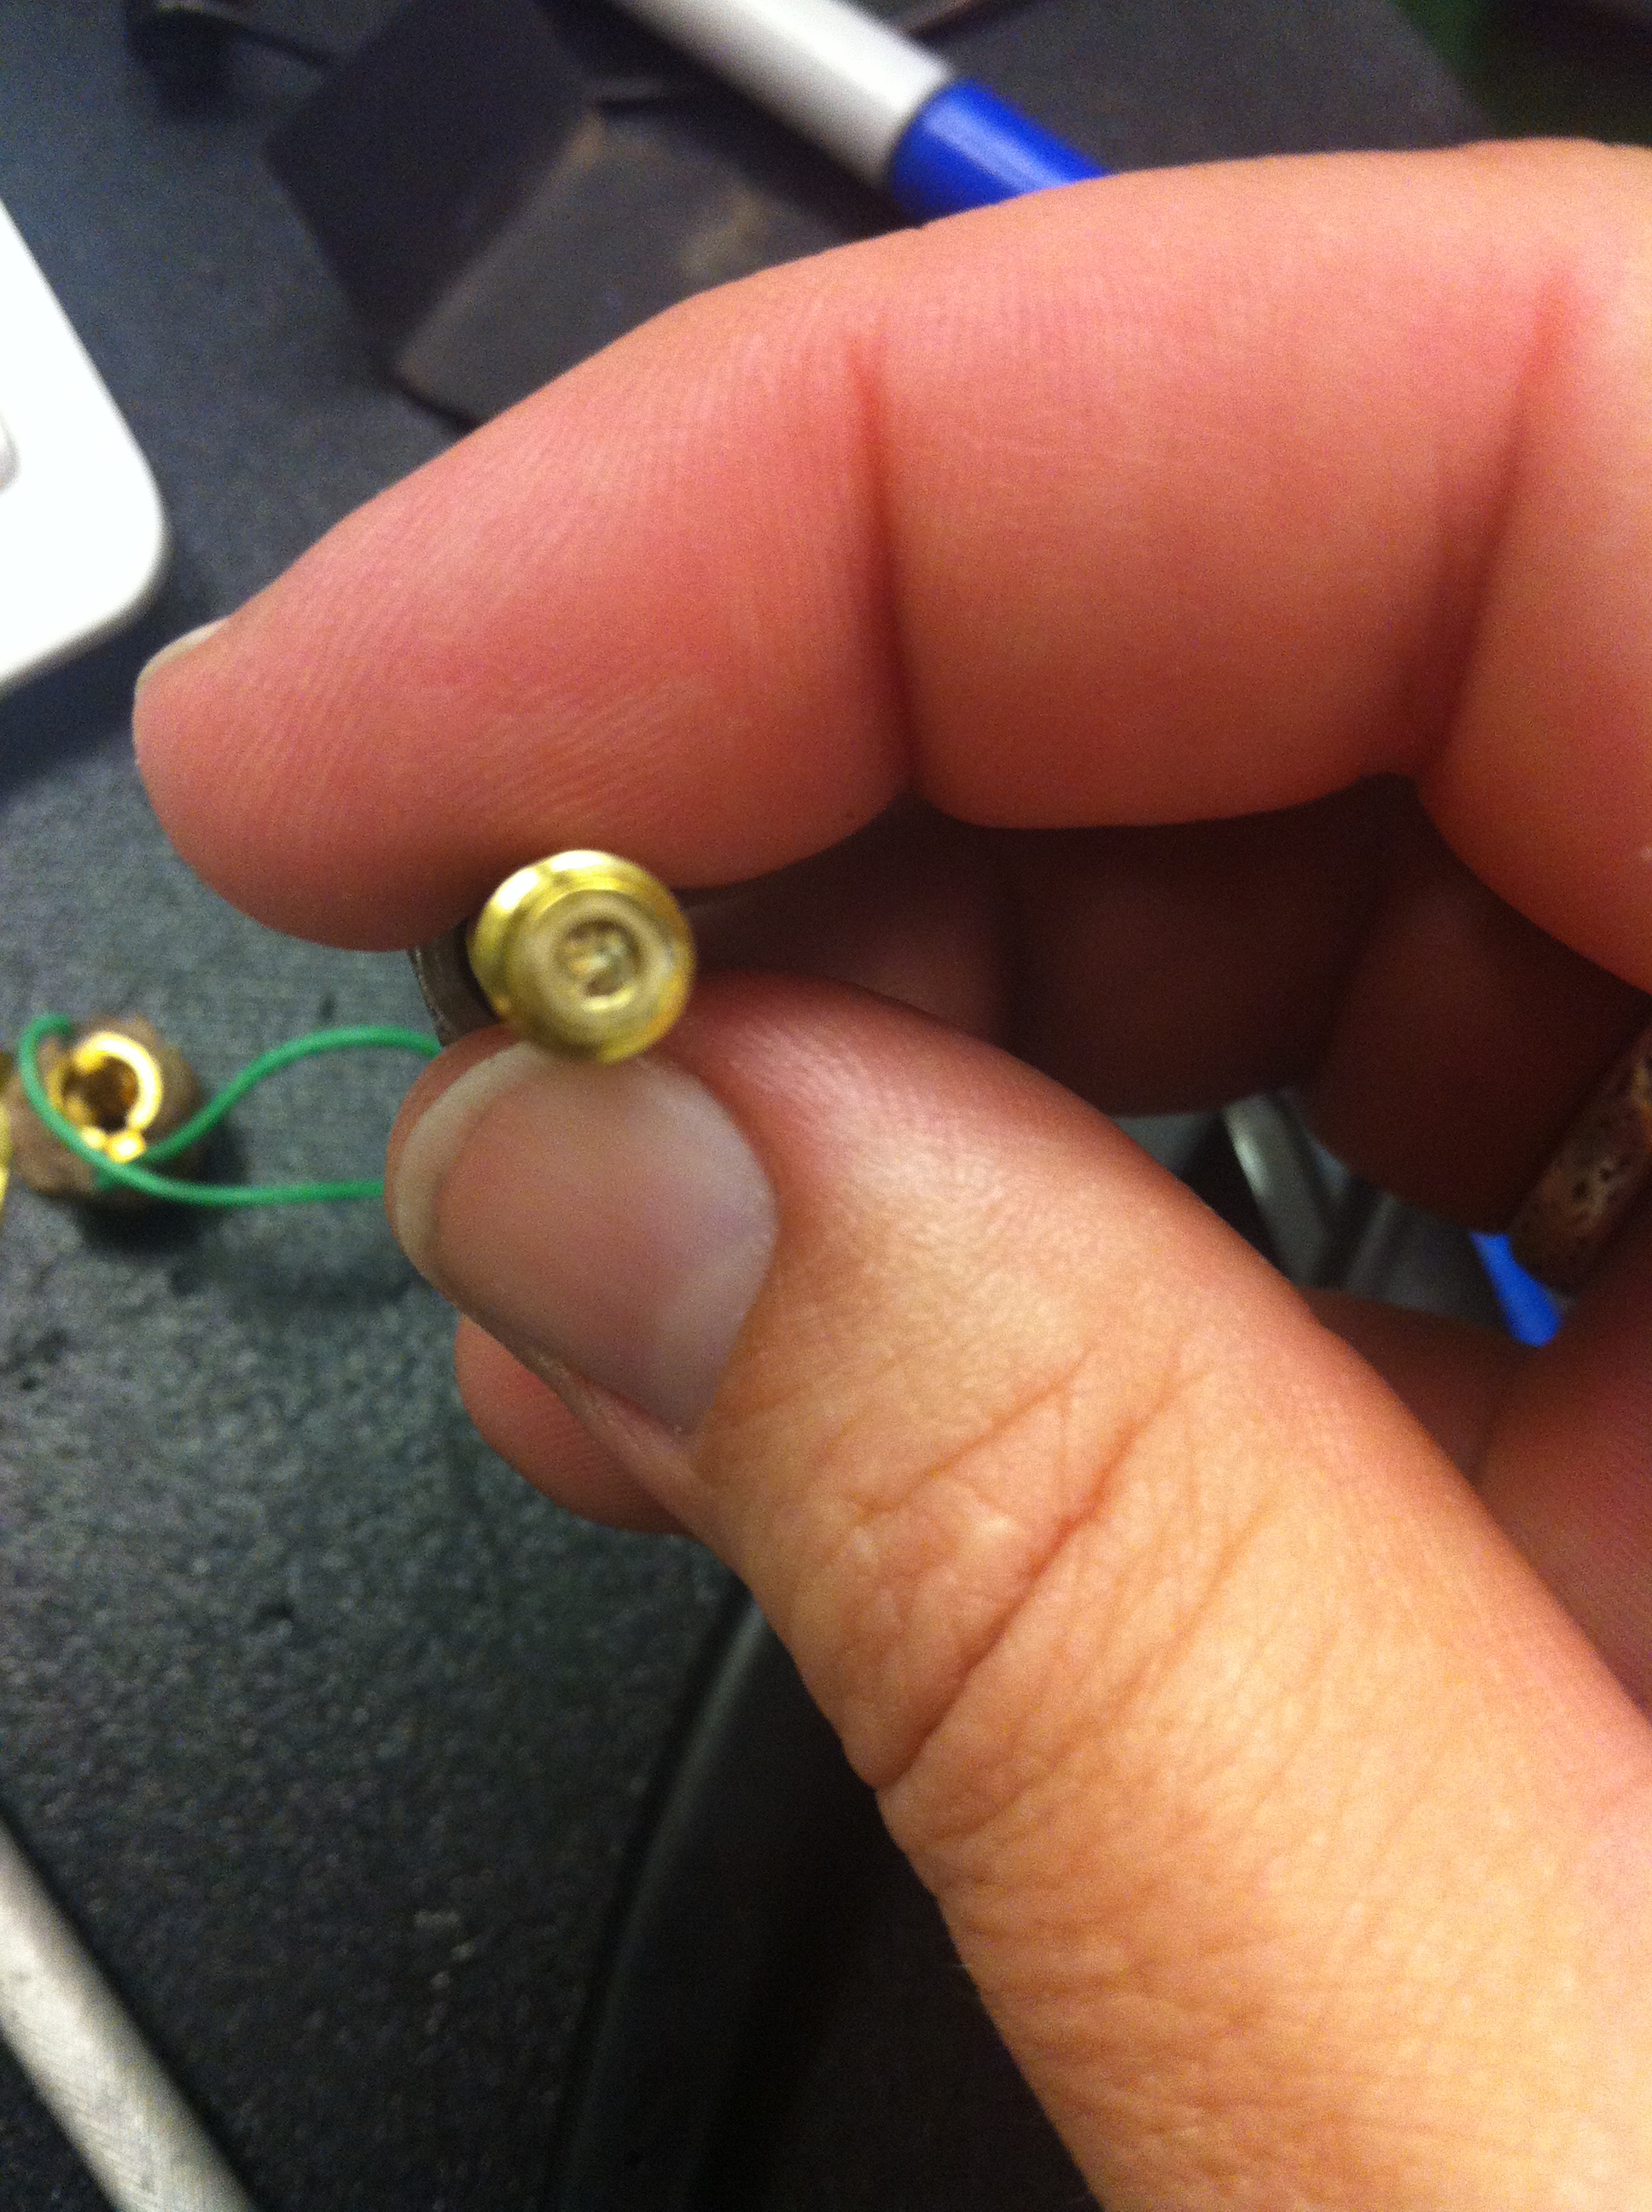
The usual cause of clogs is the ABS sits at high temperature too long and begins to degrade to the point where it is burned, and won't melt and flow anymore. If that is the case, the bottom of the barrel might look like this-
And the inside of the nozzle like this-

If the plastic it was extruding before you took it apart seemed a little brittle and had brown spots in it, that was probably a sign of burnt plastic.
You can soak the nozzle and barrel in acetone for a day or so and hope it clears up, but acetone is less effective on burned plastic. What you can do instead is clear them out with a torch. Warm the barrel up enough to soften the plastic and use a wire or something to push and pull out whatever you can. After that clean the nozzle and the barrel the rest of the way using a torch following the directions in this video-
When you are done, put it all back together. Put the barrel on the nozzle finger tight and then turn it 1/4 turn with the socket. Tighten the heat core against the nozzle finger tight. When you tape the thermistor on, make sure it is sealed, and no ambient air will get to it under the tape.
Once you have the printer up and running again, don't let it sit idle with the extruder at temperature. Always keep the heat off, or under 80C until you are ready to start printing. It doesn't take long to warm up (unlike the bed) so it isn't that much of an inconvenience.
Here is a video demonstration of the extruder disassembly-
