Topic: Hot end replacement
This is a detailed account of creating a new heater that it directly compatible with the SD2/3 machine and can screw right into place or either the heat core or the resistor block. it's made from Aluminium, (apologies to Americans but I will be spelling it the British way the whole way through.)
a few months ago I repaired the original heatcore
http://www.soliforum.com/topic/636/hot- … to-repair/
Since then this repair has been steadily degrading, I have to admit that if I had done a slightly better job either used a better insulator for the Nichrome, or ran the wire at a cooler temperature so the kapton didn't burn, this repair would likely still be working today.
Anyway...
After you've established that your heatcore/other heater is broken, (follow the step in the first half of this thread http://www.soliforum.com/topic/636/hot- … o-repair/)
Then you decide that you want to repair/replace the hot end.
In fact, even if it's not broke, you may decide you just want to replace.
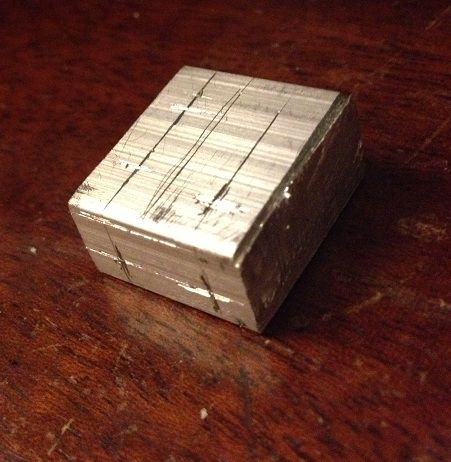
This can be made by anybody, I made this inside the house using only a couple of tools
Materials needed,
1 Aluminium block, (20mm x 18mm x 10mm) -I cut my block from a length of bar that was 20x10 x 2000mm
1 heater core, I bought mine as a 40w heater, but the measured resistance is actually 4.2Ohms, so it's actually a 34W heater.
3 grub screws I'm using M3 x 3mm
Thermistor -I'm re-using my original.
electrical connector - I'm re-using my original
Tools needed (at a minimum)
hacksaw -I'm using a B&Q value junior hacksaw -that cost 99p!
Drill
5.5mm Drill bit
2.5mm drill bit
6mm drill bit
M3 Tap
M6 Tap
Ruler
scribe for marking
so, here's the process.
First mark 18mm from the end of the bar 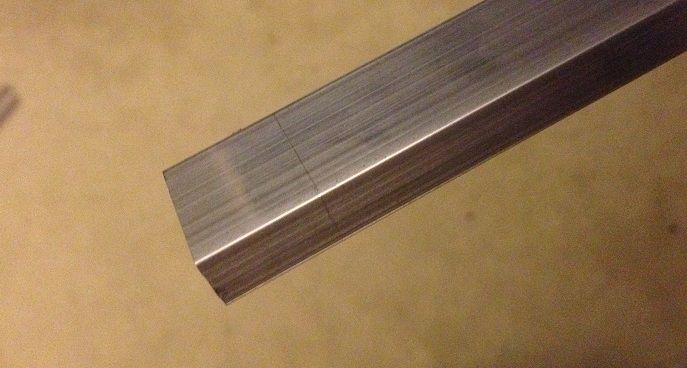
then cut off the aluminium block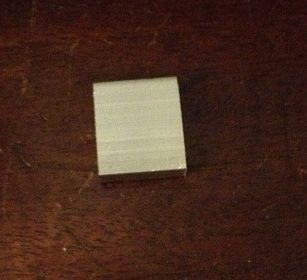
now you need to use a scribe to mark where you want to drill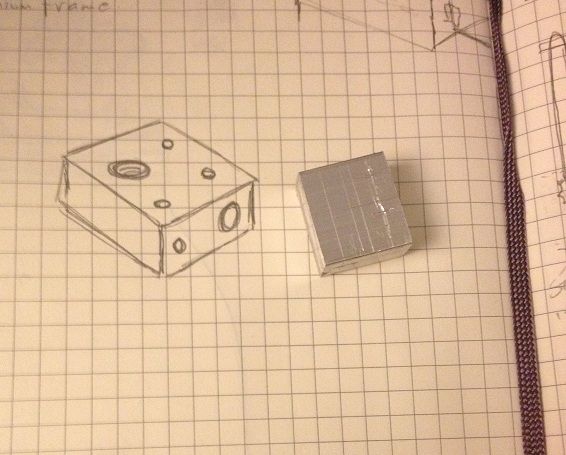
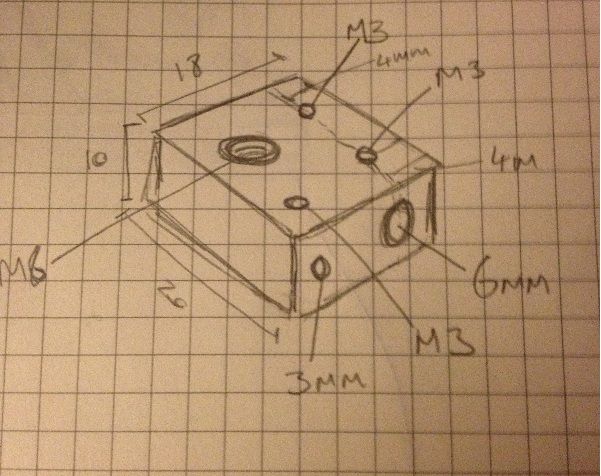
(the measurement that is missing here is that the M6 hole is centred 9mm from the far edge)
first drill the long hole through the block, start with a 3mm hole and then enlarge that to a 6mm hole
then drill a 2.5mm hole next to that, about 5mm into the block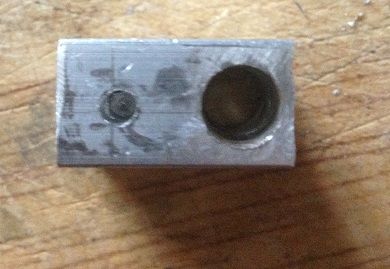
now drill a 3mm hole and enlarge that to a 5.5mm hole (ready to be tapped for M6) in the face of the block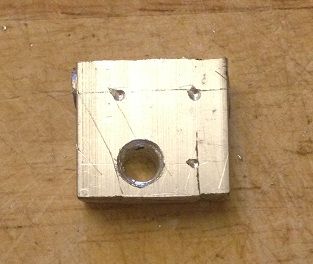
test fit the heater to make sure it fits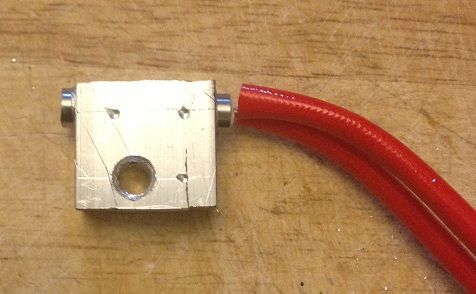
now using a 2.5mm drill bit drill three holes in the top face of the block.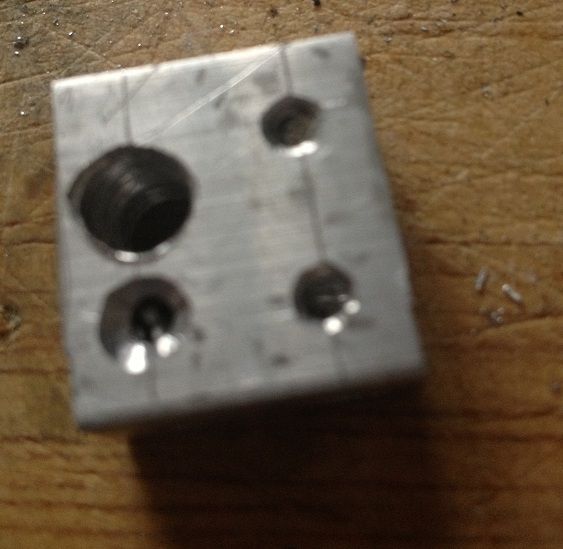
unfortunately my drill bit broke inside the last hole, so I put a different hole in the side instead -the drill bit is still stuck in the block ![]()
now you need to use the M3 tap to create a thread on the two 2.5mm holes that are drilled through to the 6mm hole, and also in the final 2.5mm hole, (this should be on the top, but mine is on the side thanks to the broken drill bit)
Then you need to use an M6 tap to create a thread on the 5.5mm hole that goes through the block.
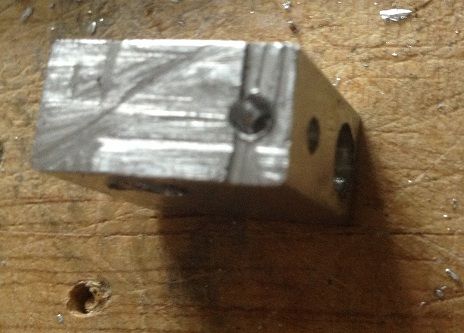
now we come to assembly.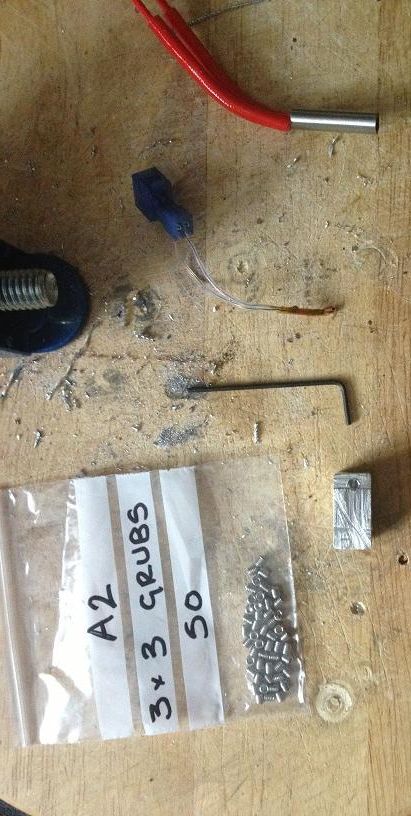
the heater slides into the 6mm hole.
the thermistor slides into the 2.5mm hole.
the thermistor is secured with an M3 grub screw.
and the heater secured with two more grub screws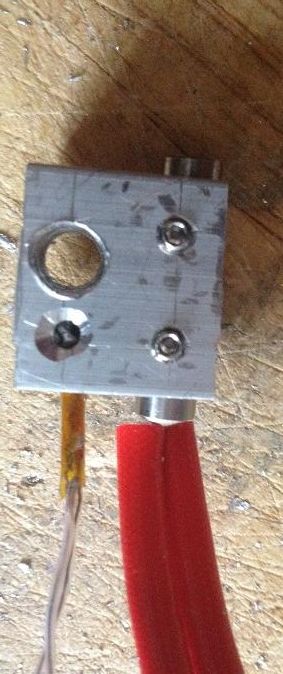
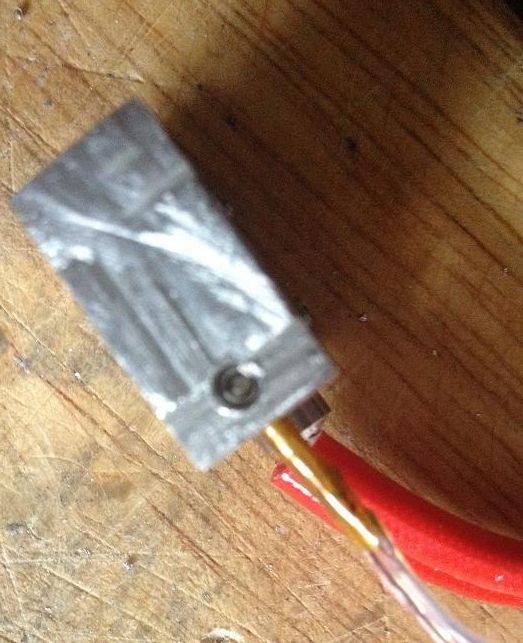
Now I've pulled the whole connector off the original green heat core wires, and attached it to the new red heater wires.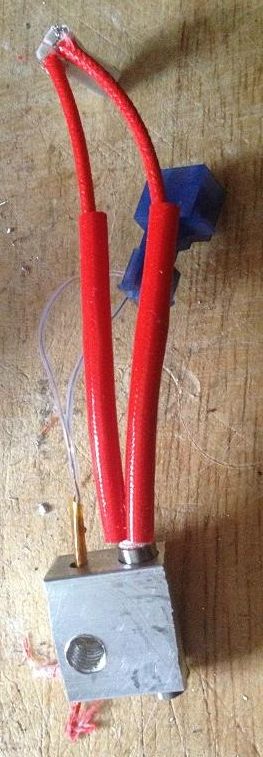
You need to remove the extruder from the machine, (the block catches on the carriage if you don't remove it to turn it) 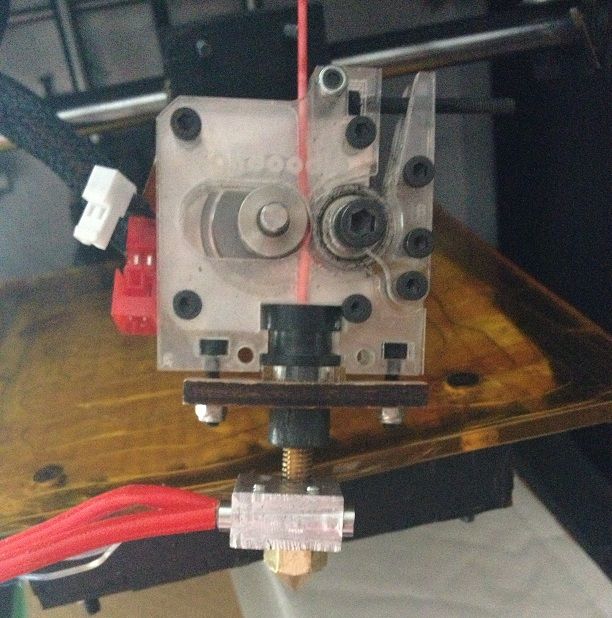
then you can screw the new heater onto the machine and replace the nozzle.
after that the only thing left to do is re-mount the extruder, re-connect the wires and start printing!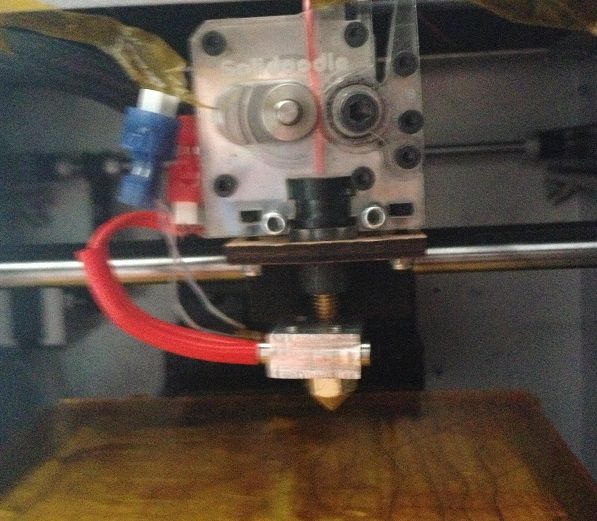
The heat-up time is more or less exactly the same, and the stability of the heater is actually probably a bit better than the original heatcore, (looking at the graphs in RH)