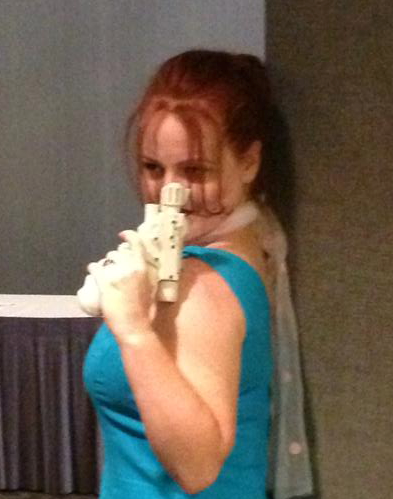
OK, I've decided to post the STL's of the pistol. I don't normally do this as I take pride in the time and work that I've put into this and believe me, this took a long time to get it to where it is. If you print it, please give me some credit as to the design.
This is the original Mark2 design with printed socket caps and screw heads. If you want to add real hardware you'll need to find what fits and then drill into the parts to fit them. I used these socket screws from www.boltdepot.com. YMMV
4986 Socket cap, Alloy steel black oil finish, #4-40 x 1/2"
12646 Socket flat head, Alloy steel black oil finish, #3-48 x 3/8"
A few points to ponder...
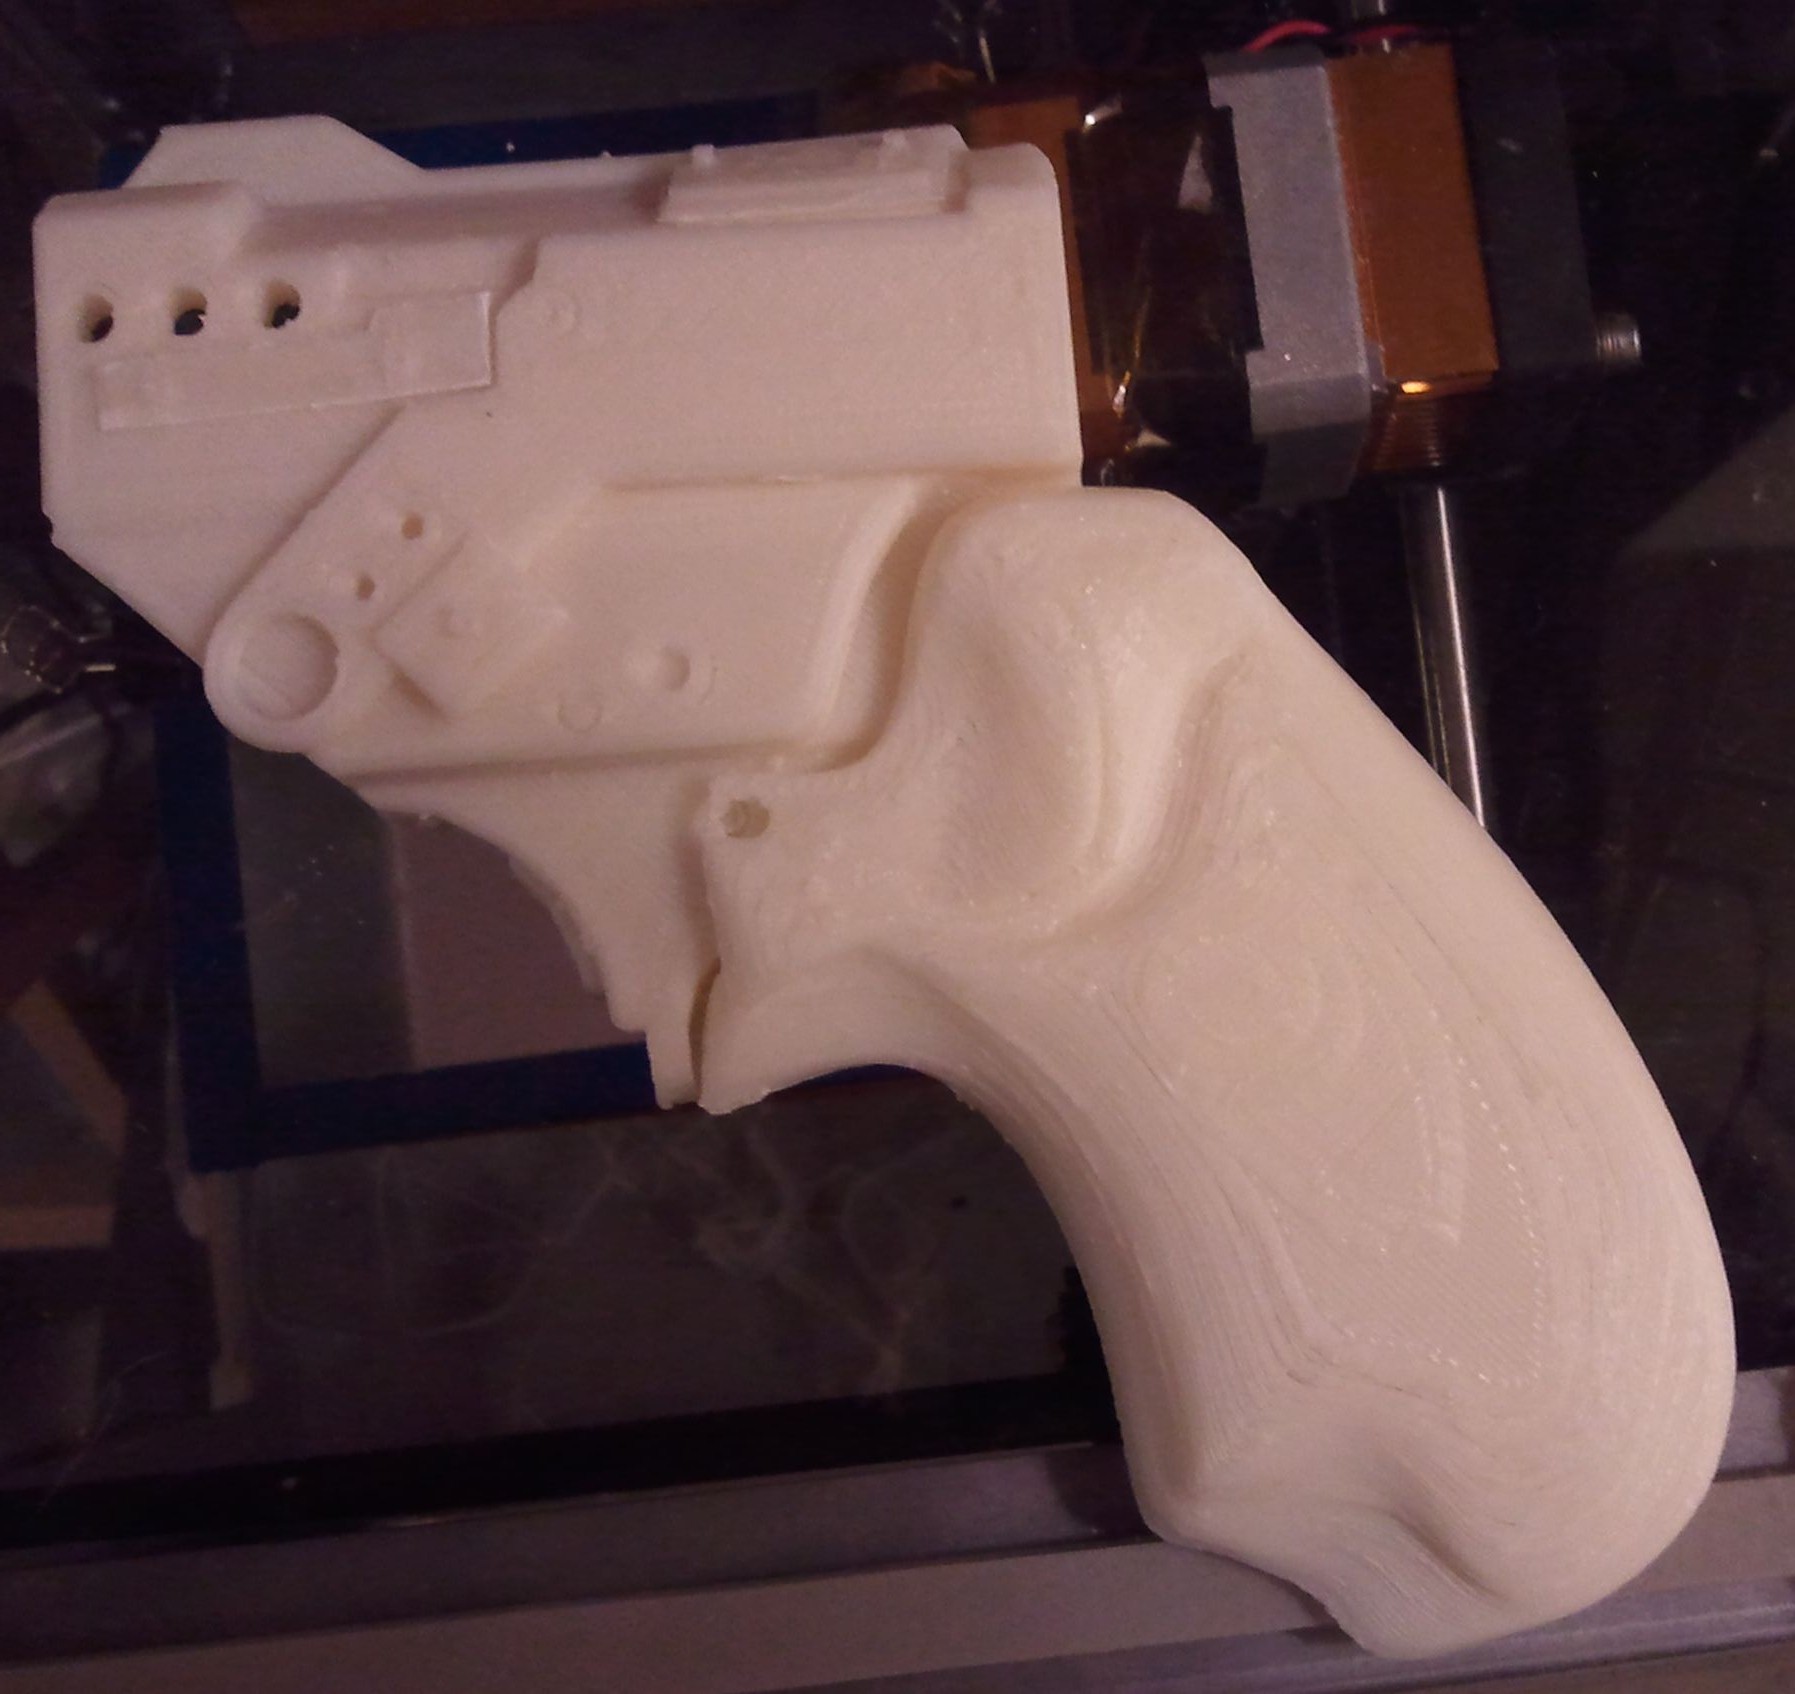
The STL attached to this post is the same one that appears in the zipfile, so you don't have to download it. It's just there to show you what one of the parts looks like.
These parts DO NOT NEED SUPPORT! The only pieces that would need support have it modeled into the part and the curved structures that don't need it, don't have it.
The original size is inaccurate! Print it at 40% scale rotated so the beauty-side is up. 20% infill is more than enough to ensure rigidity, but I've been able to print it with 10%.
This model was designed with a .3 mm layer height in mind. If you choose to go finer, feel free, but it will still look good at .3 mm; it will just take a lot longer to print.
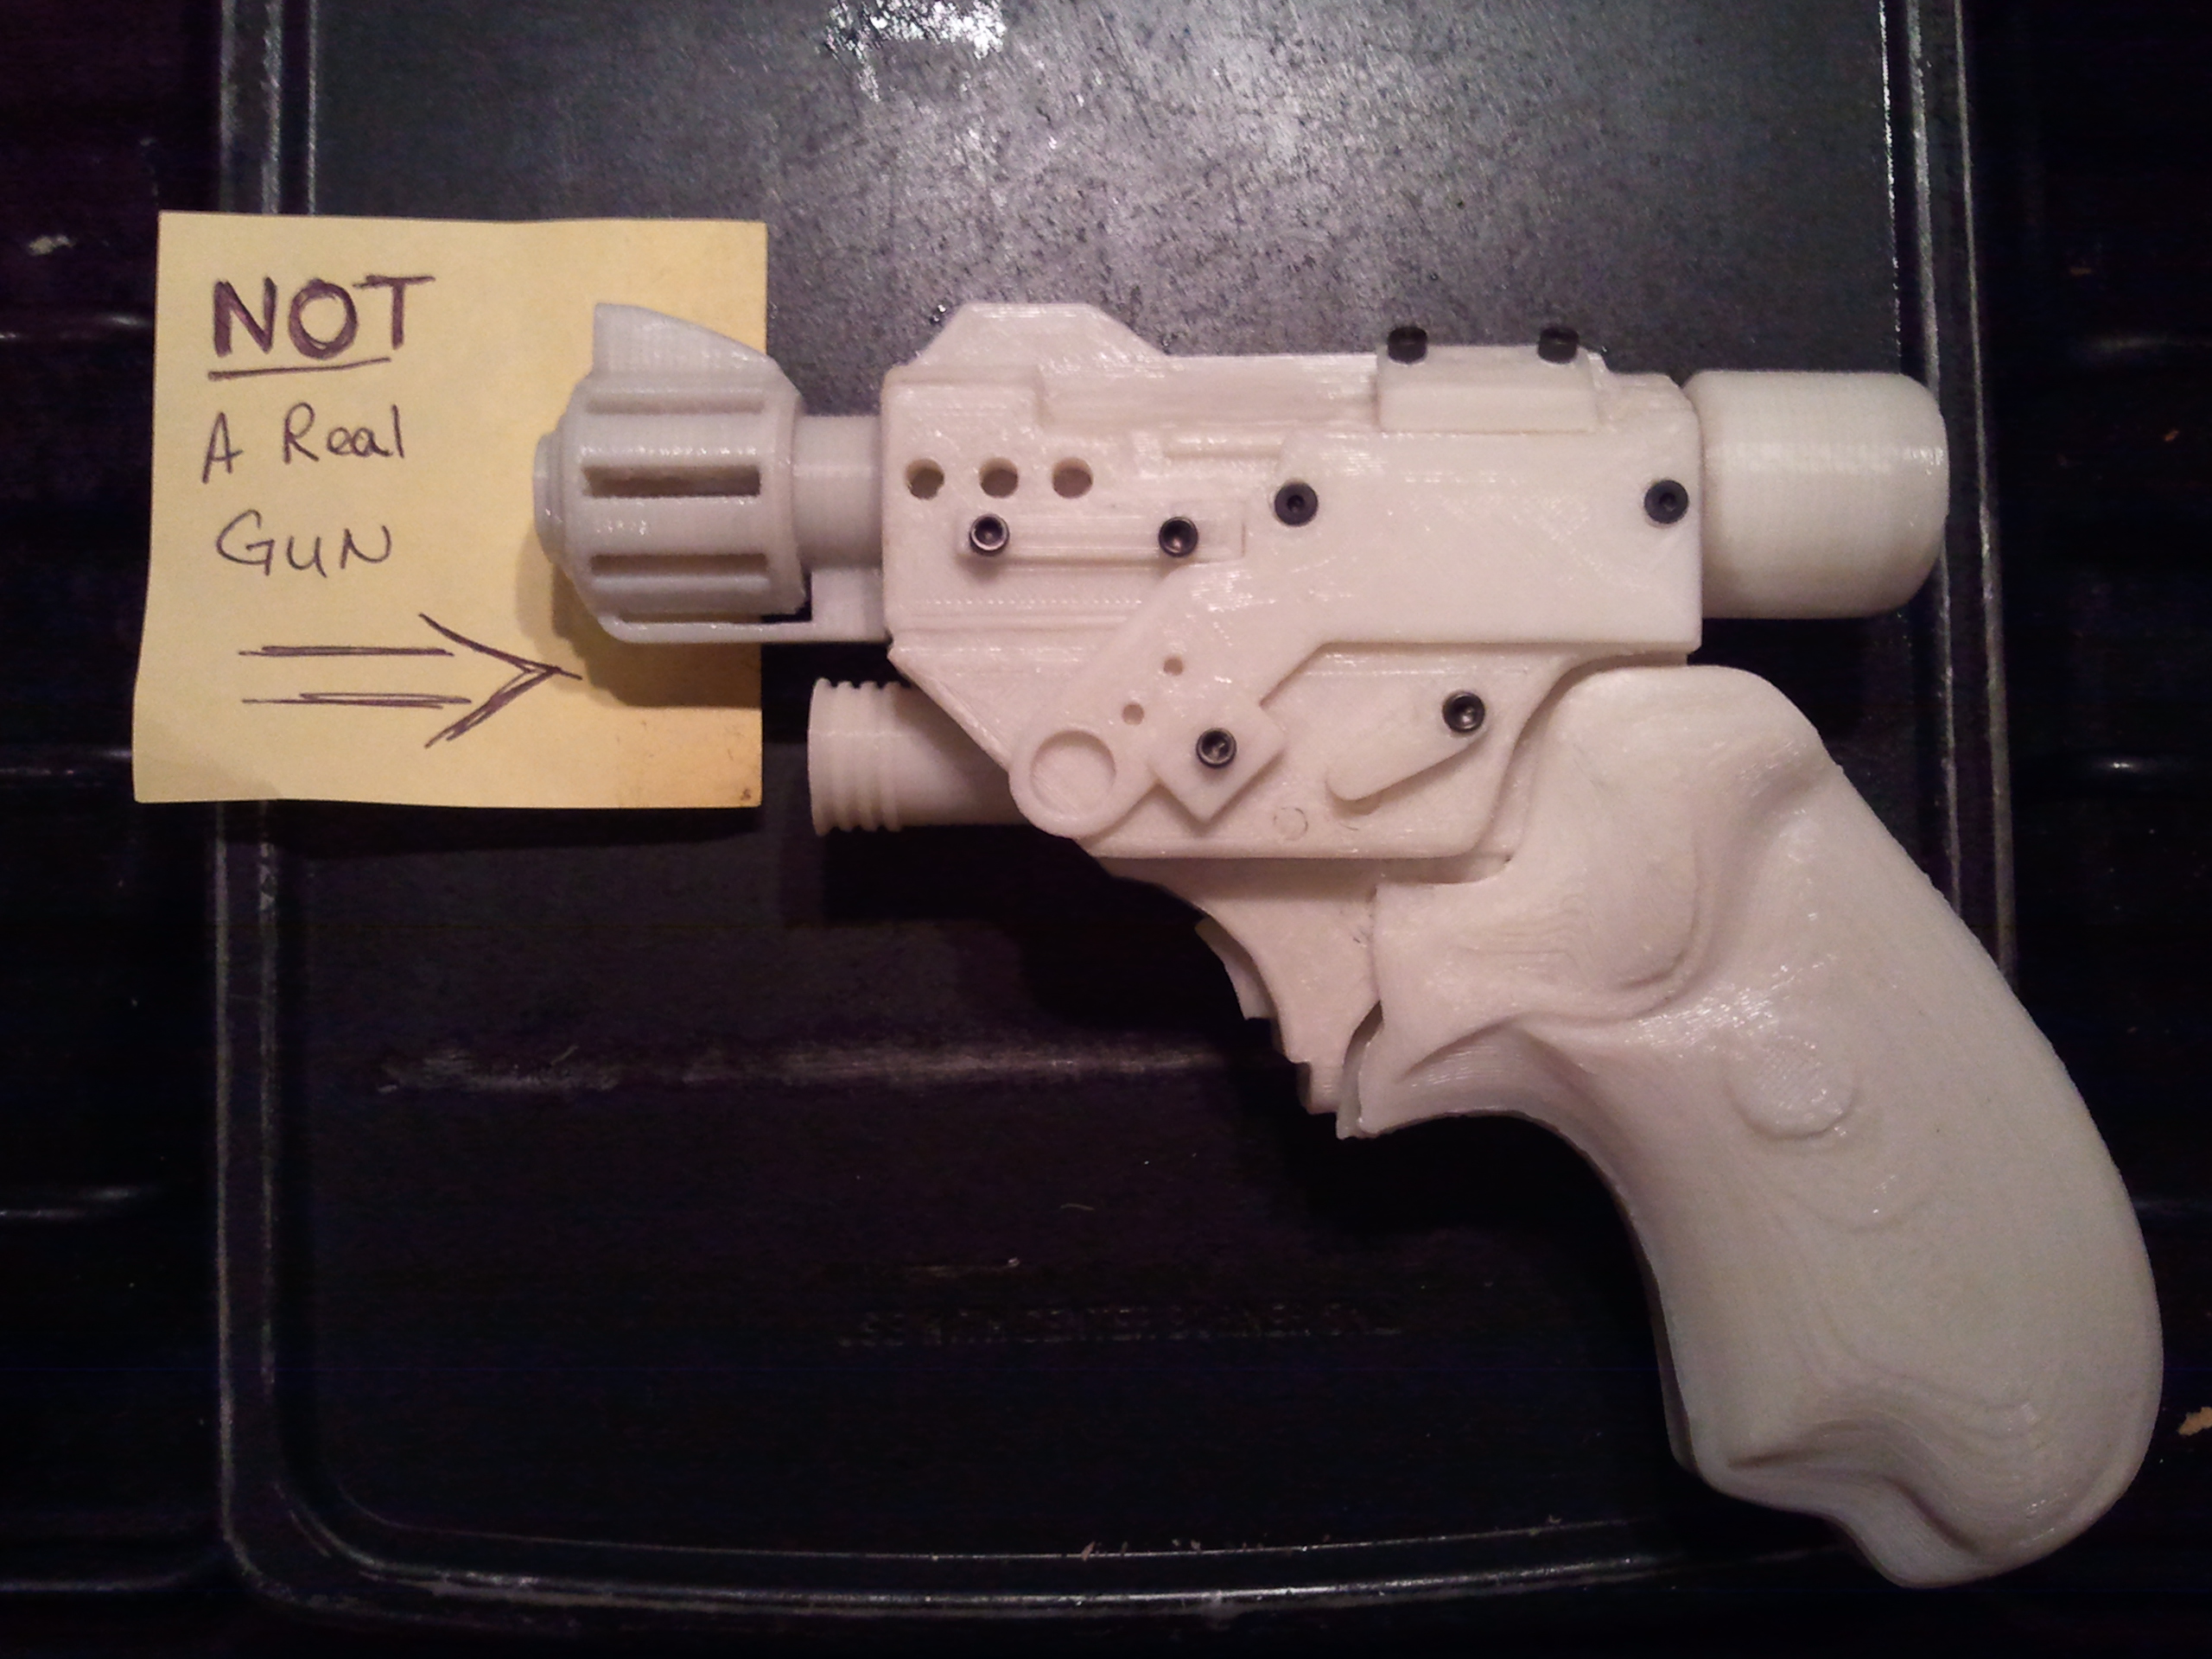
All parts are either [name] or [name]-r. The "r" denotes a reversed part.
There are a lot of parts, but the Guide, Clip, Panel and Safety only need to be printed once. Unless you want both sides to look the same, the print the "r" versions as well.
The trigger will accomodate a small spring behind it to give it some feedback. It isn't required, but it does make it feel a little better.
The back end of the main body is a bayonet connection. It WILL print weird but that's how it works. When the 2 halves are joined it allows the power cell to slide in and twist lock into place.
If you have trouble with print curling, do not attempt this model until you feel you've got it licked. If the 2 halves curl they will not join correctly and you will have to take means to get them to mate together. I've tried acetone vapor and heat softening and they do not work as well as getting properly printed pieces. If you have any curling in the first 2 layers, abort the print unless you can secure it back to the bed properly. Trust me, you spend less time in finishing with properly printed, un-warped parts.
As a last... I'm releasing this only here... not on Thingiverse or anywhere else for that matter. I would appreciate it if it didn't make it out there. I know that I cannot stop it once it hits the web, but from a community standpoint, I would ask that you respect this and do not just pass it on. I could sell the design easily, but I'd much rather that it be more open than that as it was a learning experience for me. If someone really wants it, tell em to find it and download it, don't make it easy for 'em.
Post's attachmentsMainBody-b.stl 295.2 kb, 25 downloads since 2013-09-09
PulsePistol.zip 814.52 kb, 21 downloads since 2013-09-09
You don't have the permssions to download the attachments of this post.