76

Re: Printable x and y carriage replacements (Level 2 - Techie Consumer)

will this would have to be my first post and with great pleasure it is.
my solidoodle came with 2 bent rods so i replaced the first one that was easy because it was the right Y axis one
but since lawsy was kind enough to design new carriages i have been able to replace to other one
so now i can use the whole build area instead of this pissy little 100mm stip up the middle i couldnt be happier!

all printed with 3dprintergear.com.au yellow abs

dear solidoodle how hard is it to roll the rods along a bench to see if they are straight before you glue the damn things into the carriages

so here are some photos of my pride and disgruntlement

http://thingiverse-production.s3.amazonaws.com/renders/58/a0/06/12/a5/solidoodle_new_carridges_2_display_large.jpg\

http://thingiverse-production.s3.amazonaws.com/renders/7f/95/7e/ba/94/solidoodle_new_carridges_1_display_large.jpg

77

Re: Printable x and y carriage replacements (Level 2 - Techie Consumer)

They are probably bending in transit. The extruder is heavy. Slam your printer up and down ten times, they will be bent. Now do it a hundred. I doubt the rods are bent at the factory. The real issue is packaging, IMO.

78

Re: Printable x and y carriage replacements (Level 2 - Techie Consumer)

i am a boilermaker welder by trade and 90% of the rod we get is bent because of the length being about 6 meters and the transport unless you get rod about 16mm and up then its pretty good. its just common sense to not use the bent stuff for anything that needs to be precise

79

Re: Printable x and y carriage replacements (Level 2 - Techie Consumer)

Damon550 wrote:

i am a boilermaker welder by trade and 90% of the rod we get is bent because of the length being about 6 meters and the transport unless you get rod about 16mm and up then its pretty good. its just common sense to not use the bent stuff for anything that needs to be precise

(Just seconding this. We buy precision acme rods and even mcmaster-carr says under  1/2" to except some bending. We cut them down and someone with absurd attention to detail uses a flat stone to try and true them.

80

Re: Printable x and y carriage replacements (Level 2 - Techie Consumer)

I have printed the new parts and I am disassembling it now. To get the ends off the rods what do i have to do. i heard braking them is the only thing you can do.  has anyone tried heating them to loosen and remove.

81

Re: Printable x and y carriage replacements (Level 2 - Techie Consumer)

fubarbmxowner wrote:

I have printed the new parts and I am disassembling it now. To get the ends off the rods what do i have to do. i heard braking them is the only thing you can do.  has anyone tried heating them to loosen and remove.

I broke mine but heating them might work. Just don't warp the rods.

SD3 w/ mods:
Glass bed with QU-BD heat pad upgrade, threadless ballscrew w/ 8mm smooth rod, spectra line belt replacement, lawsy MK5 extruder, Lawsy replacement carriage, E3D hotend, Ramps 1.4 w/ reprap discount controller, DRV8825 drivers, 12v 30A PS, Acrylic case, Overkill Y-idlers, Filament alarm, Extruder fan + more.

82

Re: Printable x and y carriage replacements (Level 2 - Techie Consumer)

Hi guys,
just a question about the new carriages: are they improving print quality and/or allow faster speed?
Are Solidoodle stock carriages prone to failure?
Fortunately my rods appear to be fine, but here there are too many cool mods to do, and if I follow all of them, it will mean I won't know where to start.
I need to do first mods that improves print quality (M5 z-rod with slop nut is my #1 priority), and then other mods that are incremental improvements or have more flexibility (MK5 extruder, automated sweeper...).
However it doesn't cost much to print Lawsy's carriages, store them and then go and buy bearings and rods when needed.

Thanks!
Nick

83 (edited by Stevos758 2013-08-19 17:23:40)

Re: Printable x and y carriage replacements (Level 2 - Techie Consumer)

Bearings ordered!

84

Re: Printable x and y carriage replacements (Level 2 - Techie Consumer)

Starting printing the parts while waiting on the bearings.

Post's attachments

2013-08-20 23.32.00.jpg
2013-08-20 23.32.00.jpg 3.49 mb, file has never been downloaded. 

2013-08-20 23.32.26.jpg 2.98 mb, file has never been downloaded. 

2013-08-20 23.32.54.jpg
2013-08-20 23.32.54.jpg 3.06 mb, file has never been downloaded. 

You don't have the permssions to download the attachments of this post.

85

Re: Printable x and y carriage replacements (Level 2 - Techie Consumer)

Stevos758 wrote:

Starting printing the parts while waiting on the bearings.

looks good.  I printed mine out a couple weeks ago.  I haven't ordered the bearings yet.  which bearings did you order?

86

Re: Printable x and y carriage replacements (Level 2 - Techie Consumer)

I am going to try these.

http://www.amazon.com/dp/B00B4D4AU8/ref … 1_ST1_dp_1

87

Re: Printable x and y carriage replacements (Level 2 - Techie Consumer)

Stevos758 wrote:

I am going to try these.

http://www.amazon.com/dp/B00B4D4AU8/ref … 1_ST1_dp_1

If you don't mind going through eBay, you can get 20 of the bearings for $10.50 or 10 for $5.25 with free shipping. From what I've heard about the quality it seems like ordering more than you need is a good idea, and choosing the best fitting ones out of the bunch. The rest could be saved for less precise DIY projects.

Link: http://www.ebay.com/itm/111148515192

88

Re: Printable x and y carriage replacements (Level 2 - Techie Consumer)

gettingbored wrote:
Stevos758 wrote:

I am going to try these.

http://www.amazon.com/dp/B00B4D4AU8/ref … 1_ST1_dp_1

If you don't mind going through eBay, you can get 20 of the bearings for $10.50 or 10 for $5.25 with free shipping. From what I've heard about the quality it seems like ordering more than you need is a good idea, and choosing the best fitting ones out of the bunch. The rest could be saved for less precise DIY projects.

Link: http://www.ebay.com/itm/111148515192

Definately a good idea to order extras.  out of 20 units ordered i found 4 that were a "tight fit".  I even made and entire extra carriage assembly and had to sand/polish the original rods to ensure smooth operation.

89

Re: Printable x and y carriage replacements (Level 2 - Techie Consumer)

I've been getting a fair amount of X overshoot with the new carriages.  There isn't any sideways play in the Y carriages, but I can move the X carriage itself left and right a little bit when the motor is engaged.  I tried tightening the belt, but when it was tight enough that it seemed more stable, it started binding.   Anyone else experience any sideways slop in X, or have an idea how to tighten it up?

The bearings are a little loose in the Y carriages so I can rotate them a little, leading to extruder wobble.  I'll pull them out and wrap a few layers of kapton around them to add a few .01mm to the width.  The X bearings were loose too, but the rods are holding them tight, at least front to back.

90

Re: Printable x and y carriage replacements (Level 2 - Techie Consumer)

I used some U-Mold from radio shack to take up that slack. It seems to have worked for me pretty well.

SD3 w/ mods:
Glass bed with QU-BD heat pad upgrade, threadless ballscrew w/ 8mm smooth rod, spectra line belt replacement, lawsy MK5 extruder, Lawsy replacement carriage, E3D hotend, Ramps 1.4 w/ reprap discount controller, DRV8825 drivers, 12v 30A PS, Acrylic case, Overkill Y-idlers, Filament alarm, Extruder fan + more.

91

Re: Printable x and y carriage replacements (Level 2 - Techie Consumer)

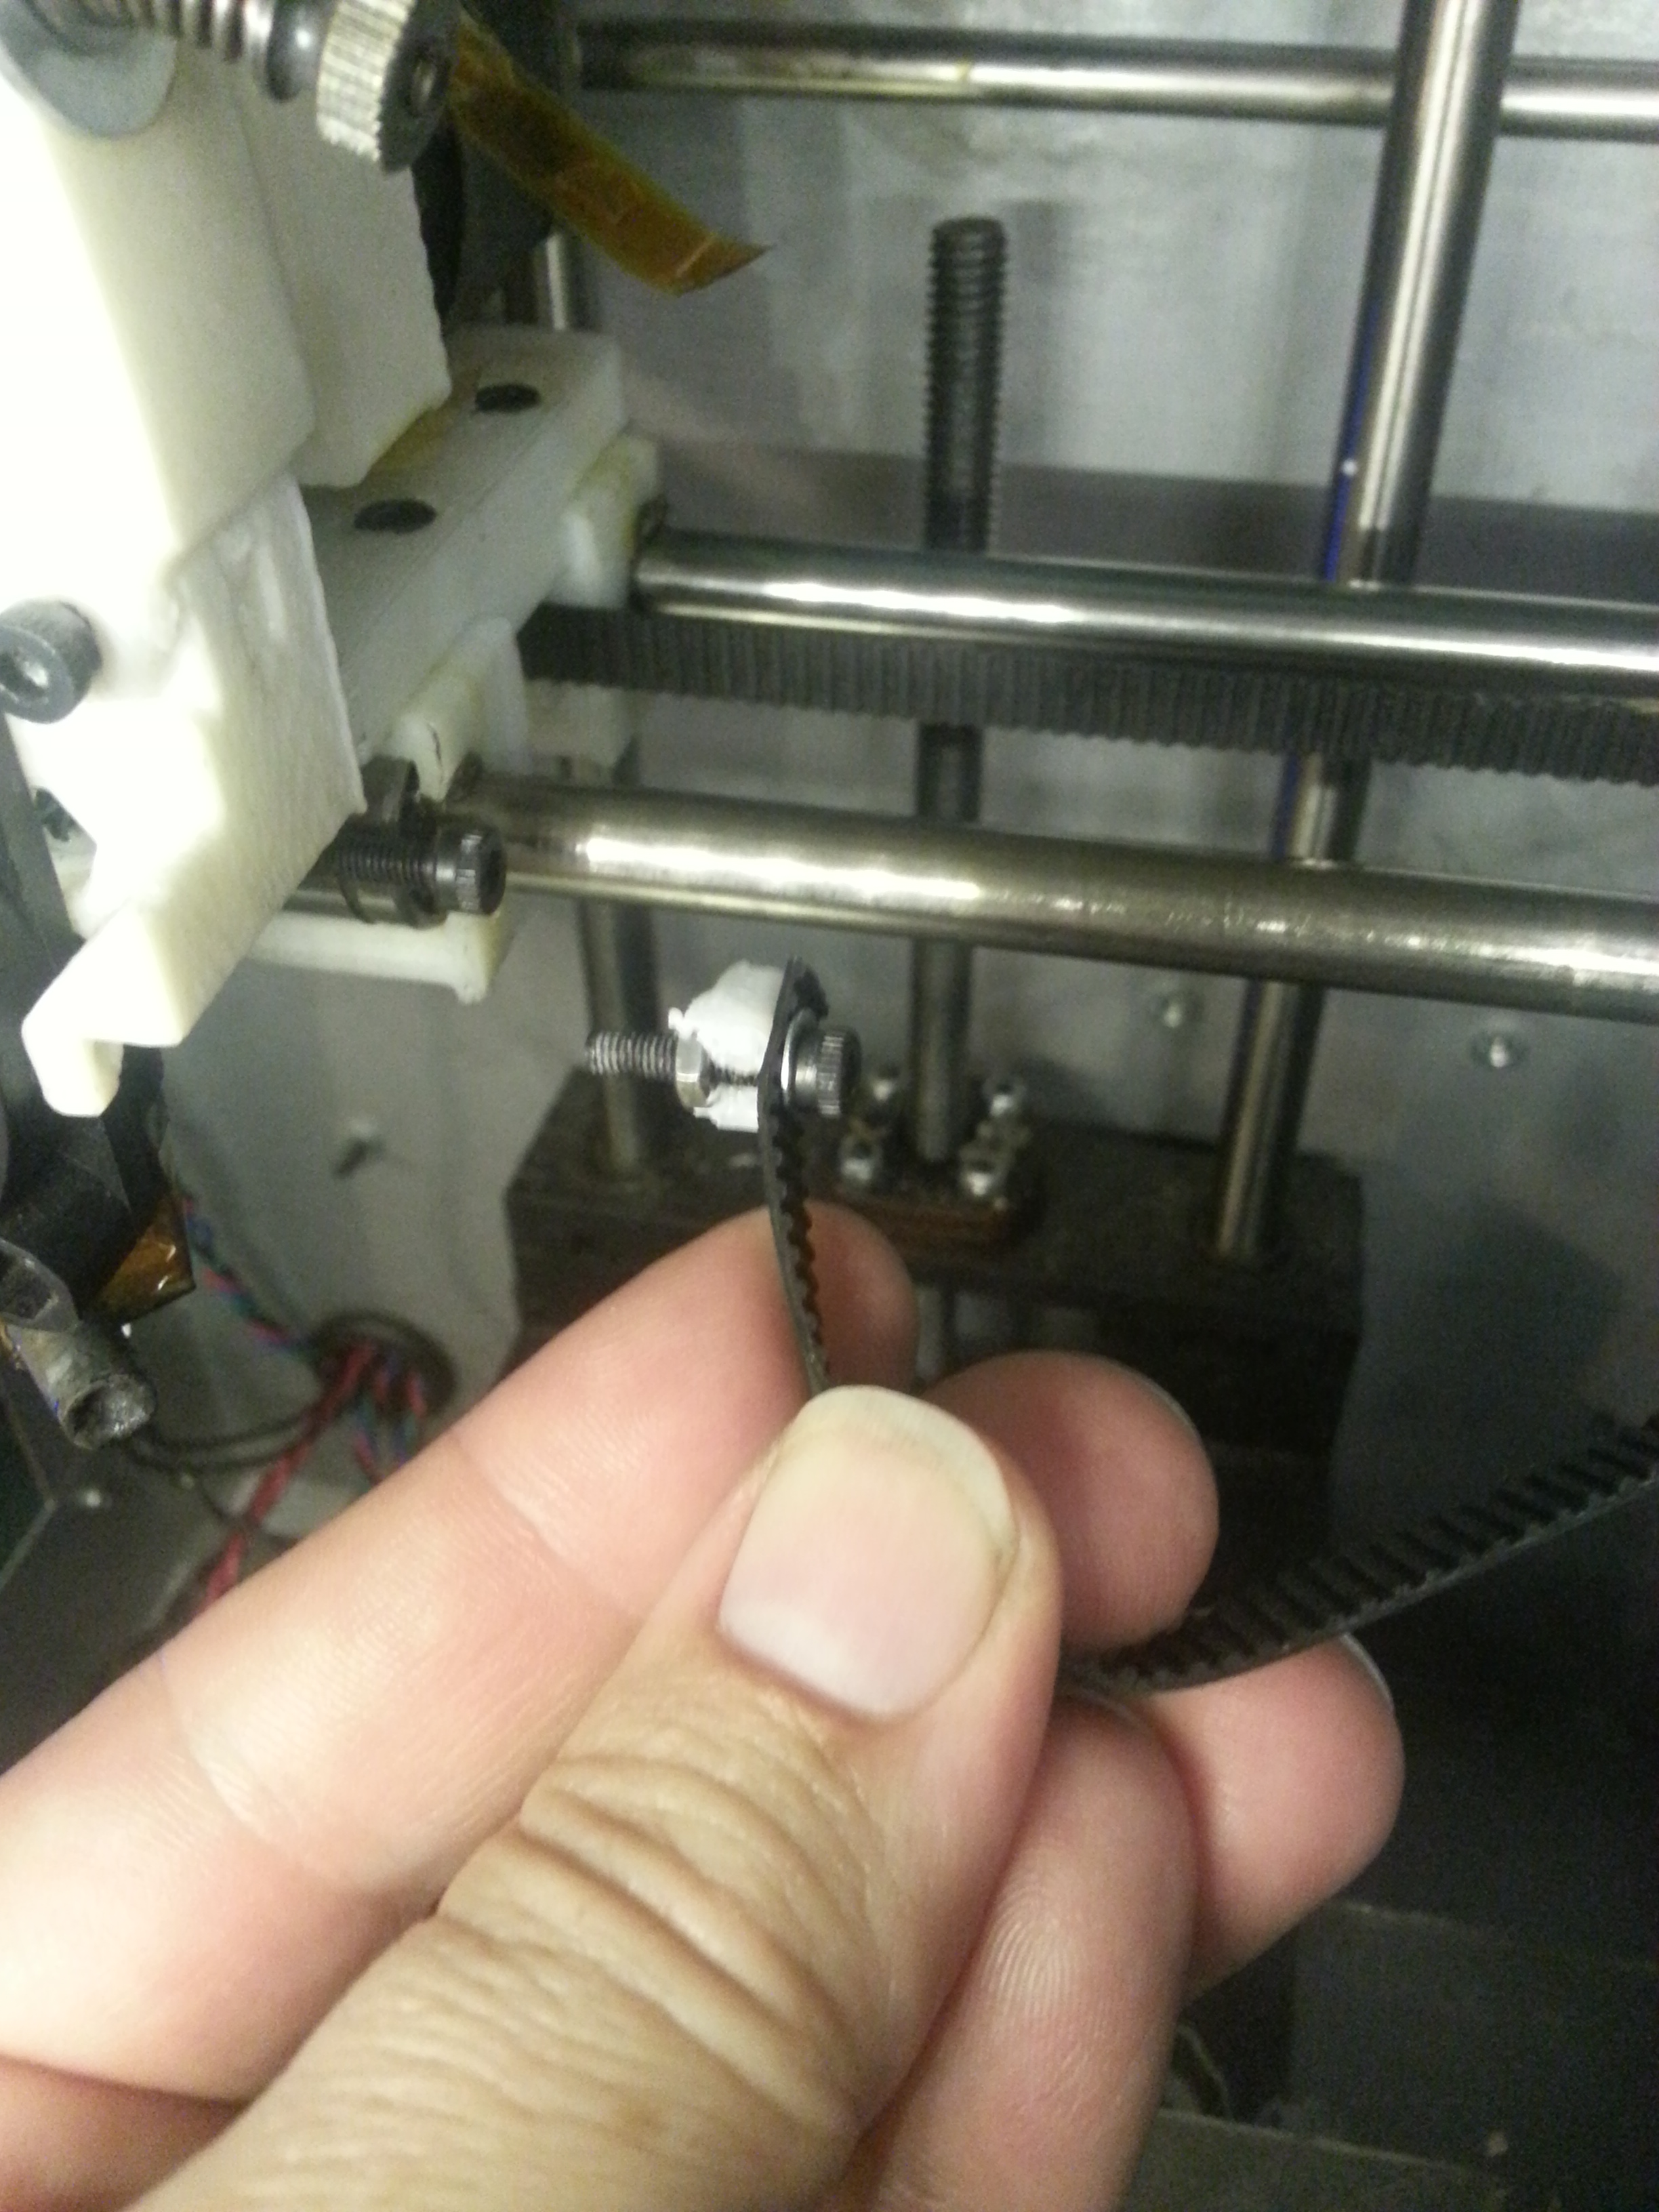
There are a couple of areas that can use a little more strength, most notably the tabs that hold the screws that tension the X belt-

https://dl.dropboxusercontent.com/s/wou52v2162a1rce/2013-09-03%2013.58.41.jpg?token_hash=AAGbGtLbVc3olKxm_B4sWRAekoYGsk9HC9vQCcDBnsF1Mw&dl=1

I think it would also be worth looking into putting caps on the front and back of the X ends, like Solidoodle does.  As printed, they have enough flex to snap in the bearings with a tight fit.  Then bolting on the cap will lock down that flex and keep the tight fit of the bearings from stressing and possibly cracking the layers.

Something like that for the ends of the x bearing holders might be a good idea as well.  Mine were cracked by the tension of the X rods pushing them apart.  They still held, but may have been destined to fail if the mount for the X belt hadn't broken off.   I'll glue it down and see if it will hold the belt long enough to print a new X carriage.   Since failure of these carriages can make it impossible to print a replacement, it is probably a good idea to print 2 sets if you want to do this mod.

92 (edited by Shotline 2013-09-04 05:02:17)

Re: Printable x and y carriage replacements (Level 2 - Techie Consumer)

I have installed these carriages and they are working great.  I would suspect that if it broke there was something wrong with the print or you have your x belt to tight.

The only problem I had was some cracking from the x endstop but I seem to recall lawsy saying they needed to be drilled out a bit and I didn't do that.

Are you guys gluing your rods into the Y carriages?  I didn't and they seem to be doing fine.

BTW, one of the greatest benefits of these carriages is less noise.  Less clattering, and shaking of the machine as well.

93

Re: Printable x and y carriage replacements (Level 2 - Techie Consumer)

Hmm, I'm curious about the less noise. I thought the ball bearings would introduce new noise?

I was looking into machining a hot end mount out of an oil impregnated nylon or something, so I could avoid the ball bearing noise

94

Re: Printable x and y carriage replacements (Level 2 - Techie Consumer)

I thought it was going to be noisier as well, but for me at least it is quieter.  Especially with the E3D fan going I cannot hear any bearing noise.  I used to get rattling out of the x axis but not any more.

The bearings move so much smoother that when the carriages change direction at speed the printer does not shake.

95

Re: Printable x and y carriage replacements (Level 2 - Techie Consumer)

I have a bit more noise in mine after, but one of the y carriage bearings is a bit loose. I'm sure if I pulled it out and packed it I'd have less noise than with the original carriage as well.

96

Re: Printable x and y carriage replacements (Level 2 - Techie Consumer)

I was trying to tweak in my setup after installing an E3D hot end and while I was in there I was trying to get some of the slop out of my carriages. The Delrin wipers on the stock carriages were pretty loose, so I tightened them up until they were slop free. Of course then I started getting missed steps due to binding and before I knew it I had the whole shooting match torn apart and was installing these carriages that I had already printed a month or two ago.

I planned on reusing the stock rods with the linear bearings and I was SHOCKED how poor the quality of my stock 8mm rods were! When I put the LM8UU bearings on this rod, they felt horrible! after looking closer, I realized that they felt like sandpaper! My printer is not that old and I make it a point to keep the rods greased up. They are just completely unpolished... the same bearings on a real polished rod felt great!

Oh well.. I am lucky that McMaster does next day delivery for me here in Atlanta... Anyway, I just wanted to let people know that I would NOT recommend counting on the stock rods with this setup, but your mileage might vary...

So far I have the x carriage complete with a set of rods I already had on hand and it feels really precise. I hope to get the other parts in today to finish up...

Thanks Lawsy!

97

Re: Printable x and y carriage replacements (Level 2 - Techie Consumer)

I finished the installation last night and I cant believe the difference it made! Its is MUCH quieter now. When I was printing at 100% speed before there was all sorts of rattling and mechanical noise. That has been replaced by a nice WOOSH sound now... I did a test print at 100% and another at 300% speed (the tree frog stl on thingiverse) and I almost cant tell the difference when looking at them.

Everything feel very tight and precise now. This didn't cost that much to upgrade to real quality components... I am very surprised that they don't ship the printer like this for $100 more... it makes a HUGE difference in precision and quality.

98

Re: Printable x and y carriage replacements (Level 2 - Techie Consumer)

Ok, I wanted to design a carriage that's optimized for my e3d bowden setup on an S2. I wanted to integrate an air flow channel that goes between the two 8mm rods so that It would not stick out forward.  However, I don't have a lot of experience with fan cooling. Do I want to have the air flow aimed right at the nozzle tip ish, or more below the nozzle? and should it be a more directed circular stream, or more of a wide stream? I hope those questions are sensible!

99

Re: Printable x and y carriage replacements (Level 2 - Techie Consumer)

How long are the stock rods. I am not near my machine and want to order some from mcmaster. How many 3' rods should I order?

100

Re: Printable x and y carriage replacements (Level 2 - Techie Consumer)

Stevos758 wrote:

How long are the stock rods. I am not near my machine and want to order some from mcmaster. How many 3' rods should I order?

Read step 3 in the original Thingiverse instructions.