ah, yes, an Aussie - that does make things a bit more difficult.
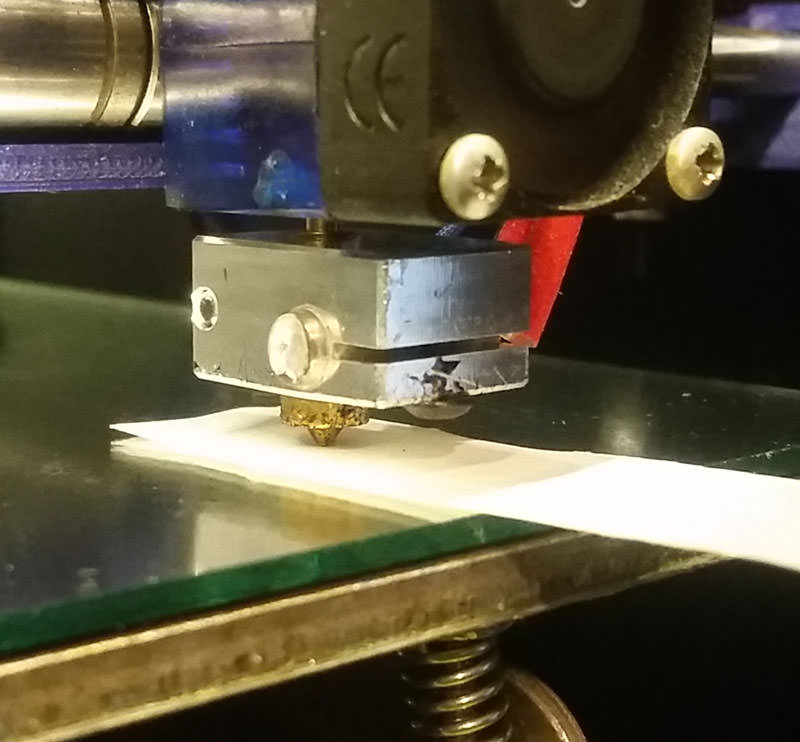
bed temp would depend on the material being printed - for PLA, 60 would be fine. the issue of the filament just peeling up from the bed (as if being dragged up by the nozzle) is from the nozzle not being close enough to the bed. Like I said, it takes a bit of practice to get it just right.
You want that first layer to be more flattened out.
As for the "override" issue, if you are using Slic3r from within Repetier Host - open the configuration window by clicking on the button (remember, I run an older version, so yours may look a little different)...
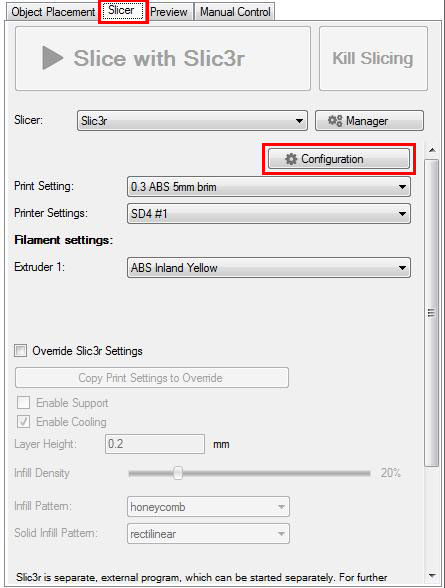
Once that is open, click on the Filament Settings tab at the top, and set all the Temperature settings to 0 - this gives you full and complete control over temp settings in the Manual Tab of RH. If there are temperatures defined in the configuration settings, they will override the manual settings.
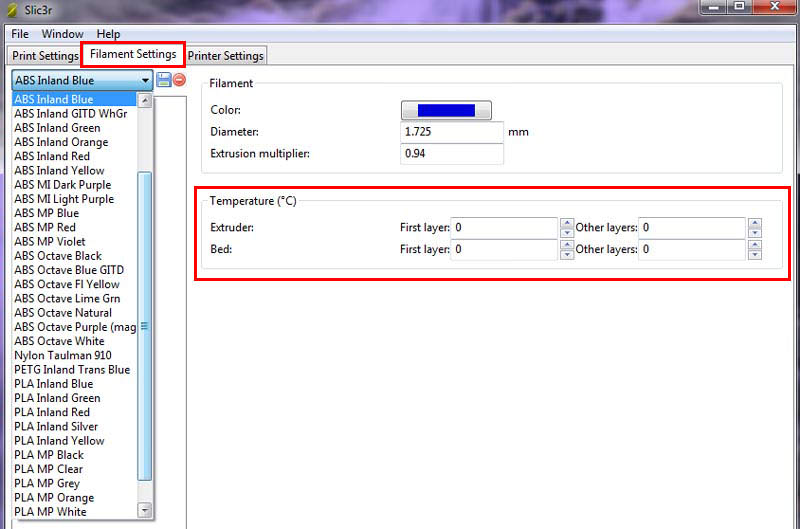
Also note that you can create and save as many filament profiles as you want here. Once calibrated, it is simply a matter of choosing the correct profile for the filament you are using from the drop-down menu on the Slicing tab.
I go into further details about how to properly calibrate your filament in my blog posts located here:
https://northwoods3d.weebly.com/blog/fi … ion-part-1
and here:
https://northwoods3d.weebly.com/blog/-f … coming-out
If what you have is PLA, it probably needs a good drying out if it has been open for any length of time. PLA becomes very brittle once it is saturated with moisture.
There are multiple ways of doing this, but a good, cheap way is a 5 gallon bucket with a lid, a cheap metal work light (the kind with a metal "hood" that takes an incandescent bulb), a small fan (computer fan works great) and some desiccant... place the spool of filament and the desiccant inside the bucket, along with the fan set up to help circulate the air. Cut a hole in the bucket lid big enough for the light fixture to just cover and place on top. turn on the light & the fan and leave it overnight at minimum.
The incandescent bulb will warm the air (i would use no more than a 60w bulb - 40w would probably be fine), the fan circulates that warm air over & around the filament, driving the moisture out, and the desiccant will absorb the moisture. (this will also work for ABS and any other filament you may find yourself playing with)
Another alternative is a food dehydrator if you have one of those lying around. Same concept.
For CAD programs, there are a lot to choose from out there.
Take a look at Design Spark Mechanical for one.
My personal favorite is no longer supported, but is still available - 123D Design from Autodesk - it is a solids based 3d modeling program, is super easy to use, and gives excellent results when exporting .stl files.
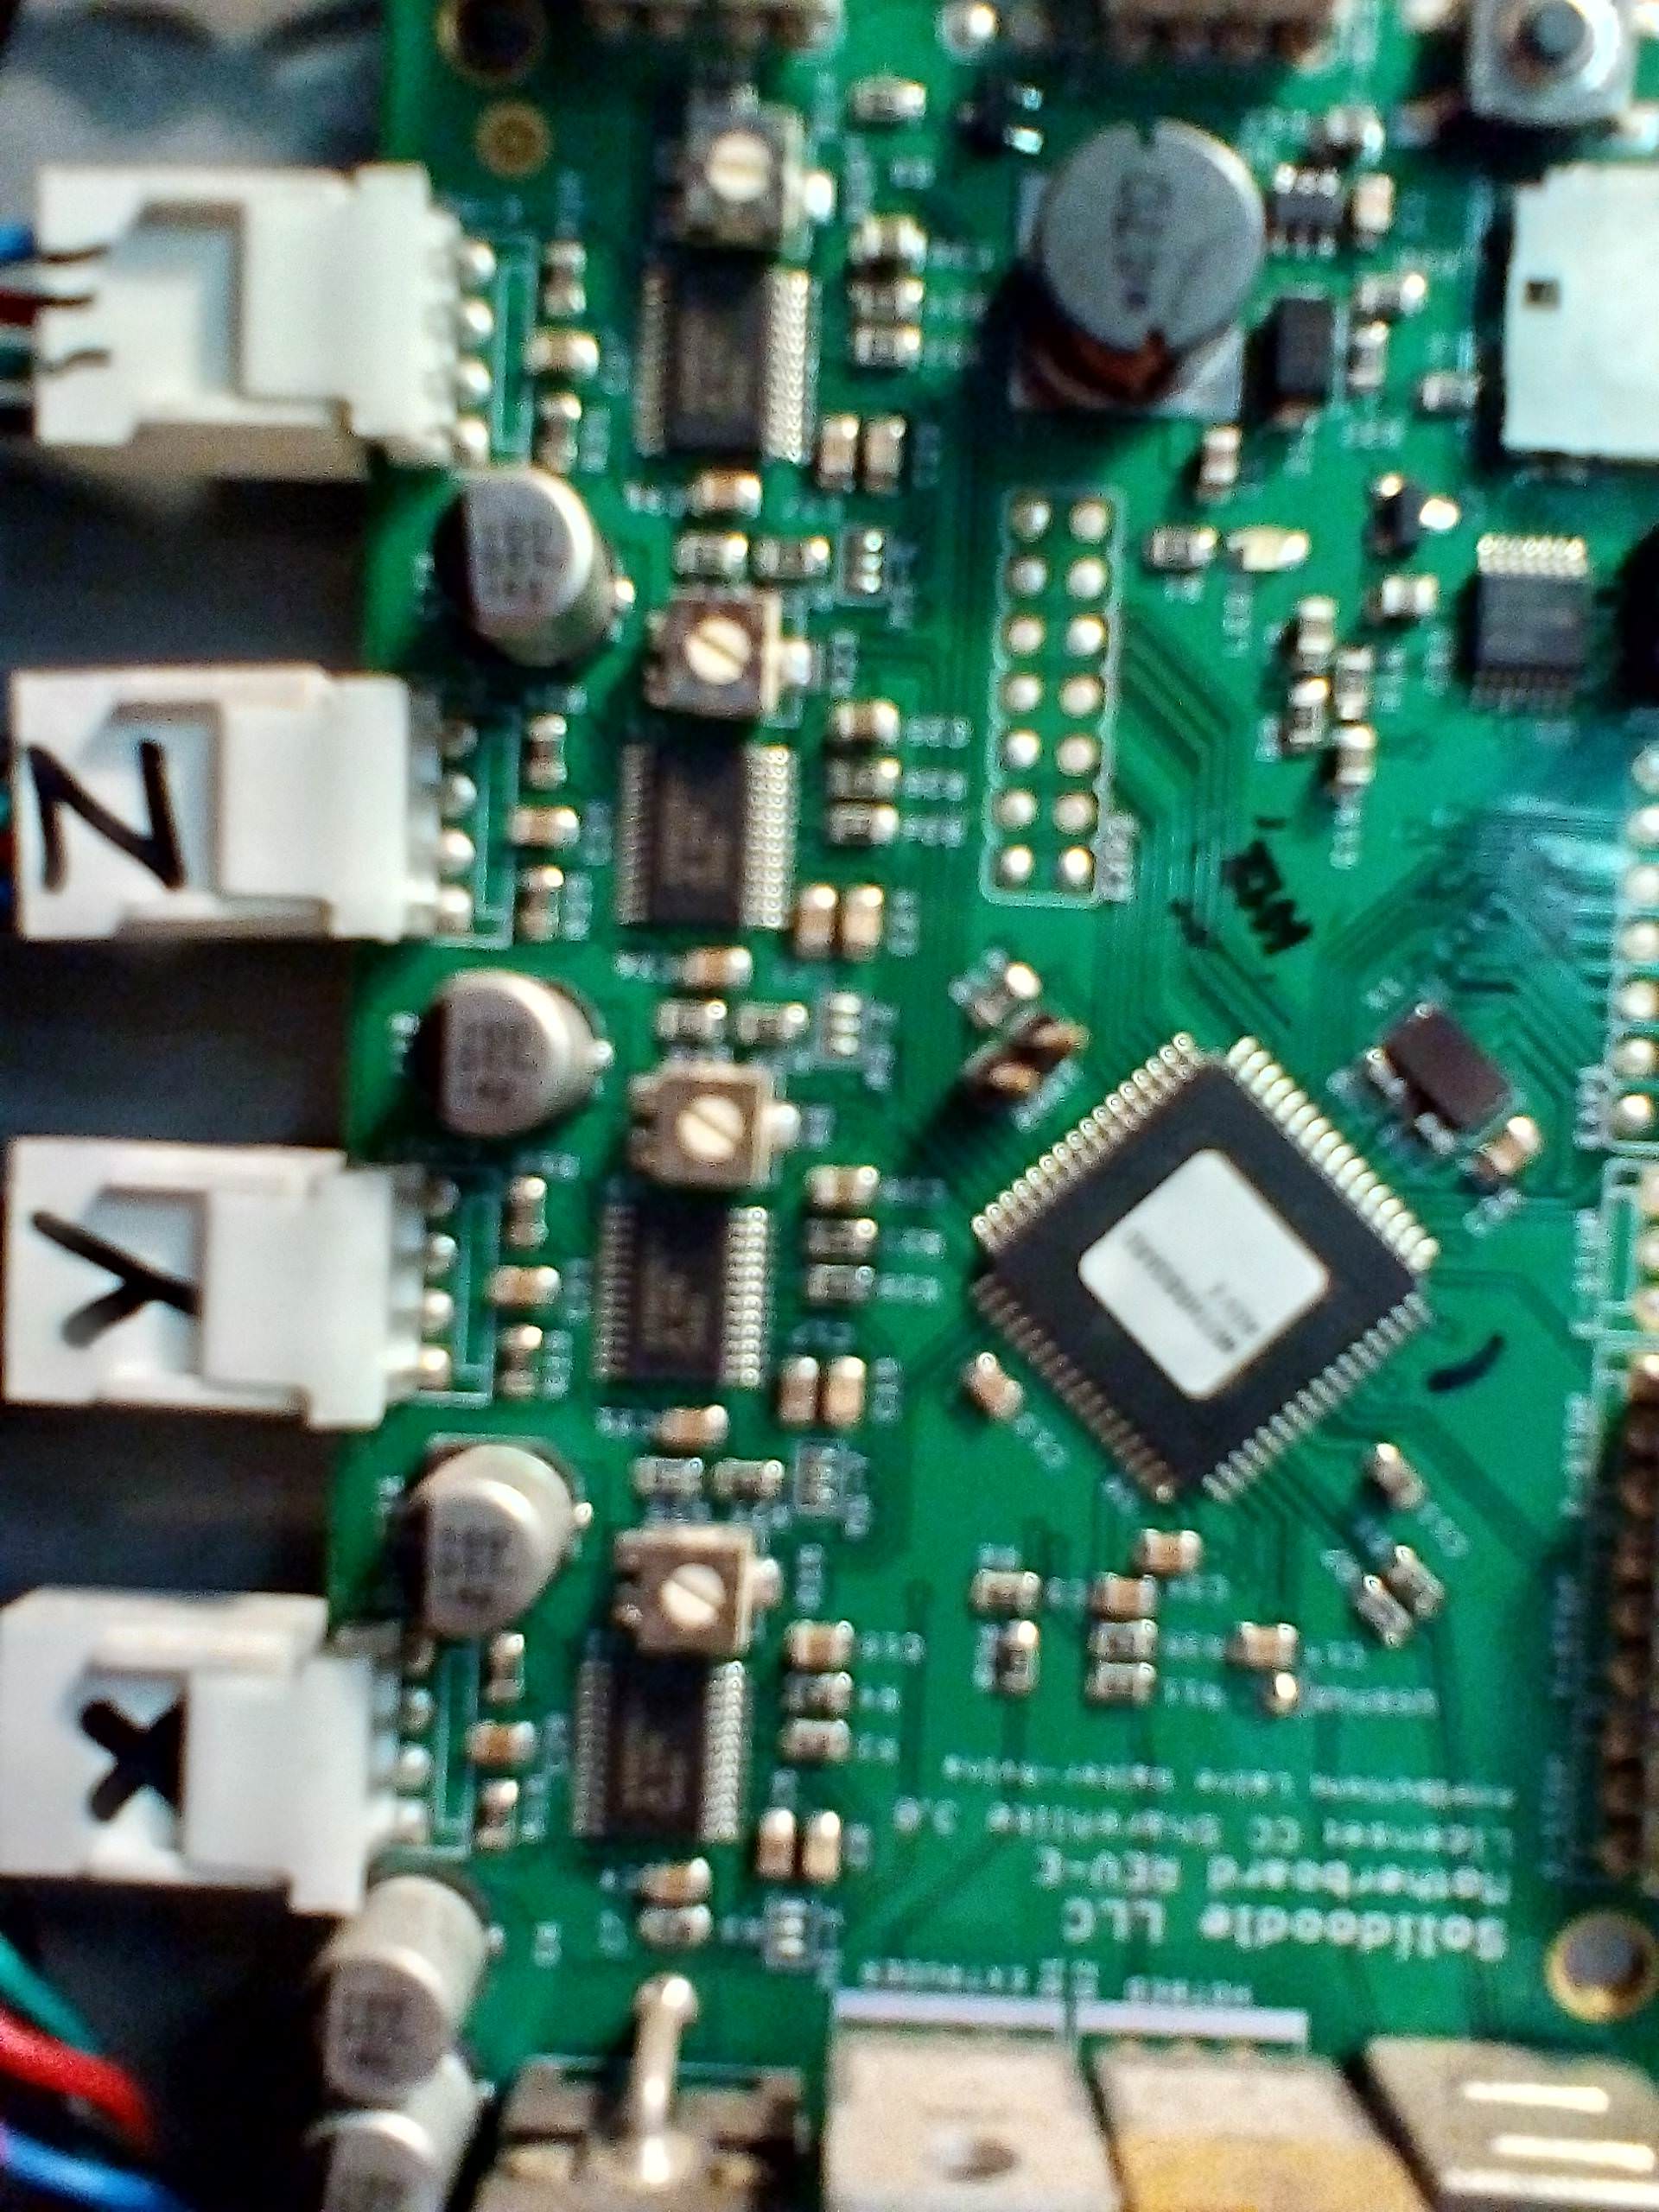
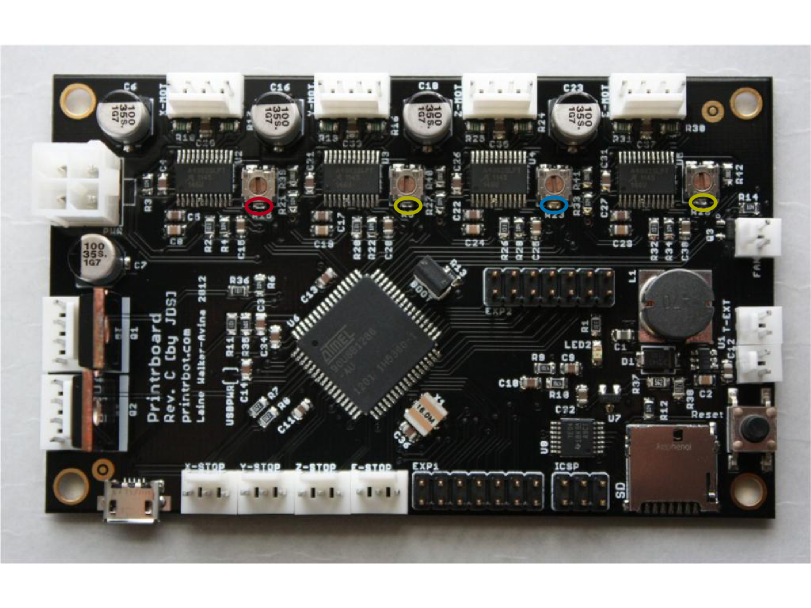
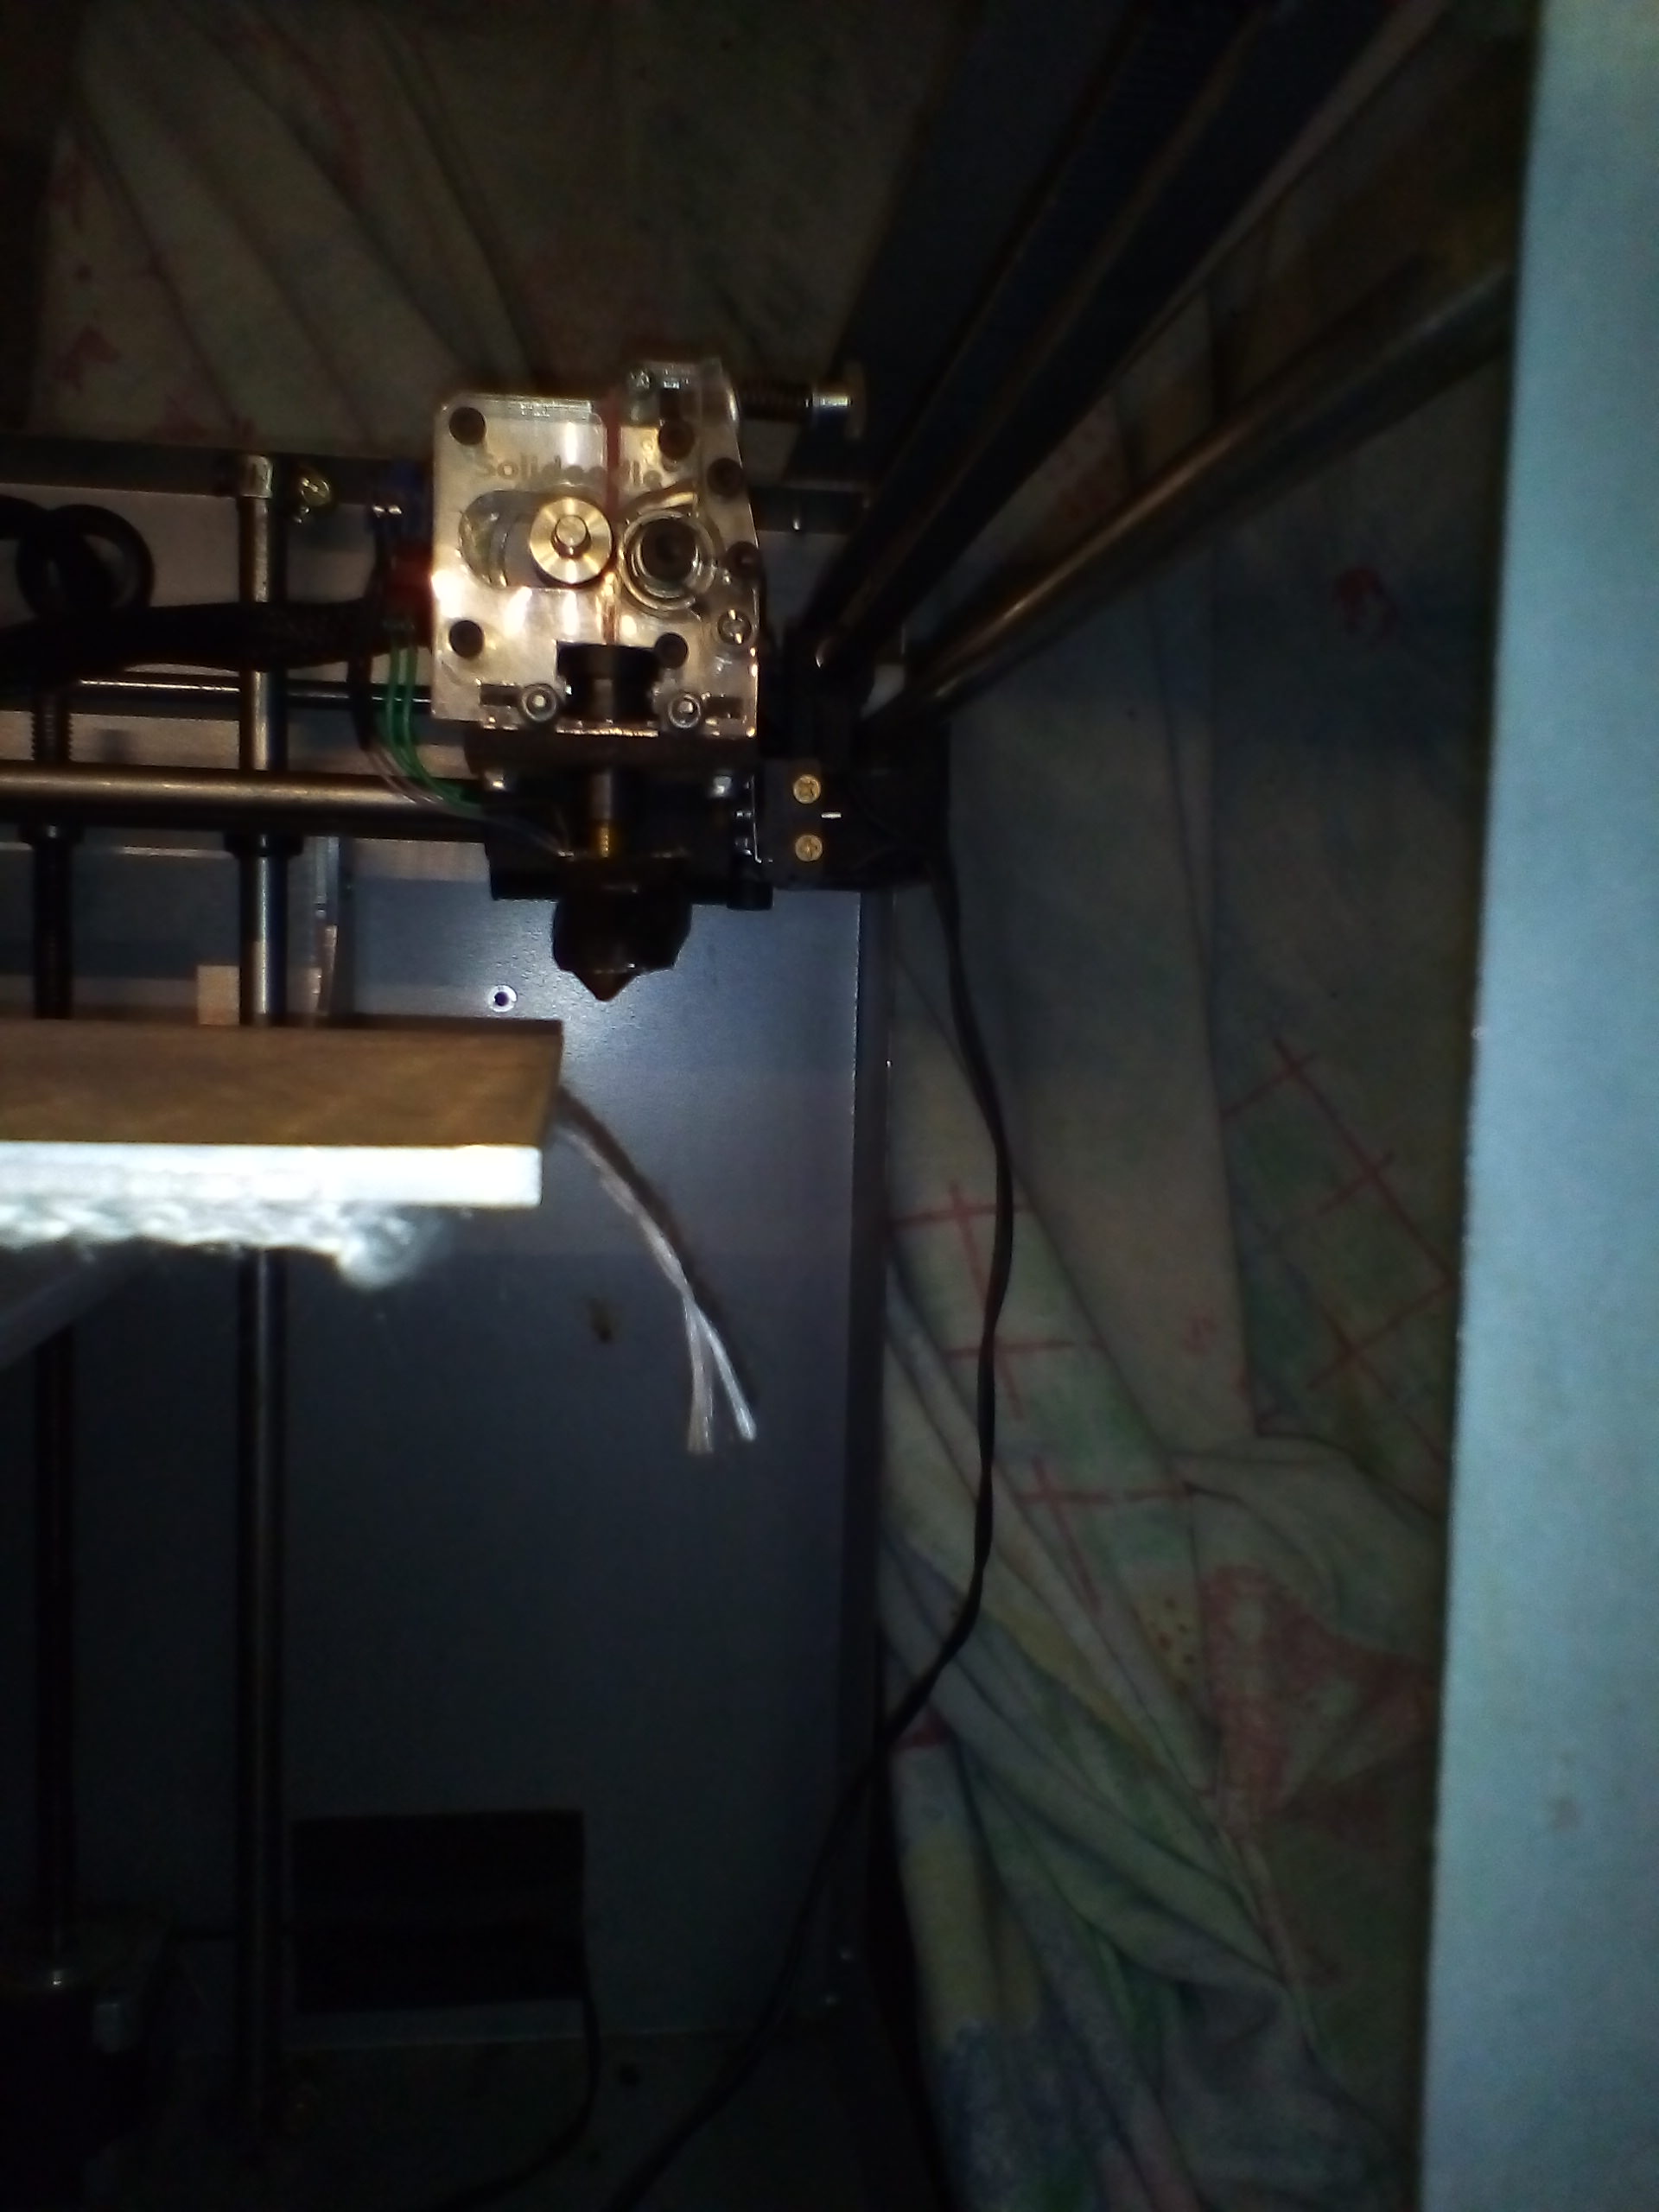
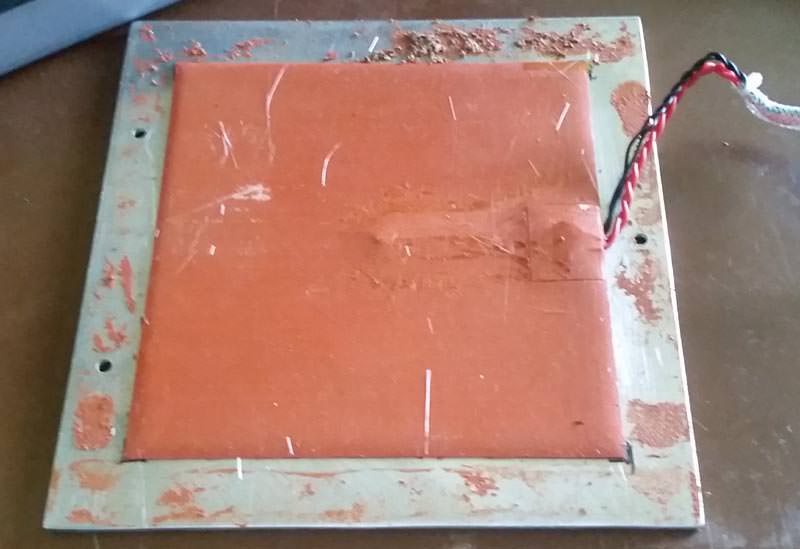
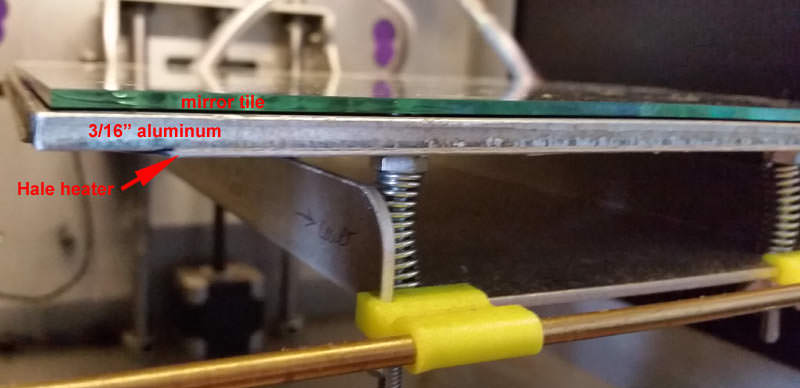
SD4 #1 & #2 - Lawsy carriages, E3D v6, Rumba controller board, mirror bed plate, X motor fan, upgraded PSU & Mica bed heater
SD4 #3 - in the works ~ Folgertech FT-5, rev 1
Printit Industries Beta Tester - Horizon H1