26

Re: Glass Bed

macmub wrote:

Not sure if a airbrush sandblaster would have enough power to "pit" the surface of glass would it?

It's advertised as a glass etcher, i can do one with and one without and see.

27

Re: Glass Bed

cmetzel wrote:
macmub wrote:

Not sure if a airbrush sandblaster would have enough power to "pit" the surface of glass would it?

It's advertised as a glass etcher, i can do one with and one without and see.

pictures?

Former Solidoodle employee, no longer associated with the company.

28

Re: Glass Bed

I've been playing with a glass bed on my SD2 heated platform and it works very well. I just picked up some glass from Home Depot and cut to size - nothing fancy. I do have to get the temp up to 100C or have issues with sticking but once it's hot it gets the job done. I'd post pictures but for some reason I'm getting an error when I do so - I think I'm supposed to post more before I can do that.

29 (edited by ysb 2012-11-11 23:21:38)

Re: Glass Bed

jenninaj wrote:

I've been playing with a glass bed on my SD2 heated platform and it works very well. I just picked up some glass from Home Depot and cut to size - nothing fancy. I do have to get the temp up to 100C or have issues with sticking but once it's hot it gets the job done. I'd post pictures but for some reason I'm getting an error when I do so - I think I'm supposed to post more before I can do that.

do you choose some special glass ? i think that standard glass didn't like the temperature change...

30

Re: Glass Bed

Nope - it was just down in the section with all the plastic replacement panels too. I was concerned about the temperature effect but (a) it's gentle/slow heating, and (b) it's flat so not under any strain.

31

Re: Glass Bed

Also, print the wingnut caps that are available as an stl so you can level the bed once the glass is on there.

32

Re: Glass Bed

Two other tips:

  • Have kapton tape on the bed before you put on the glass - this will help make a good surface between the two

  • Set your 'home' for the print head to a place that it won't slam into your clips that hold down the glass (it's an exciting noise if you don't)

33

Re: Glass Bed

thank you... time to go to home depot...

34

Re: Glass Bed

What you can do with the Kapton is put it on one side of the glass.  Easy to do outside the machine, and you can use soap and water to make it easier to squeeze out the bubbles (the heated bed will dry out the water).  Then you can use it Kapton side down most of the time, and flip it over if you need extra help getting something to stick.

35

Re: Glass Bed

My setup is a bit different. Instead of Kapton underneath the glass, i added a thermal conductive silicone pad.
I got mine as 200x200mm from Buerklin here in German and cut it to size.

It's 0.2mm thick so it will nicely even out the alu bed.

On top of it I'm using 2mm thick non reflective glass. I had a glassier make me 5 glass sheets in perfect size. It was 25€ for 5 sheets, so there is no need to sacrifice high quality picture frames.

The non reflective glass has one side wich is etched.Put some ABS/Acetone mix on it and you have an awesome printing surface.

36

Re: Glass Bed

I just like to add to this topic...after receiving my printer I didnt even bother with the stress and frustration of the fixed bed. Went straight to glass and it is perfect!!

bottom of my prints are perfectly flat, they pop off at about 80 degrees and ive got 3 plates on the go.
Only using $3 hairspray from the market.

Good job guys!

37

Re: Glass Bed

macmub wrote:

I just like to add to this topic...after receiving my printer I didnt even bother with the stress and frustration of the fixed bed. Went straight to glass and it is perfect!!

bottom of my prints are perfectly flat, they pop off at about 80 degrees and ive got 3 plates on the go.
Only using $3 hairspray from the market.

Good job guys!

We're glad to see that you're happy.

Former Solidoodle employee, no longer associated with the company.

38

Re: Glass Bed

I'm another user that quickly switched to using glass and agree it works awesome! I got 5 six inch square pieces for less than $5. Currently working on printing the fan duct/mount to help with smaller parts. Loving the printer so far.

39

Re: Glass Bed

loving the glass beds, i have been using them for a few weeks.
I had a boo boo today though, part I just printed was sticking very well, i use a small steel putty knife to get them off, gave it a good few whacks and a bit of force and piece came unstuck, thumb knuckle brushed front of glass bed and a piece of my thumb about the size of a half pea sort of fell off .. them bed edges are sharp !

did not look like bleeding eas going to stop anytime soon with a piece missing, by the time i thought to reattach the bit that was still sitting on the bed, it had sort of cooked itself .. so used for the first time a method I had read about a few years ago and been waiting to try .. cayenne pepper.

sprinkled some on and no-one seemed to mention before that its like instantly having a half dozen bees stinging the bejesus out of the wound, i thought i was the victim of an evil youtube joke but then, it stopped bleeding within a minute or so, still stung like a bitch for a while longer though, it was not painful at all before the pepper.

now i unclip the glass to get parts off.

2 bits of advice, grind the edges or cover them, or at least be very aware razors live here..
get a leather steap to bite on if using cayenne pepper, but it does work !

oh, did my first time lapse too..

http://www.youtube.com/watch?v=FE9FJrTG … ata_player

40 (edited by cckens 2012-11-27 18:51:22)

Re: Glass Bed

Blue painters tape is my friend!  All 4 edges, ground or not... I lose a cm or so on the edge, but I don't think I'll ever try a full 150x150 print.  Caution is the mandate when working with glass, even glass you think is safe.

Thanks for the timely tip, Stoney.

Edit:  Nice time-lapse BTW.

41

Re: Glass Bed

Did you really just do a "Caution: Glass is sharp" post?  wink

You can use emery cloth to dull the edges of your glass plates.

42

Re: Glass Bed

Sounds like you need this

http://www.thingiverse.com/thing:17773

43

Re: Glass Bed

Very entertaining post, Stoney. I thought you might be posting a video of your glass injury but the time lapse was cool anyway.

44

Re: Glass Bed

cmetzel wrote:

Did you really just do a "Caution: Glass is sharp" post?  wink

You can use emery cloth to dull the edges of your glass plates.

hell yeah !
I am far from being a klutz, just a heads up on this particular situation. its easy to reproduce smile

robot hand to pop parts off the bed and drop them in a little cage would be awesome.

45

Re: Glass Bed

I am getting ready to try glass...

I have been thinking about the 'quick-switch' concept, and methods of holding the glass in place.

Chances are, I am going to use some aluminum c-channel, attached to the aluminum bed, so I can slide pieces of glass in/out, but I am concerned about obstacles in the printhead's way.

That's when I noticed a mirror in my house with beveled edges.  if I get 1/4" glass, with a 1/8" bevel, and the aluminum is about 1/8" thick, there should be a point where the aluminum c-channel is about the same height at the top surface of the glass...

Any thoughts?

46 (edited by nickythegreek 2012-12-10 17:23:33)

Re: Glass Bed

I have been using the glass bed for ABS printing and I am pretty happy with my results. 

Tip: I had a model that I couldn't get off of the glass yesterday at room temp so I  turned the glass sheet upside down to run cold water on the glass bottom and the model released easily.

Questions:
Best way to clean glass to get rid of hairspray?
I am just using soap & water right now.

How often to clean glass?
Do I need to wash it after every print and can I get away with just applying a new coat of hairspray and run 2-3 prints between cleanings?

What is the best way to preheat next piece of glass so that I can get that next print started even faster? 
Putting a new piece of glass on drops the bed from 100 to 80.  Is there a way to help cut this down? Going to try and store next sheet in the bottom of the case for now.

47

Re: Glass Bed

I use hand sanitizer and my finger to clean the glass as I swap them out, it ends up looking like hell and streaky but I feel it with my finger and if there are no bumps I'm good to go.  I ran about 10 or so test pieces in a row changing slightly for fit on Saturday and I was like a production line.  Just using 2 binder clips - one on front right and one on back left.  I was just swapping and printing, I wasn't waiting for the glass to heat up I hadn't even considered that it was losing heat to be honest.  Don't overthink it.  The hairspray does wonders, it's hard to get the prints off it works so well.  I use the binder clips to handle the glass taking it off the printer and putting it on my towel.

48

Re: Glass Bed

cmetzel, makes total sense! Bed heat isn't as important with the hairspray... duh.  Waiting for the bed to heat up has just been  ingrained in my process since I was not using the glass for so long.

49 (edited by danny 2012-12-10 22:58:45)

Re: Glass Bed

IanJohnson wrote:

Here is an interesting thread at the RepRap forum.  One user has found that sandblasting glass works really well for getting prints to stick.  There is also a suggestion for etching.   Borosilicate glass (pyrex) is a popular choice since it is made for high heat, however I'm not sure where you would get it, and have it cut.

you can get heat proof glass from a glass merchant, sounds silly, but look for one that specialises in glass for home made wood burning stoves.

as a guide to price, I got a piece 7" x 7" 1/4" thick £13 (GBP) that was the price to get this measures and cut

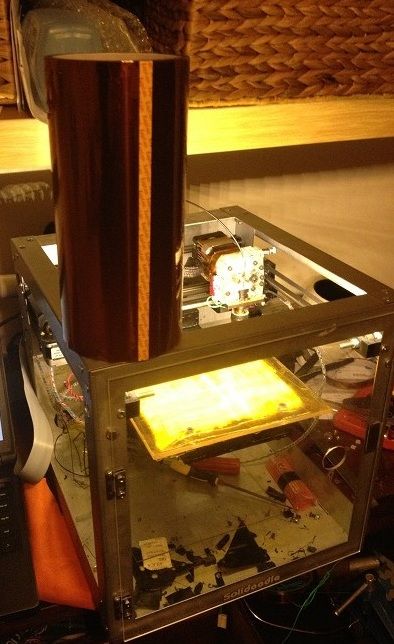
the rest of this post is my new glass bed.

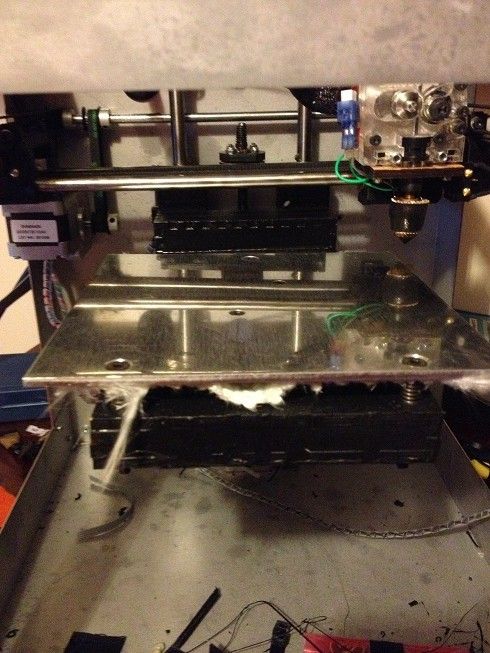
to start remove the glass that you've either clipped or taped to the aluminium bed, (for those wanting to avoid the hot end bumping into binder clips, use 1/4" kapton to stick down the glass:
http://i160.photobucket.com/albums/t166/daniel_rainbow/solidoodle/Glassbed/IMG_2298.jpg

remove the kapton, (you need to get to the screws:
http://i160.photobucket.com/albums/t166/daniel_rainbow/solidoodle/Glassbed/IMG_2299.jpg

Using a "china marker" go ask someone working on a deli counter to get you one, mark the edges of where the glass can comfortably sit:
http://i160.photobucket.com/albums/t166/daniel_rainbow/solidoodle/Glassbed/IMG_2300.jpg
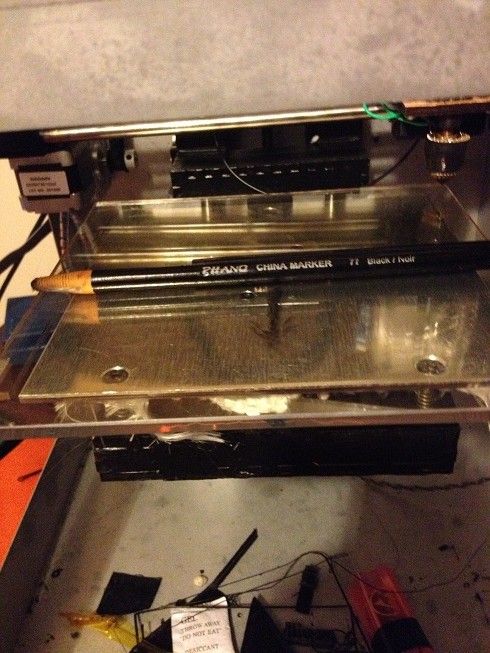
you won't need to do this if you're using a 6x6 piece of glass, but of you want to use all the extents of travel of the hotend, then you'll need to make sure that the steppers are cleared
http://i160.photobucket.com/albums/t166/daniel_rainbow/solidoodle/Glassbed/IMG_2301.jpg

next unscrew the aluminium. remove the heat shield/insulation from the back.
http://i160.photobucket.com/albums/t166/daniel_rainbow/solidoodle/Glassbed/IMG_2302.jpg

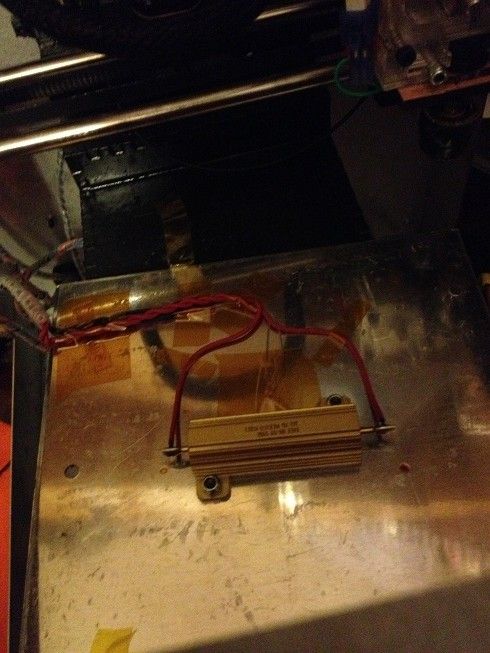
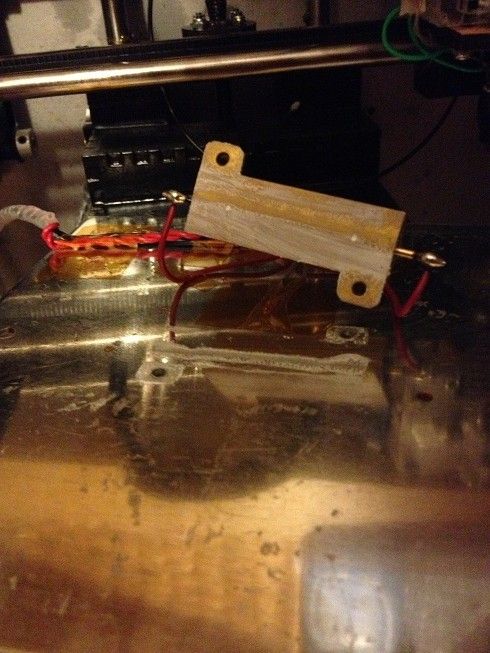
now remove the resistor and thermistor:
http://i160.photobucket.com/albums/t166/daniel_rainbow/solidoodle/Glassbed/IMG_2303.jpg

http://i160.photobucket.com/albums/t166/daniel_rainbow/solidoodle/Glassbed/IMG_2304.jpg

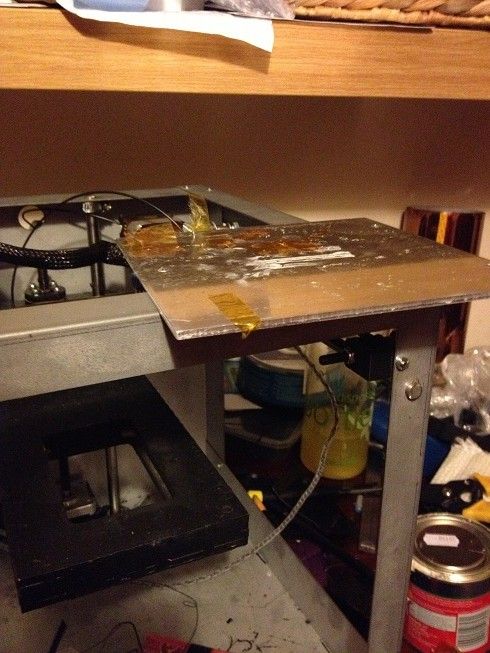
now the bed is completely removed
http://i160.photobucket.com/albums/t166/daniel_rainbow/solidoodle/Glassbed/IMG_2305.jpg

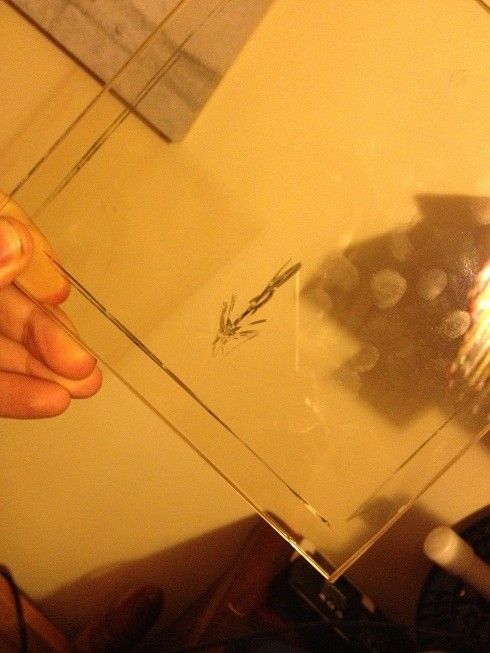
Next using the marks on the glass put the bed under the glass and mark the screw holes.

using a glass bit drill the glass, (either 4mm or 5mm) and countersink the holes.

http://i160.photobucket.com/albums/t166/daniel_rainbow/solidoodle/Glassbed/IMG_2306.jpg

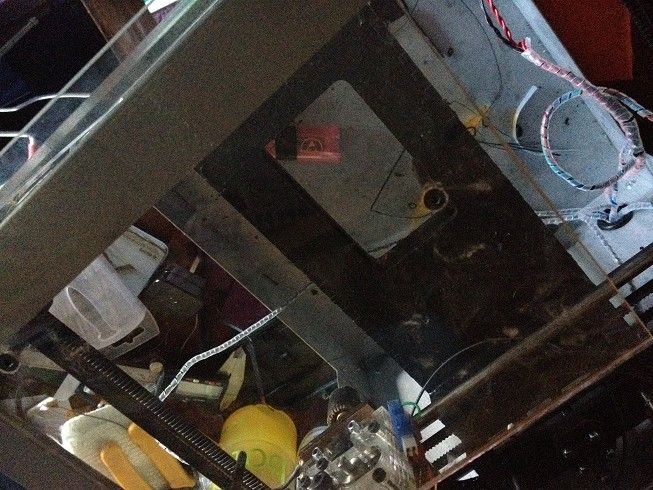
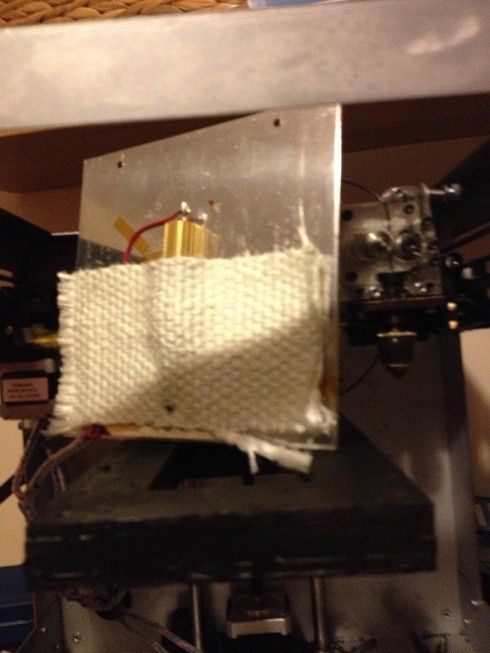
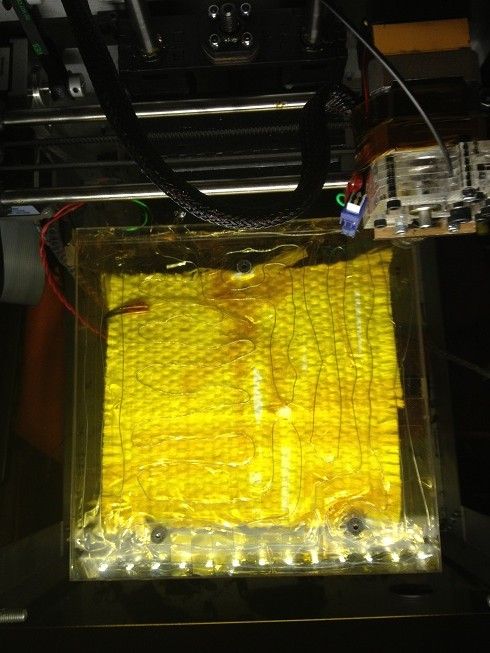
now take three 9ohm lengths of nichrome wire, and a 1/4" roll of kapton, loop the wire over the underside of the bed using the 1/4" kapton to hold it to the glass
http://i160.photobucket.com/albums/t166/daniel_rainbow/solidoodle/Glassbed/IMG_2307.jpg

join the ends together to make a 3ohm resistor evenly spread over the whole bed,

tape the thermistor to the bed in a spot where it's an even distance from any length of nichrome.
join the red wires where the resistor was attached to the ends of the nichrome
and replace the heat shield

Level the bed...

next, because glass isnt all that sticky, you'll need kapton
http://i160.photobucket.com/albums/t166/daniel_rainbow/solidoodle/Glassbed/IMG_2312.jpg
a nice big roll will do!

lay the kapton over the bed, stick one side first, use a plastic squeegee (you can print this!) to push the kapton onto the bed without airbubbles.

http://i160.photobucket.com/albums/t166/daniel_rainbow/solidoodle/Glassbed/IMG_2311.jpg


Done
http://i160.photobucket.com/albums/t166/daniel_rainbow/solidoodle/Glassbed/IMG_2314.jpg


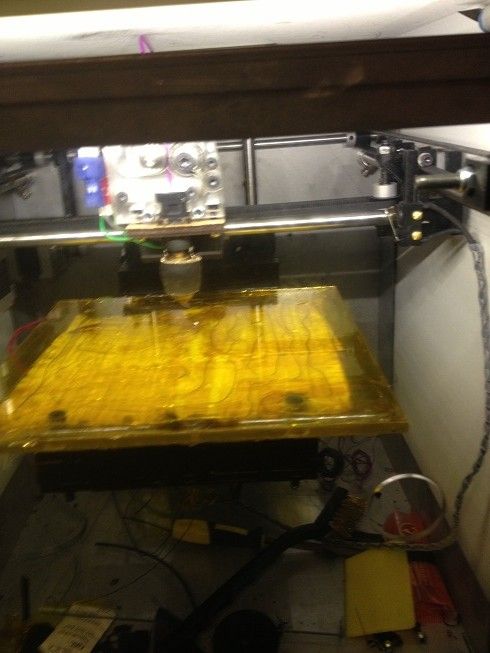
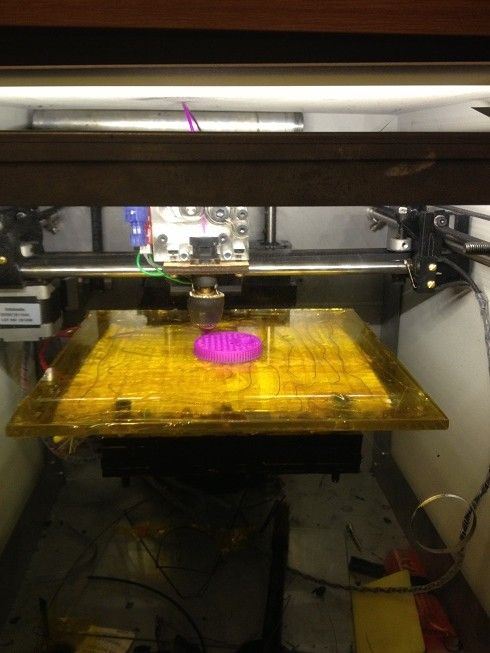
Printing on an all glass bed.
http://i160.photobucket.com/albums/t166/daniel_rainbow/solidoodle/Glassbed/IMG_2315.jpg


as a bit of a bonus, the bed takes the same time to heat up, but rather than getting a middle of spot of around 90 degrees with cooler edges, (so the middle of a print squidges and the edges lift, I can print with a bed temperature of around 70Degrees (and have confirmed the machine readings with a thermocouple probe)

50

Re: Glass Bed

that is awesome!