Plan of attack sounds good. Go for it. 
No you don't need 10x the torque haha!
These scary number are about the torque per microstep - note that steppers are like induction motors, and don't generate any torque unless the mechanical position is misaligned with the magnetic position (at least that's how I think of it...). And the torque is relative to the amount of misalignment. So it's like a magnetic spring between a true position (set by the motor currents) and the real position. The amount of torque generated by moving 6 steps at 16x microstepping and 96 steps at 256x microstepping is going to be practically identical (noting that the motors tend to prefer to be at whole-steps, so peak torque is found at these).
The comparisons that make these scary claims of "less than 10% torque omg" are comparing 6 steps at 16x with 6 steps at 256x, right? Which is a much much smaller distance!!
A 256x microstepping driver really does nothing to increase accuracy, as the following errors dominate:
* Build accuracy of the motor, which is typically +/- 5% one whole step
* Sinusoidal accuracy of the motor and detent torque (the motor by it's construction likes to align with whole-step positions, which is the clicking force you feel while turning it when it's off) distort the physical neutral position of the rotor for a given angle of perfectly sinusoidal currents in the coils (the motor usually likes to rest a bit closer to the nearest whole-step).
* The lag required to generate enough torque to overcome static friction in the system (if the friction is say, 50% of the motor's peak torque in a given config, then you might need 1/4-1/2 a step worth of lag just to get it moving, and it may stop this far behind the final position too).
The reason you use a high-microstepping drive is for smoothness, quietness of continuous movements. Given the above, anything above 16x doesn't actually increase positional accuracy.
As an aside note that for extruders, the 32x driver's smoothness reduces patterns on the extruded walls, as the moire effect is a highly sensitive symptom of variable extruder speed. When extruder motion is relatively slow, and the extruder has a little excess torque, the extruder jumps between microstep positions, causing a pulse each time. These become visible because oblique lighting exaggerates the tiny tiny difference in extrusion width. A low-volume direct extruder (e.g. E3D) will exaggerate as there's no much damping / spring between the drive and the nozzle. A spongey bowden will probably hide this completely! A high width/height ratio for perimeters (e.g. at low layer heights) will also exaggerate, as a proportional volume change contributes to a larger width change (height is fixed). Tuning the torque such that the motor under load jumps at more or less the same speed the steps are moving will create a more constant speed (and you'll hear it buzz less). Increasing the resolution of the steps (by going from 16x to 32x) reduces the torque for each jump, and along with the halving of the period, makes the effect less prominent.
This clarifies a little, but you have to read the text as well as look at the scary graphs haha:
http://www.micromo.com/microstepping-my … -realities
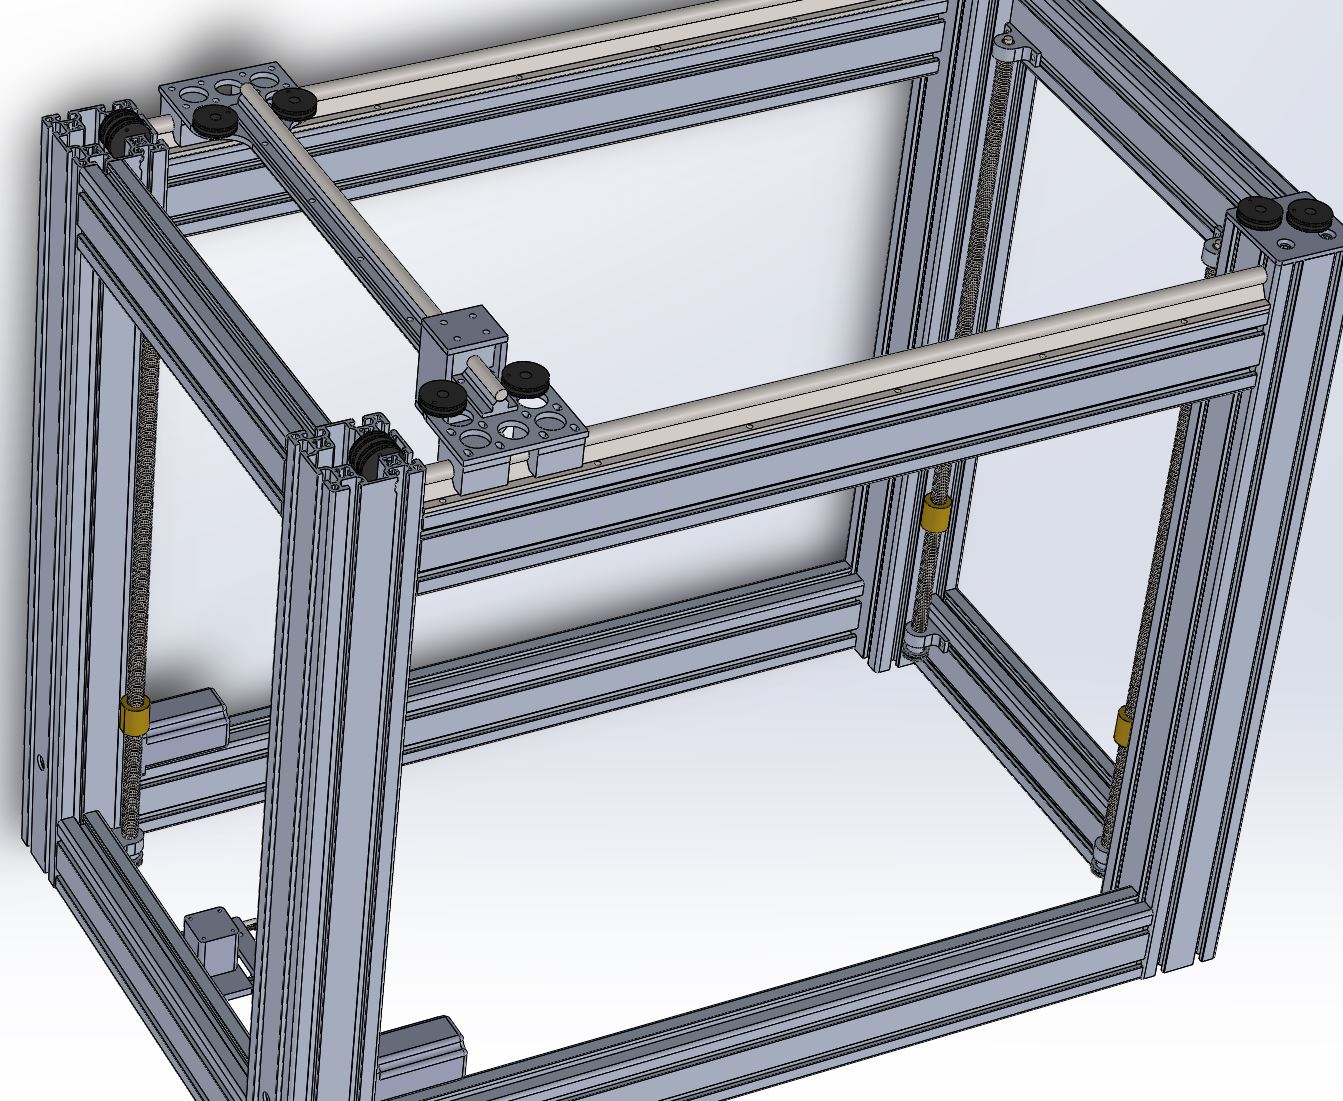
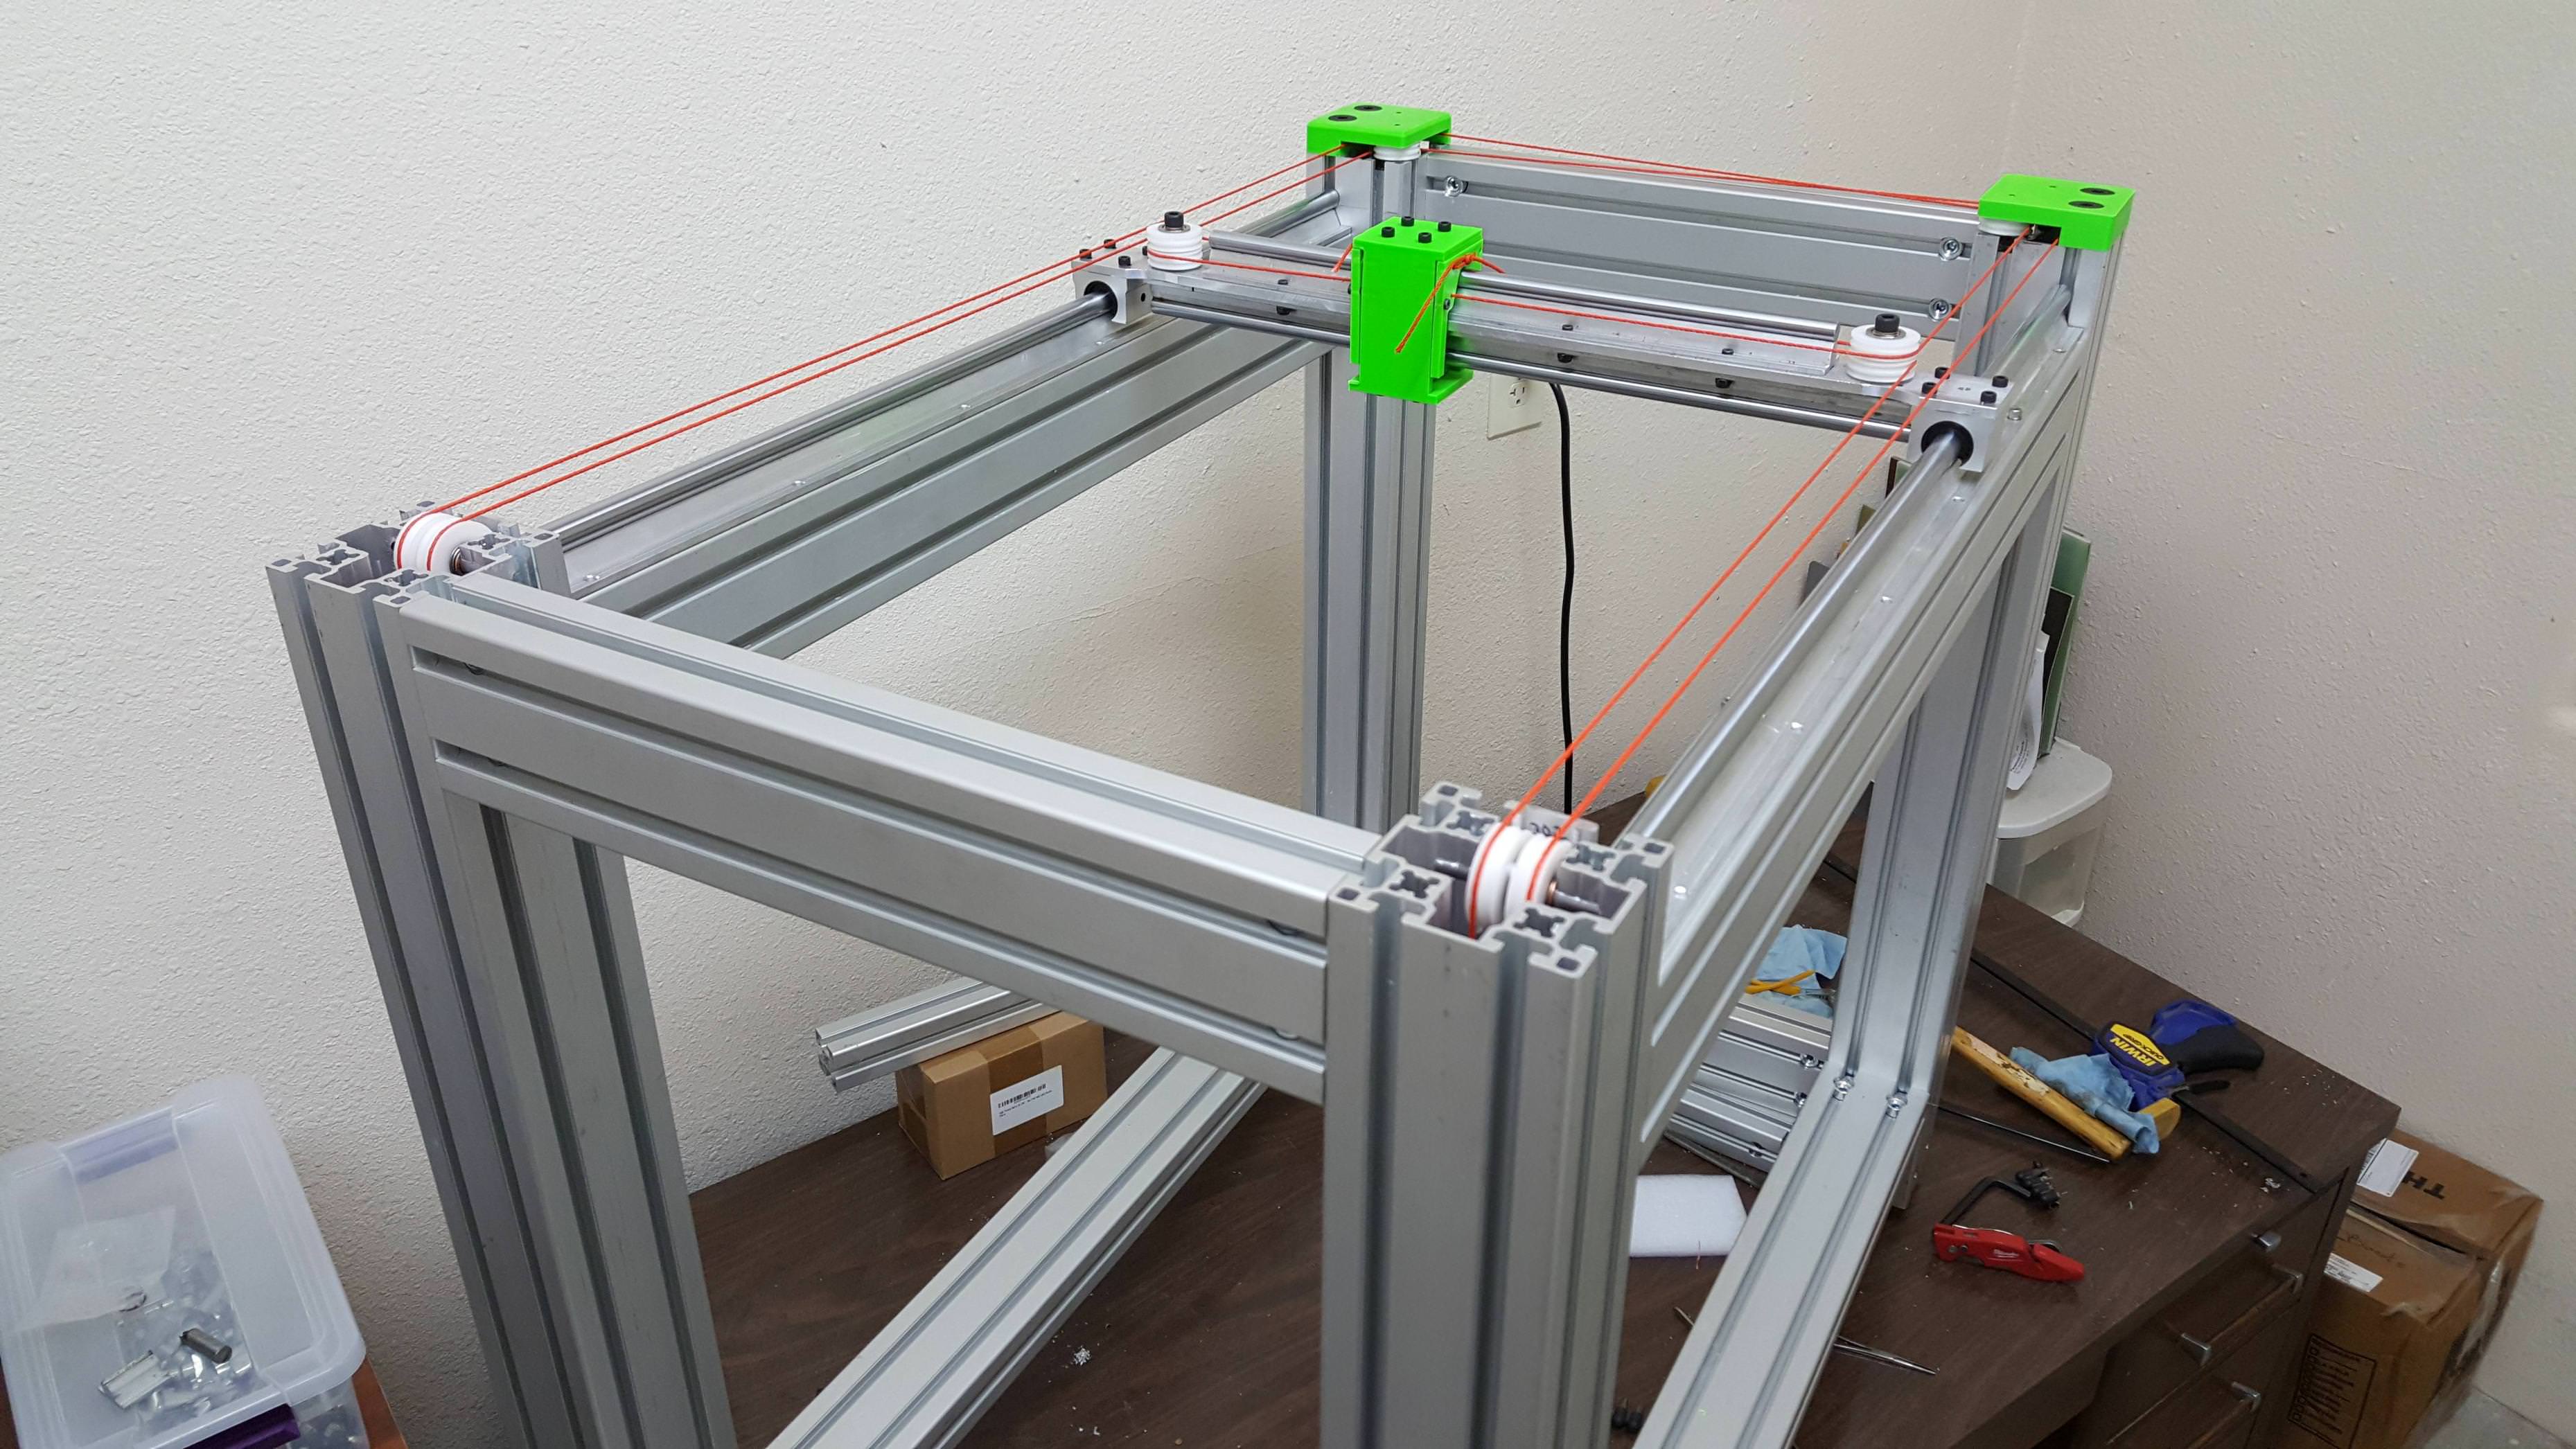
SD3. Mk2b + glass, heated enclosure, GT2 belts, direct drive y shaft, linear bearings, bowden-feed E3D v5 w/ 0.9° stepper
Smoothieboard via Octoprint on RPi


