Topic: Noise removal, and cleanup
Here are some photos of my latest scan.
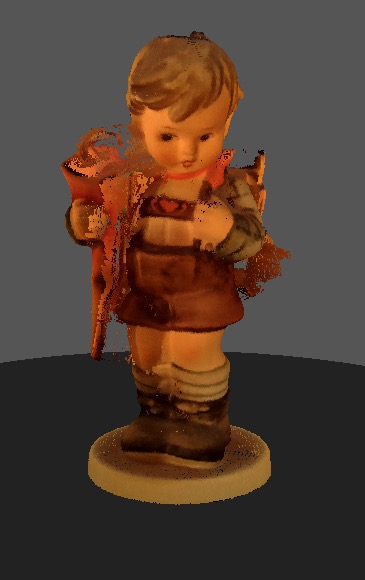
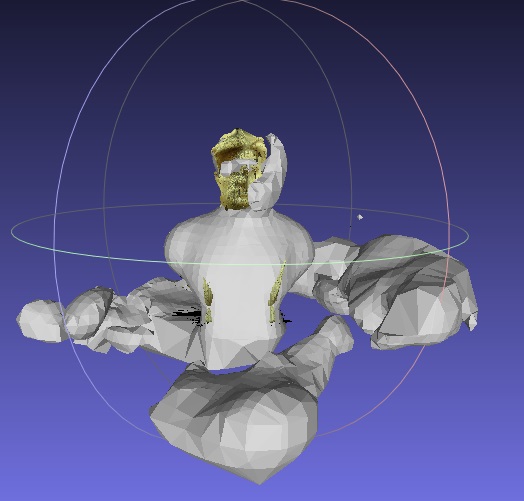
The first image shows the noise in the original scan. Although I tried to get rid of as much noise as possible by adjusting the lighting and laser threshold, there was some that was impossible to get rid of. I could have reduce the noise more by increasing the laser threshold, but when I did, I also started loosing most of the light surface areas (like the shirt and ball).
I use set of RGB LEDs on the front of the scanner, and with the LEDs set to cool white, I was loosing the whites, so I changed the lighting to a yellow/orange tone, which allowed the camera to see the laser better in the white areas.
The primary intent for these scans is to produce a printable model, so having the wrong tones in the colors is not an issue for me, but if you wanted the original colors back, it can be easily done in Meshlab using the Vertex Color White
Balance filter
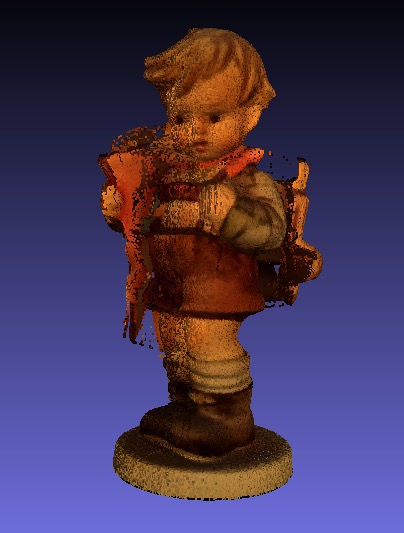
This next image is the point cloud post clean up. It took about an hour or so to remove most of the stray pixels and noise, but the resulting cloud looks pretty clean. Notice all the missing areas. Those areas, like most areas that are inside a model, or form a concave surface, are simply not seen by the laser and camera they will have to be filled in by the meshing software algorithms, or manually.
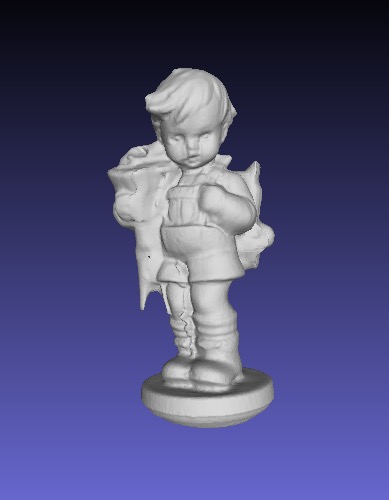
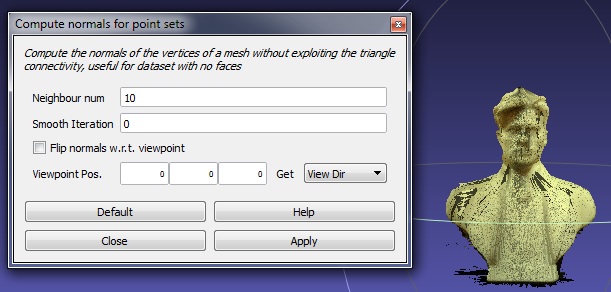
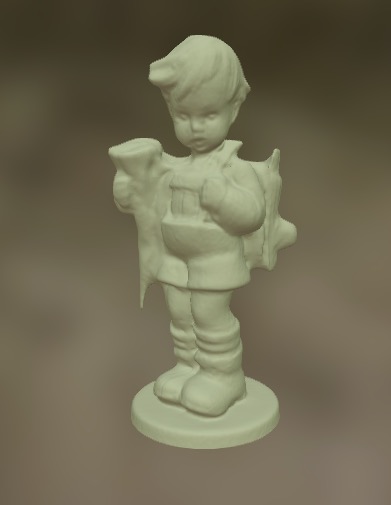
In this photo, the first image (from the left) is the point cloud. I didn't do any poisson-disc sampling, because I wanted to use all the captured detail, so I simply duplicated the original. I then applied the Compute Normals for Point Sets (second image) which aligned all the vertices coherently. After this I used the Poisson Surface Reconstruction to generate the mesh. Not too bad. It still needs some work, which I'll probably do in MeshLab or MeshMixer.
That's it... until the next one...
SD3 printer w/too many mods, Printrbot Simple Maker Ed., FormLabs Form 1+
AnyCubic Photon, Shining 3D EinScan-S & Atlas 3D scanners...
...and too much time on my hands.