1

Topic: Removing the head (pictures)

Someone asked me to post some pictures of how to remove the head.  There are 2 connectors you will have to undo: the larger one on the RH side (when looking at the print head) and the one coming up on the left from the head.  After that, there's a spring loaded retaining clip.  Lift it up and slide the entire head unit out for cleaning or whatever. 

The bottom wire and the top wire in this pic have to come loose.
http://i133.photobucket.com/albums/q44/Ovrclck350/3DPrinter_DSC02235_zpsedcc5938.jpg

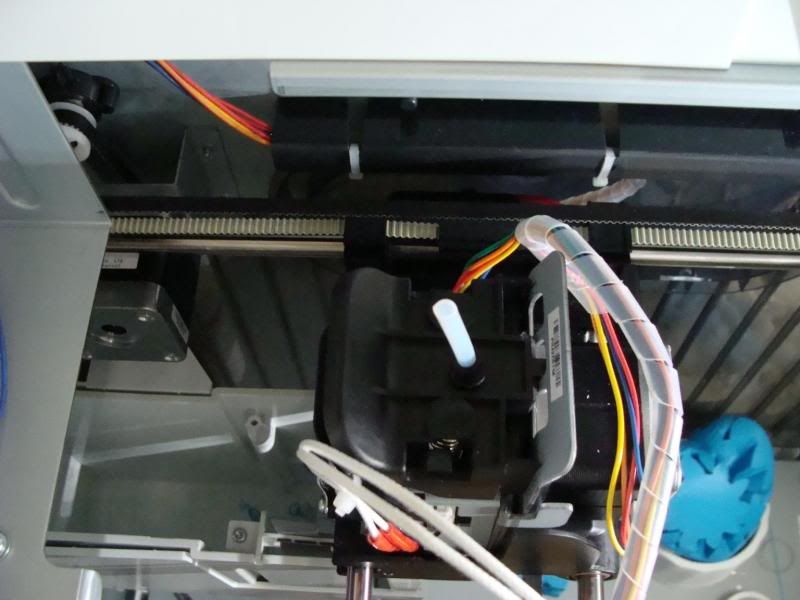
Here's a view of the connector on the right:
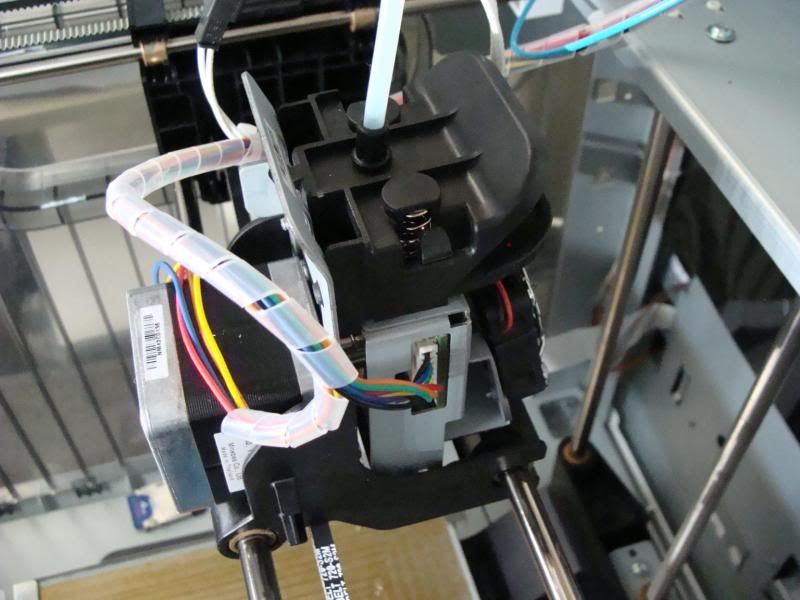
http://i133.photobucket.com/albums/q44/Ovrclck350/3DPrinter_DSC02236_zpse4a1380c.jpg

Here's the clip:
http://i133.photobucket.com/albums/q44/Ovrclck350/3DPrinter_DSC02237_zps880f7391.jpg

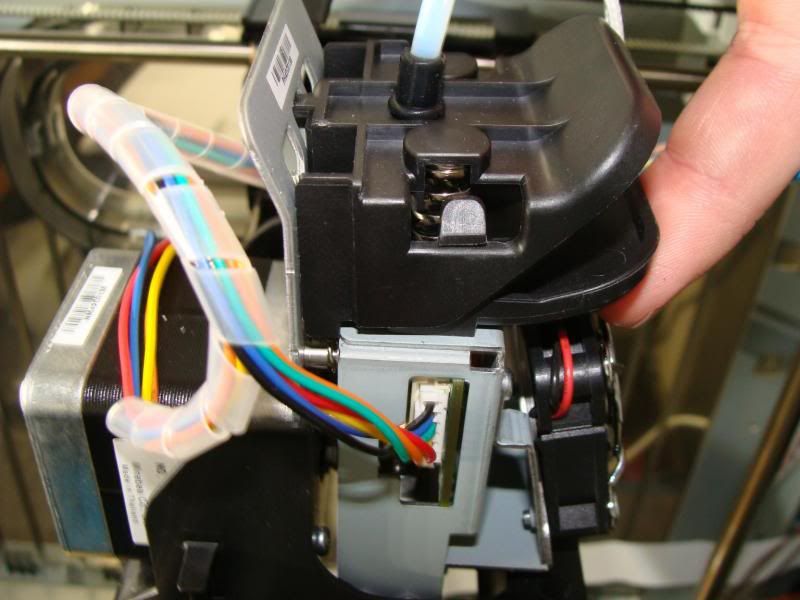
Lift the clip up and slide the assembly out:
http://i133.photobucket.com/albums/q44/Ovrclck350/3DPrinter_DSC02238_zps392df277.jpg

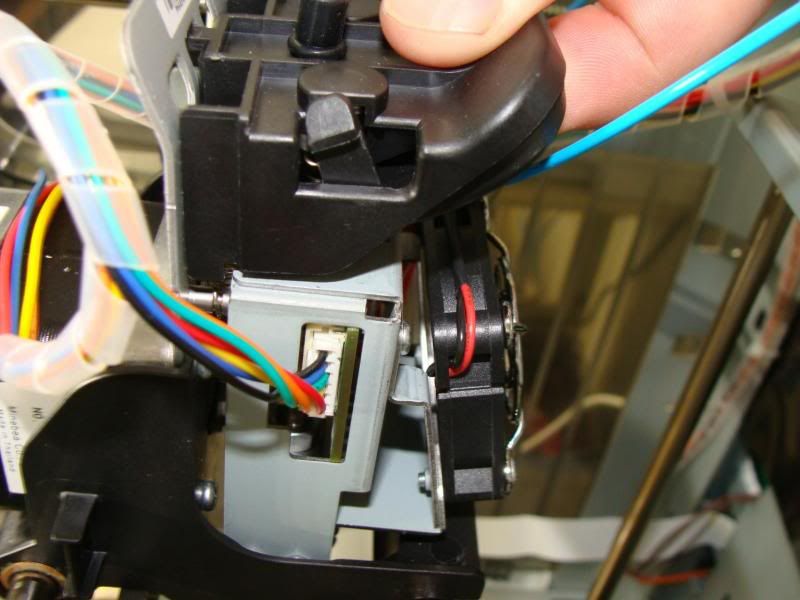
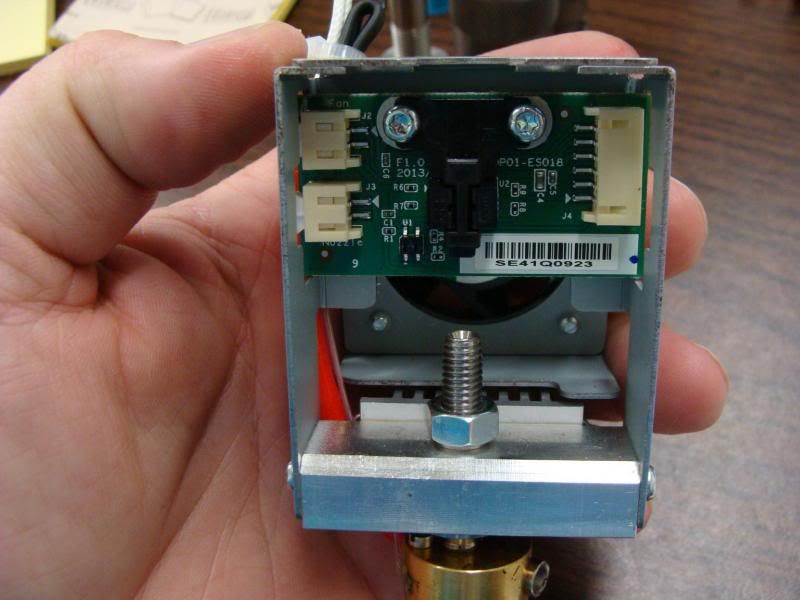
Here's the assembly:
http://i133.photobucket.com/albums/q44/Ovrclck350/462F1428-51C0-4698-B4D2-E6D4191829A2_zpswblv1hhb.jpg

http://i133.photobucket.com/albums/q44/Ovrclck350/3DPrinter_DSC02239_zpsfc10b5e1.jpg

http://i133.photobucket.com/albums/q44/Ovrclck350/95C62281-A111-4ADB-9A2A-C9F75C0682DC_zpszqiqhece.jpg

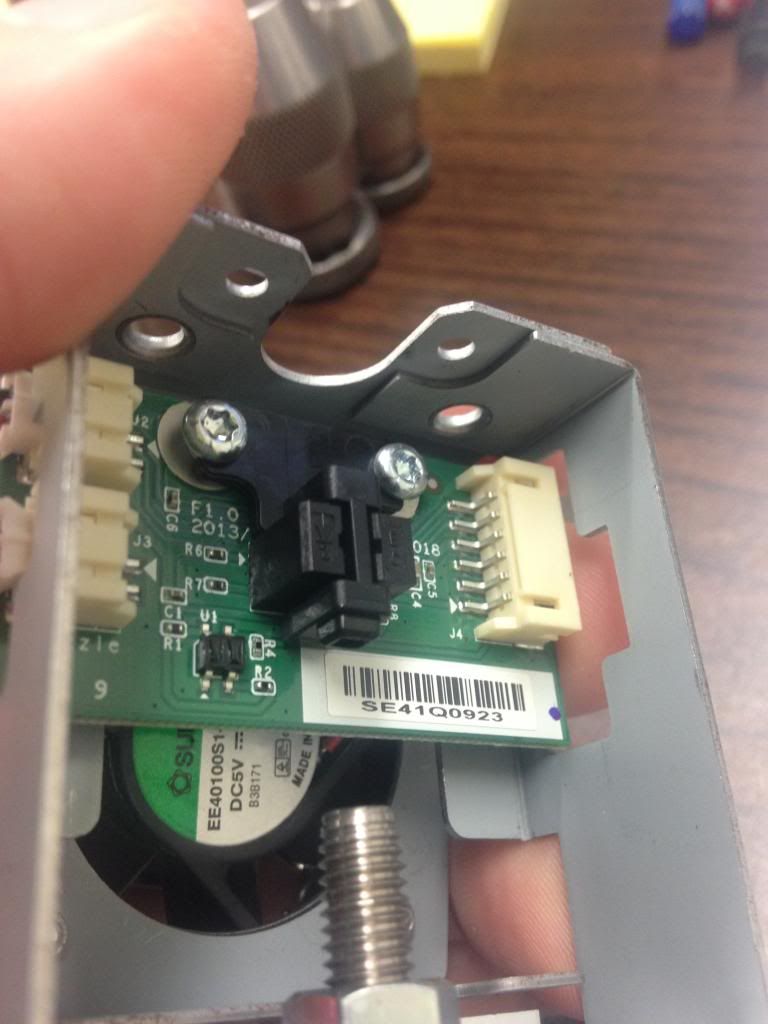
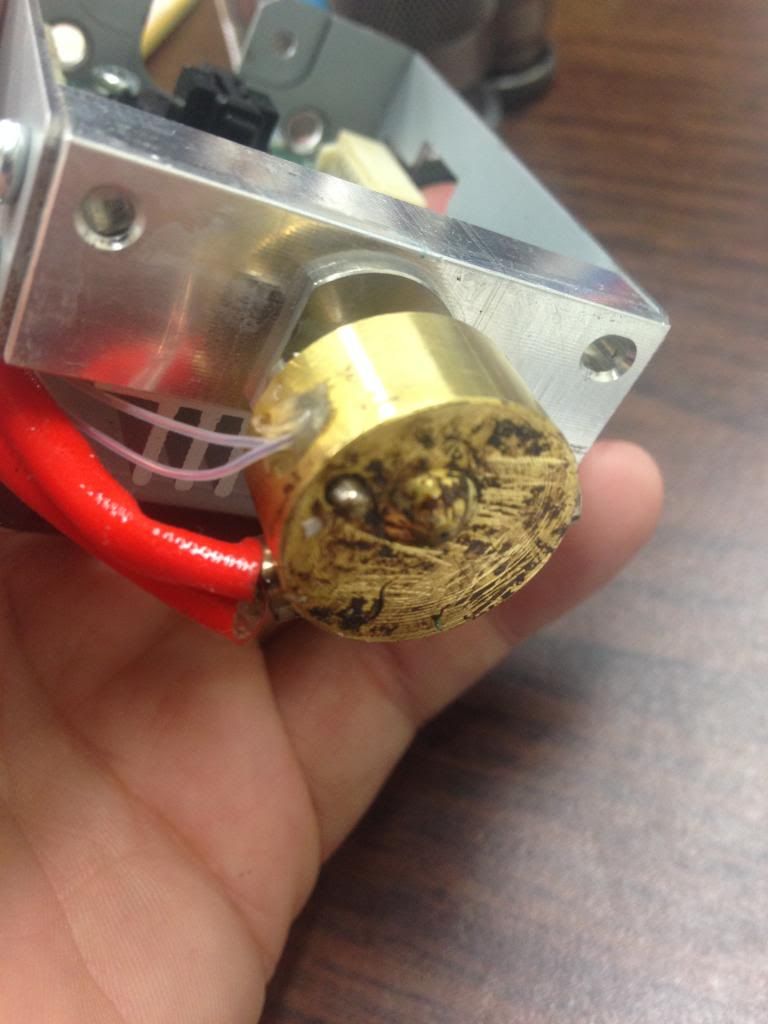
I usually soak the head in acetone for a while and then clean everything up.

2

Re: Removing the head (pictures)

Thank you, it was very helpful. Also great to clean the motor with parts from extra filament that may be left over when this part is removed. Helped with my clicking issues.

3

Re: Removing the head (pictures)

I have some .015 carbide drill bits that I use by hand to clean it....but I have those laying around.  Most people won't.

4

Re: Removing the head (pictures)

thanks for this post. I got some filament stuck in my nozzle so i have to take it out.

One question, how should i remove the connectors, just simply pull it out, or is there a trick(like a release) ?

Thanks a lot!

5

Re: Removing the head (pictures)

SCIGRIP's Weld-On 4 works wonders for dissolving PLA that is stuck.