**** PLEASE READ ALSO MY POST AT THE END - THIS MOD DOES NOT FULLY WORK ****
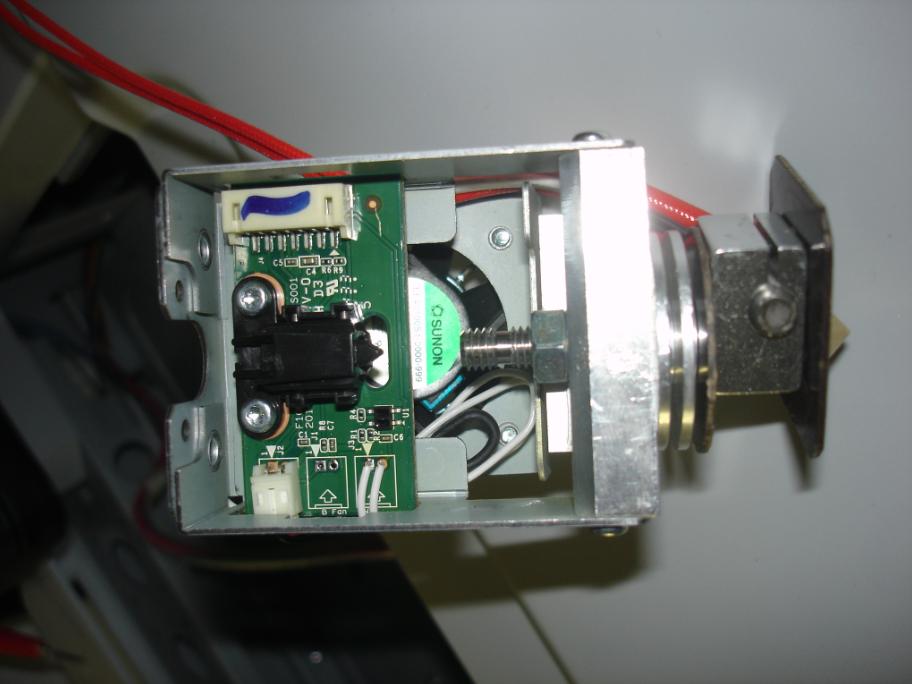
I did a similar mod, but instead of using the XYZ screw I've used a "standard" 40mm long, M6 PTFE tube screw. The advantage of the PTFE inside is that the filament has no chance to stick inside the screw hole - I had it once and it is hard to get out!
One problem when using an M6 screw is that it will not fill the 8mm hole inside the aluminum block. So I bought a 8 x 6 x 1mm aluminium tube in the next home improvement store (Hornbach). This tube has a 8mm outside and 6mm inside diameter and perfectly fills the gap. All you need to do is cut a 10mm piece from the tube, remove the burr and slide it over the M6 screw.
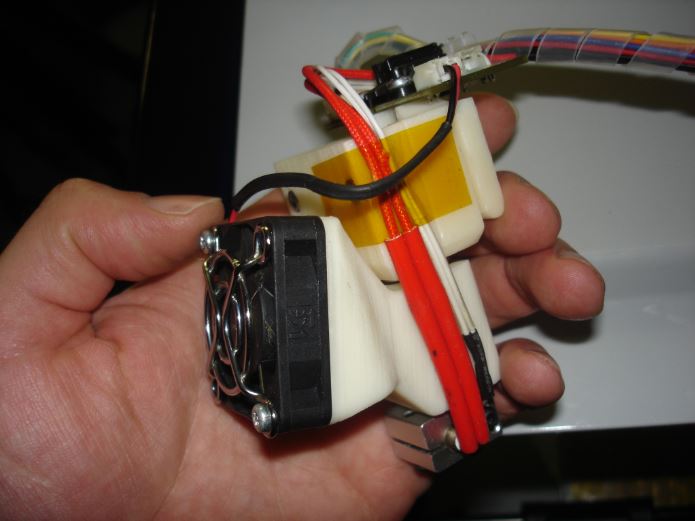
I've also added two washer heat sinks below the aluminium block, these special washers are made from aluminium and will provide additional cooling to the screw.
Between the heat block and the heat sinks I've inserted a Pertinax(TM) washer to termally isolate these two devices. I made these on my own from a bigger sheet of Pertinax(TM) I get from an Electronics store (Conrad - similar to RadioCheck).
At the nozzle you can see my latest "invention" - it's a heat block insulation / shield! I've mounted a small Pertinax(TM) plate to shield the heat from the printed parts - especially on small parts the heat from the hot end will not let the applied filament cool down. I fixed the plate by using the screw on the heat block that clamps the heat cartrige. To insert or remove the hotend I will need the remove this heat shielding - but no big deal!
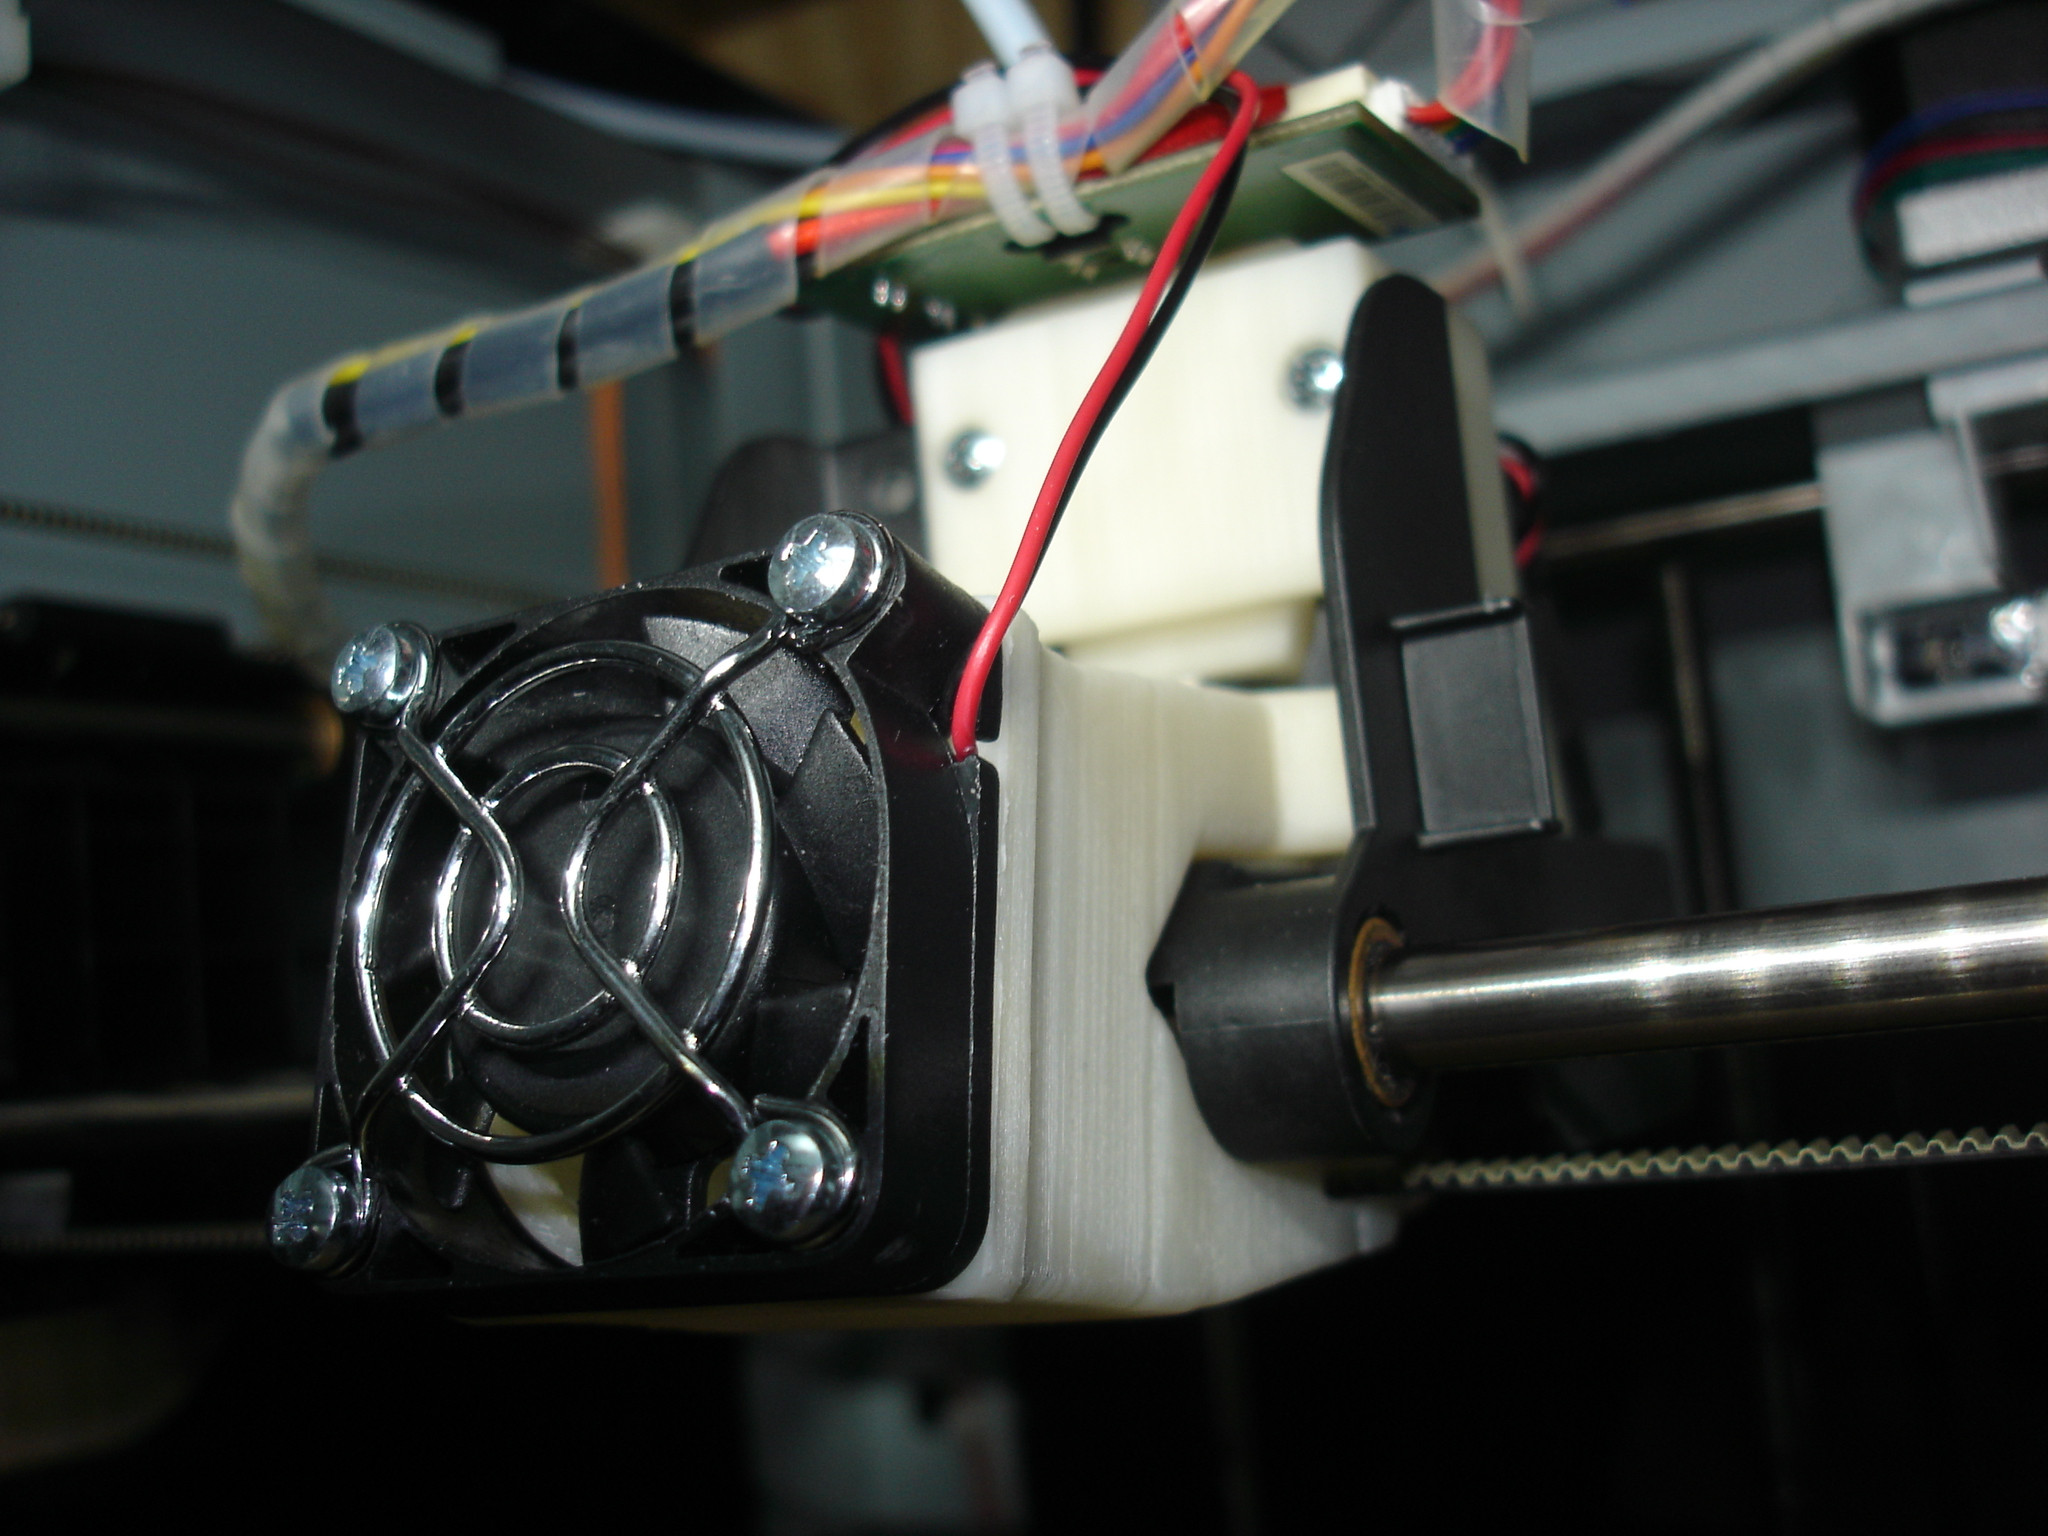
Here is a picture of my mod:
Some of you might say I've inserted the tube screw the wrong way and that the side where there is no thread for a few millimeters need to go inside the heat block and the side where you can spot the white PTFE inside need to go on the cold end side.
Actually I've tried both and I prefered as shown in the picture. The reason is that I had trouble that when removing the filament I pulled out the PTFE tube as well two times. The only way to make sure the tube will stay inside is to mount it the way as shown in the picture! But to ease inserting the filament I've enlarged the hole and drilled a coutersink on the top. Now it's very easy to insert the filament and the PTFE tube stays inside!
In the meantime I've inserted a teeth washer between the M6 nut and the aluminium block to avoid that the temperature changes will loose the nut. This also avoid that the complete heat block unit is twisting when you replace the nozzle!
I purchased all the parts for this mod from this nice store: https://shop.stoutwind.de/ If you are located in the EU I can highly recommend this store! I get the parts the next day for almost the same price as buying from China! I had a nice chat with the owner, a young guy starting his own business, go and support him!
Here is the parts list (in German) if someone like to do the same mod:
1 Stück Aluminium Heizblock im E3D v6 Stil - Klemmaufnahme für 6 mm Heizpatronen
1 Stück Halsschraube mit Absatz - M6 x 40 mm - mit PTFE-Einsatz - für 1,75 mm Filament
2 Stück Modulare Kühlrippe für M6 x 1 Rechtsgewinde
1 Stück MK8 Messingdüse Ø0,4 mm - für 1,75 mm Filamente - M6 x 1 mm Gewinde
I used the chance to replace the heat cartige and termistor as well. The reason was that the XYZ heat cartige is much longer and only got 35W - the new cartige is only 20mm long and got 40W - the hot end will heat up much quicker and less wasted heat. The stock XYZ termistor is quite big and will not fit into the heat block hole. Therefore I changed the termistor as well - if you would like to use the stock thermistor you will need to drill a bigger hole. I would recommend to order these parts along:
1 Stück Thermistor mit Kabel - 100 kOhm - Beta-Wert 3950 K - radial
1 Stück Heizpatrone 12 V - 40 W - Ø6 x 20 mm
1 Stück Hochtemperatursilikon bis 350 °C - schwarz - 21 Gramm Tube
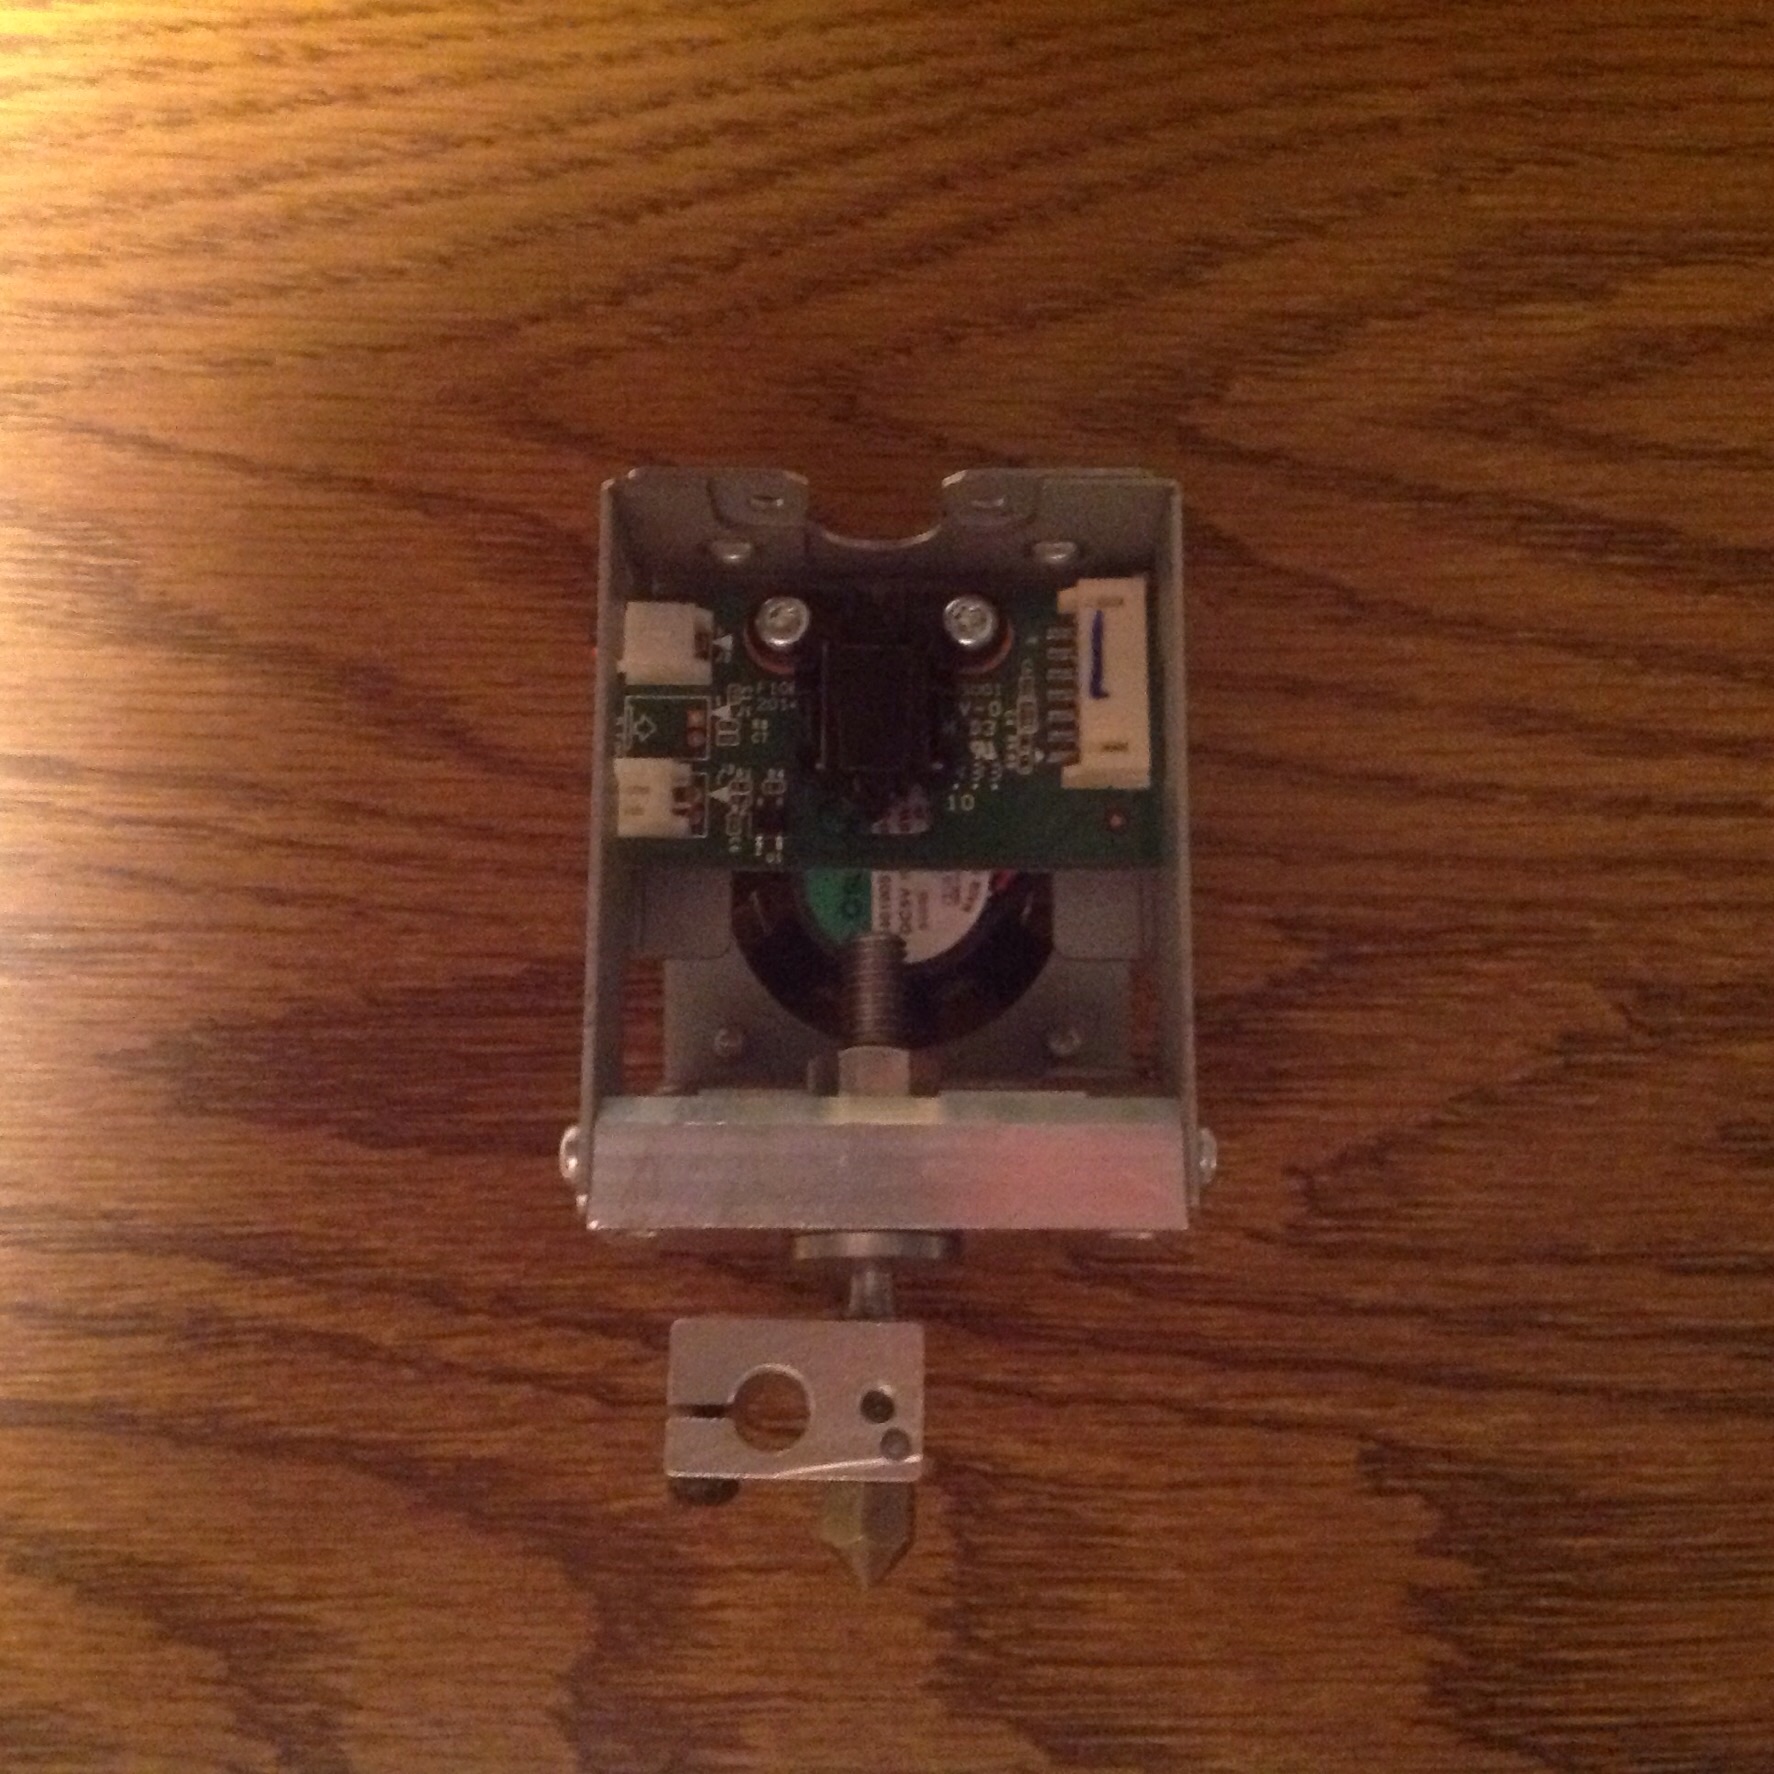
As you can see on the picture I directly soldered the new termistor to the PCB - I had lots of trouble with loose contacts in the past and therefore prefered to have it soldered. To fix the termistor in place you will need heat resistant silicone, all can be found in the store see link above. When you heat up the first time you may notice some smoke, it's from the silicone no need for any concern!