1 (edited by veehoo 2016-03-12 20:36:29)

Topic: after E3D V6 upgrade, over extrusion problems

I did the part 2 of my SD4 overhaul a few week ago, but can't seem to get it calibrated properly. My first round was bearings and idlers on y-rod, m3 z-screw, smoothie clone (drv8825 steppers) and pcb bed heater. Had been printing with that for a while now and was reasonably happy. Now the second round was lawsy/pirvan carriages + gt2 belts, e3dv6 and 400 step extruder motor, all in one go, as per all the recommendations wink

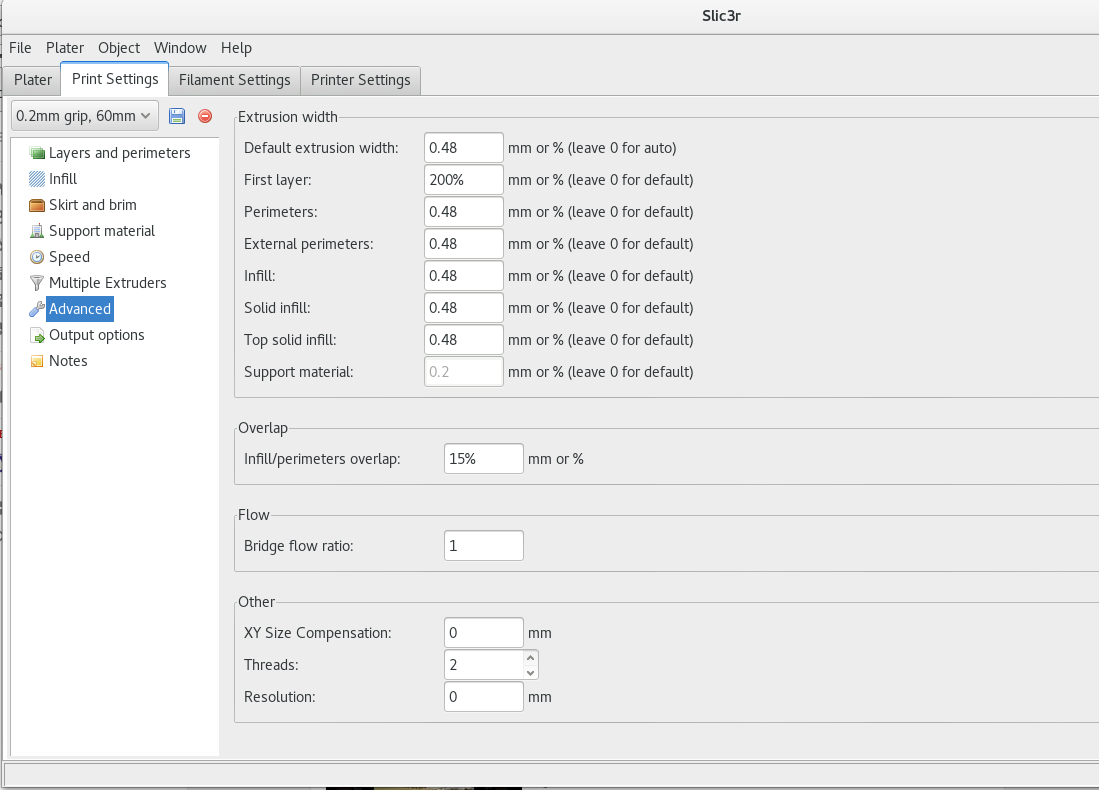
I think I got the basic calibration parameters right: Calibrated extruder steps/mm and filament diameter, printing 0.2mm layers, 0.48 extrusion width, 0.75mm retracts and 238C temp and usually running @ 60mm/s. Calibration cubes come out 0.48mm thick with beautiful walls. Circles are round.

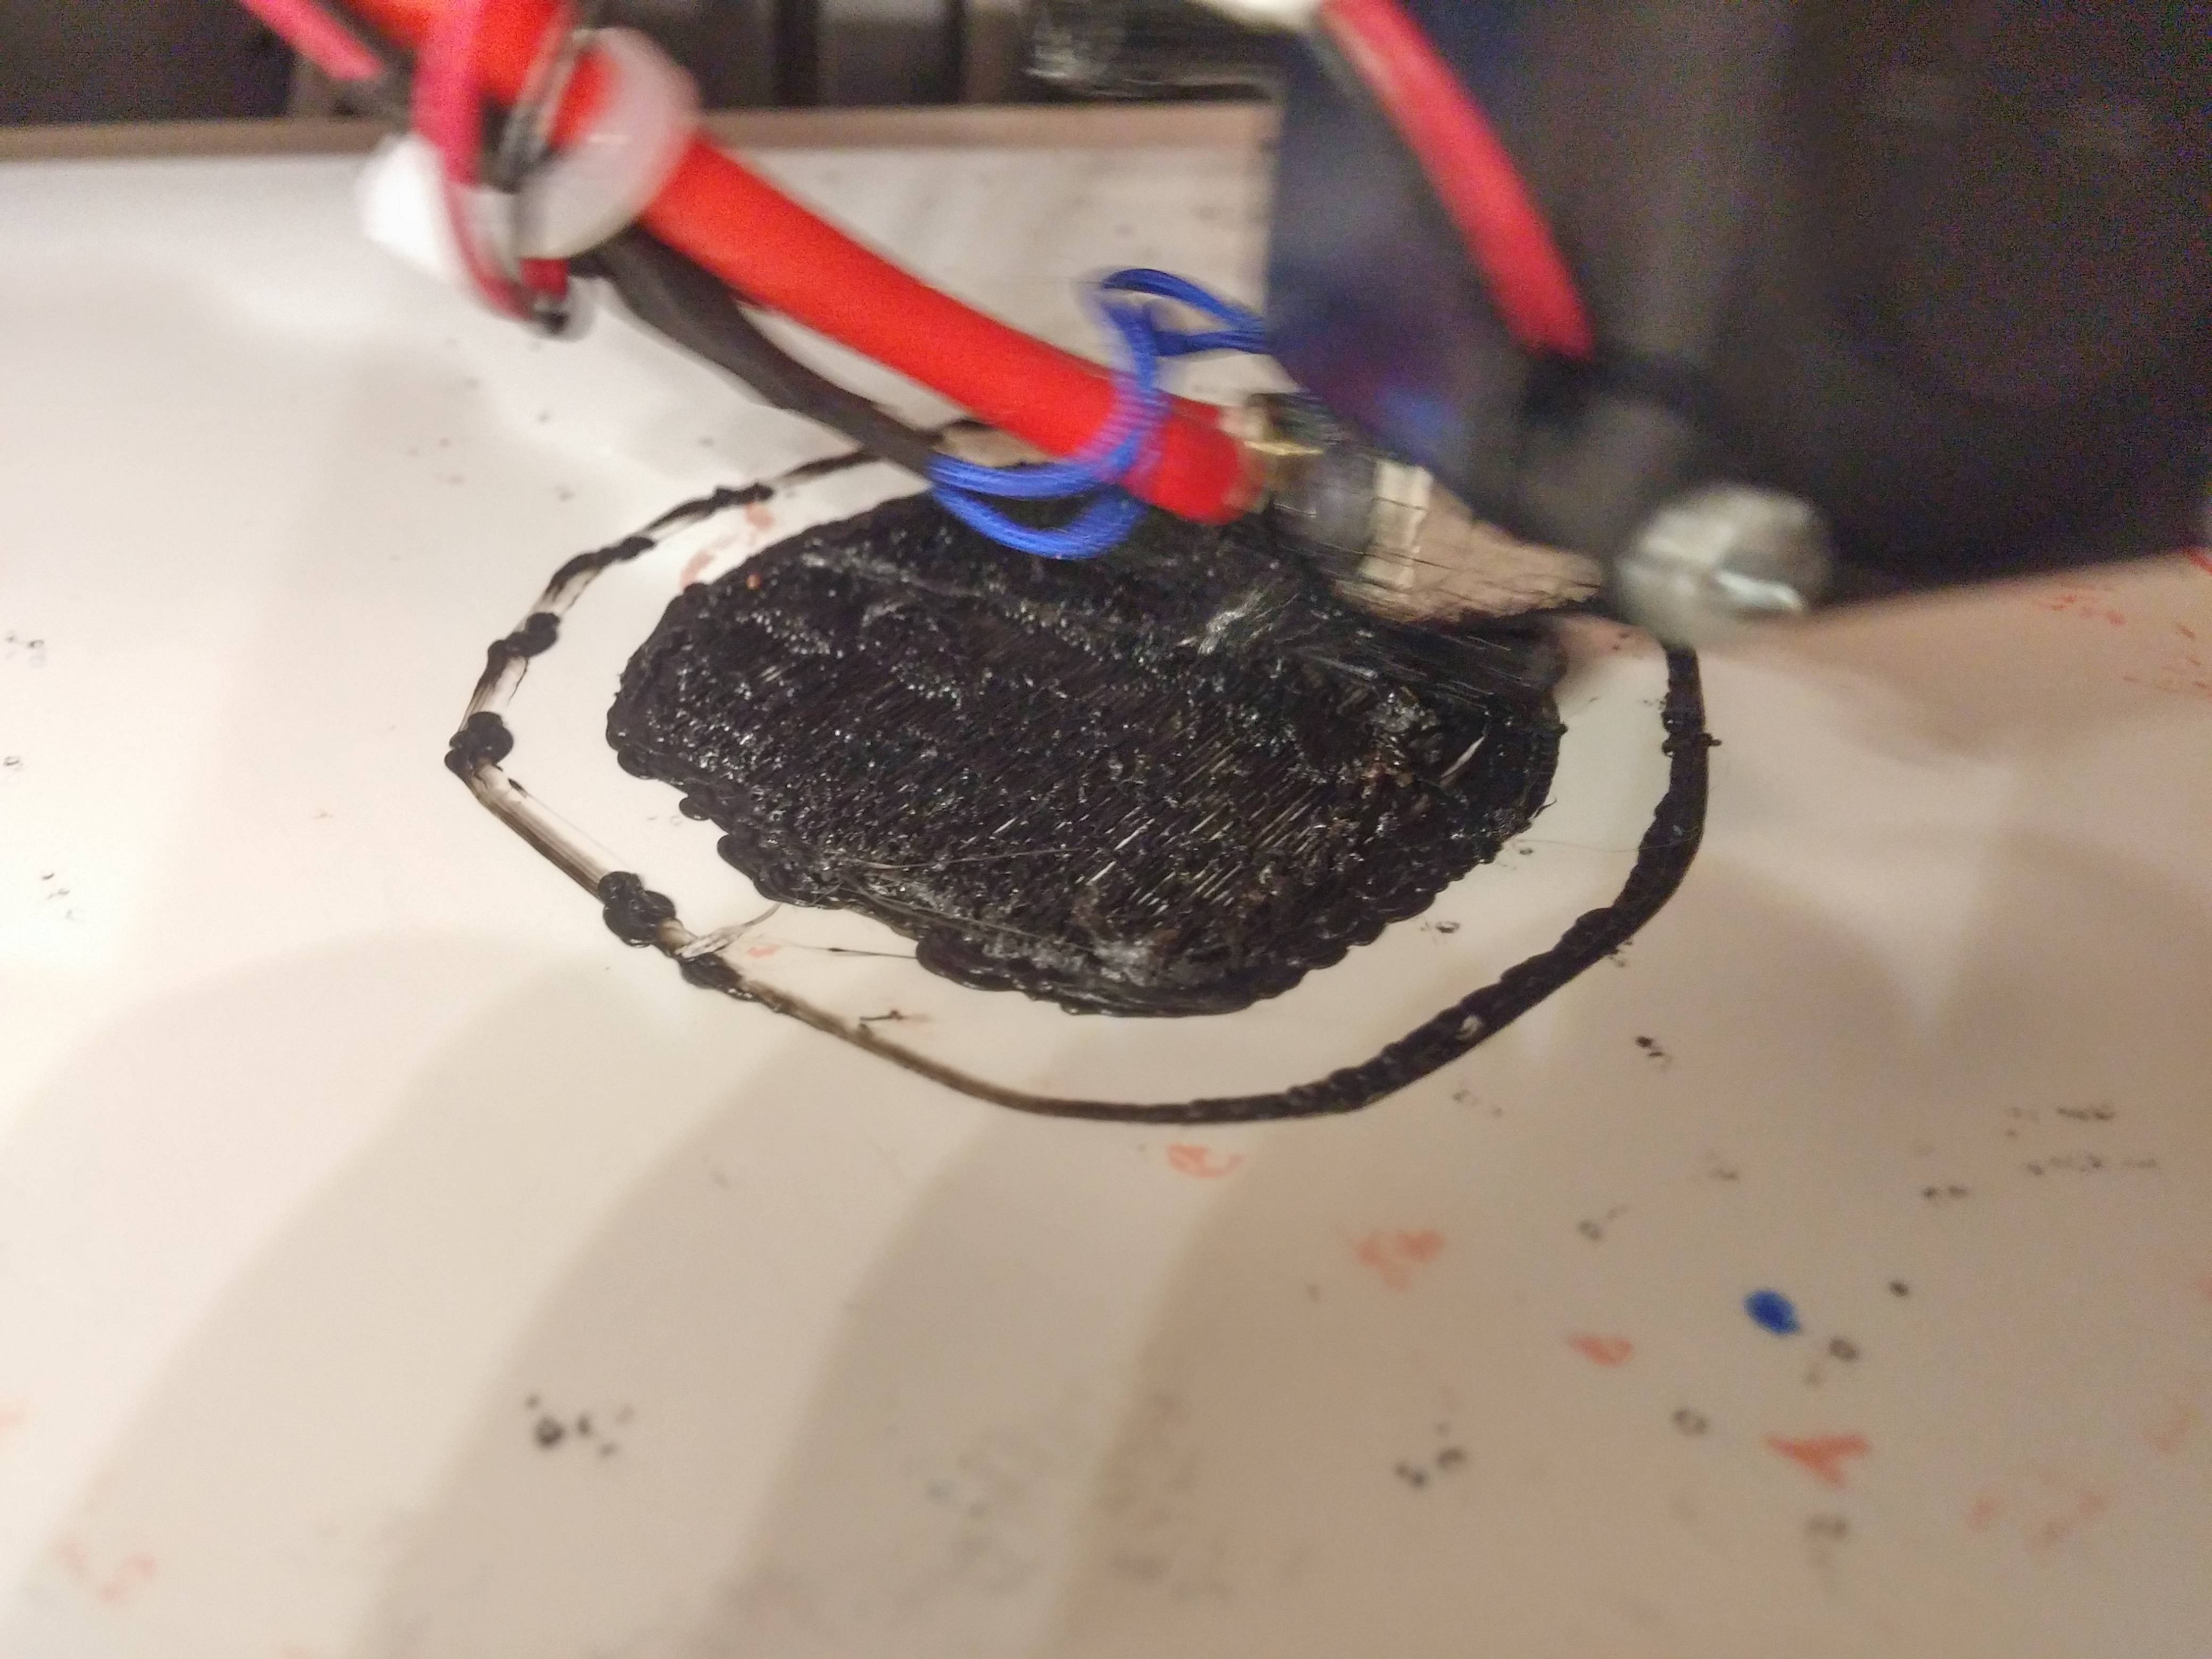
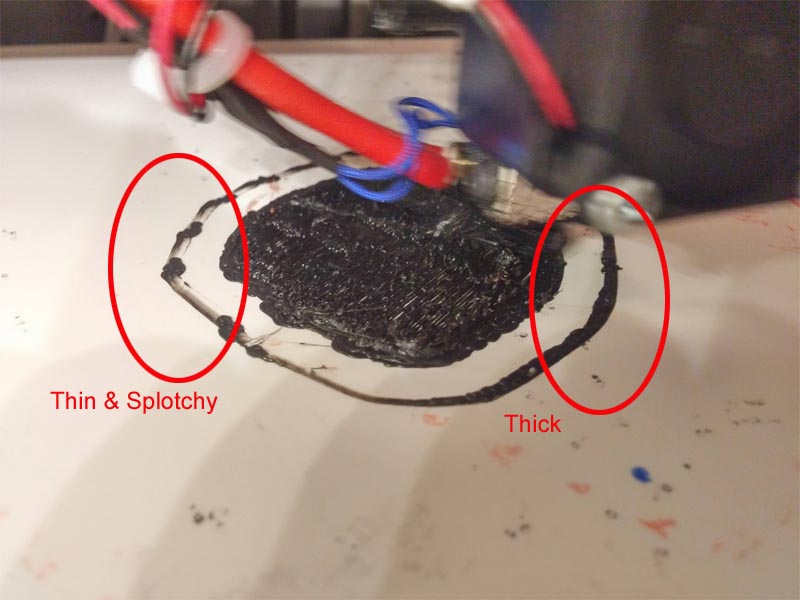
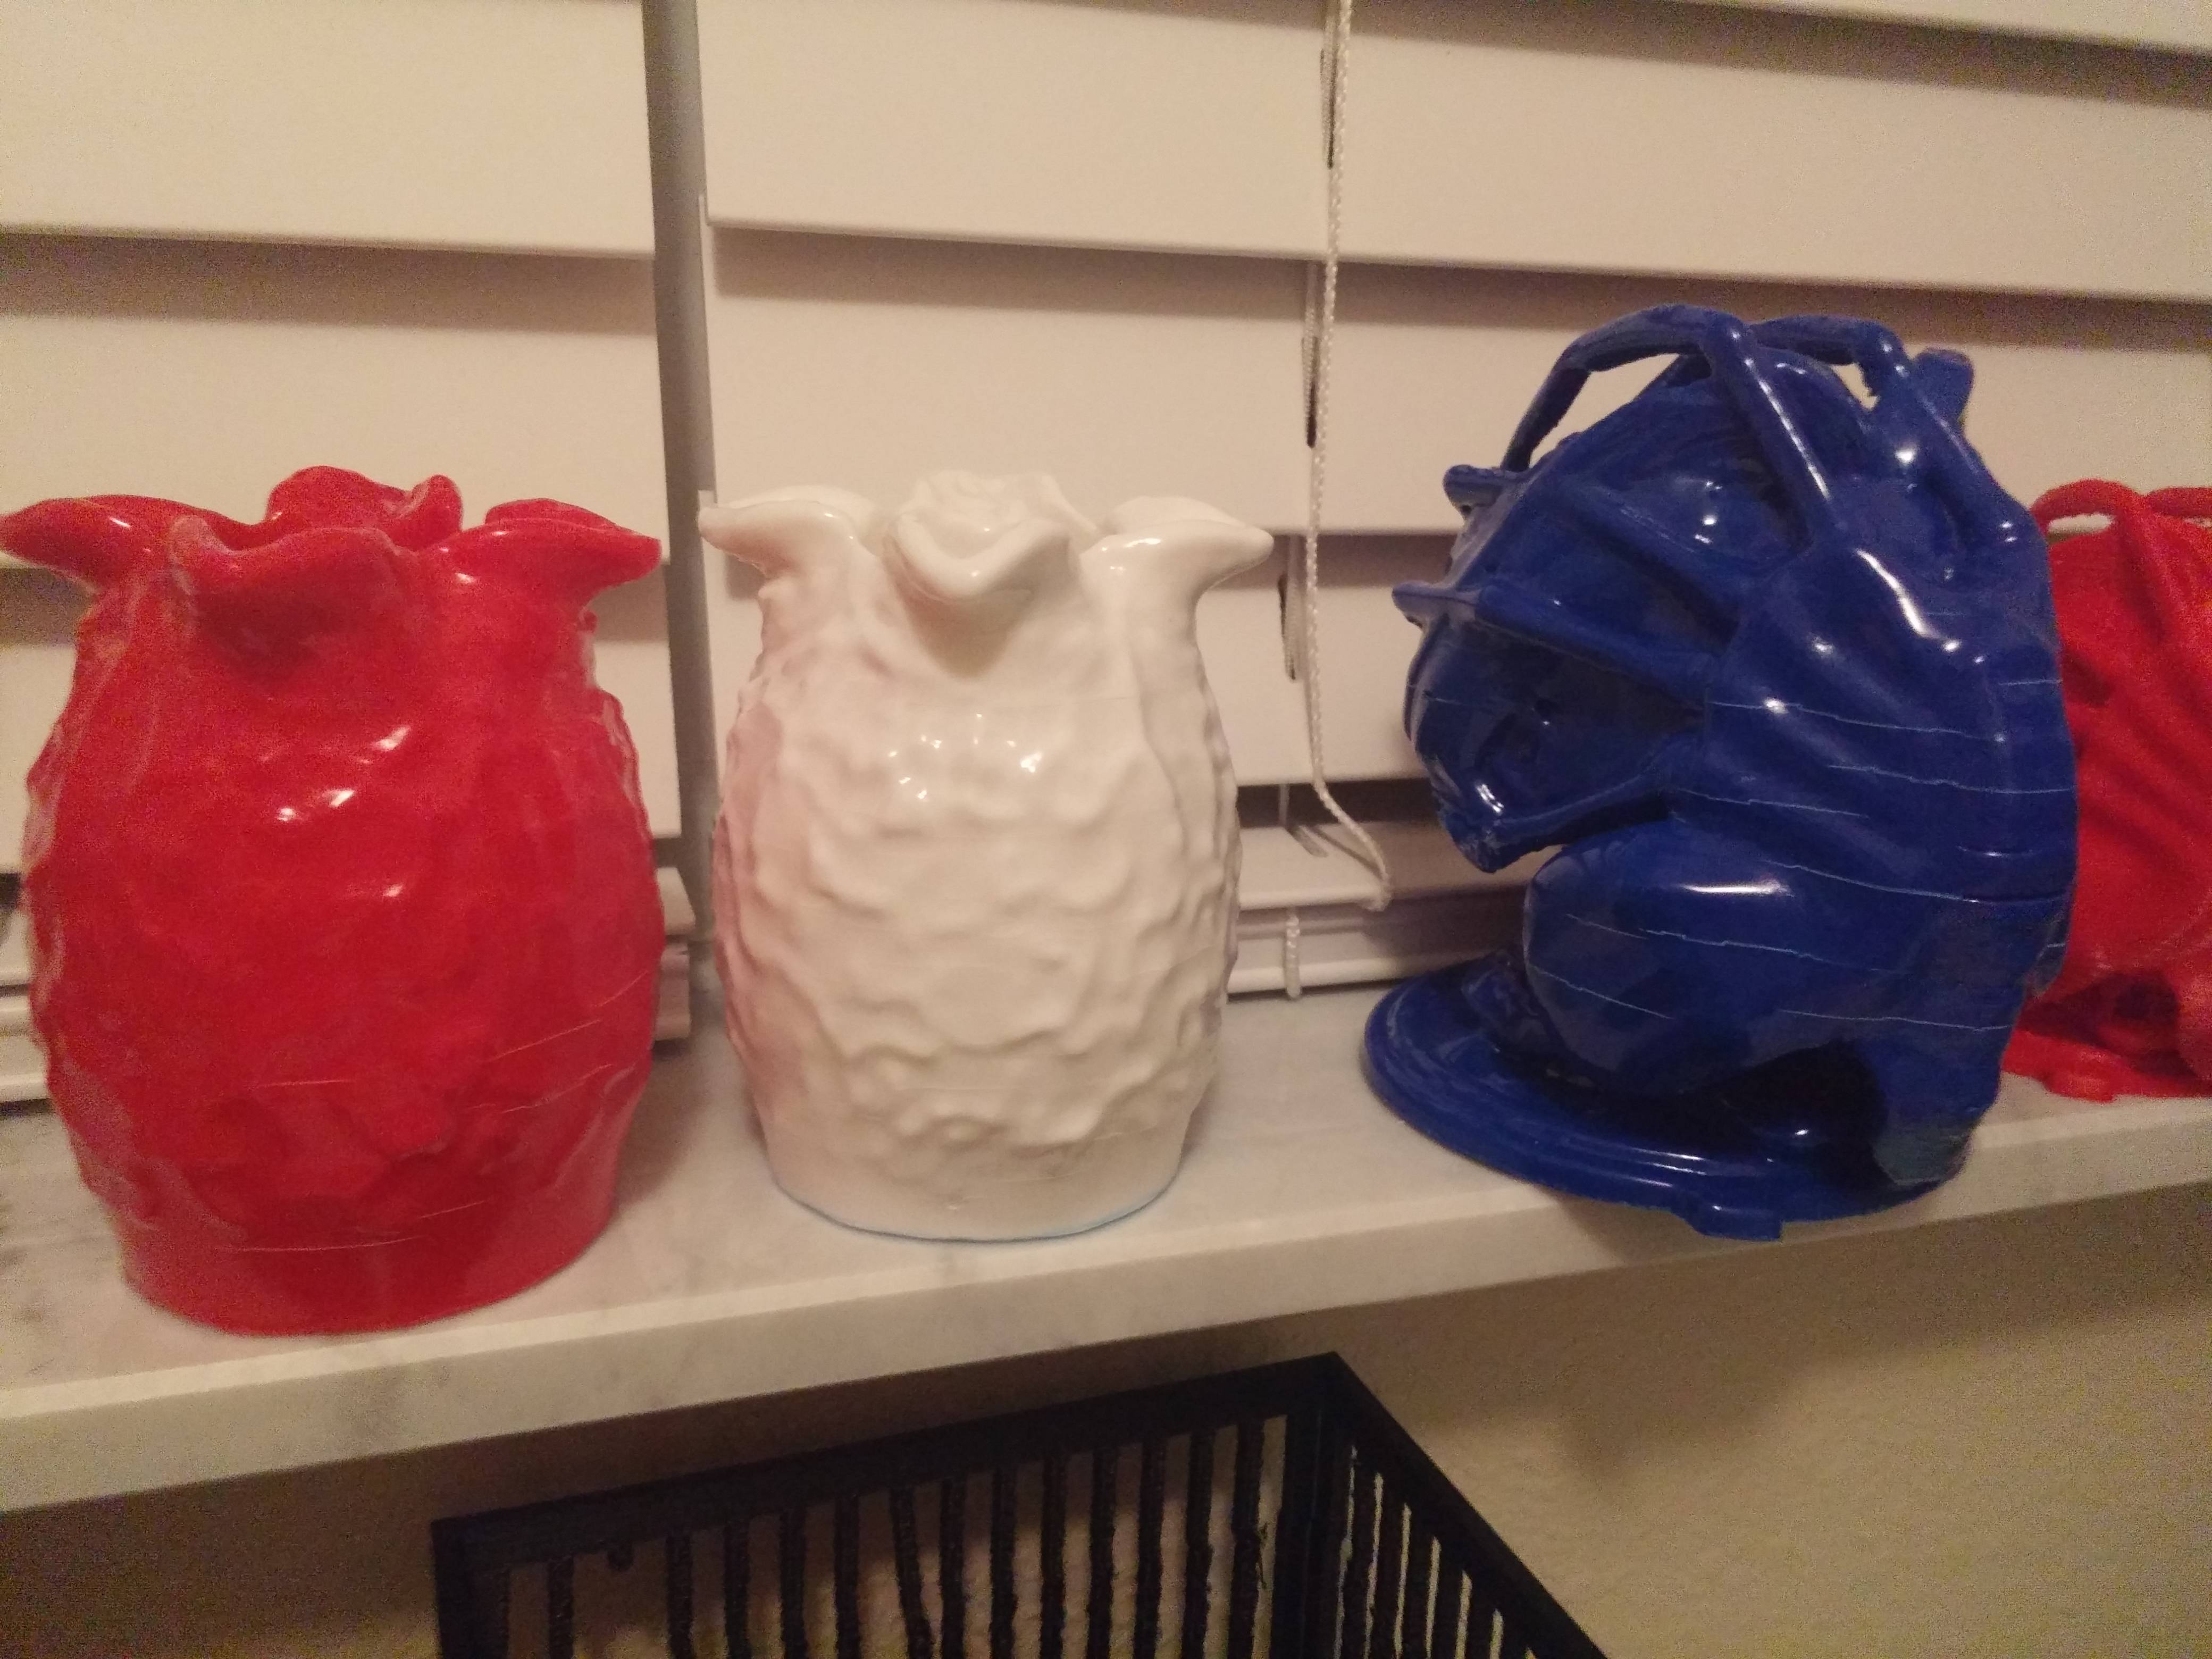
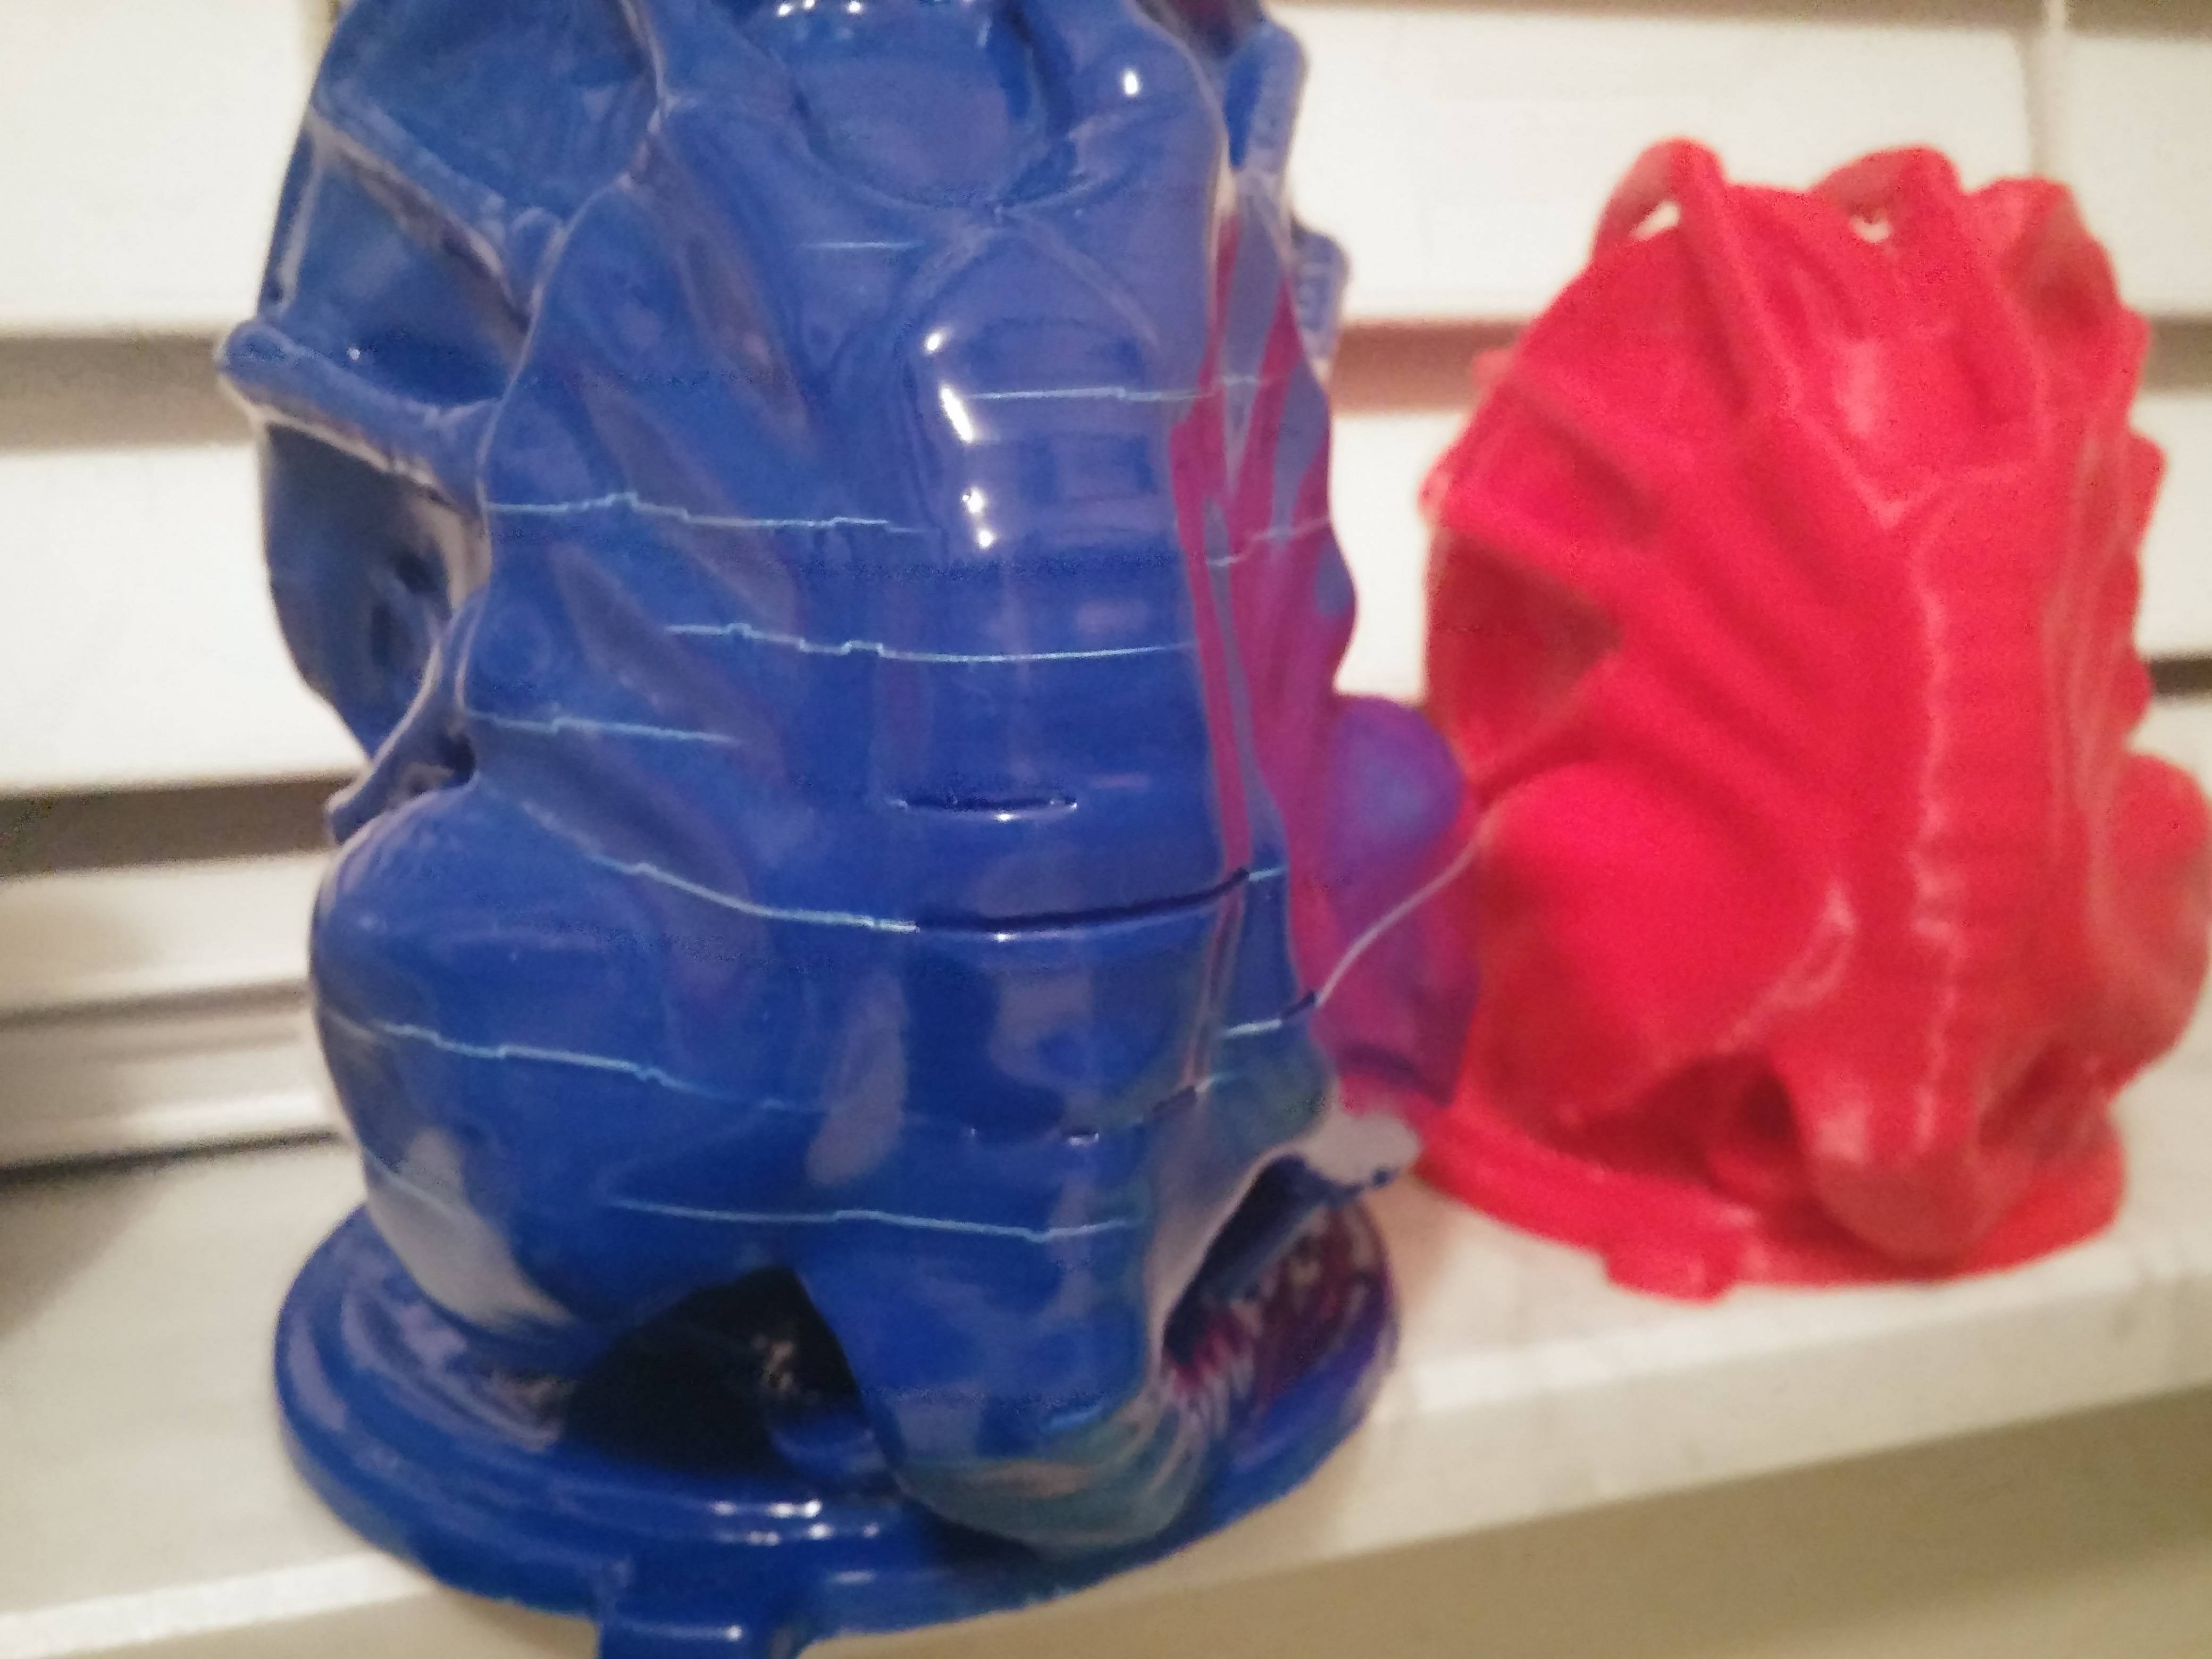
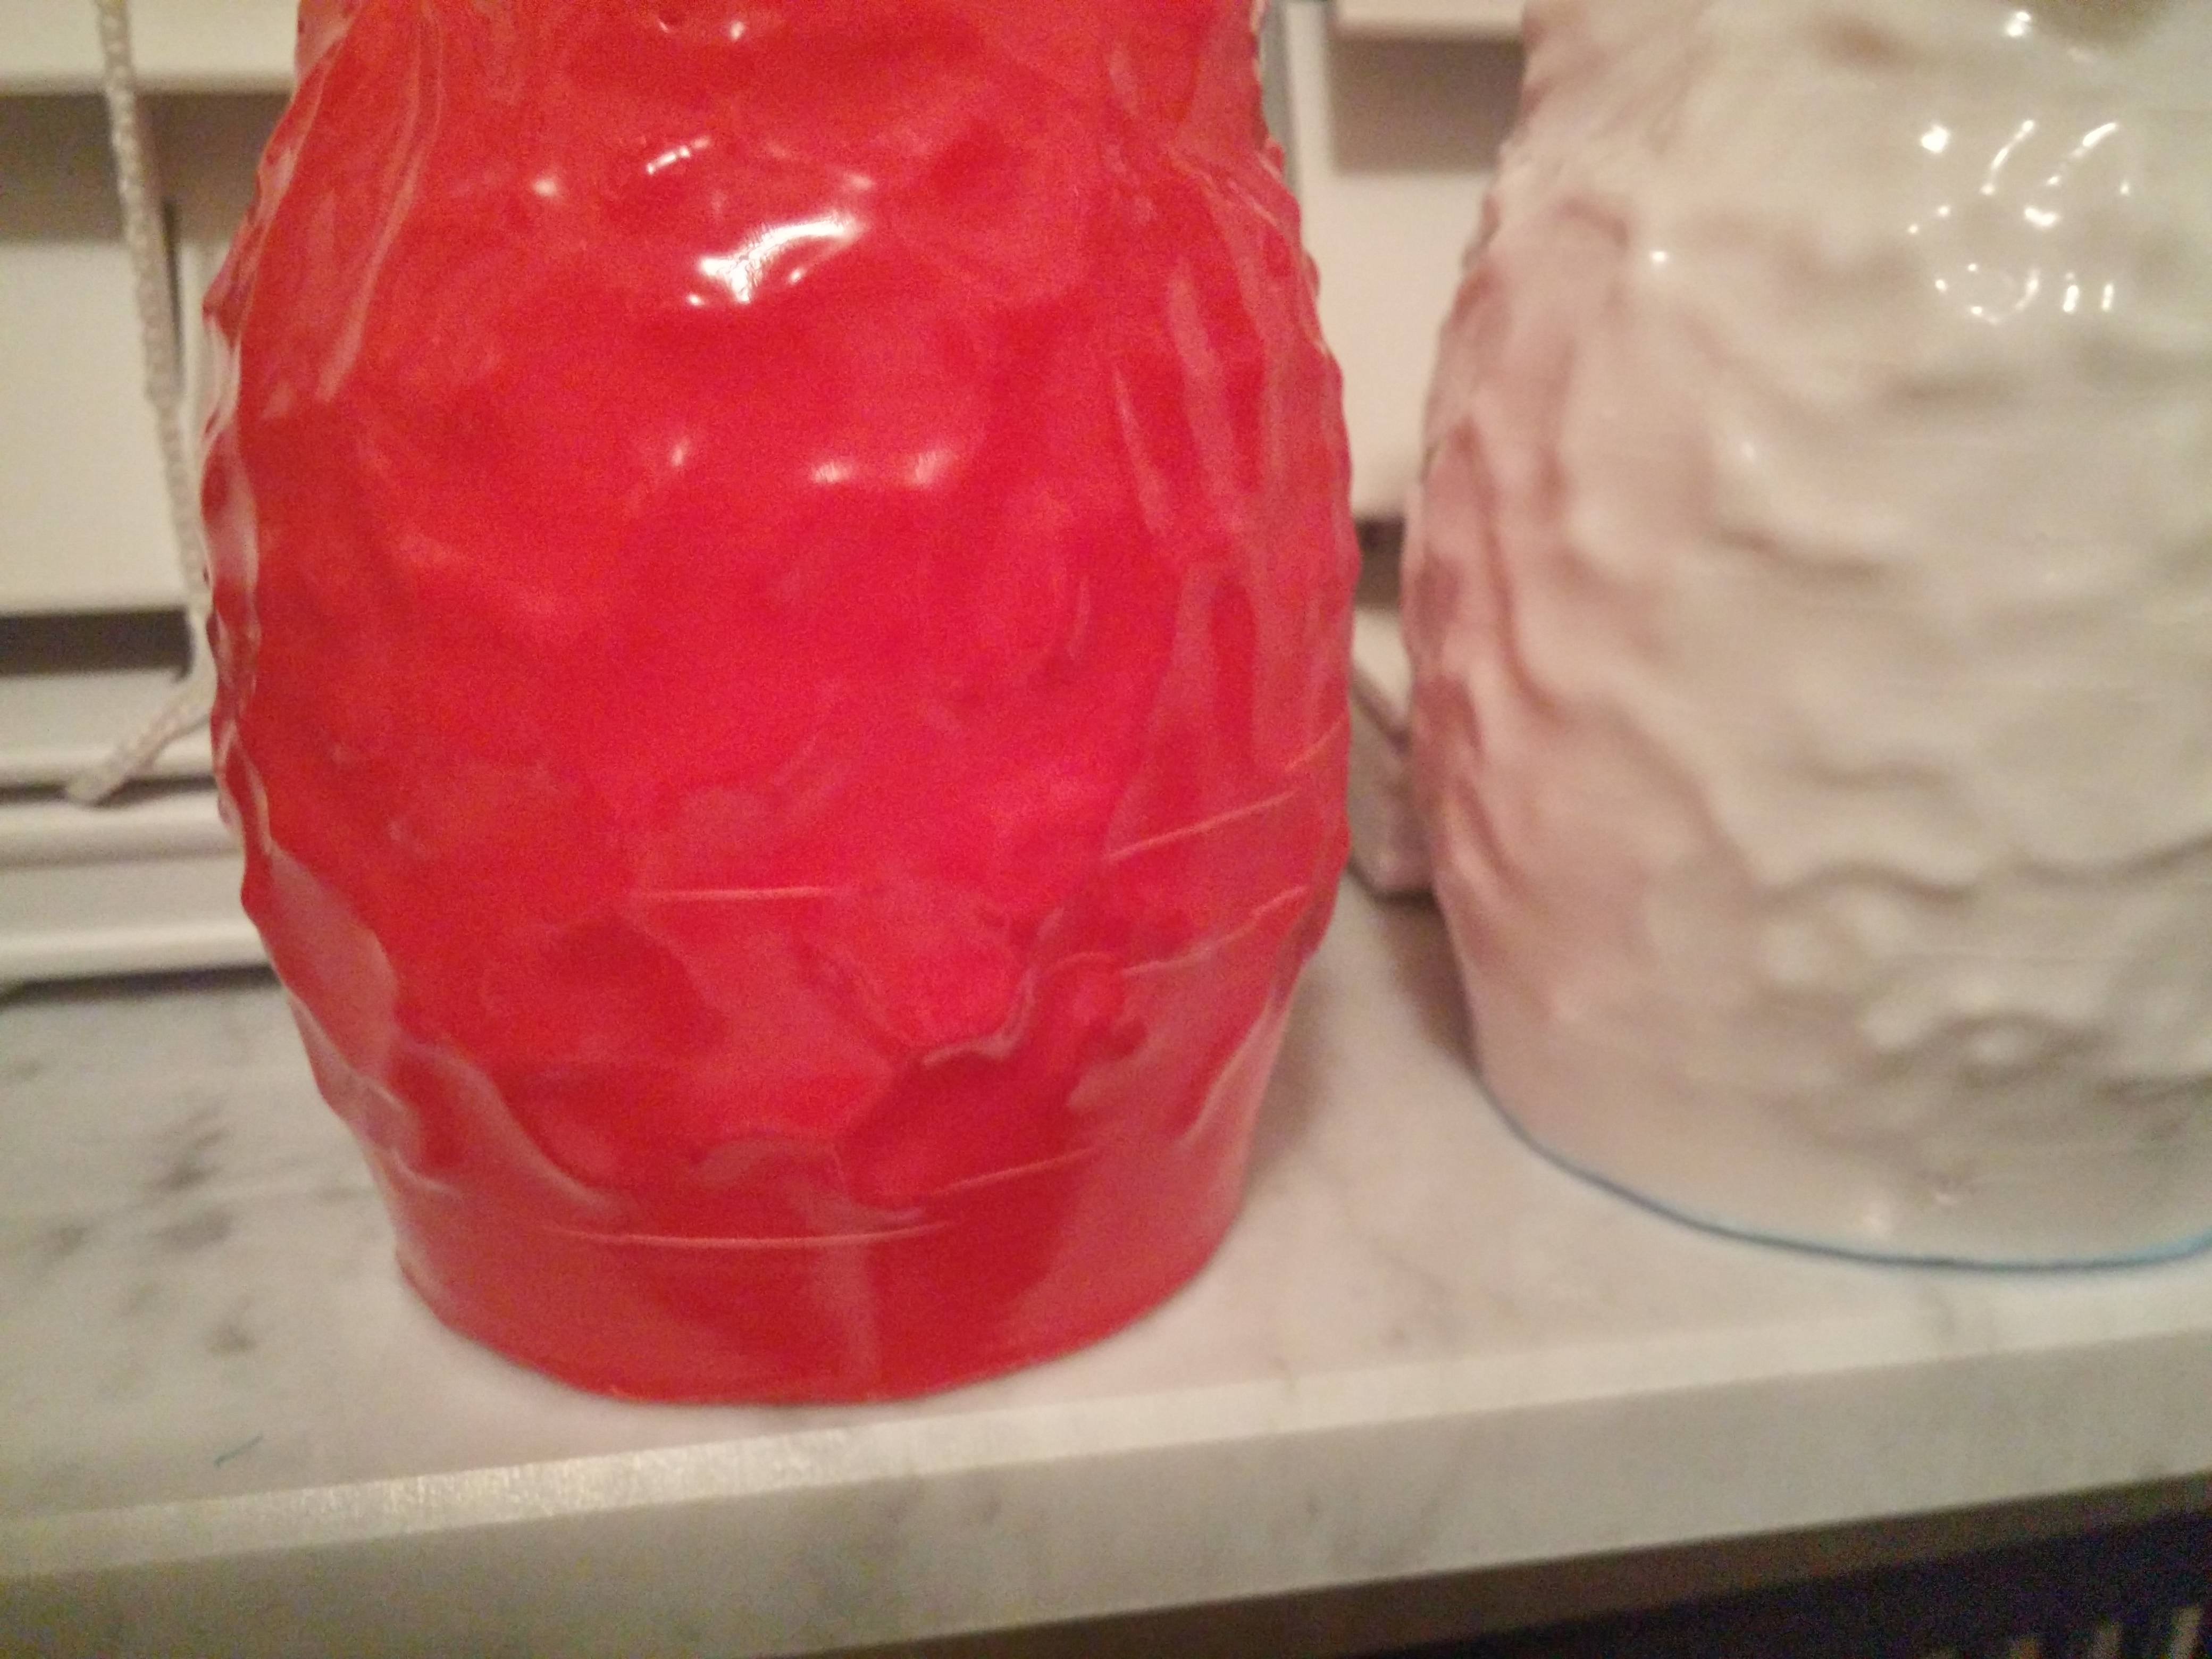
My problem with the new setup is substantial over extrusion. With this setup, I'm unable to come up with an extrusion multiplier that produces 0.48mm walls on calibation cube *and* clean 100% infill prints. I didn't have this problem before. I'm attaching a couple of pictures, printed with 100% infill and extrusion multipliers producing < 0.48mm single walls. The printer draws way better than before the upgrade, but I'm not sure how to correctly deal with the over extrusion. I'm begining to wonder if there's something I'm not quite understanding wrt. controling the amount of plastic pushed.

Would be greatful for ideas on what to try next.

tia, veehoo

Post's attachments

DSC_8753.jpg
DSC_8753.jpg 627.06 kb, 1 downloads since 2016-03-12 

DSC_8754.jpg
DSC_8754.jpg 588.64 kb, 1 downloads since 2016-03-12 

You don't have the permssions to download the attachments of this post.

2

Re: after E3D V6 upgrade, over extrusion problems

You may want to look at what the extrusion widths are set at in your slice profile.  Perimeters should be set at .48 but you can tweak the width for infill separately.  This is the tool path width so if over extruding on infill try increasing its width of the tool path.  This will space the path further apart.

Printit Industries Model 8.10 fully enclosed CoreXY, Chamber heat
3-SD3's & a Workbench all fully enclosed, RH-Slic3r Win7pro, E3D V6, Volcano & Cyclops Hot End
SSR/500W AC Heated Glass Bed, Linear bearings on SS rods. Direct Drive Y-axis, BulldogXL
Thanks to all for your contributions

3

Re: after E3D V6 upgrade, over extrusion problems

I tested further this over extruding with the help of this link: http://reprap.org/wiki/Triffid_Hunter's_Calibration_Guide . The idea there being, that you print infill at a bit less than 100% and turn extrusion steps/mm down online until you  start seeing little gaps between printed lines. I used the calibration piece linked from that article.

So I extruded 100mm, got E steps/mm = 690. Printed Calibration cube, got 0.48mm wall @ E multiplier = 0.92 using the following extrusion widths.

http://soliforum.com/i/?XZ1pFBT.png

I then started to print the calibration piece while adjusting the E steps/mm, and had to go down to 658 until I started see gaps in infill. And then tried another calibration cube, and got 0.46mm walls.

wardjr wrote:

You may want to look at what the extrusion widths are set at in your slice profile.  Perimeters should be set at .48 but you can tweak the width for infill separately.  This is the tool path width so if over extruding on infill try increasing its width of the tool path.  This will space the path further apart.

This is interesting. I didn't have the time to try it out yet, but sounds like the right tool for the job. I'll probably try a value like 0.6mm for all the three infill extrusion widths and see if that helps out. Or is the a more scientific way of measuring the correct width, knowing that I need approx. 5% less plastic according to measurement above. One concern is that how static this correction is, i.e. do I need to calibrate it once or play with it per filament and printer object...

Thanks, veehoo

4

Re: after E3D V6 upgrade, over extrusion problems

oh no, please - not another one using that guide...

There is some good info in there, please dont get me wrong, but I have to take exception to the extrusion calibration info it contains. Too much "fudging" going on...

take a read through this post - Jagowilson does an excellent job of discussing why you don't want to "fudge" with extrusion if you can help it...
http://www.soliforum.com/post/83278/#p83278

SD4 #1 & #2 - Lawsy carriages, E3D v6, Rumba controller board, mirror bed plate, X motor fan, upgraded PSU & Mica bed heater
SD4 #3 - in the works ~ Folgertech FT-5, rev 1
Printit Industries Beta Tester - Horizon H1

5

Re: after E3D V6 upgrade, over extrusion problems

I agree with heartless on this.  Once you get the extrusion widths set you'll rarely need to change them.

Printit Industries Model 8.10 fully enclosed CoreXY, Chamber heat
3-SD3's & a Workbench all fully enclosed, RH-Slic3r Win7pro, E3D V6, Volcano & Cyclops Hot End
SSR/500W AC Heated Glass Bed, Linear bearings on SS rods. Direct Drive Y-axis, BulldogXL
Thanks to all for your contributions

6

Re: after E3D V6 upgrade, over extrusion problems

heartless wrote:

oh no, please - not another one using that guide...

There is some good info in there, please dont get me wrong, but I have to take exception to the extrusion calibration info it contains. Too much "fudging" going on...

take a read through this post - Jagowilson does an excellent job of discussing why you don't want to "fudge" with extrusion if you can help it...
http://www.soliforum.com/post/83278/#p83278

Well, I wasn't really suggesting I'd leave the E steps at adjusted value, more like it's a value one can adjust live while getting visual feedback. And thinking a linear relationship between E steps and multiplier, so I can translate the 'measured' 5% excess to the multiplier. Well, I stand corrected.

Thanks for linking the awesome writeup of jagowilson. Certainly helped me clear the extrusion calculation. What I do next I guess is:

Turn E steps/mm back to measured 690 (400 steps motor, drv8825 driver and hobb-goblin)
Re-measure my filament. Might have been a bit sloppy there.
Find the lowest multiplier wher wall can be said to be 0.48mm.
Adjust any exess over extrusion with extrusion width settings on infill.

Does that sound about right?

Thanks for help, really.

veehoo

7

Re: after E3D V6 upgrade, over extrusion problems

Yep

Printit Industries Model 8.10 fully enclosed CoreXY, Chamber heat
3-SD3's & a Workbench all fully enclosed, RH-Slic3r Win7pro, E3D V6, Volcano & Cyclops Hot End
SSR/500W AC Heated Glass Bed, Linear bearings on SS rods. Direct Drive Y-axis, BulldogXL
Thanks to all for your contributions

8

Re: after E3D V6 upgrade, over extrusion problems

i never change the "default" extrusion width - unless I were to change the nozzle size of course...

the others I do play with to get good fill on a given model - things like text or small areas almost have to be played with to get them to come out well.

also never need to mess with the E steps/mm once it is set correctly.

what does get changed with each spool of filament is the average diameter and the extrusion multiplier to get that particular filament printing at the desired width.

I currently have 37 filament profiles saved in Slic3r - one for each brand/color/type of filament I have (and I have a few that aren't in there yet - haven't used them yet, or been a long time) Swapping spools is as easy as selecting the correct profile and I get consistent prints with every spool i have, every time.
If I run out on one spool and have to start a new one, the new spool gets calibrated all over again, even if it is the same brand, type & color. I may reuse the profile name, but the actual calibrations get done with each new spool to make sure it prints just as well as the previous one did.

SD4 #1 & #2 - Lawsy carriages, E3D v6, Rumba controller board, mirror bed plate, X motor fan, upgraded PSU & Mica bed heater
SD4 #3 - in the works ~ Folgertech FT-5, rev 1
Printit Industries Beta Tester - Horizon H1

9

Re: after E3D V6 upgrade, over extrusion problems

so if I understand you correctly,

the goblin upgrade is sufficient,

but the stepper is recommended

my board do not allow to change drivers...

10

Re: after E3D V6 upgrade, over extrusion problems

It isn't mandatory to upgrade the motor or driver, but it would help.
I have an SD2 with a Printrboard (1/16) and a stock motor with the Goblin and it runs great.

Upgrading the driver, if possible, is a great work around to a 1.8 motor. If it is not possible, upgrading to a .9 motor is a great work around for the inability to work on integrated drivers. Regardless, the Goblin upgrade is a solid step in the right direction.

Printit Mason and Printit Horizon printers
Multiple SD2s- Bulldog XL, E3D v5/v6/Lite6, Volcano, Hobb Goblin, Titan, .9 motor, Lawsy carriages, direct Y drive, fishing line...the list goes on
Filawinder and Filastruder #1870.....worth every penny!

11 (edited by crazyman2099 2016-04-01 03:42:17)

Re: after E3D V6 upgrade, over extrusion problems

I am having exact same issues with my newE3D head conversion. I have a SD3 and before conversion my prints were great, now that I have the new E3D head I get crazy overextrusion with same filament and settings!

- I have done extruder stepper calibration just to make sure steppers give correct amount
- I have done single wall calibration successfully
- I use hatchbox ABS with typical setting of diameter 1.66 mm and extrusion multiplier of 0.85-0.86
- Printer settings I set nozzle diameter at 0.48 mm
- BEFORE E3D I never touched Print advanced tab, I left everything at 0.
- From reading this I went and updated my print advanced tab to everything being 0.48 mm and first layer as 100%, infill overlap at 15%

From all this I am still getting overextrusion. What settings do you guys have that work? Just frustrating I did E3D upgrade and prints are worse and I know it is software related. I am attaching photo of print I am doing right now.

http://soliforum.com/i/?CIWx7ka.jpg

12

Re: after E3D V6 upgrade, over extrusion problems

Can I ask what version of Slic3r and what version of Marlin ?

Printit Industries Model 8.10 fully enclosed CoreXY, Chamber heat
3-SD3's & a Workbench all fully enclosed, RH-Slic3r Win7pro, E3D V6, Volcano & Cyclops Hot End
SSR/500W AC Heated Glass Bed, Linear bearings on SS rods. Direct Drive Y-axis, BulldogXL
Thanks to all for your contributions

13

Re: after E3D V6 upgrade, over extrusion problems

I only print in hatchbox abs and I haven't had a roll yet with a diameter under 1.71 How often to you check your filament diameter?

Sd4 #9080 with a glass bed. E3d chimera duel extruder. Paste extruder , duet wifi.
Lawsy carriages. linear bearings. Y axis direct drive, Kinect scanner
SD4#8188 glass bed, lawsly carriages, E3d v6, octoprint http://www.ustream.tv/channel/hotrod96z28
Filastruder/filawinder, Custom Delta 300mm x 600mm

14

Re: after E3D V6 upgrade, over extrusion problems

Slic3r is version 1.2.9, how would I check Marlin version?

For filament when I get roll open I check first couple feet at multiple points.

The biggest concern about all this is that when I printed at 200 C with old Solidoodle head there was no issue at all, perfect extrusion, then just switching to E3D and 260 C printing overextrusion.

If I only print the walls and no solid infill it is still good, solid infill is the problem area for too much plastic.

15

Re: after E3D V6 upgrade, over extrusion problems

looking at that picture, I would say your bed is not level - evidence is the skirt that goes down thicker on one side versus thin & spotty on the other side. you also have a fair amount of moire going on which is not helping the situation any.

i would also suggest reducing the overlap a bit.

not really sure why, but Hatchbox ABS seems to 'expand' more than other filaments on that critical first layer - even with overlap set to 0, it goes down like it is over-extruding - subsequent layers even things out, but that first layer always looks like an overgrown weed field. and it is ONLY the Hatchbox that does this. Octave & Inland ABS don't do this.

increasing the first layer height a little does help a bit - my usual 1st layer height is 0.29, increasing that to 0.31 helps the HB go down a bit smoother on that first layer

SD4 #1 & #2 - Lawsy carriages, E3D v6, Rumba controller board, mirror bed plate, X motor fan, upgraded PSU & Mica bed heater
SD4 #3 - in the works ~ Folgertech FT-5, rev 1
Printit Industries Beta Tester - Horizon H1

16 (edited by heartless 2016-04-01 12:42:06)

Re: after E3D V6 upgrade, over extrusion problems

crazyman2099 wrote:

Slic3r is version 1.2.9, how would I check Marlin version?

For filament when I get roll open I check first couple feet at multiple points.

The biggest concern about all this is that when I printed at 200 C with old Solidoodle head there was no issue at all, perfect extrusion, then just switching to E3D and 260 C printing overextrusion.

If I only print the walls and no solid infill it is still good, solid infill is the problem area for too much plastic.


260C is a bit hot for ABS - should be more in the 235-245 range - 260 is more of a nylon temp...

for Marlin version, toggle the log on in RH when you first connect to the printer it should show.
Will look something like this:
07:40:28.073 : FIRMWARE_NAME:Marlin V1; Sprinter/grbl mashup for gen6 FIRMWARE_URL:https://github.com/ErikZalm/Marlin/ PROTOCOL_VERSION:1.0 MACHINE_TYPE:Rumba EXTRUDER_COUNT:1 UUID:00000000-0000-0000-0000-000000000000

SD4 #1 & #2 - Lawsy carriages, E3D v6, Rumba controller board, mirror bed plate, X motor fan, upgraded PSU & Mica bed heater
SD4 #3 - in the works ~ Folgertech FT-5, rev 1
Printit Industries Beta Tester - Horizon H1

17

Re: after E3D V6 upgrade, over extrusion problems

But wait, you flashed new firmware in order to properly install your E3d.  So you should know what version you used or at least what link you followed.  Did you change thermistor type when you went through that process?  Also check that the EEPROM is working properly when calibrating E:steps as some versions don't have EEPROM chit chat enabled.
Mostly though I'm with heartless 260 is rather hot for ABS.  How did you decide that was the temp you should use?

Printit Industries Model 8.10 fully enclosed CoreXY, Chamber heat
3-SD3's & a Workbench all fully enclosed, RH-Slic3r Win7pro, E3D V6, Volcano & Cyclops Hot End
SSR/500W AC Heated Glass Bed, Linear bearings on SS rods. Direct Drive Y-axis, BulldogXL
Thanks to all for your contributions

18

Re: after E3D V6 upgrade, over extrusion problems

For the E3D change I had my friend to the software and new power supply, I installed the new head, carriage, and ran the wires, friend just did his SD3 and could do it quick.

I use 260 C for ABS because at colder temps my prints grow cracks in 1-2 weeks. When I acetone smooth it is very evident of multiple white cracks. My friend goes up to 270 C with ABS for better adhesion, he read this somewhere else in this forum site.

As for first layer here are some items
- with old solidoodle head I had a nearly perfect flat first layer, no weeds or anything, no plastic bulges or bumps. Now with E3D it is a mess. I only use Hatchbox, only variable that changed was printer head and temp of printing.
- build plate is level, I have a zebra plate attached with binder clips and I have sanded it many items so it has created a little waviness that I live with.
- For my first layer I jam the plastic into my build plate so I get perfect adhesion and no lifting during print. I know that causes some sputtering or irregularity in some areas when combine with my worn zebra plate.


How can I make solid infill lines of plastic be spaced out while keeping spacing for everything else?

19

Re: after E3D V6 upgrade, over extrusion problems

Do what you want but I'd have to see that post, 260 is too hot.  Have you done a PID auto tune and used something to verify that temp?  Don't get me wrong I too will run temps that high but it is at extreme speeds, 300+ mm/sec.  I would guess your poor layer adhesion has to do with improper layer heights.  Are you using .3 layer heights instead of the correct .2963 due to the Z rod being 5/16 instead of a metric thread.  I have never had a part crack days after it was printed.  A perfectly flat first layer is also incredibly important as it is the foundation for the rest of the print.  Keeping a part enclosed and warm is also extremely important with ABS.  Let the parts cool gradually to even out shrinkage caused by rapid cooling.

Printit Industries Model 8.10 fully enclosed CoreXY, Chamber heat
3-SD3's & a Workbench all fully enclosed, RH-Slic3r Win7pro, E3D V6, Volcano & Cyclops Hot End
SSR/500W AC Heated Glass Bed, Linear bearings on SS rods. Direct Drive Y-axis, BulldogXL
Thanks to all for your contributions

20

Re: after E3D V6 upgrade, over extrusion problems

I am sorry, but this image says you do not have a level bed...

http://soliforum.com/i/?MOwD8An.jpg

I have never had parts crack several days later, either... if they are going to crack/split, it is usually during printing, or right after taking it off the print bed from cooling too quickly (impatience) .. days later? nope.

FWIW, printing too hot can cause just as many issues as printing too cold. you need to find that sweet spot that is just right.

I am thinking that the cracks you are experiencing are from using the incorrect layer height - using 0.3 as a layer height will cause rounding errors in the steps on a Solidoodle with the stock 5/16" threaded rod which will cause problems in your layers not adhering together well enough.

Wardjr is not just making up numbers, either - using the RepRap Calculator gives the same results as what he is suggesting...

   http://soliforum.com/i/?Zf0k7Dj.jpg

Try it for yourself: http://prusaprinters.org/calculator/#stepspermmlead

SD4 #1 & #2 - Lawsy carriages, E3D v6, Rumba controller board, mirror bed plate, X motor fan, upgraded PSU & Mica bed heater
SD4 #3 - in the works ~ Folgertech FT-5, rev 1
Printit Industries Beta Tester - Horizon H1

21

Re: after E3D V6 upgrade, over extrusion problems

Thank you guys for the feedback, I have been usingg 0.3 height whole time, I am updating to 0.2963 layer height and doing print to trial this change.

I just had another issue with extruder temp, it was struggling to get 240 and when I tried to see if it would get any hotter it would only max out at 250 C. All fans are running like normal without issue, anyone else seen this?

Here are a few pics of some items that developed cracks 2-3 weeks after printing. This was with old solidoodle head at 200-210 C.
http://soliforum.com/i/?WL2tU3g.jpg
http://soliforum.com/i/?l4v3HIc.jpg
http://soliforum.com/i/?sZE32gP.jpg

22

Re: after E3D V6 upgrade, over extrusion problems

Yep and if you could count the layers you'd most likely find a pattern.  Cracks every X number of layers.

Printit Industries Model 8.10 fully enclosed CoreXY, Chamber heat
3-SD3's & a Workbench all fully enclosed, RH-Slic3r Win7pro, E3D V6, Volcano & Cyclops Hot End
SSR/500W AC Heated Glass Bed, Linear bearings on SS rods. Direct Drive Y-axis, BulldogXL
Thanks to all for your contributions

23

Re: after E3D V6 upgrade, over extrusion problems

yup, it does look like a fairly regular interval between the cracks - give or take a layer or 2.

maxing out at 250? something isn't right. firmware wasn't updated properly, or something...
I was just recently running some nylon at 270 with no problems at all.

1 thing to check - make sure the E3D fan is not below the bottom fin of the cool side - a misaligned fan can cause issues.

SD4 #1 & #2 - Lawsy carriages, E3D v6, Rumba controller board, mirror bed plate, X motor fan, upgraded PSU & Mica bed heater
SD4 #3 - in the works ~ Folgertech FT-5, rev 1
Printit Industries Beta Tester - Horizon H1

24

Re: after E3D V6 upgrade, over extrusion problems

Does everything crack or just the prints that have had acetone treatment?

Sd4 #9080 with a glass bed. E3d chimera duel extruder. Paste extruder , duet wifi.
Lawsy carriages. linear bearings. Y axis direct drive, Kinect scanner
SD4#8188 glass bed, lawsly carriages, E3d v6, octoprint http://www.ustream.tv/channel/hotrod96z28
Filastruder/filawinder, Custom Delta 300mm x 600mm