1 (edited by mark.burton 2016-02-23 00:02:21)

Topic: bondtech QR

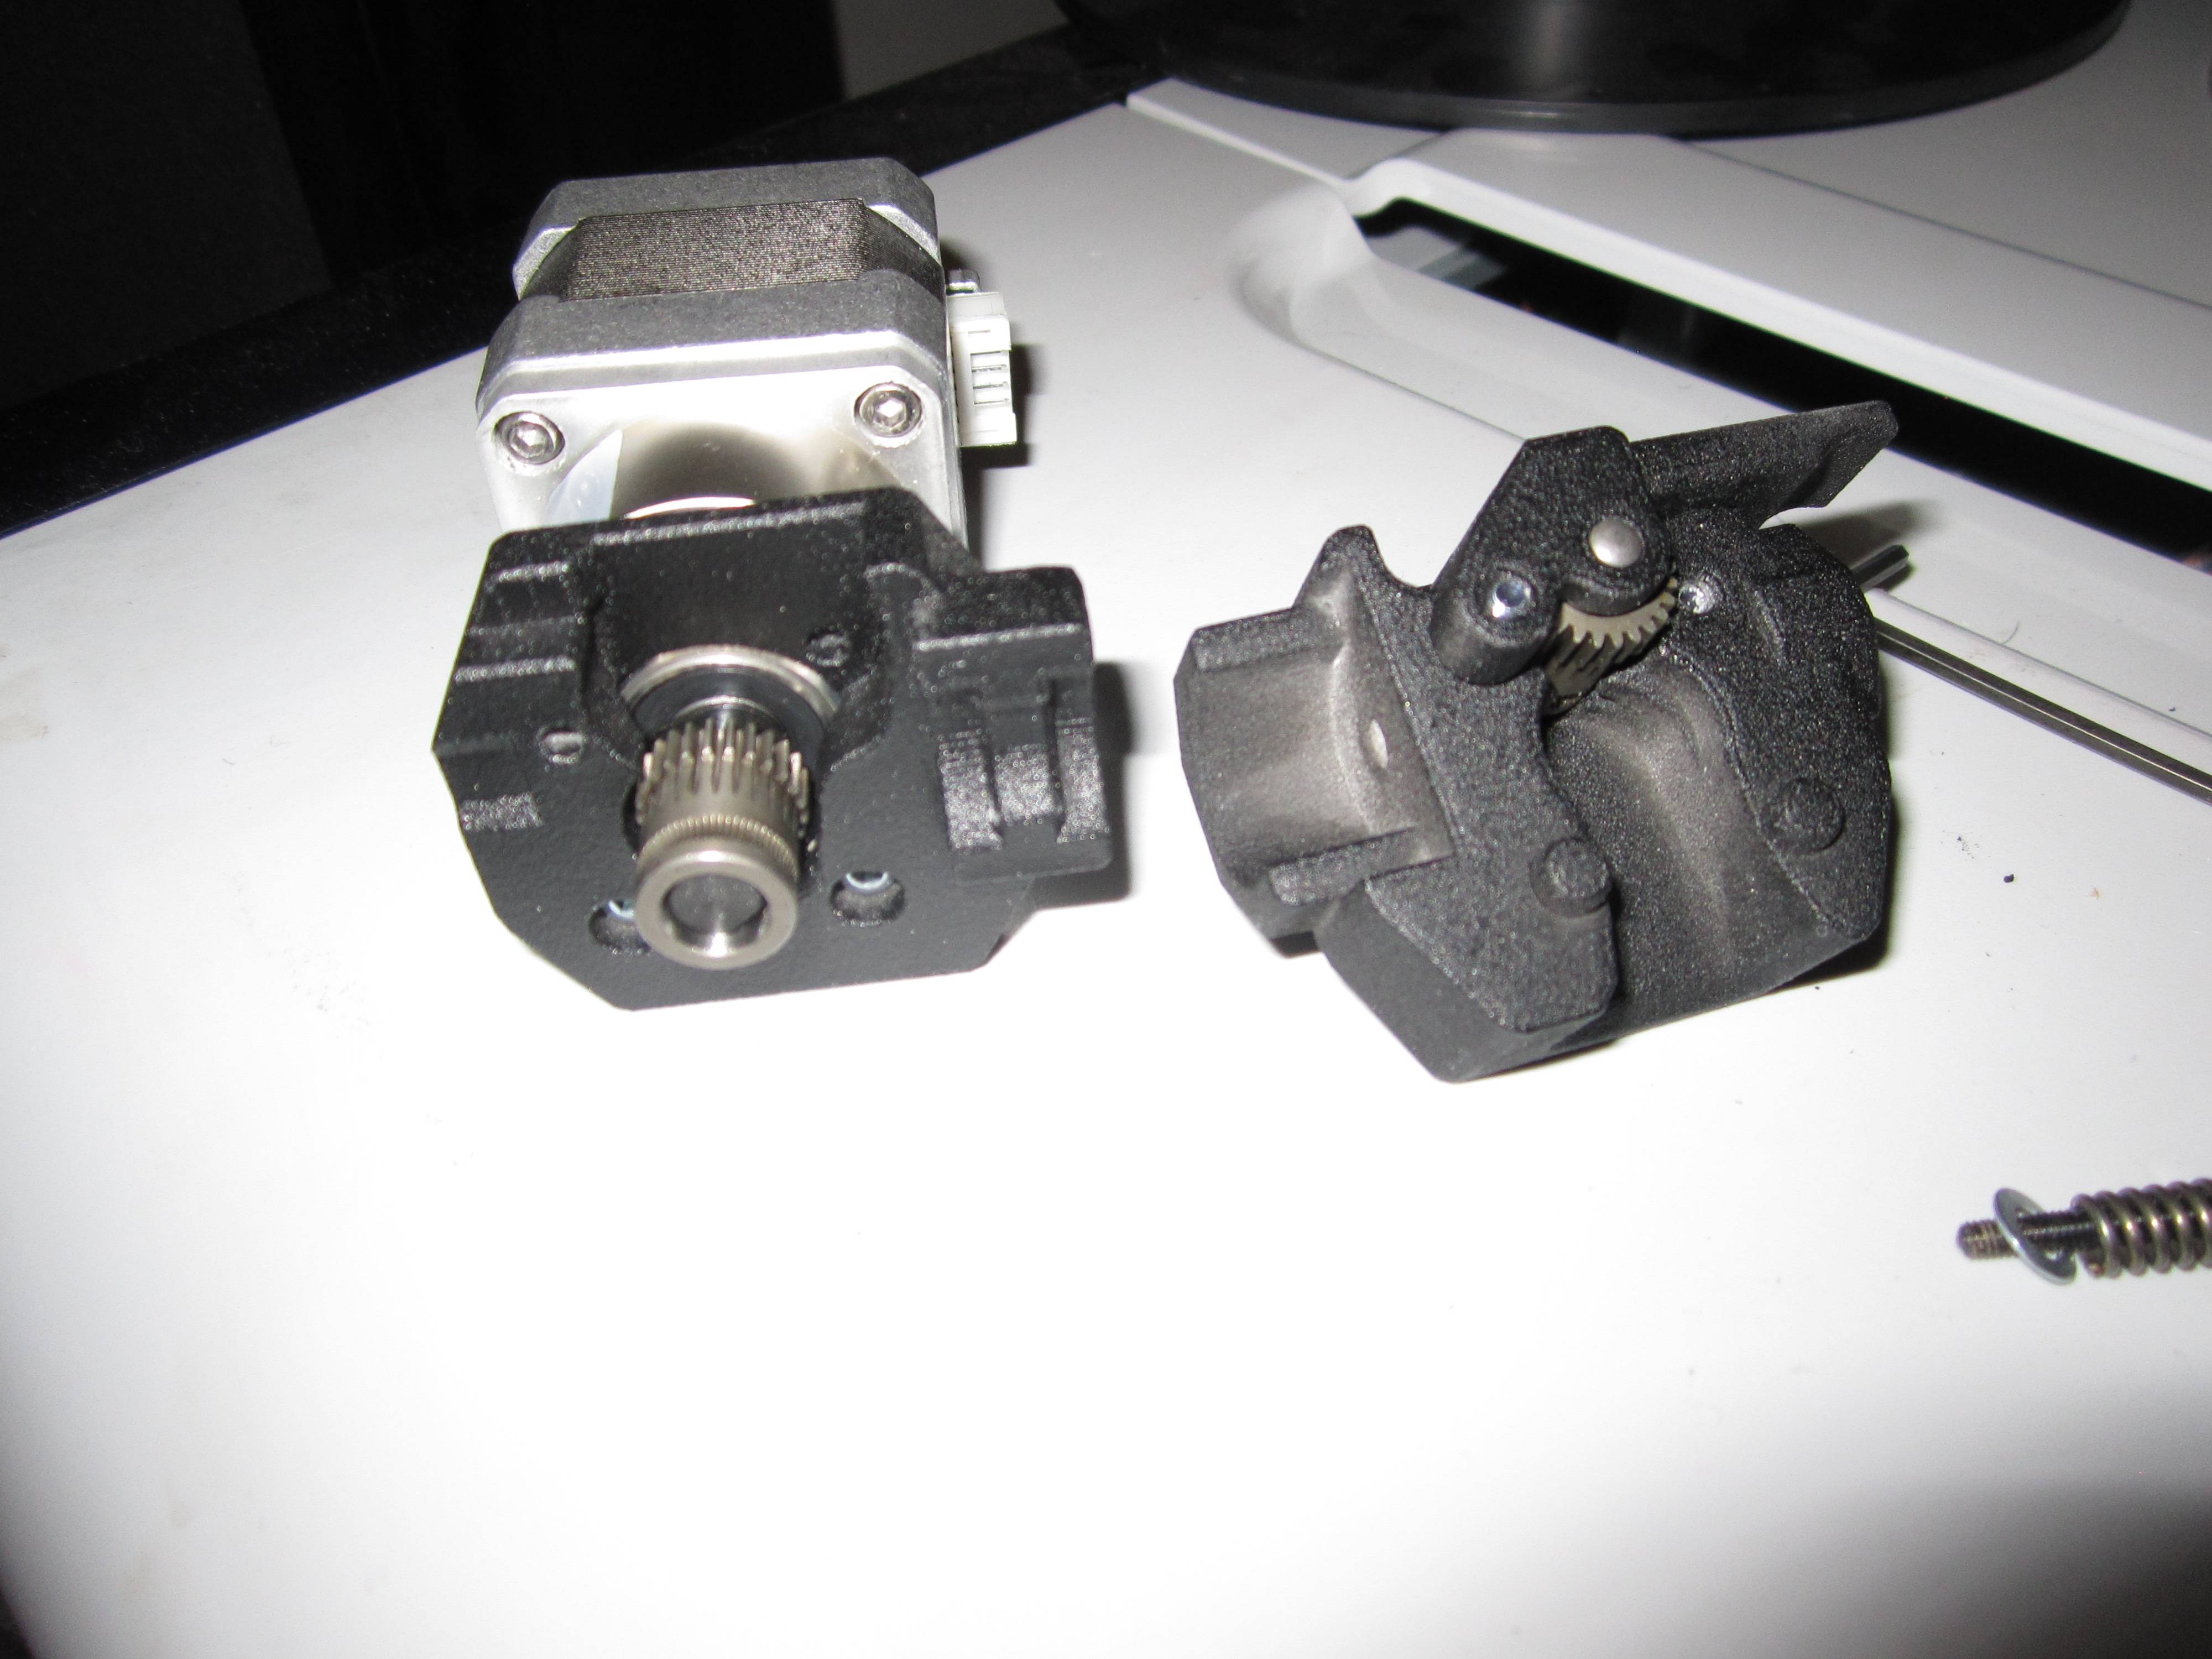
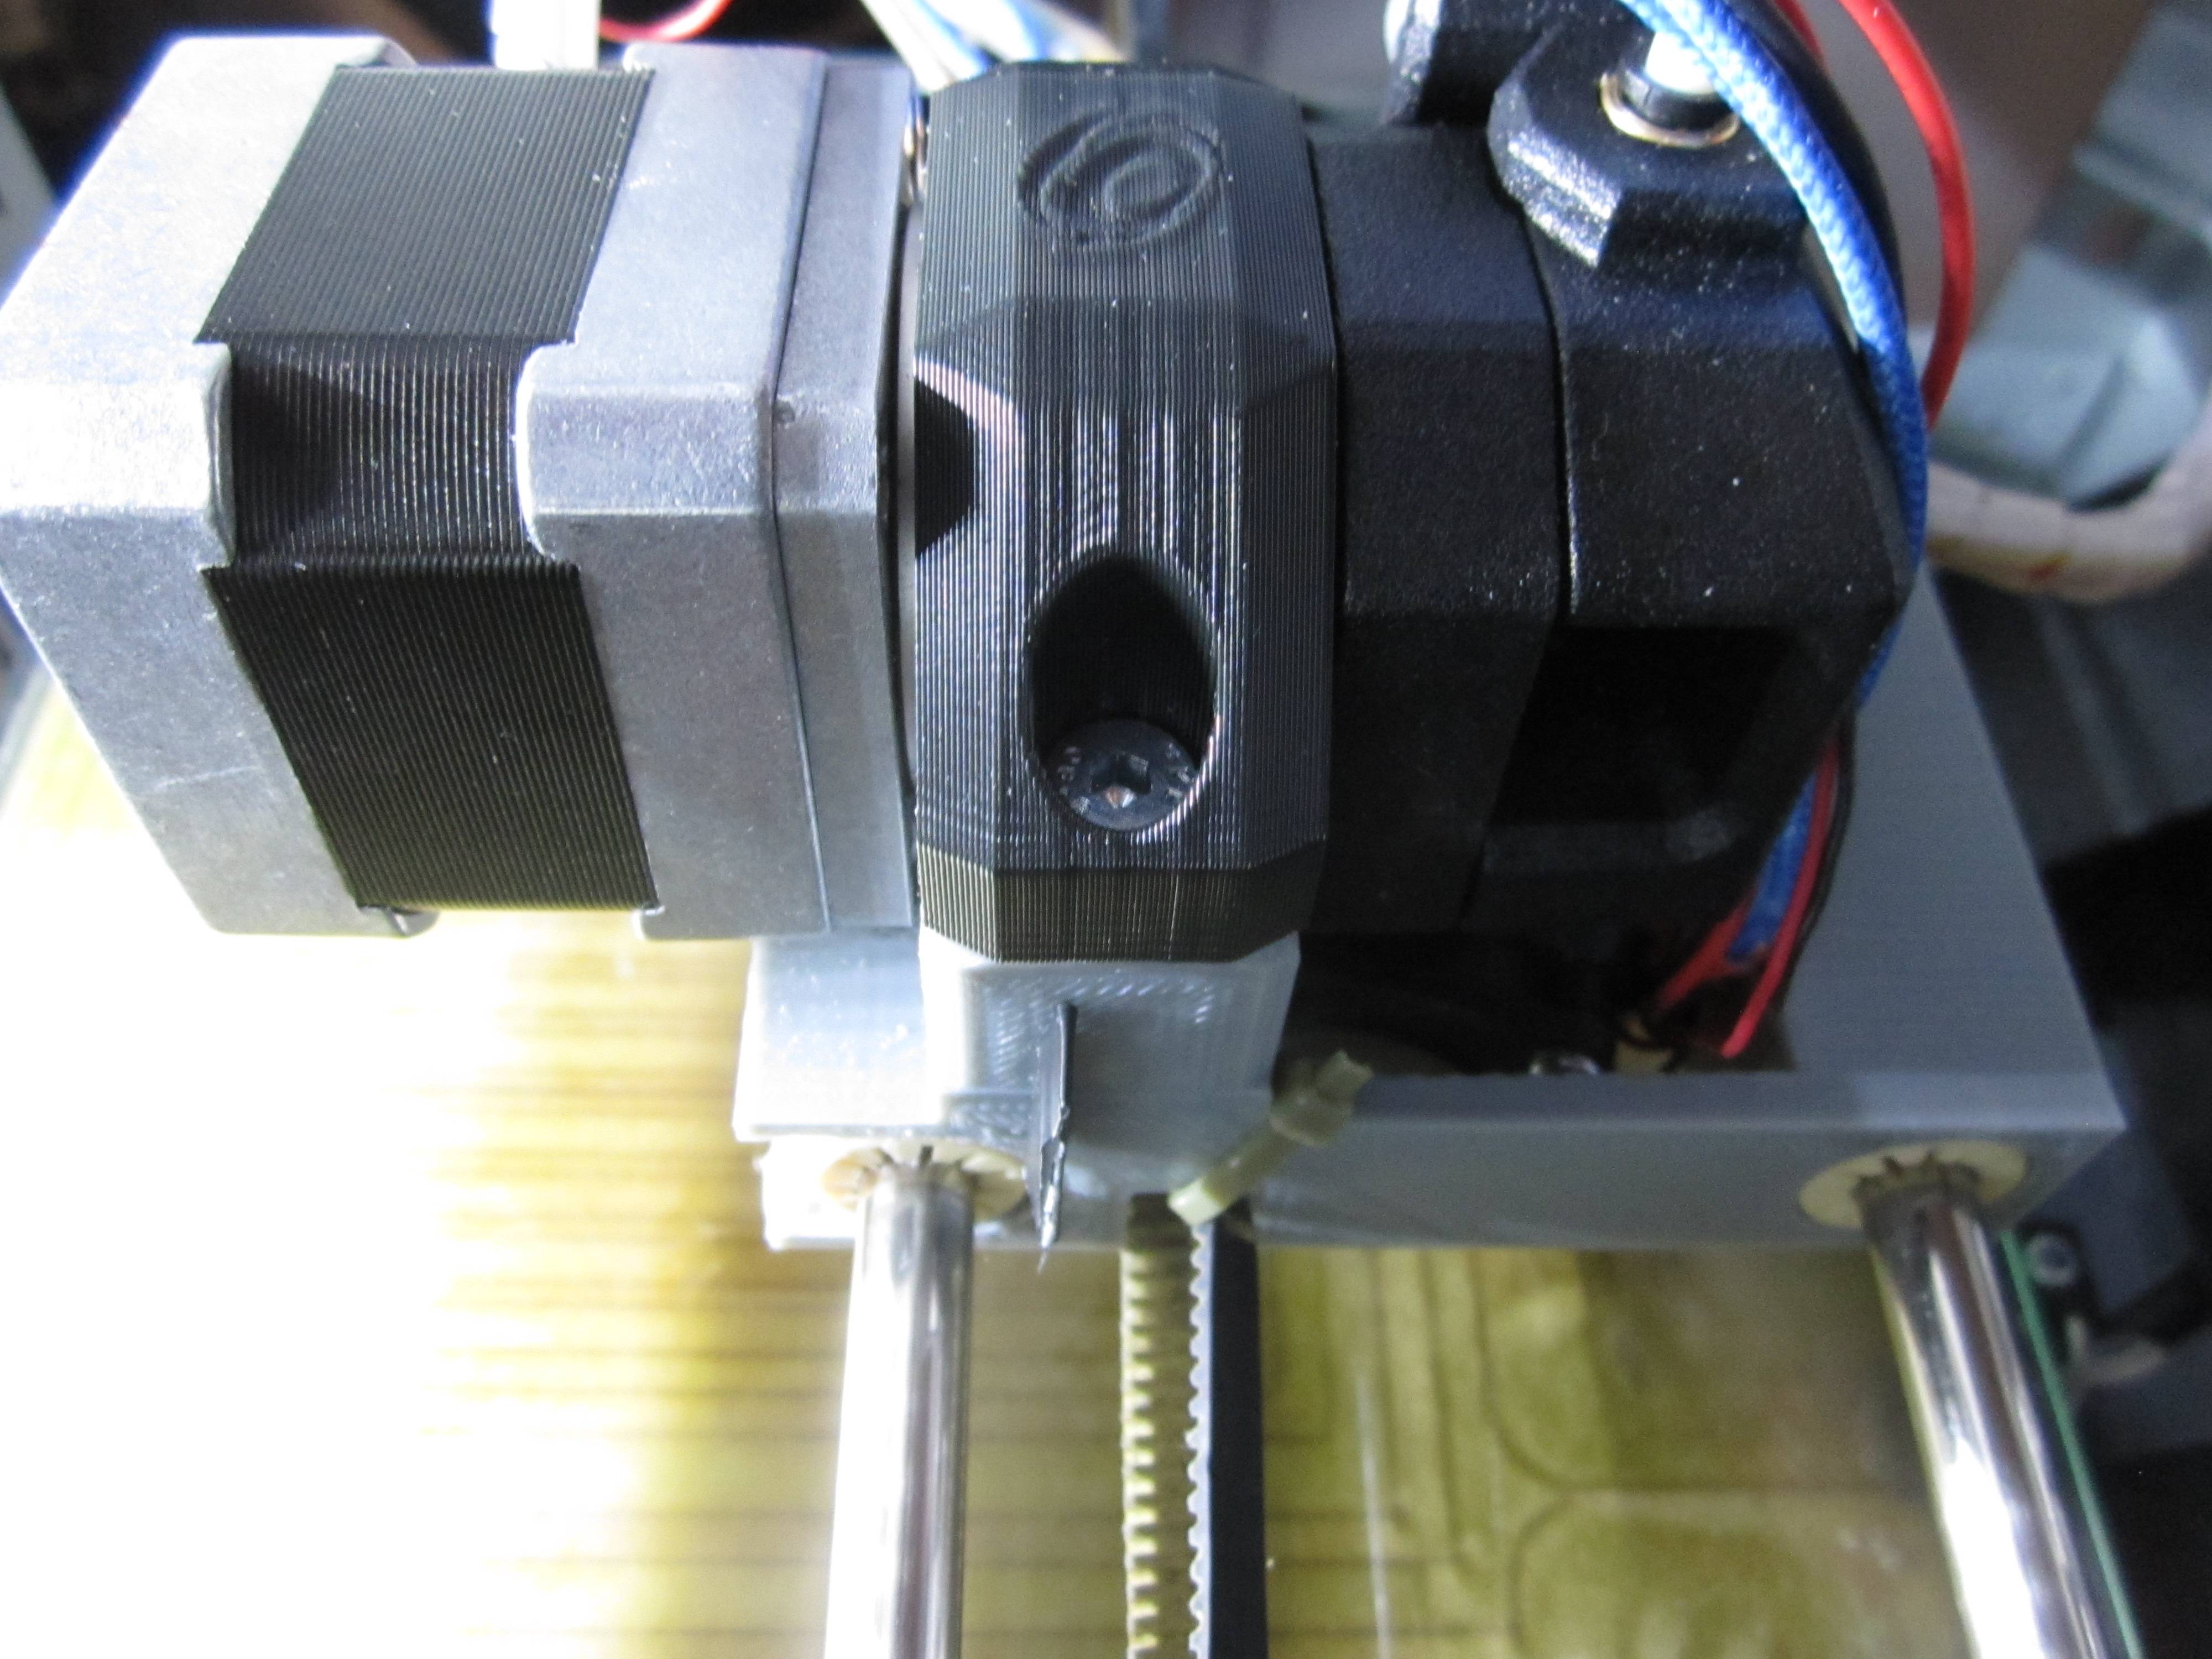
Well my printed extruder popped the shaft holding bearing the holds the filament against the drive gear. I haven't had as much luck with printed extruders and fortunately I had a bondtech qr that I was going to put into a printer I am still designing (order some of the parts I will need for it but not finished designing it)

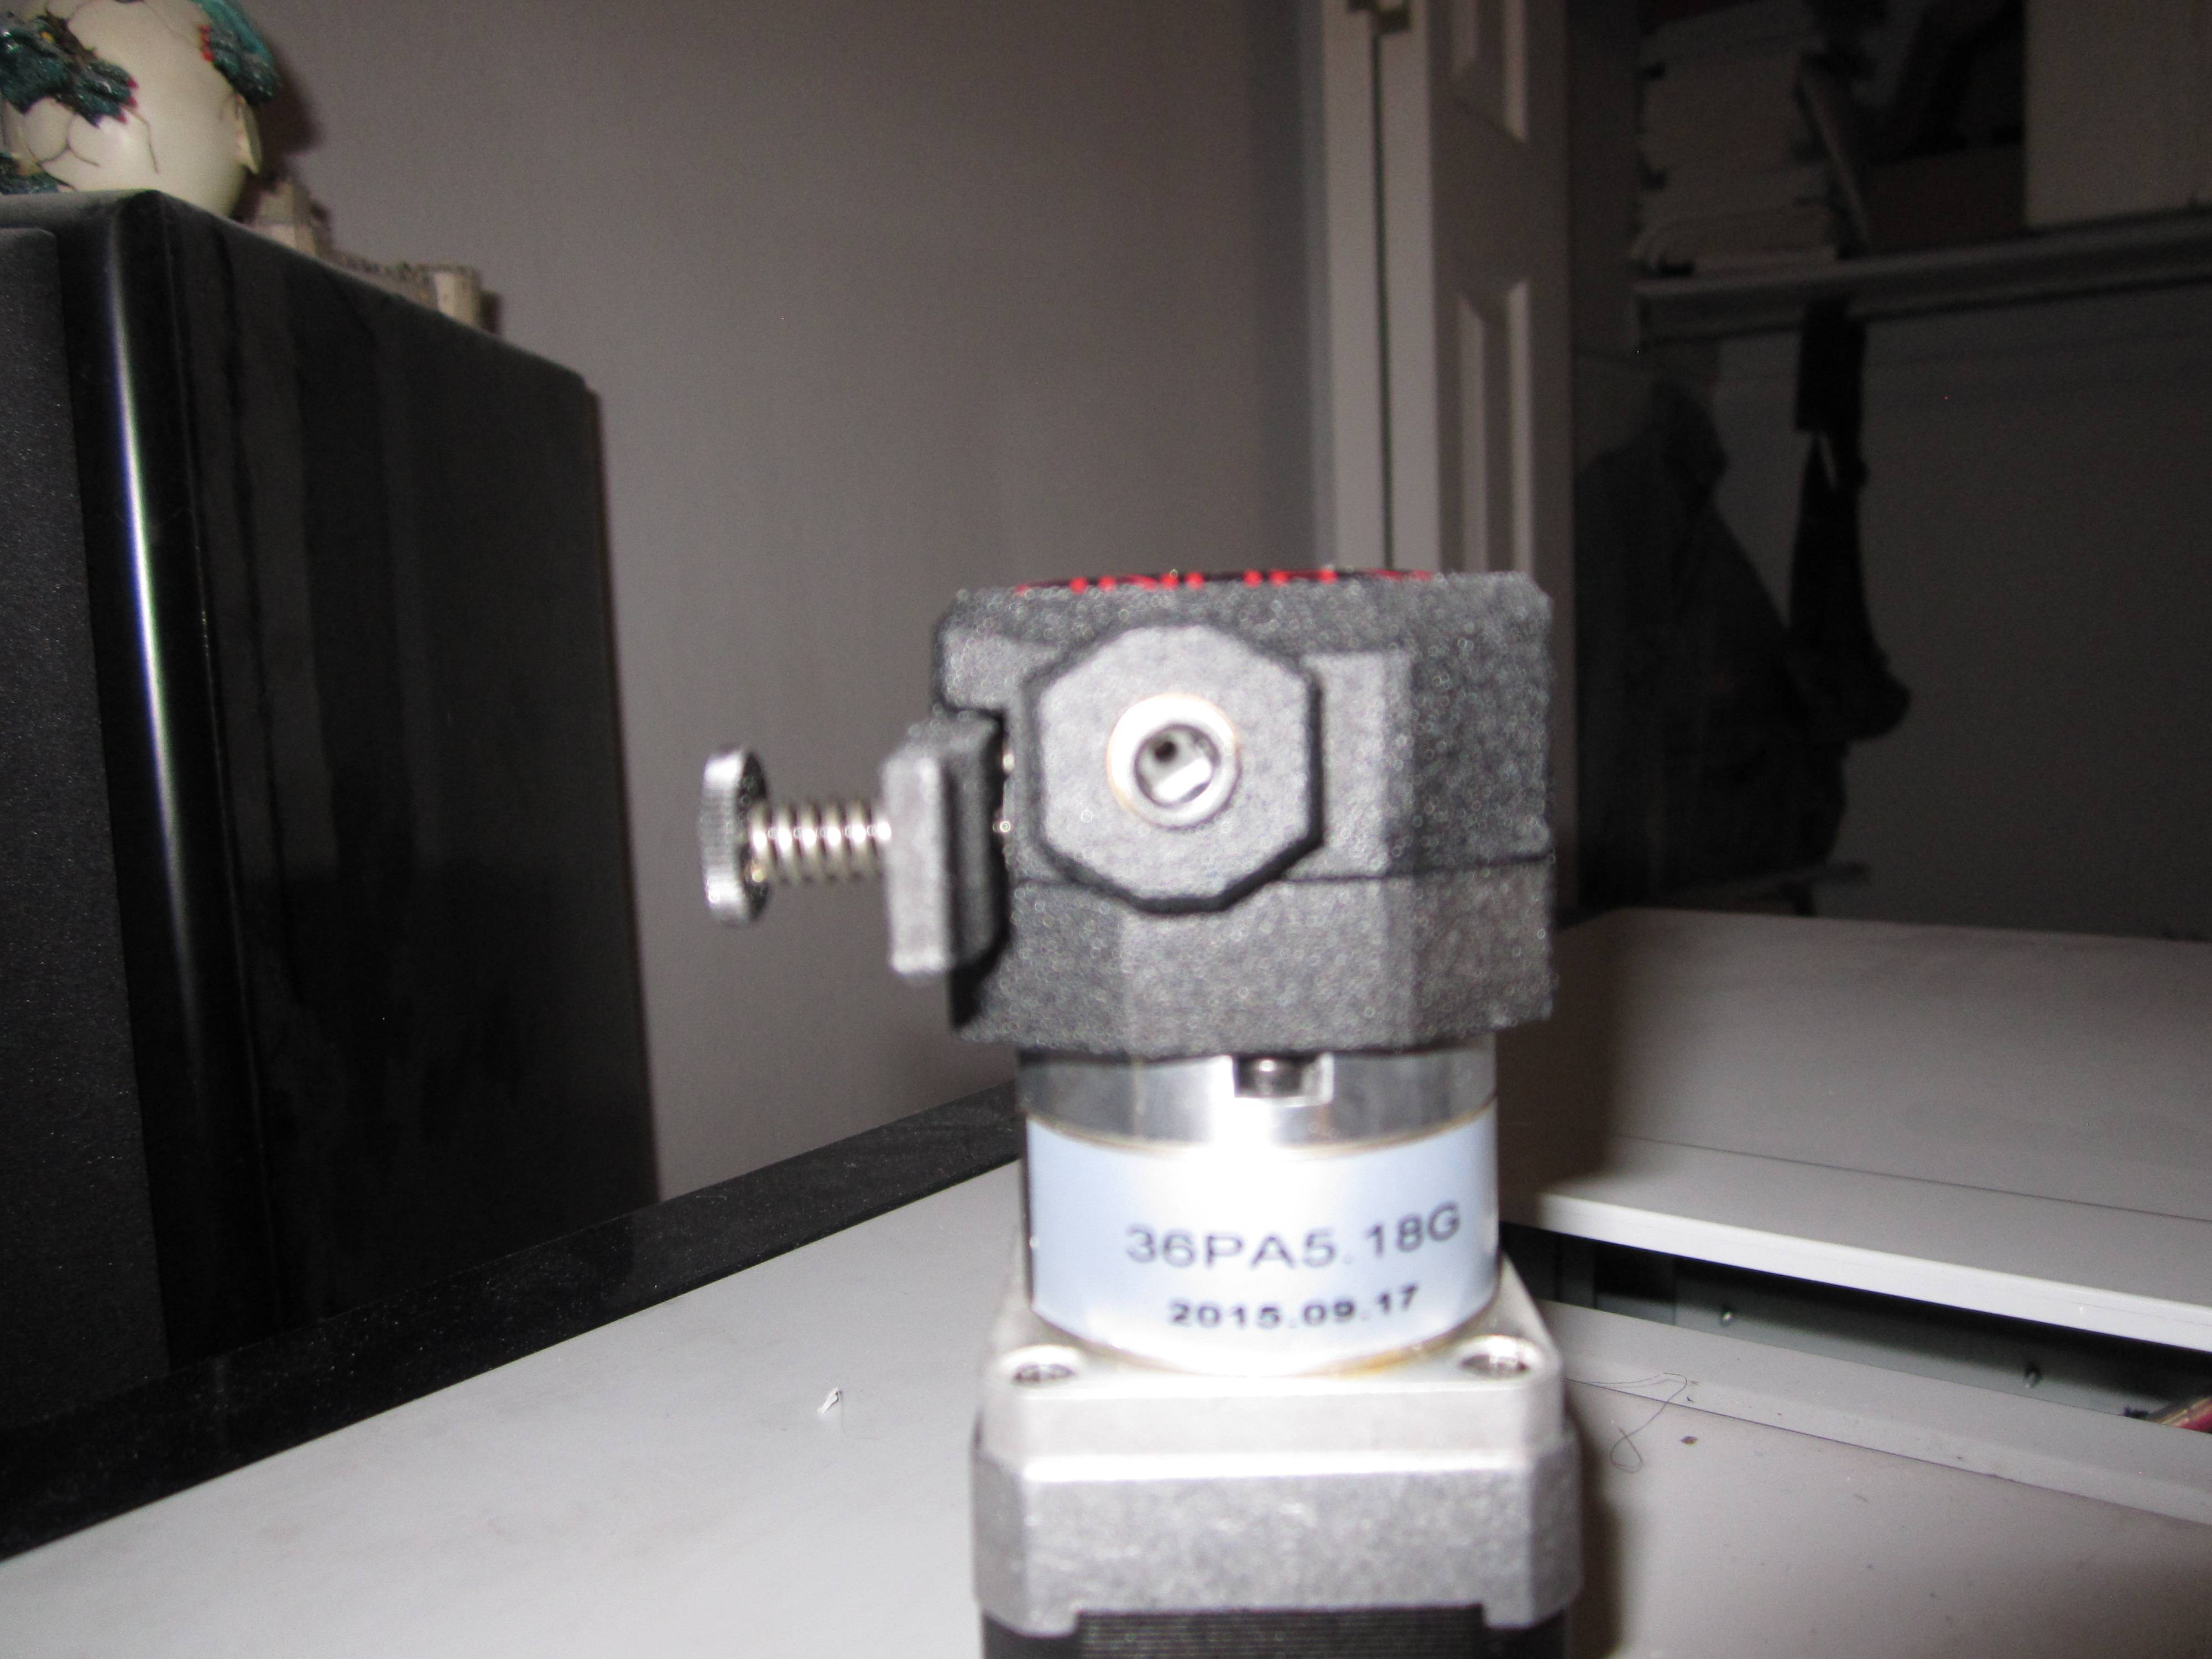
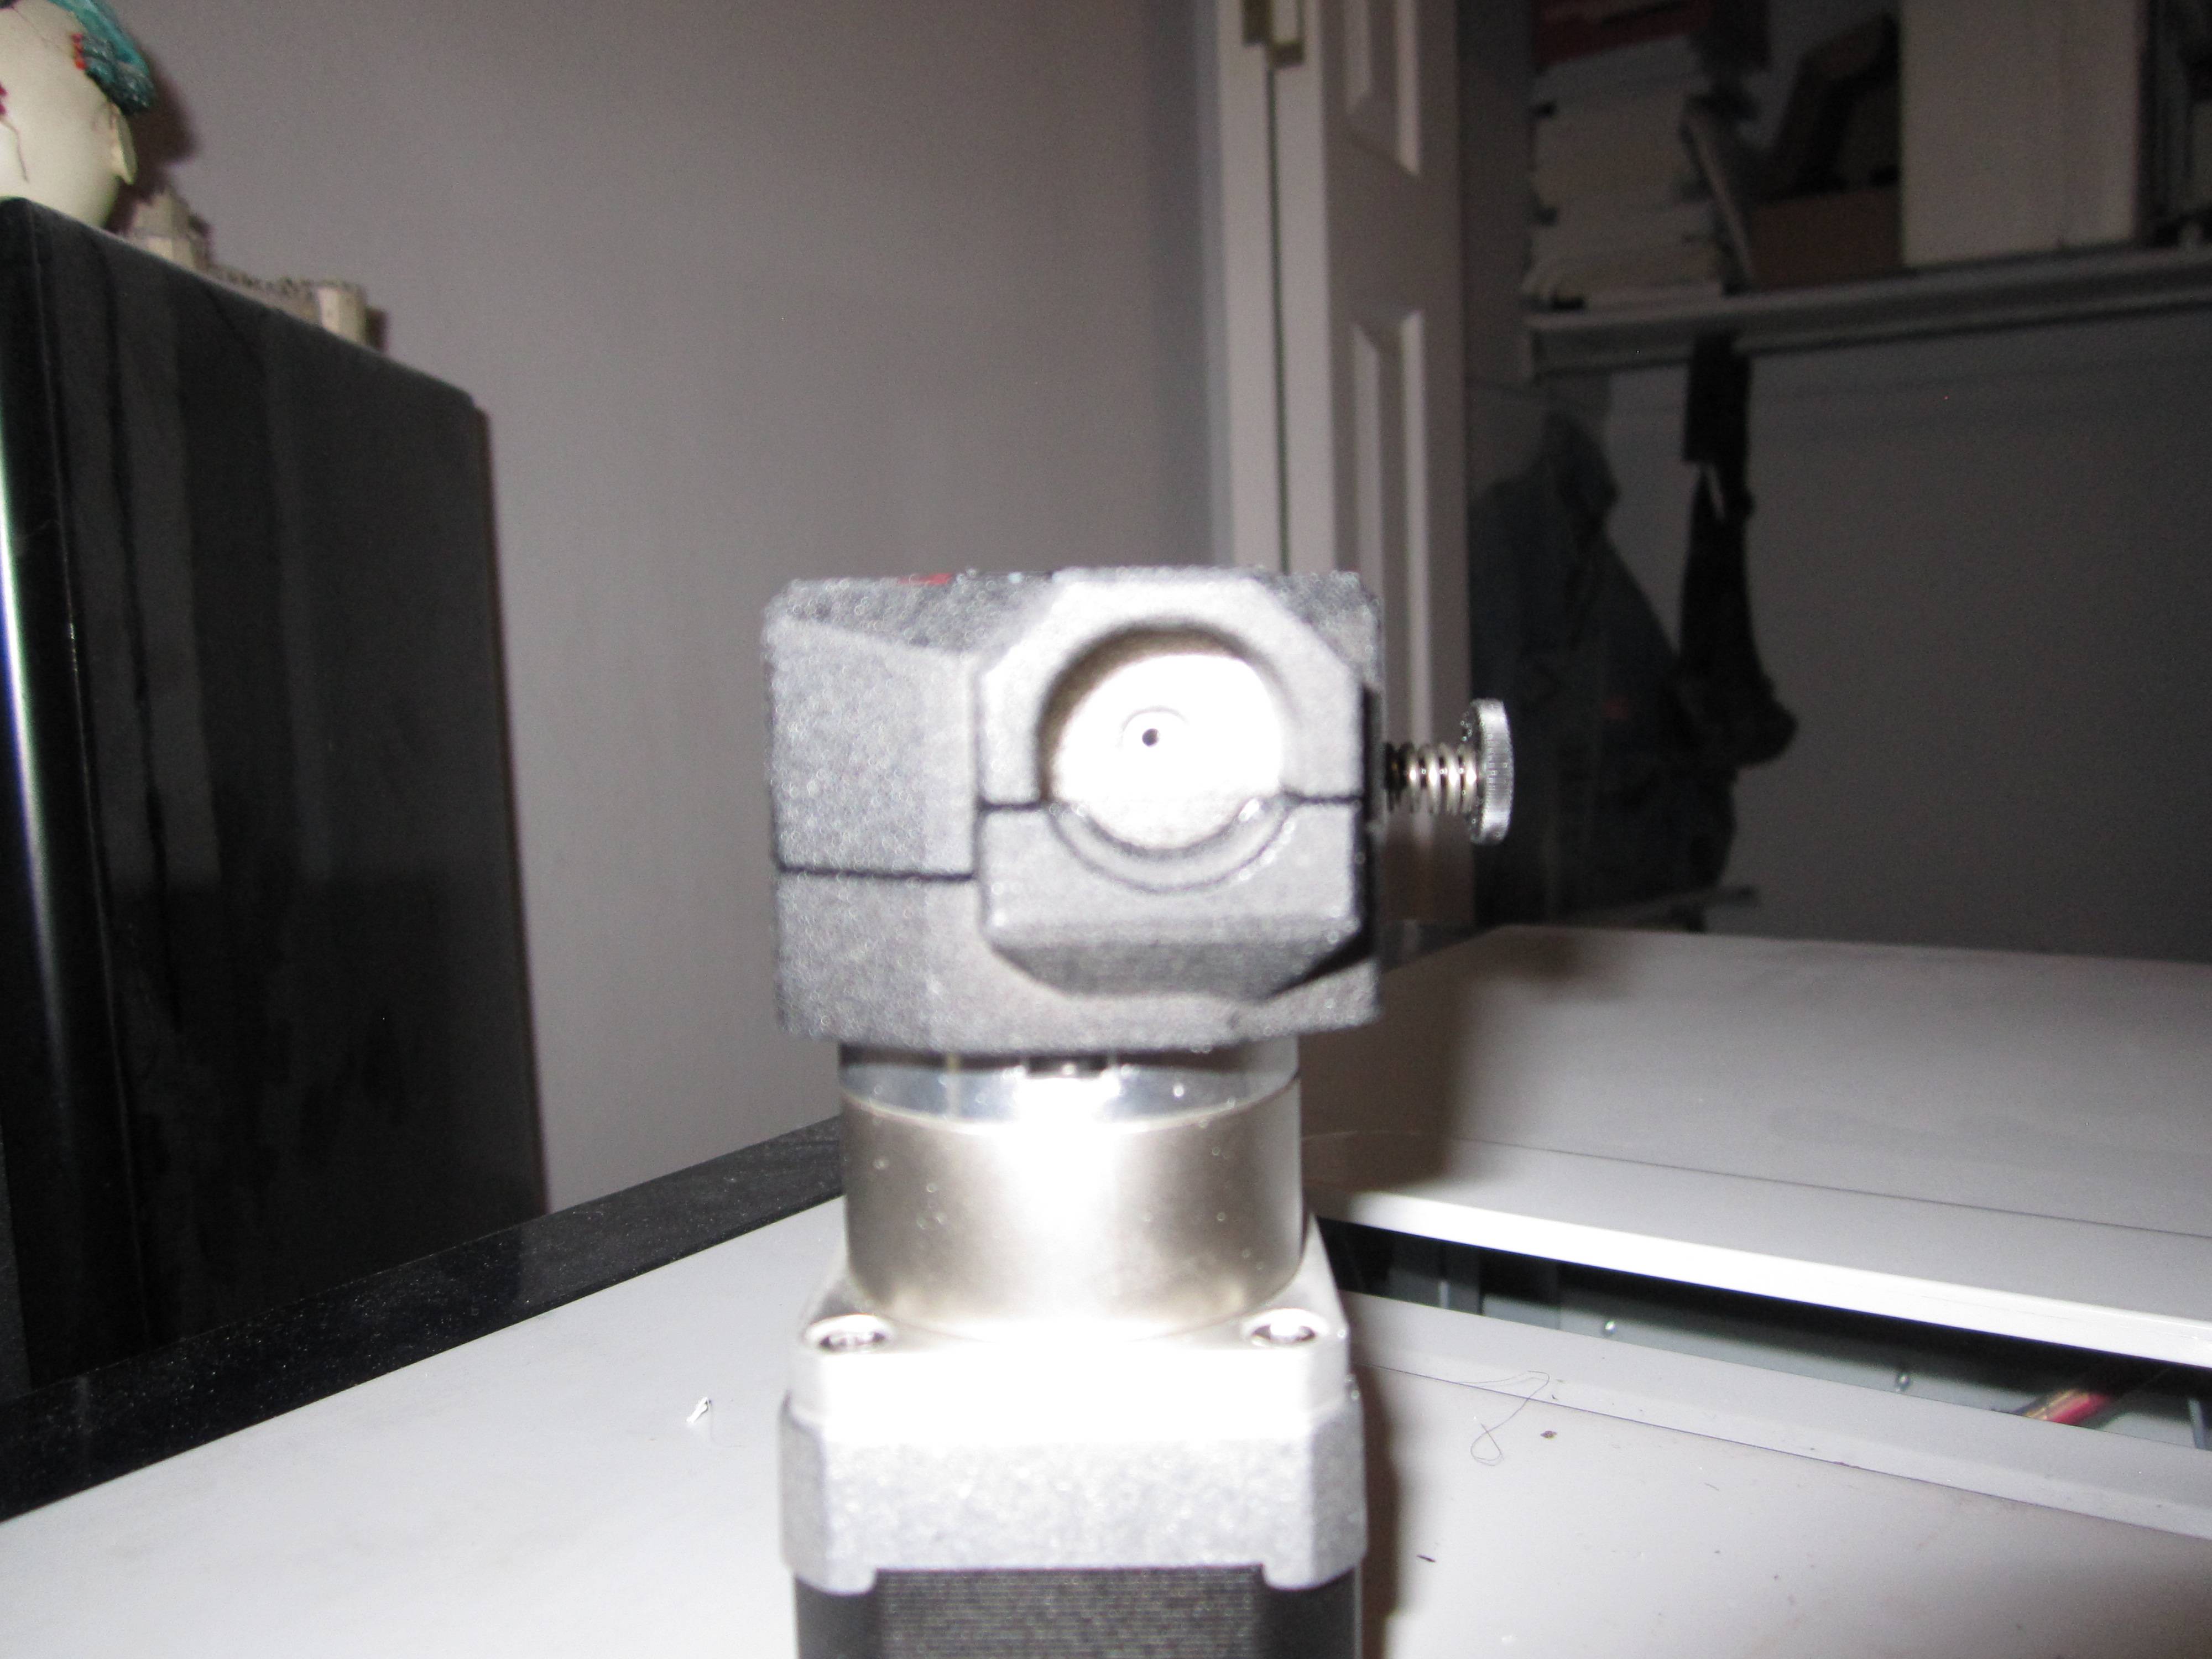
So I currently have a that extruder put in the davinci aio.

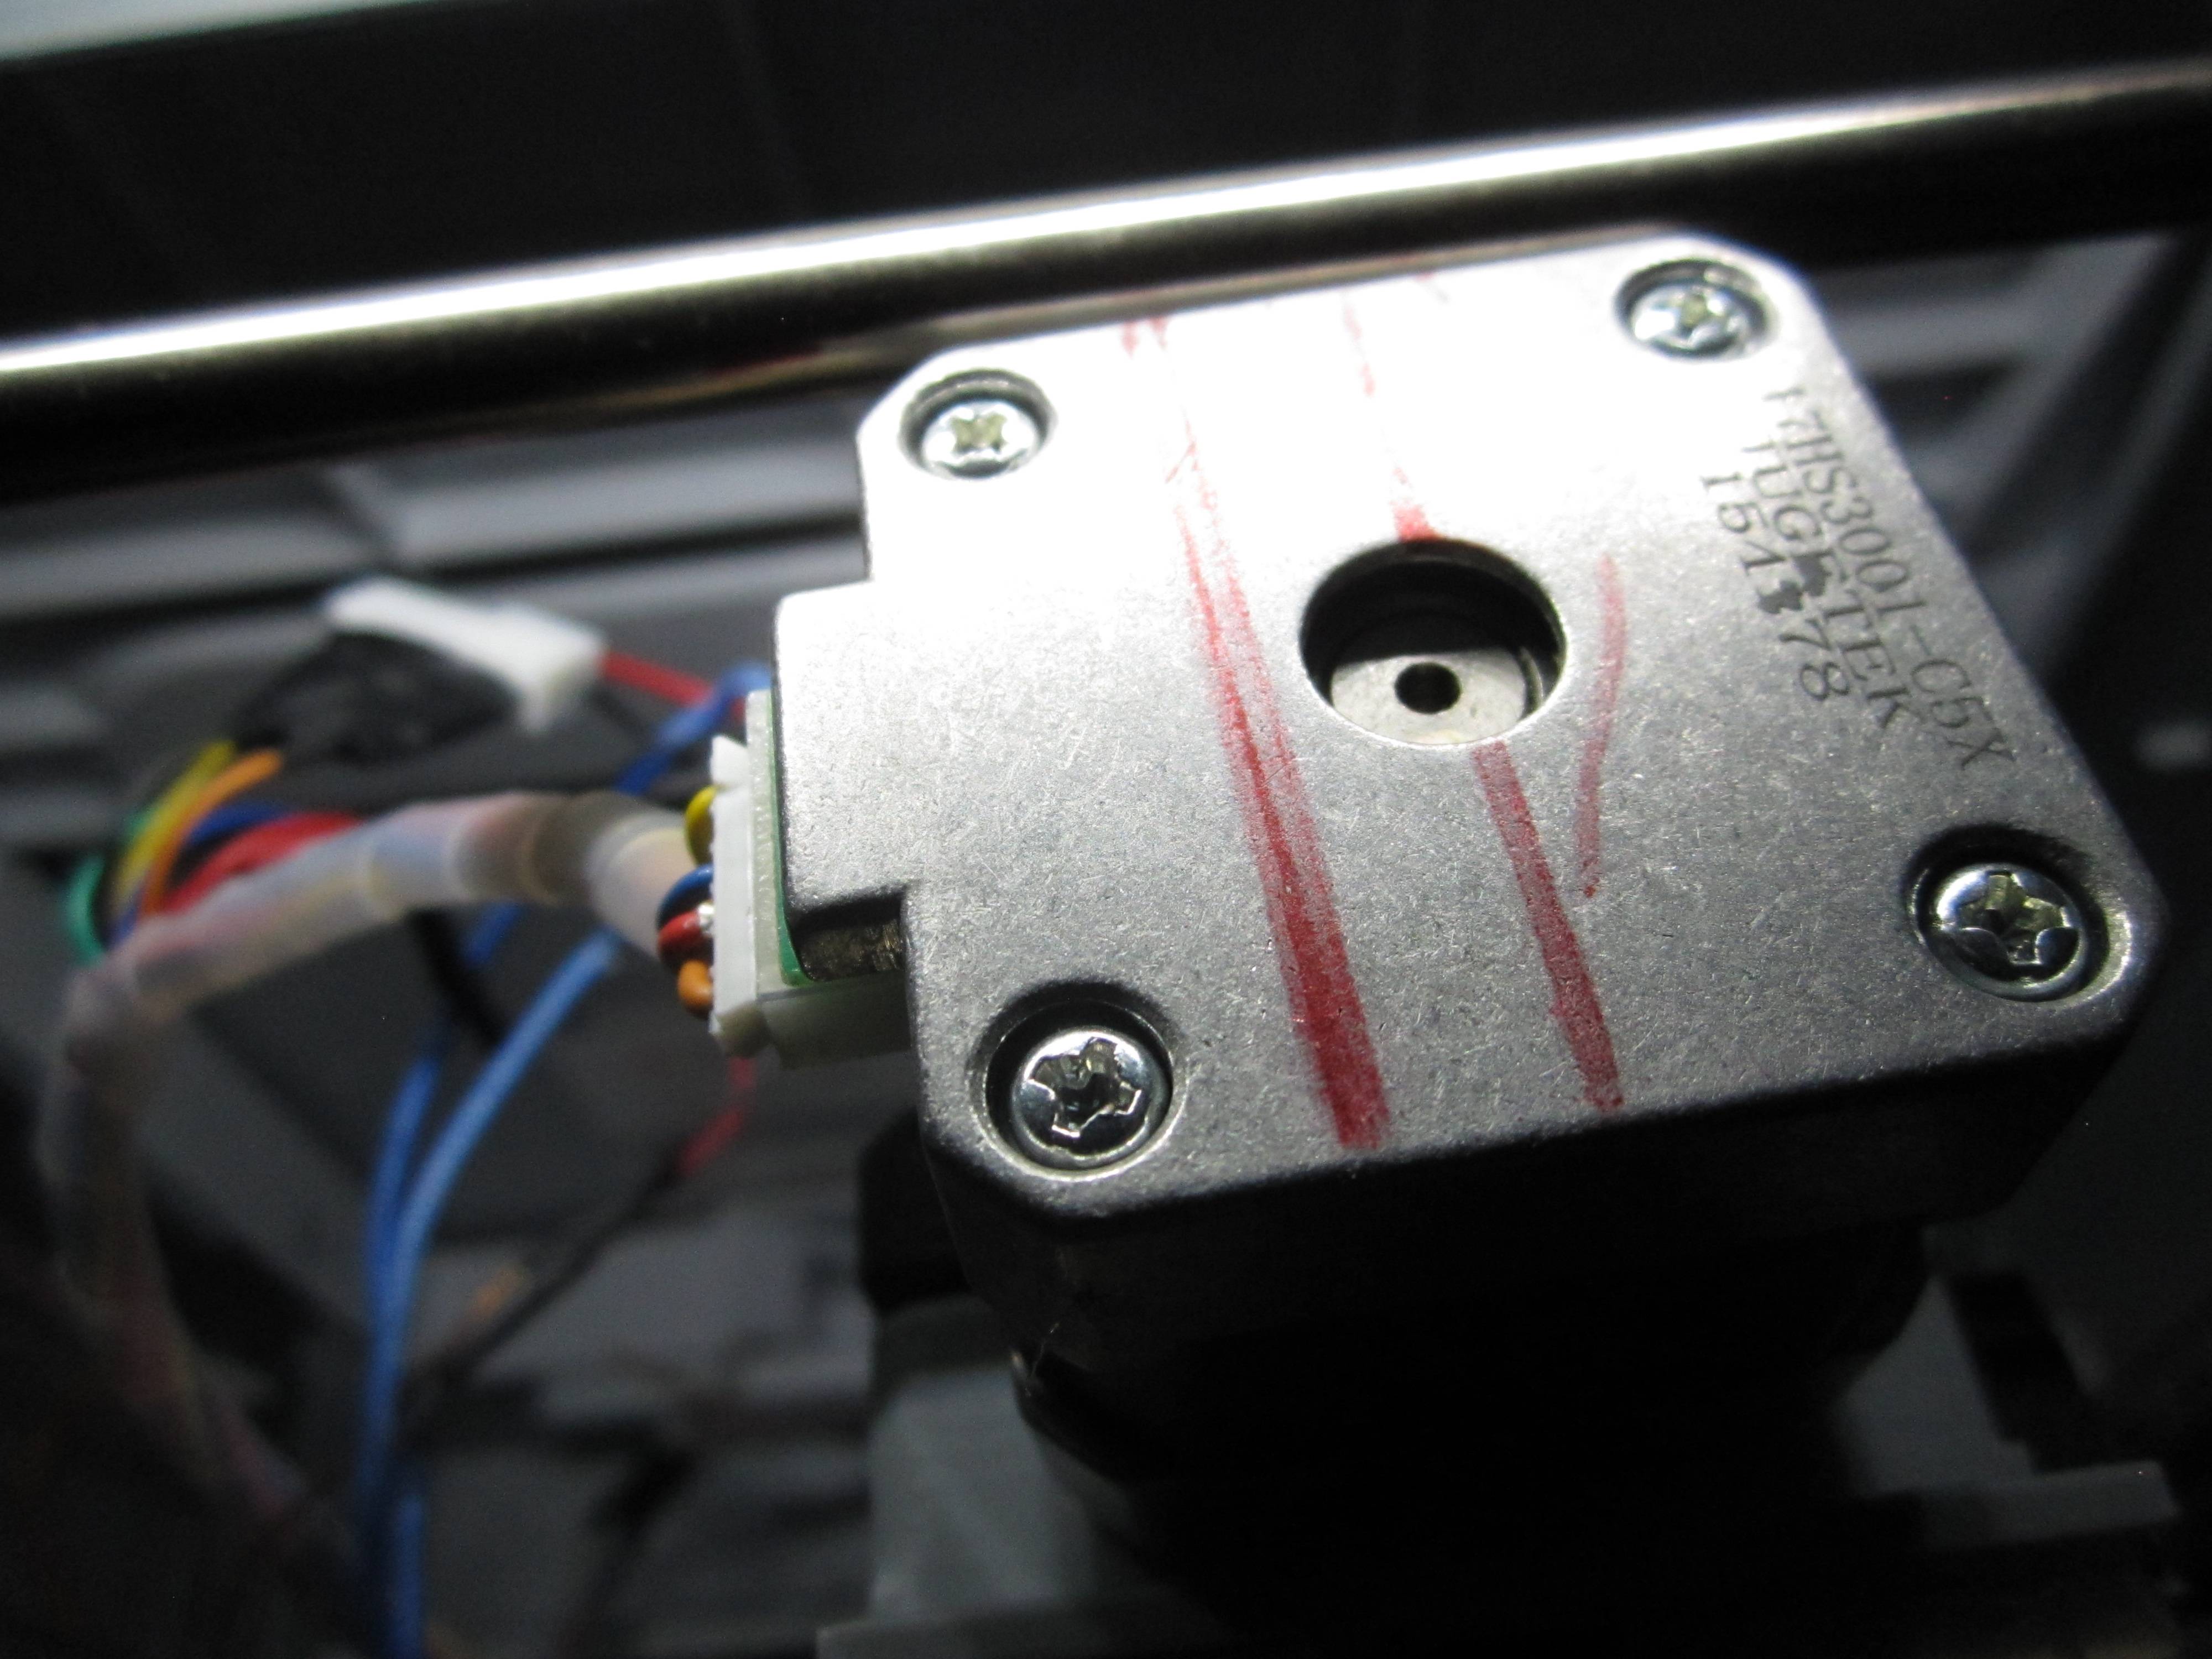
If you do plan on putting one in one thing to note is that the middle pins connecting  the stepper motor need to be swapped as the pairs are not wired the same as the stepper motors in the davinci.

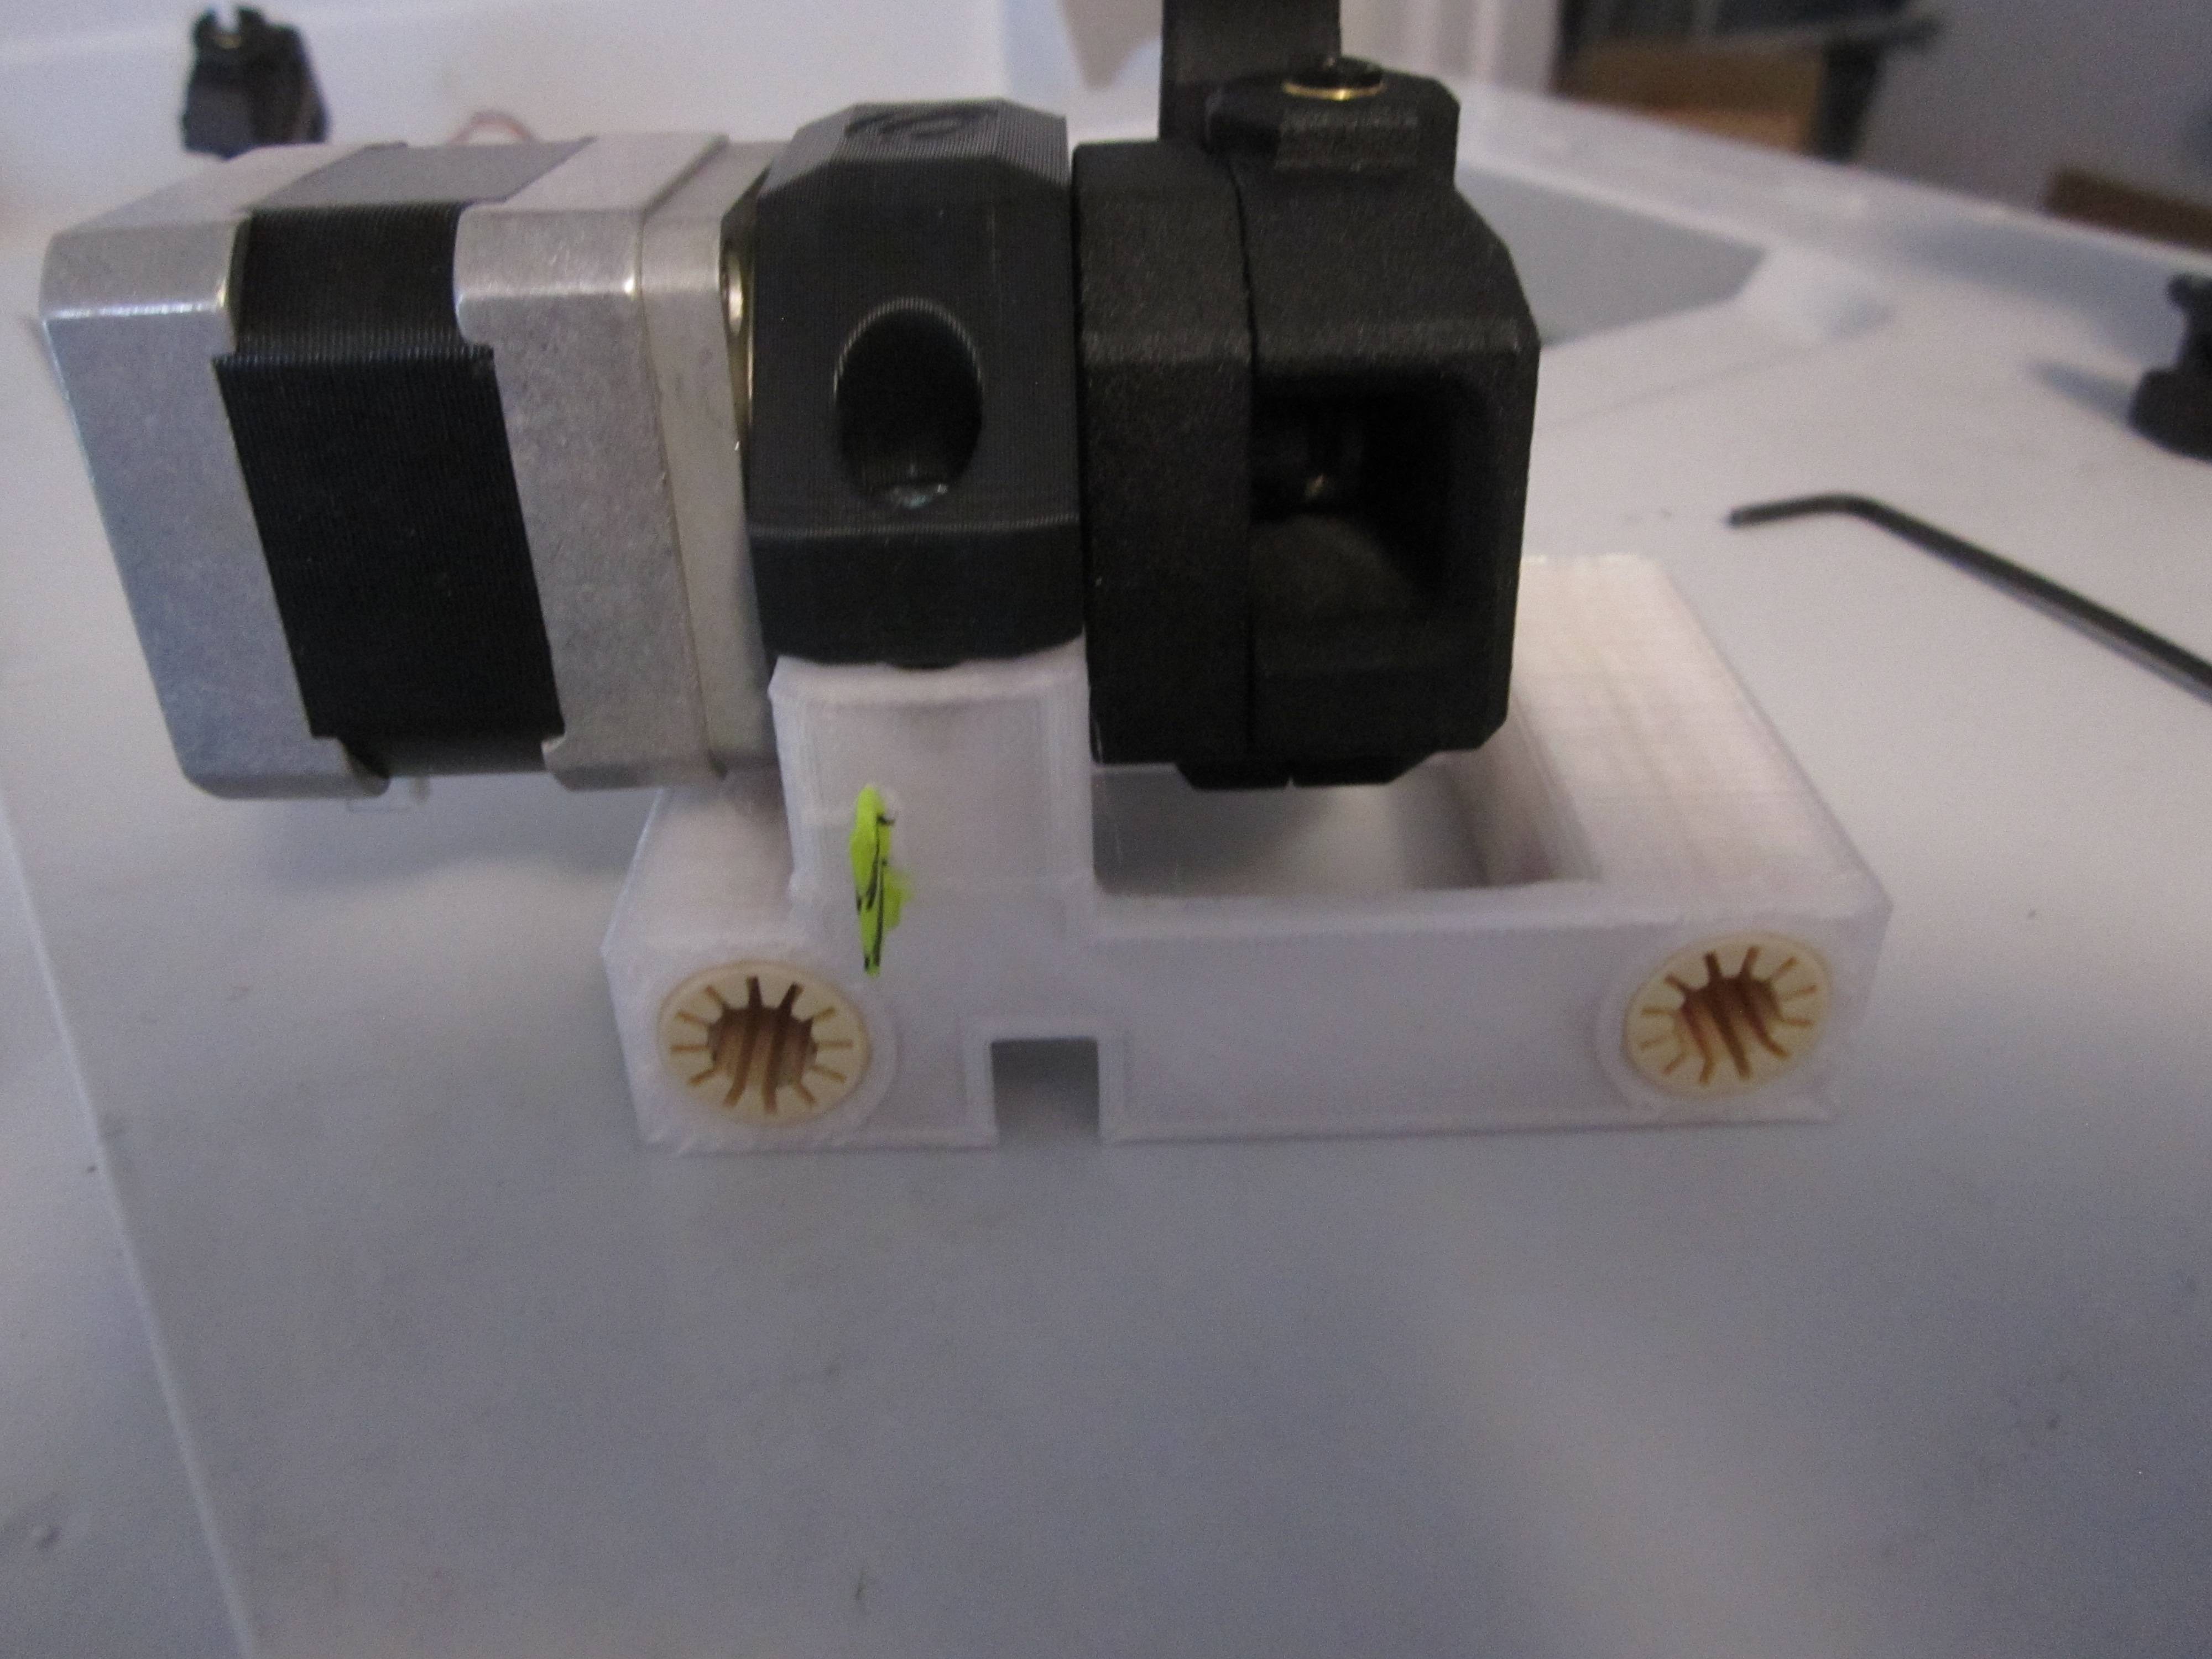
it will also limit some of the y travel since it is 42 mm longer.  Opps noticed I put the wrong axis. any way after mounting it I have 29 mm less y travel some of the

about to do some test prints with it

2

Re: bondtech QR

Well after using it and doing several tests I'll have to say this is by far the best extruder I have had.

I can print flexible filament at the same speed as abs!

The extra rigidity it provides also helps a lot with reducing any z wobble.

So if you are thinking about getting one and are on the fence about it I highly recommend it.

3 (edited by mark.burton 2016-02-25 19:19:10)

Re: bondtech QR

Here are a few photos of it in case you wanted to see them.
http://soliforum.com/i/?ZLfwaUO.jpg
http://soliforum.com/i/?15ChXFs.jpg
http://soliforum.com/i/?h093K4o.jpg

4

Re: bondtech QR

Well printing a carriage for it now I will let you know how it goes.

5

Re: bondtech QR

I'm interested to see how that works out
Is it your own design ?

Davinci 1.0 with repetier firmware & E3D V6 Lite
Anycubic Photon DLP printer, Einscan-S 3D scanner
Simplify3d, 123D Design, Meshmixer
http://www.thingiverse.com/scobo/designs

6

Re: bondtech QR

well not completely I am taking two stl files and editing them to make them work.

However my print failed I had decided I would try and put the holes in exactly where the bushings would fit in and well I was off by some.  So it was binding, went back and set it to have a u grove on one side so I can slid in the bushing that is needed. Ill have to reprint it but after taking it apart and then putting it back together I don't have enough time to print it today before I go to sleep

but here is what it looked like http://soliforum.com/i/?tg4dAHa.jpg

7

Re: bondtech QR

Looks pretty good.
Does that stepper come with the Bondtech kit ?

Davinci 1.0 with repetier firmware & E3D V6 Lite
Anycubic Photon DLP printer, Einscan-S 3D scanner
Simplify3d, 123D Design, Meshmixer
http://www.thingiverse.com/scobo/designs

8

Re: bondtech QR

Yes it does. it uses the same connecter as well but you do need to swap the center two pins since the winding pairs are not connected the same as the Davinci stepper motor. It is not hard to do I used a small sewing push pin to let me remove the pin out and swap it

With the Davinci stepper motor pin 1 and 3 are winding A and pin 4 and 6 are winding B
The stepper motor that came with the bond tech the pin 1 and 4 are pair A and 3 and 6 are Pair B
If you don't swap them it wont move. You may notice a weird pulsing as well.

9

Re: bondtech QR

Well got the redesign printed and installed.
http://soliforum.com/i/?XkMbW4n.jpg
http://soliforum.com/i/?LnvuuDb.jpg

Now I just need to remove the daughter pcb and clean up the wiring.
oh yah and design a new layer fan

10

Re: bondtech QR

Looks nice and tidy, good job !
What's the reason for the cable tie next to the belt ?

Davinci 1.0 with repetier firmware & E3D V6 Lite
Anycubic Photon DLP printer, Einscan-S 3D scanner
Simplify3d, 123D Design, Meshmixer
http://www.thingiverse.com/scobo/designs

11

Re: bondtech QR

oh and as far as calibration and printing its been an improvement

I printed a 20 mm circle and got 20.00 on the y and 20.03 on the x and 20.02, 20.01 on the xy diagonals

The top surface is really smooth.

I also regain all my y distance travel that I had to restrict using the hack I was using to get it to fit
the only con is I do lose some z travel 29 mm to be exact but I think its worth it

12 (edited by mark.burton 2016-03-12 16:45:17)

Re: bondtech QR

The cable tie is what secures the belt to the carriage. I have one on each side

13

Re: bondtech QR

Ah, got you.
Will you be uploading it to Thingiverse ?

Davinci 1.0 with repetier firmware & E3D V6 Lite
Anycubic Photon DLP printer, Einscan-S 3D scanner
Simplify3d, 123D Design, Meshmixer
http://www.thingiverse.com/scobo/designs

14

Re: bondtech QR

I can I just need to track down the original maker of the  base I used so I can give attribution. it is a creative commons license so I can remix it under the license just fine but I do have to give recognition.

Once I do that ill post it up and provide the link here

I will also include the z stop extender I created and printed

15

Re: bondtech QR

Thanks.
I'll certainly be considering this mod at some point.

Davinci 1.0 with repetier firmware & E3D V6 Lite
Anycubic Photon DLP printer, Einscan-S 3D scanner
Simplify3d, 123D Design, Meshmixer
http://www.thingiverse.com/scobo/designs

16

Re: bondtech QR

http://www.thingiverse.com/thing:1410817

17

Re: bondtech QR

Perfect ! wink

Davinci 1.0 with repetier firmware & E3D V6 Lite
Anycubic Photon DLP printer, Einscan-S 3D scanner
Simplify3d, 123D Design, Meshmixer
http://www.thingiverse.com/scobo/designs

18

Re: bondtech QR

mark.burton wrote:

I can I just need to track down the original maker of the  base I used so I can give attribution. it is a creative commons license so I can remix it under the license just fine but I do have to give recognition.

Once I do that ill post it up and provide the link here

I will also include the z stop extender I created and printed

If you are able to modify the carriage any, the part that holds the stepper motor you can increase the height by you say 29mm and that way you will get your z height back.  When I did my carriage that's what I did.

Da Vinci  AiO with firmware 1.1.1 using xyzscan 1.1.18
E3Dv6 hotend with custom carriage with Borosilicate glass bed
123D Design and Simplify3D, Replaced PS with a Solidgear Flex320
Zerokart resetter,  Installed a Extruder Controller for higher temps

19

Re: bondtech QR

if I change the part holding the stepper motor up higher I lose y distance.
Due to the bond tech being much longer then the original.

On my previous carriage that I was using I had the z height increased to hold the stepper at the right height. However that makes the stepper run into the x axis rod before I get the end of the y print area.

The loss of y travel affects me a lot more the Z

oh and if you want you can print the Igus IGUS RJMP 01 08 style bushings. ( I bought the real thing)
however there are versions that you can print on thingiverse

http://www.thingiverse.com/thing:24990
http://www.thingiverse.com/thing:91389
http://www.thingiverse.com/thing:1412399

I have not made any of those

20

Re: bondtech QR

http://soliforum.com/i/?gesV4td.jpg

As you can see in this picture the front x motion transfer rod doesn't have much distance between it and the stepper.

21

Re: bondtech QR

Let us know how those drylin bearings work out in time.
Almost bought them, but theyre used as a press fit w/ installation tolerances plus the OD is larger than stock DaV carriage.
I went w/ the PBC frelon bearings, more $$$ though.

DaV1.0  10/13
Repetier FW 0.92, Solidify3D

22

Re: bondtech QR

I have been using them for about half a year with my previous carriage they have been working great.

They are meant to press fit into a 16 mm hole (the carriage has 16.5 mm holes as the hole is slightly undersized when printed)
I might have gone with the others if I had seen them.

I might have to give the pbc ones a try for the y axis have you been using them and do you like them?

23 (edited by knucklbustr 2016-03-16 00:55:41)

Re: bondtech QR

The drylins were my 1st choice. From the read, they seem to be a great bearing for our use.

I noticed yesterday, residue building up on the linear rods from fumes.
The PBC frelons are smearing the residue on the rods inhibiting the glide. Need to clean. The drylins help overcome that.

Drylin installation is critical for the tolerances. Something you cant get from prints.
I printed one online carriage for drylin use, 8hrs ?, and whomever designed it left things out or were not correct.
Then I became skeptical of the alignment, trashed it and used the stock DaV carriage . The frelons slip right in and had zero play on the rods.

The drylins are about the same price as oilite bearings, another good point.
The frelons were $7.70 ea w/shipping. About 40hrs. use, so far.
Hope I made the correct choice because that was the last time Im doing a full tear down.

DaV1.0  10/13
Repetier FW 0.92, Solidify3D