All about Acetone: Safety and finishing techniques, an unofficial guide
Safety first! Acetone is flammable, and any spark can ignite the fumes (much like gasoline). Never work with acetone in the same room as your printer, or in your kitchen! A hot acetone bath is dangerous.
Acetone is heavier than air, which means the fumes tend to sink and slowly fill up a space. Work somewhere well ventilated.
Acetone can irritate your skin and the fumes can give you headaches. Keep your containers tightly sealed.
Acetone melts through many kinds of plastic, so look for containers that are meant to hold solvents. Safe containers include polypropylene, metal, and glass with tight fitting lids. 2-part lids on jam jars are not great - it is hard to see if the jar is completely sealed.
Acetone will strip finishes from shoes, shelves, floors, and pretty much anything else you might spill it on.
Acetone can only do so much. A professional hot acetone bath and a smooth print can come out quite nicely, but a regular print and brushed acetone might never look like an injection molded part.
-----
Acetone finishing techniques, Part 1: Using a brush
Before you start:
0. Save your thin misprints and piles of extruded threads to make acetone "glue". Extruded threads dissolve more easily than solid filament.
1. Get some cheap brushes to dedicate to this. Melted acetone will accumulate between the strands.
2. How will you hold the piece while you are working? Use caution if you are using a plastic or rubber-coated clamp, acetone drips may eat away at them. If you plan to hold it, use gloves.
3. Make sure you are in a well-ventilated area away from heat sources, and cover your work surface, floor, and clothes. Pouring your acetone from a large container into your small working container is a potential splash zone. At the end of a brush stroke, the acetone may splatter - much farther than you imagine it could!
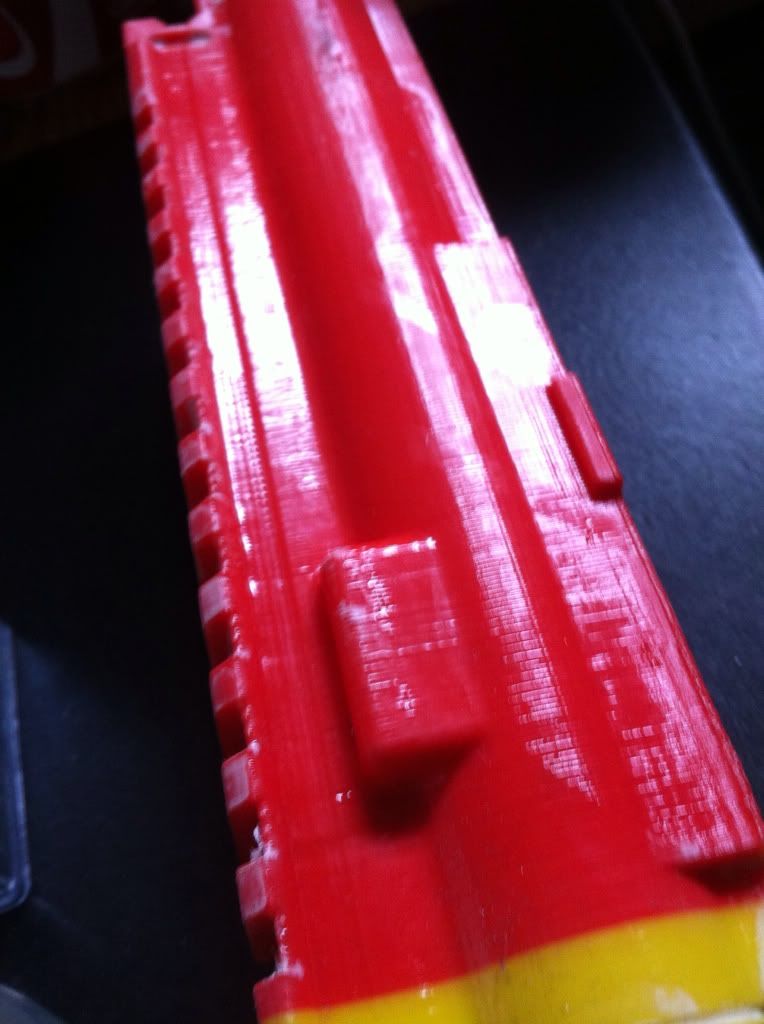
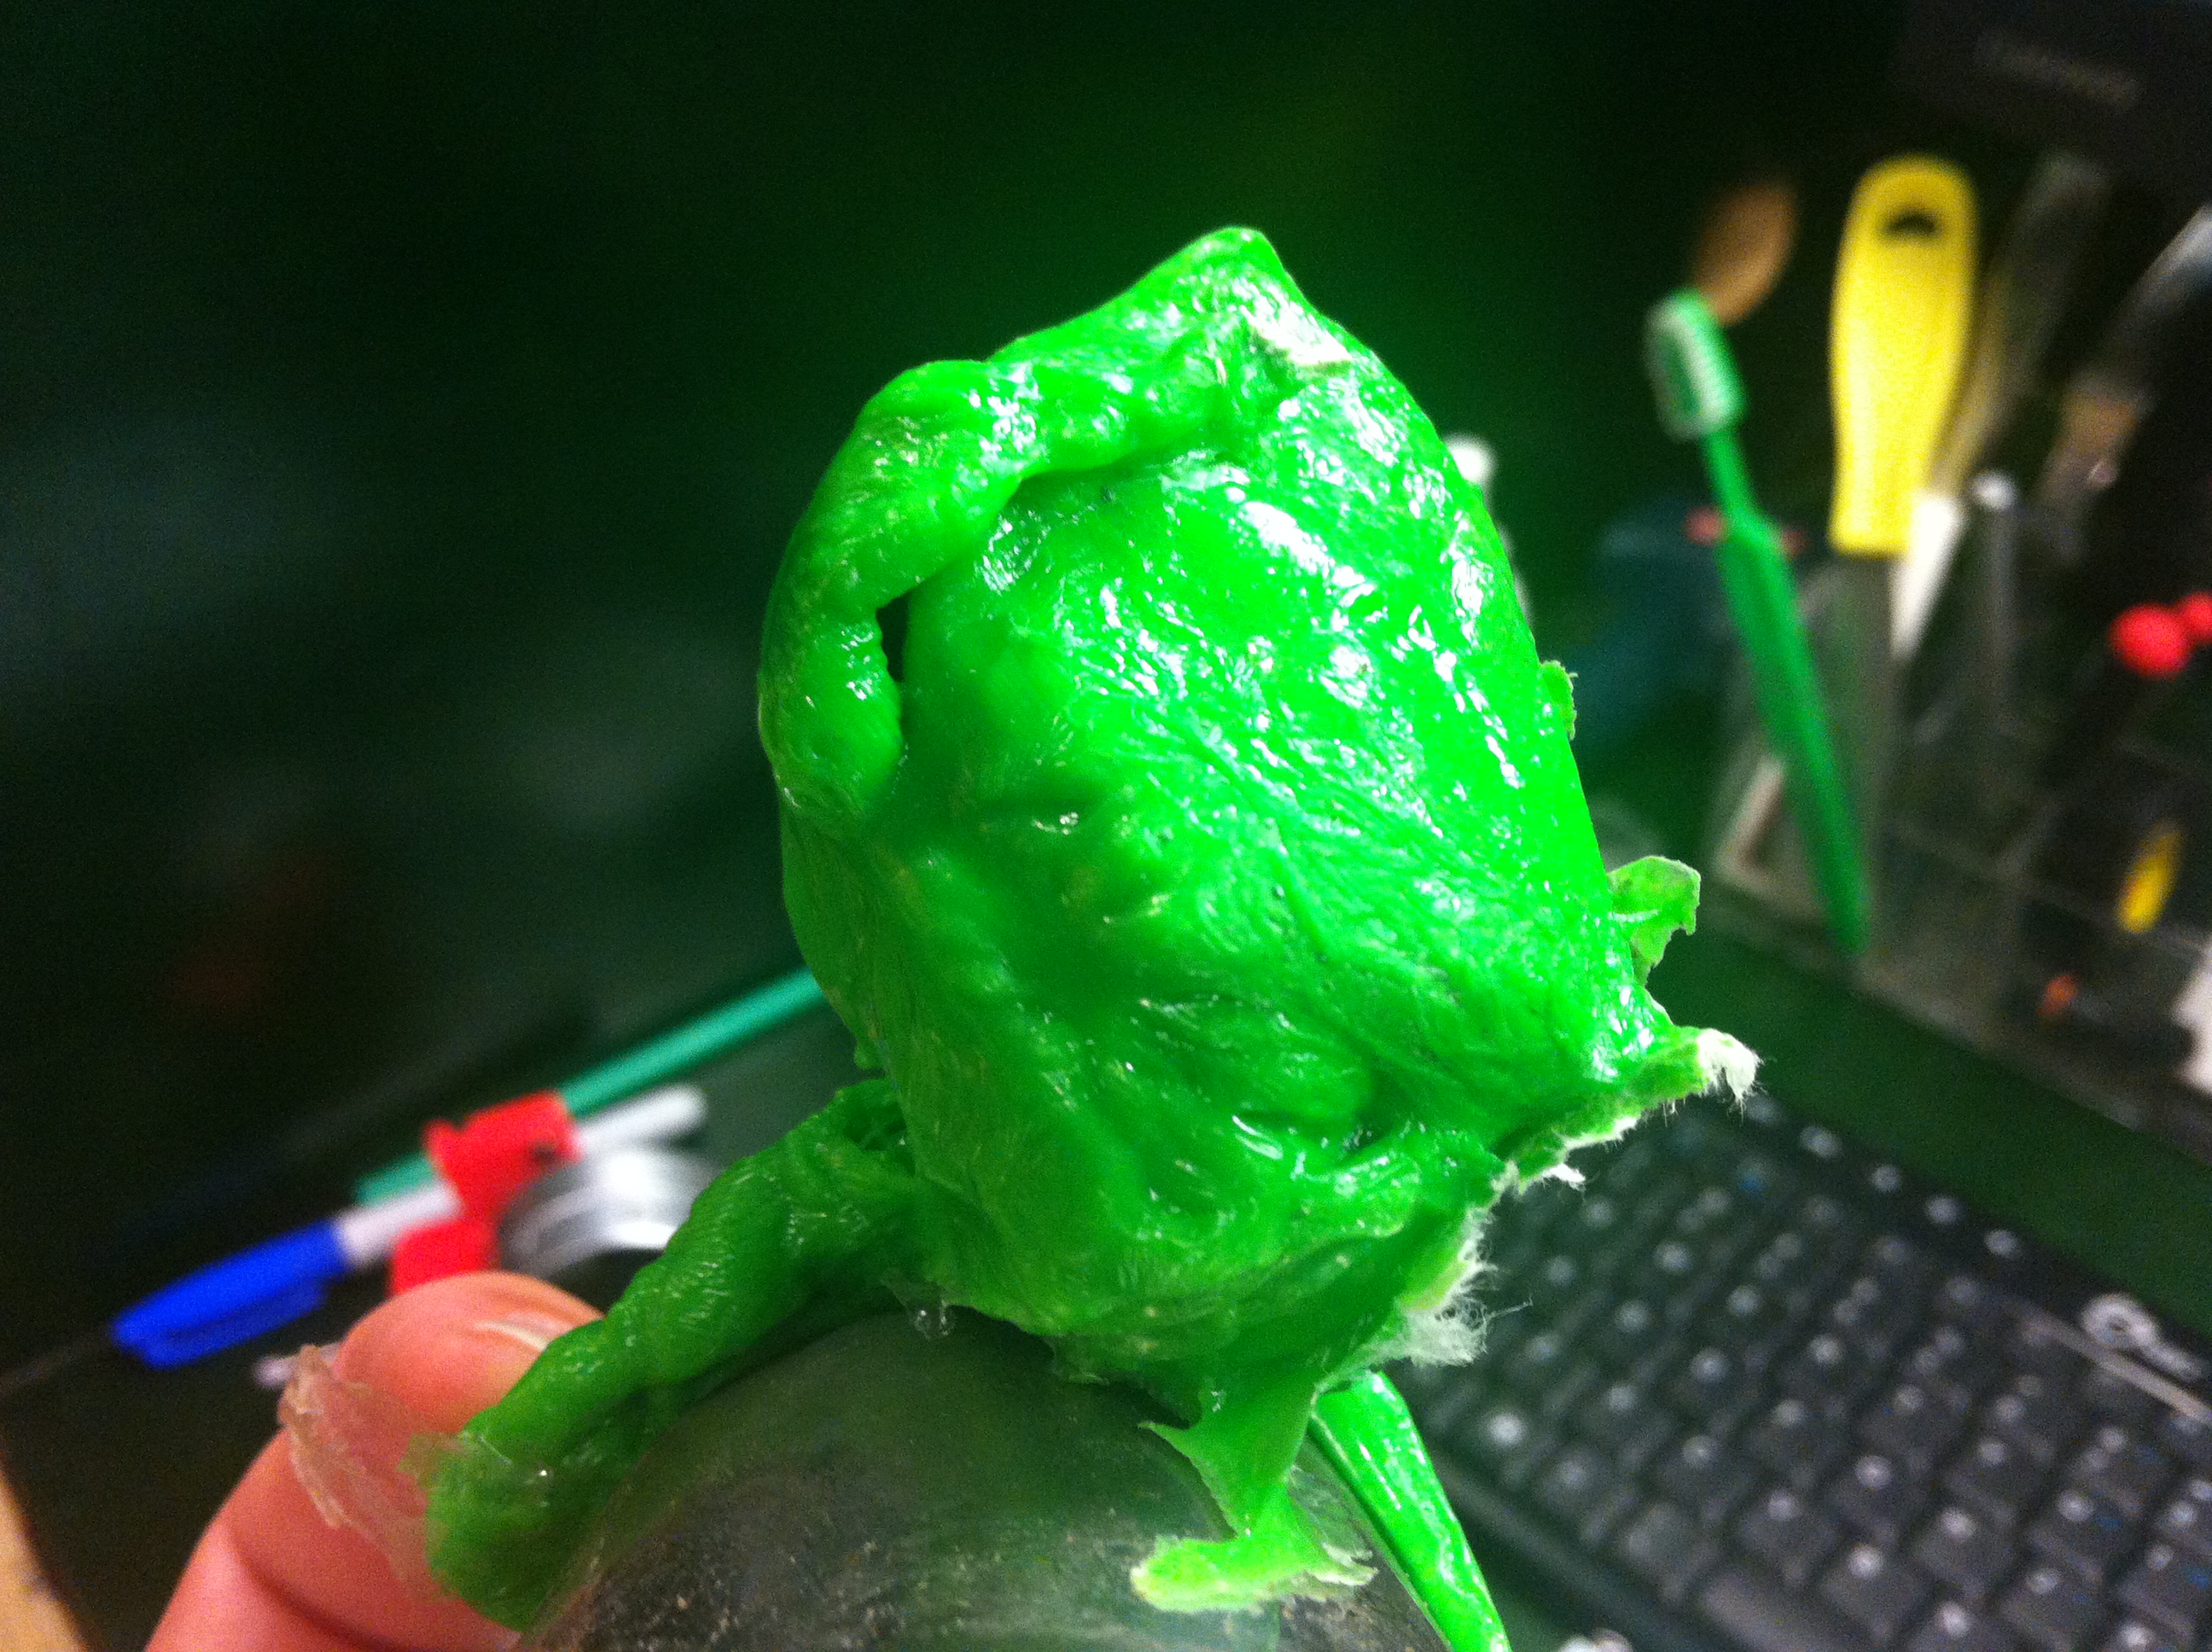
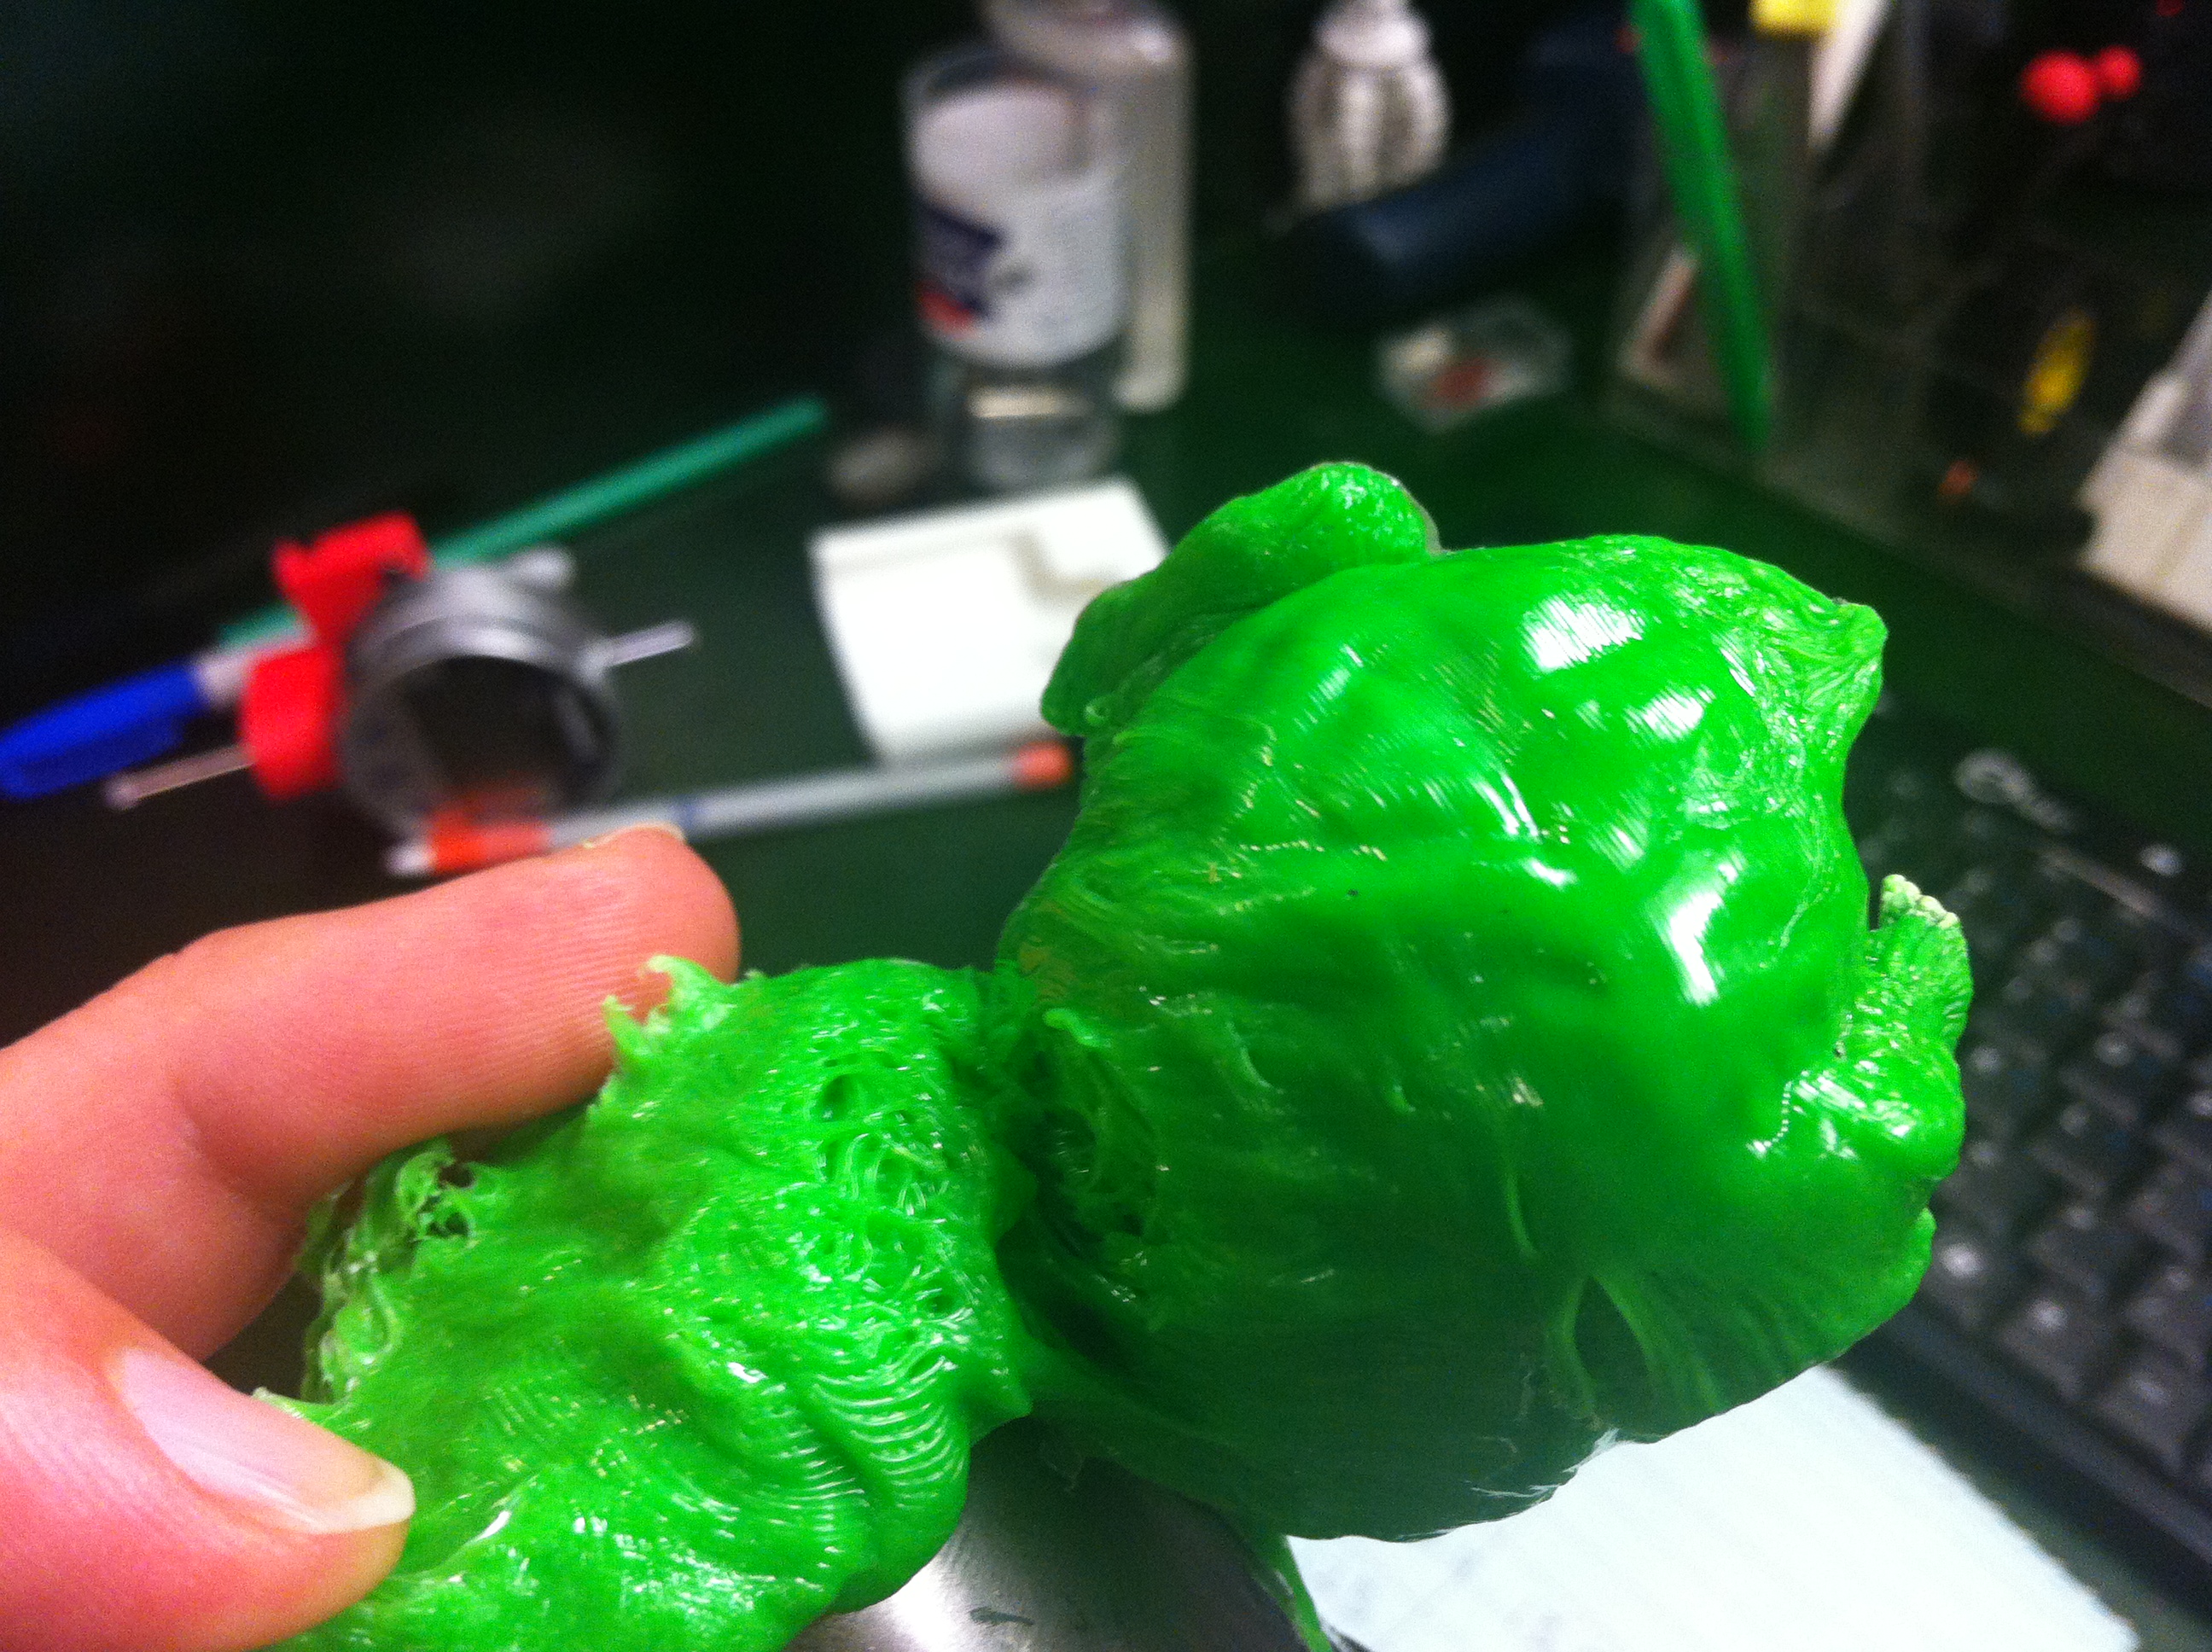
4. Evaluate your piece - are there any very thin or loosely filled areas? The acetone may completely melt through them.
5. Ready a small, easy to seal container of acetone. You want to minimize evaporation, and as you brush the piece your brush will pick up plastic and make your acetone dirty.
-------
Brushing your print:
1. Dip brush into acetone and re-cover your supply.
2. Brush gently across piece. Brushing hard will cause drips and splatters. You only get a few strokes before all the acetone evaporates, so plan to so small sections at a time. Brushing a "wet" area with a dry brush will make unpleasant streaks.
3. On your final pass, keep brush strokes all in the same direction, preferably in the direction of the layers - brushing top to bottom is likely to leave grey streaks.
4. Do not touch brushed areas until they are dry
-------
Cleaning up:
Do not dump acetone down the drain! Save whatever is left for next time.
Clean your brushes as well as possible. With gloved fingers, squeeze out plastic from between the strands, then swish in acetone.
Make sure your acetone containers are TIGHTLY SEALED.
Go get some fresh air
That's all for now! Happy polishing