Sorry for necro, but I did end up completing this.
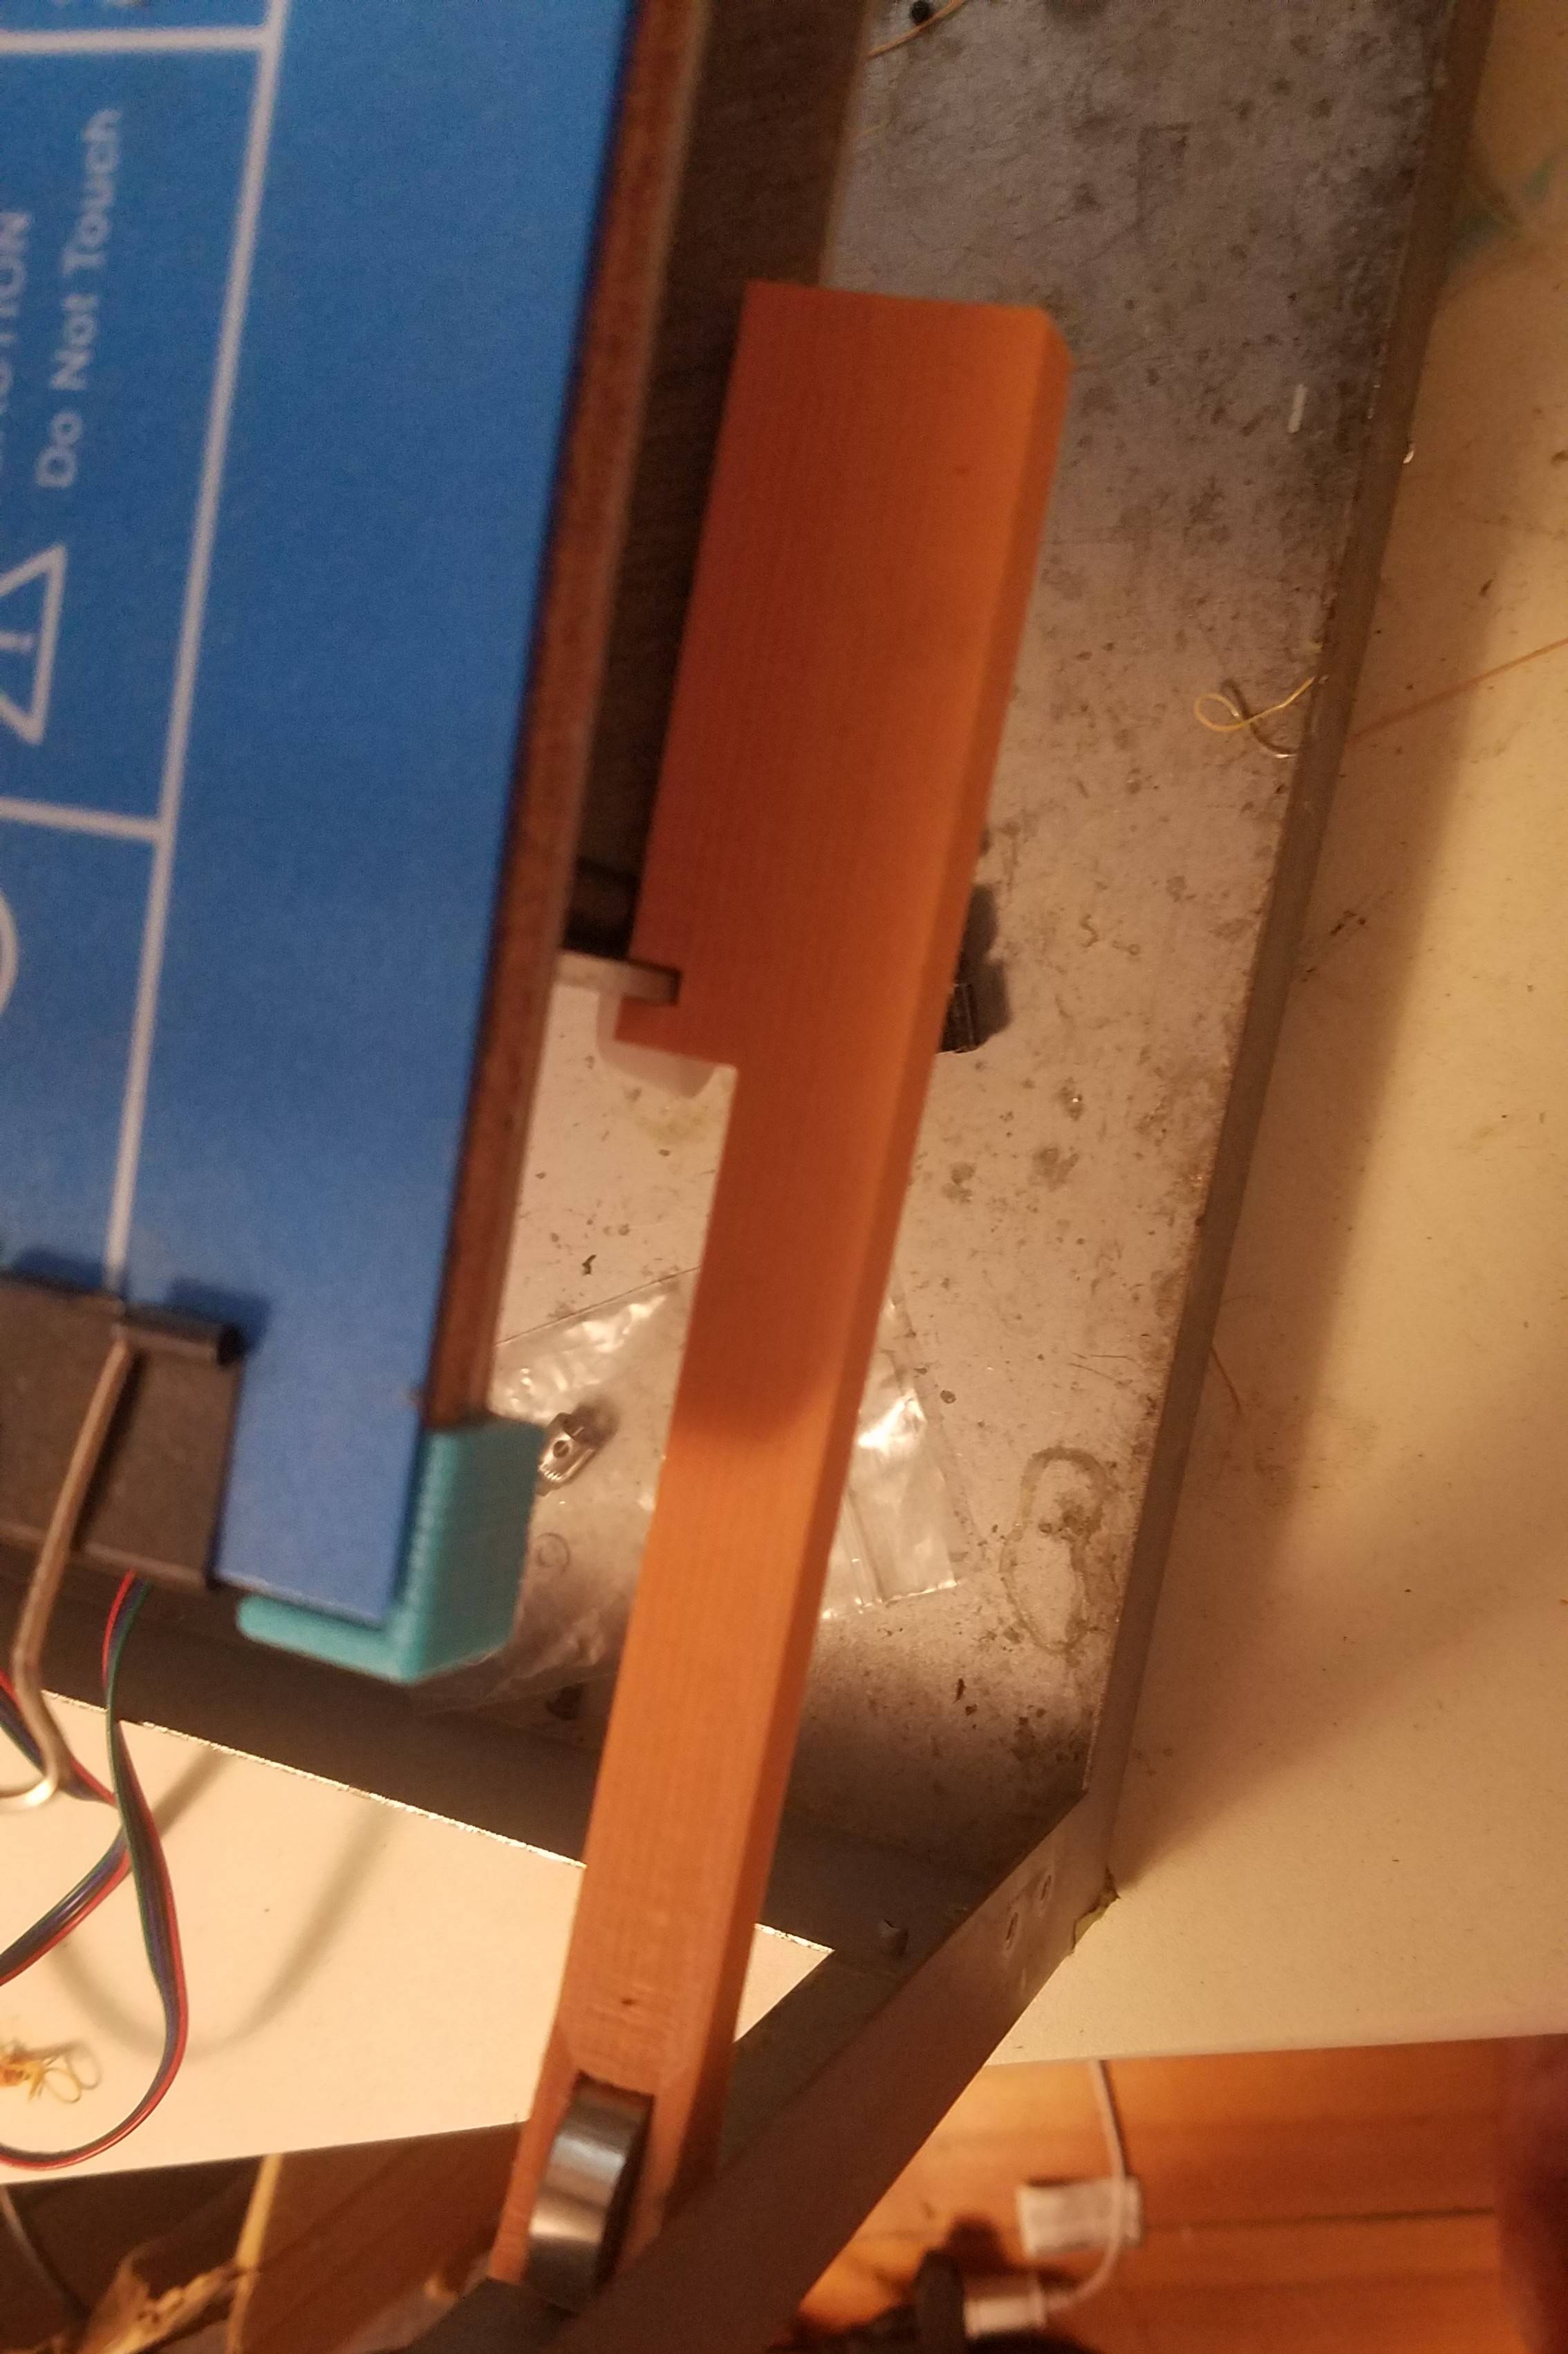
you folks were right, there was definitely a large component of the movement that was due to the bed wandering in the x/y plane. I designed a 3d printed version of the bed stabilizer and that got most of the problem out: https://www.thingiverse.com/thing:3714743 but there was still a bit of periodicity in my z-banding due to the flex from a bent threaded rod. I decided to go ahead with the modification since I had the parts anyways.
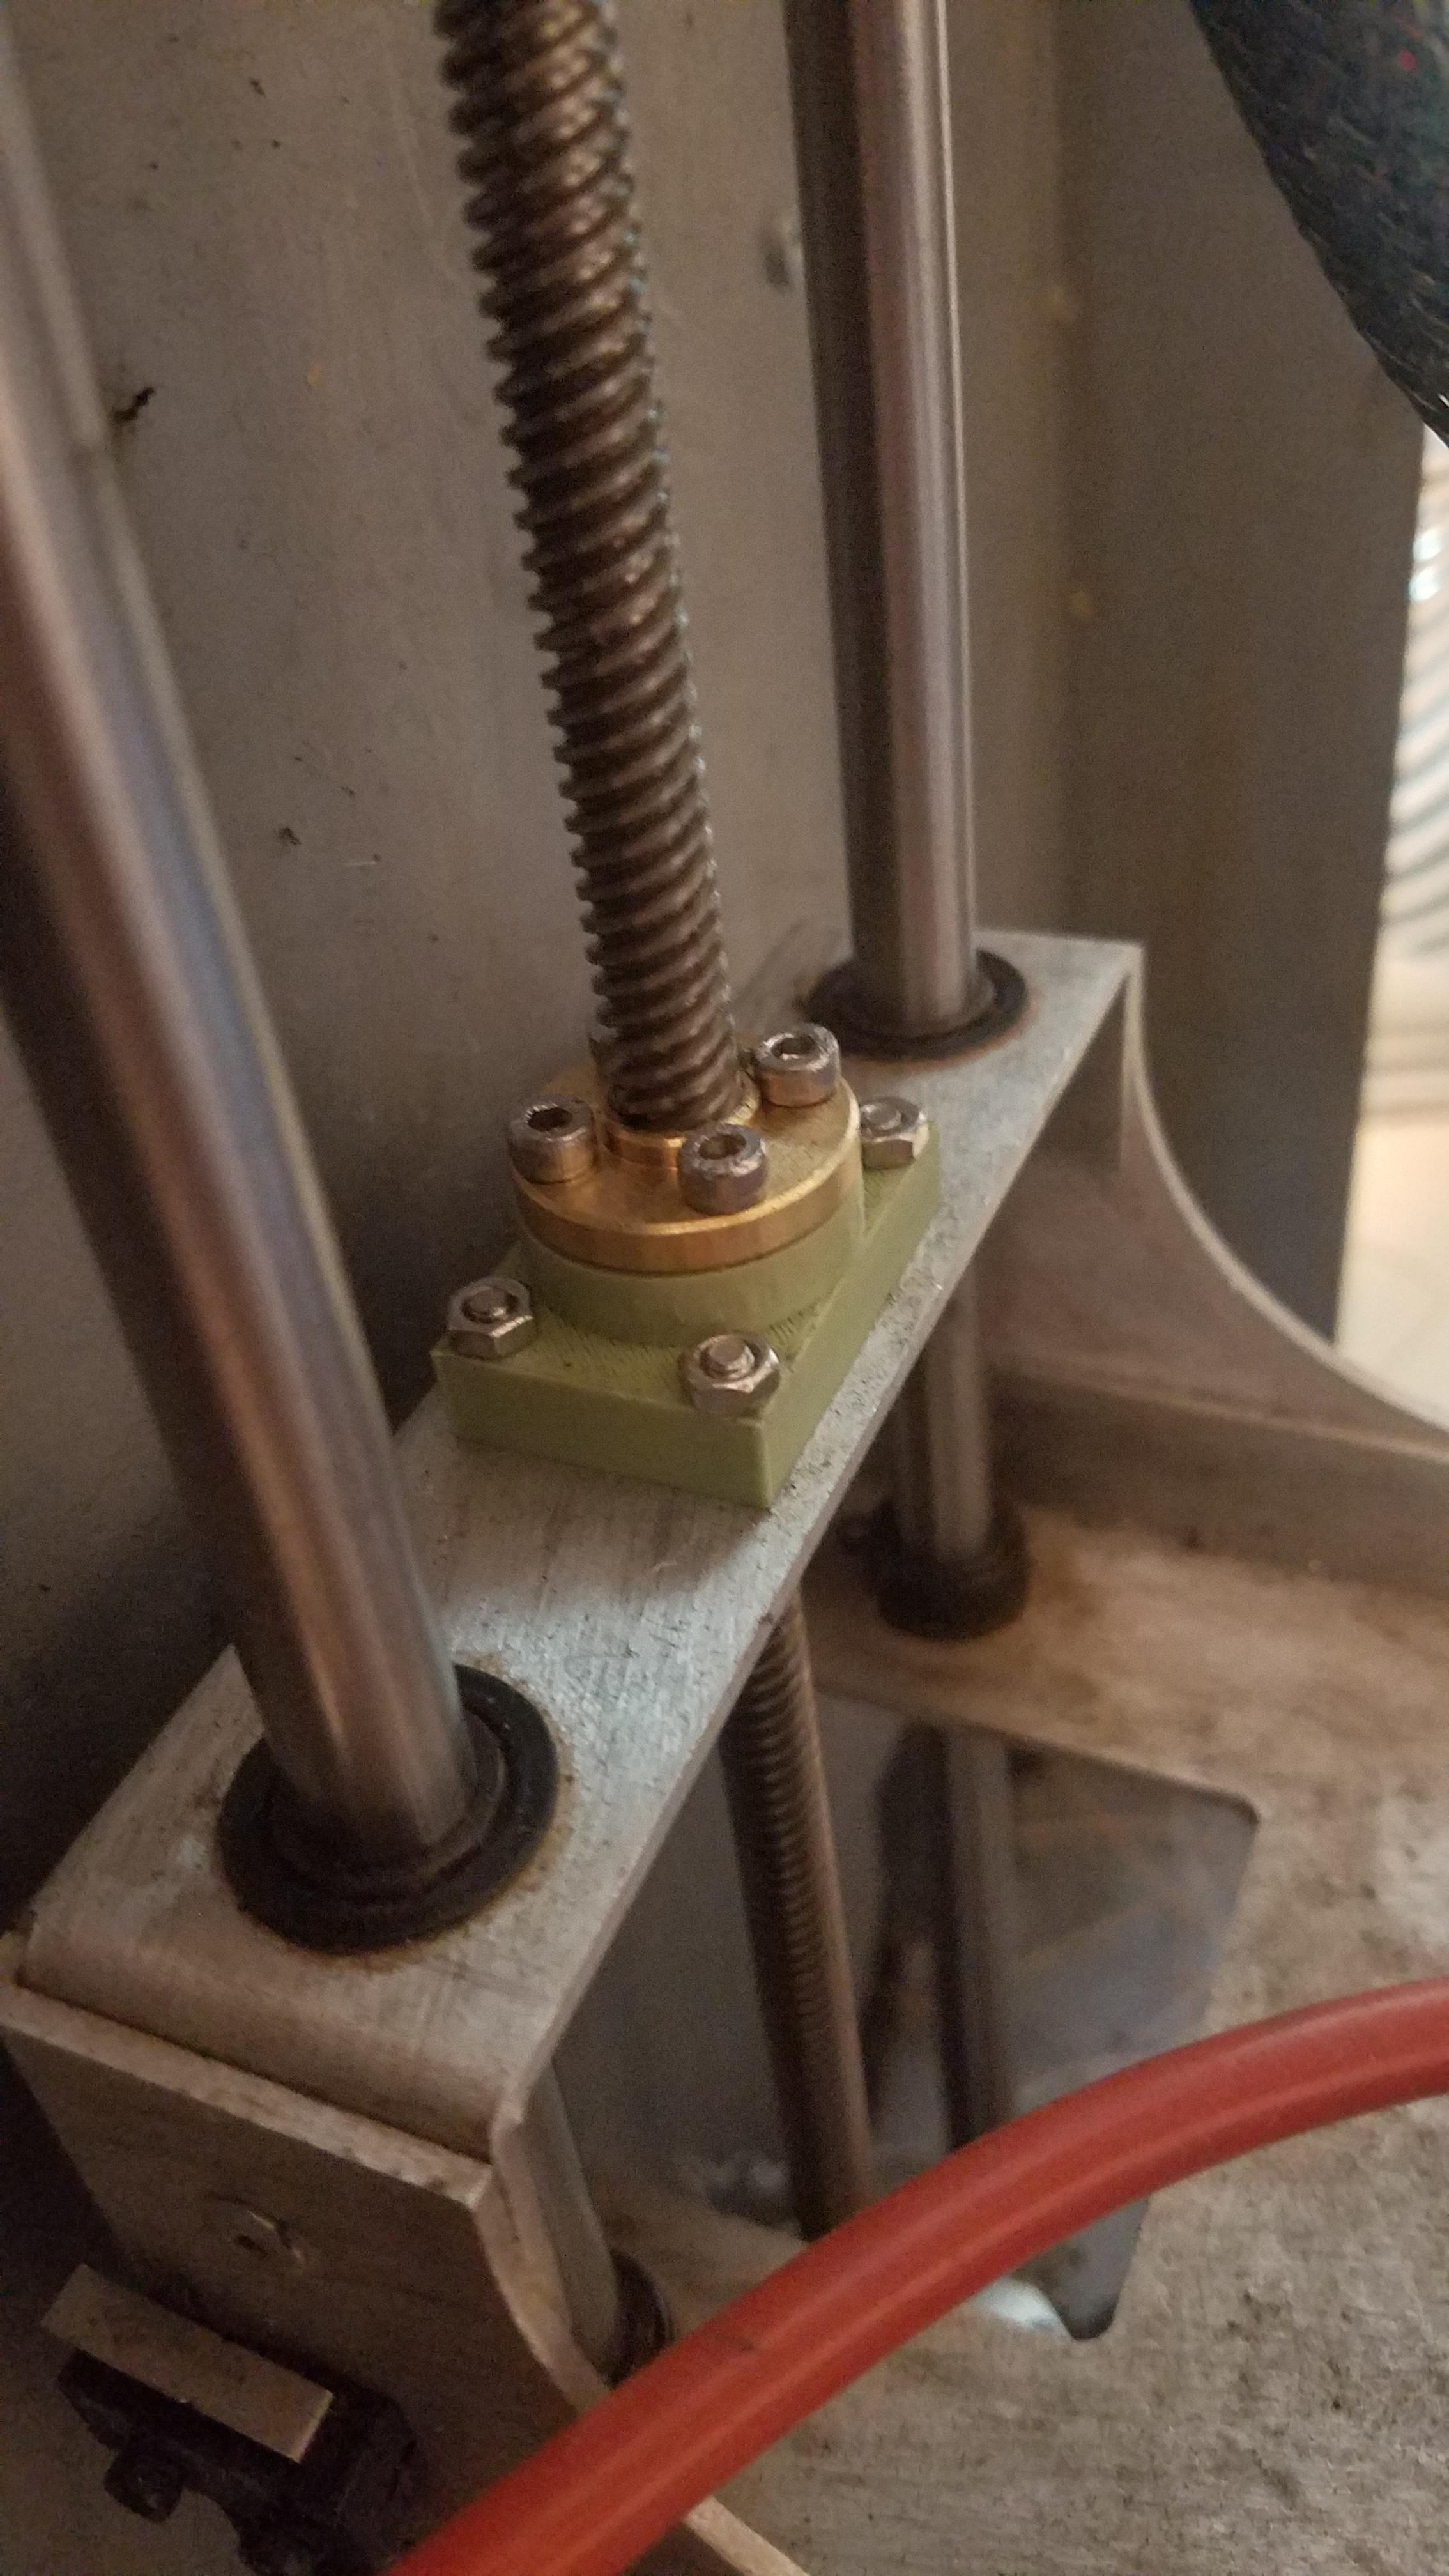
I couldn't figure out how to remove the old nut non-destructively, so I just successively bore it out with larger and larger drills until I had made a clean hole about 10mm wide, more than enough for the 8mm leadscrew I had. I had planned to use the plastic fitment piece on bottom, so it naturally opposes the weight of the bed, but with the nut still in place I can't do that; I might try to revisit the design of the 3d printed part later to allow for that. In any case I have multiple, and it hasn't shown any signs of wear yet.
My leadscrew ended up being slightly too long, so I dremeled out part of the frame to accommodate the extra length.
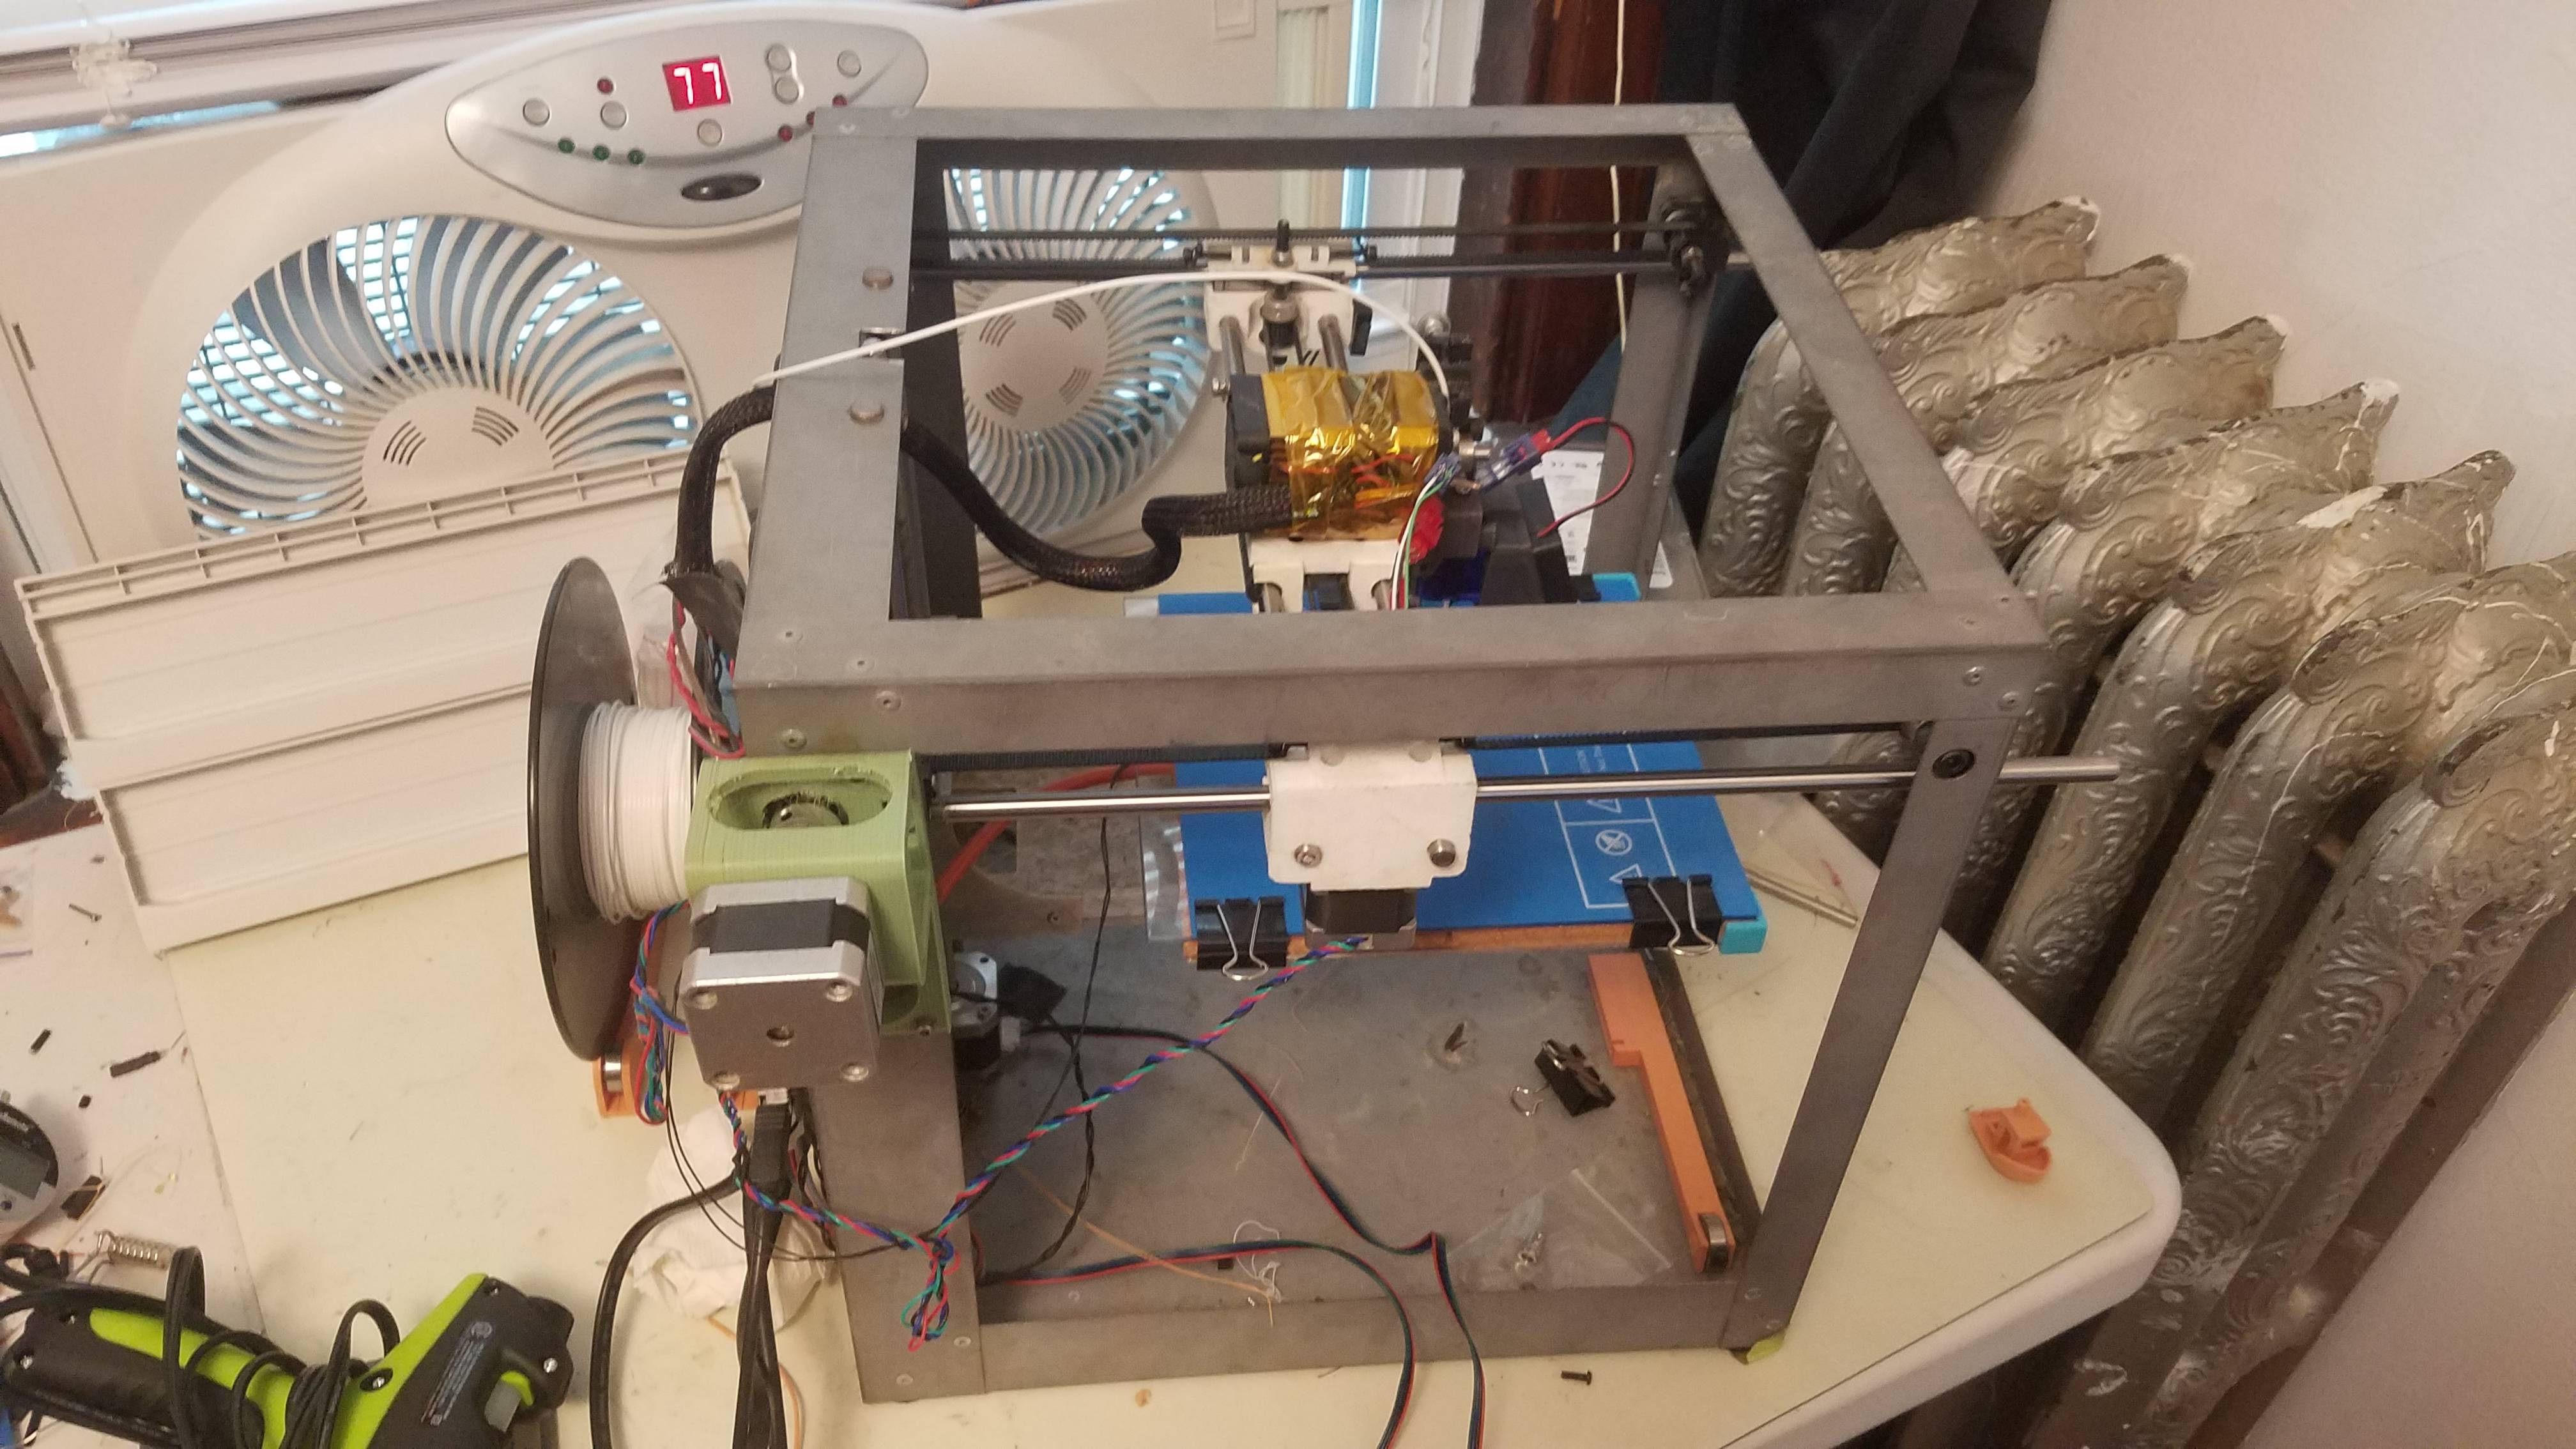
Short of QOL parts I think I'm done upgrading this old gal. I've got an upgraded power supply, QU-BD bed, direct drive Y motor, lead screw Z axis, lm8uu x/y carriage and Lawsy's mk6 extruder mount with an e3d v6. The test prints aren't perfect, but are well within the acceptable range of error now. Planning on using the Solidoodle for exotic filaments while I stick to PLA with my M2.
Thanks for your help! Here are the photos:
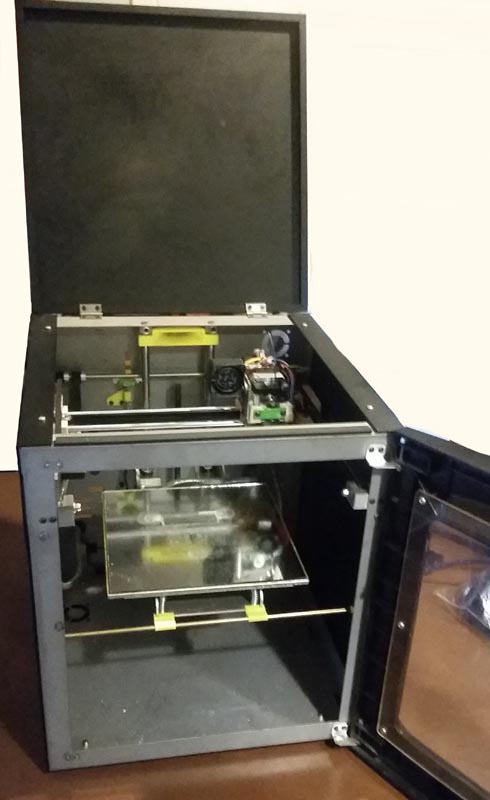
The machine itself:
Lead screw axis:
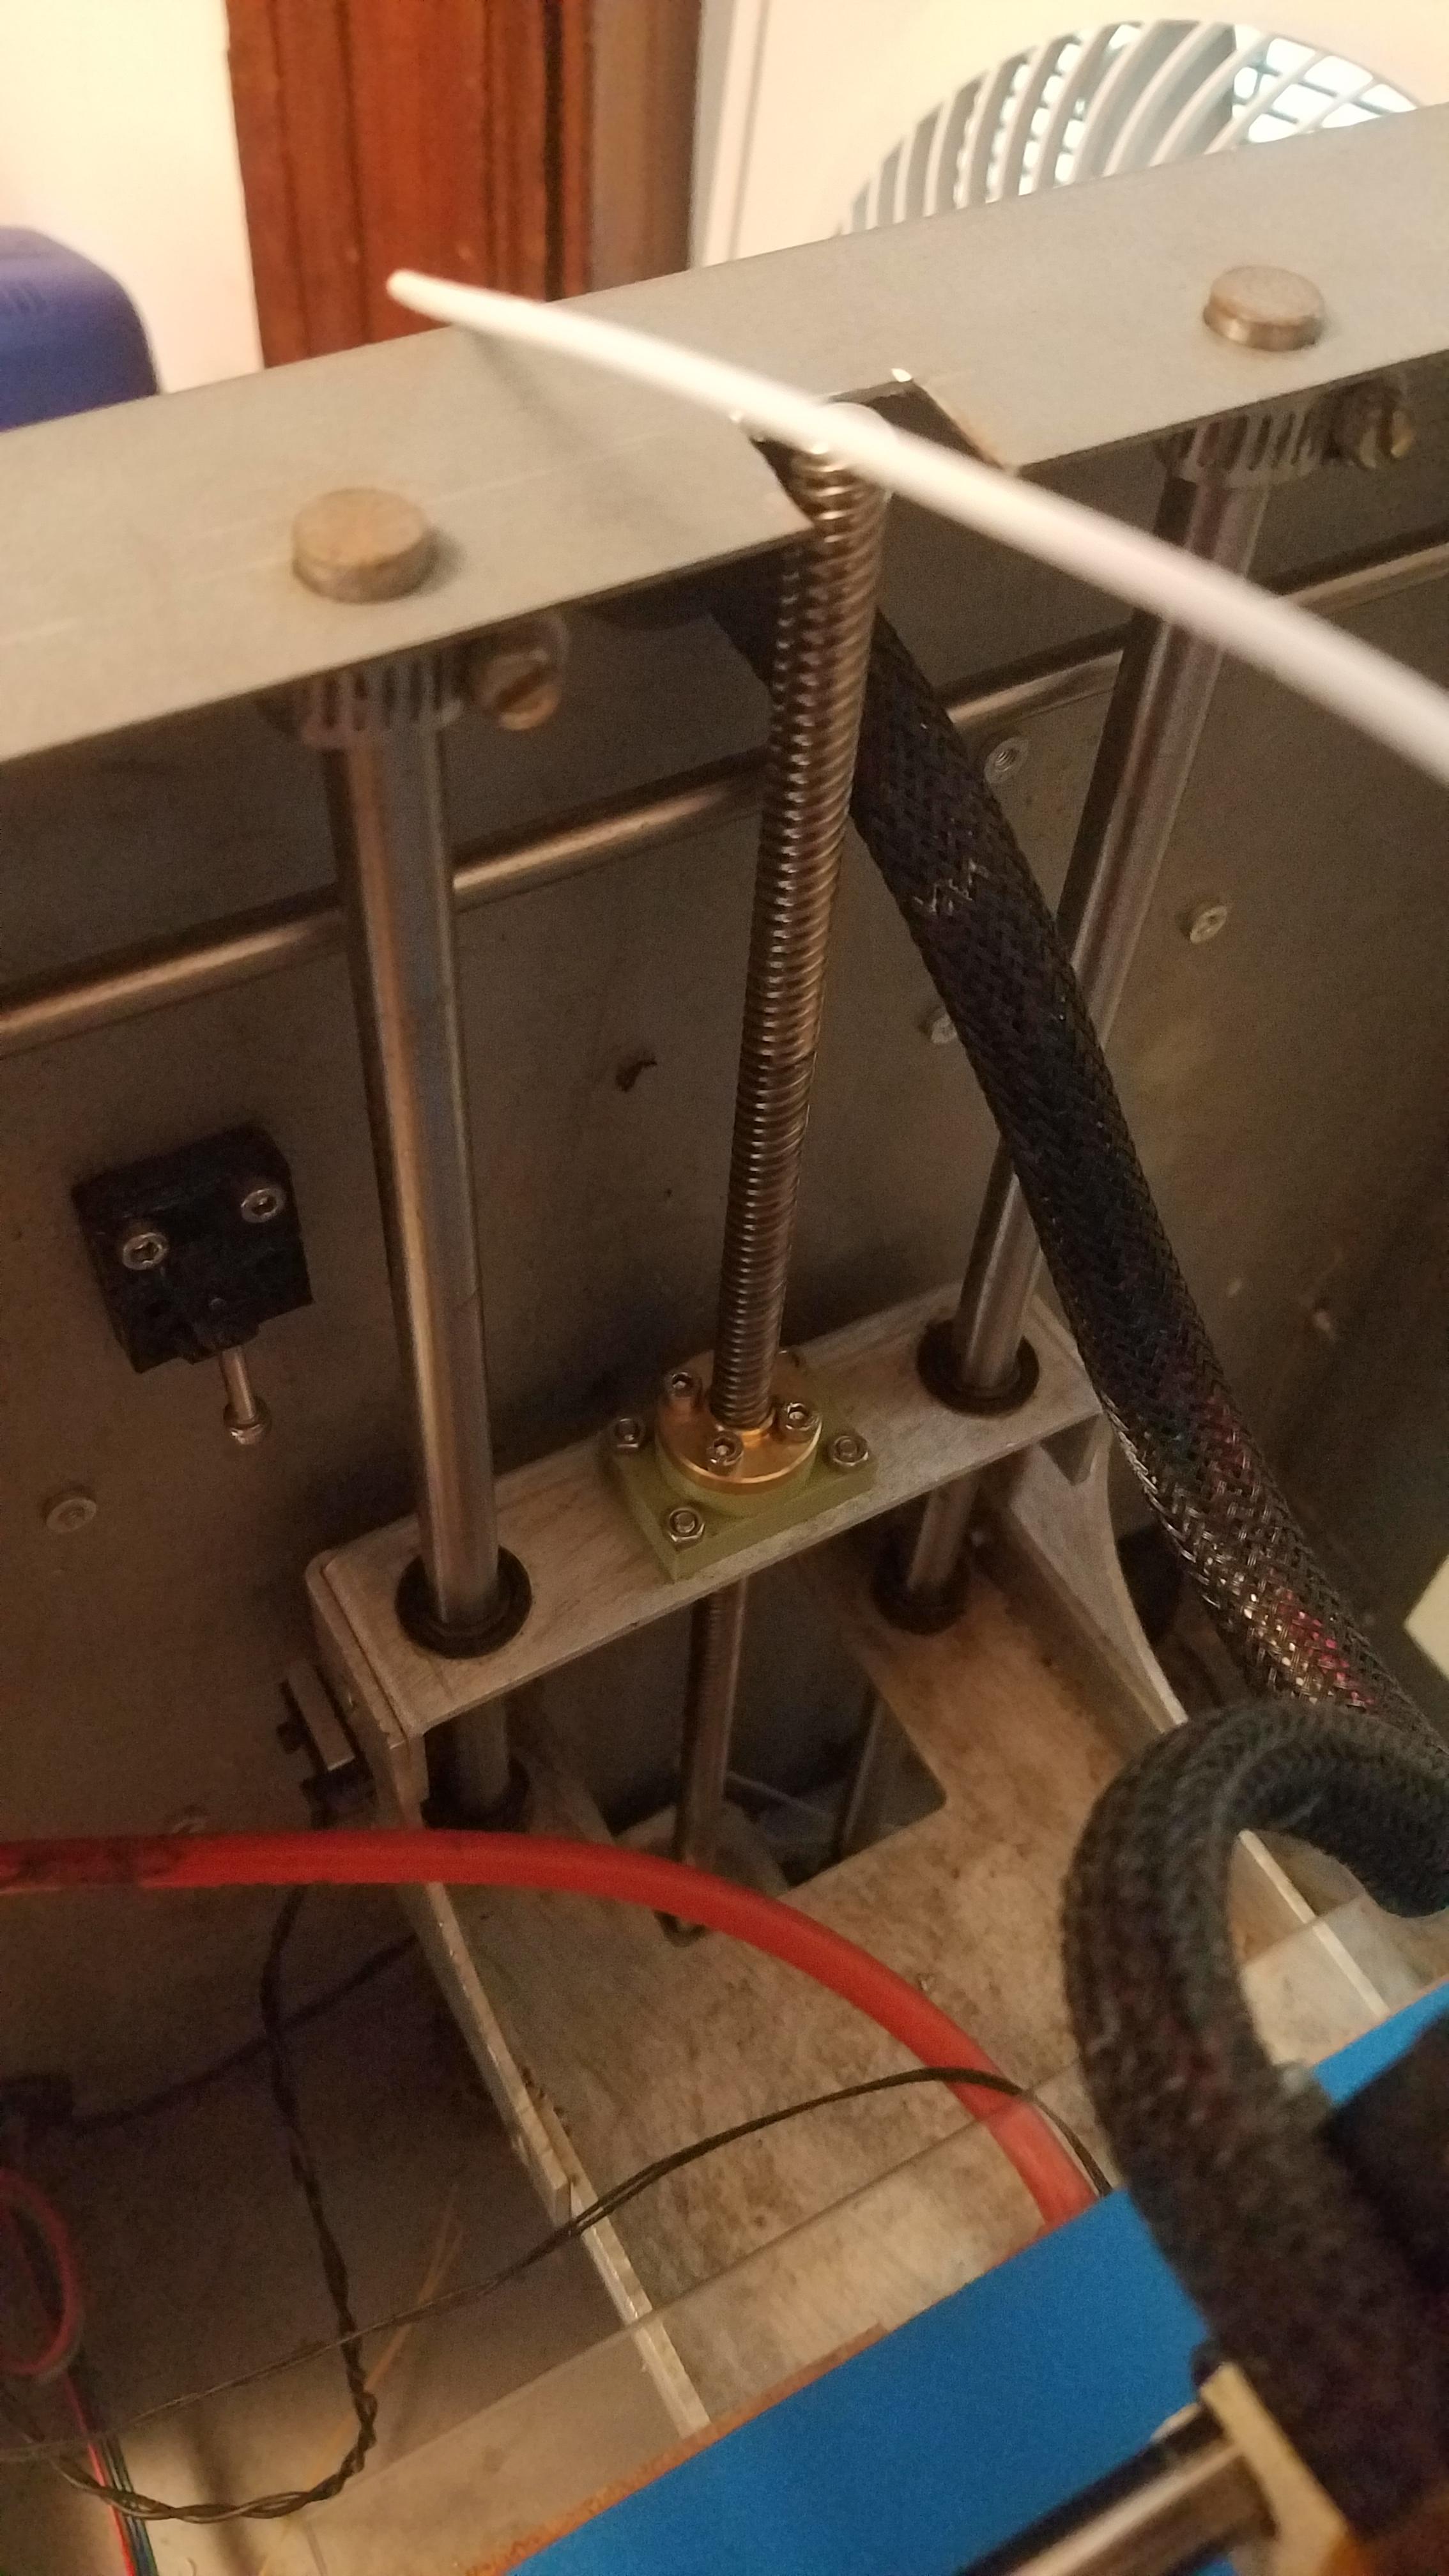
Closeup on the nut fitment piece:
3d printed stabilizer:
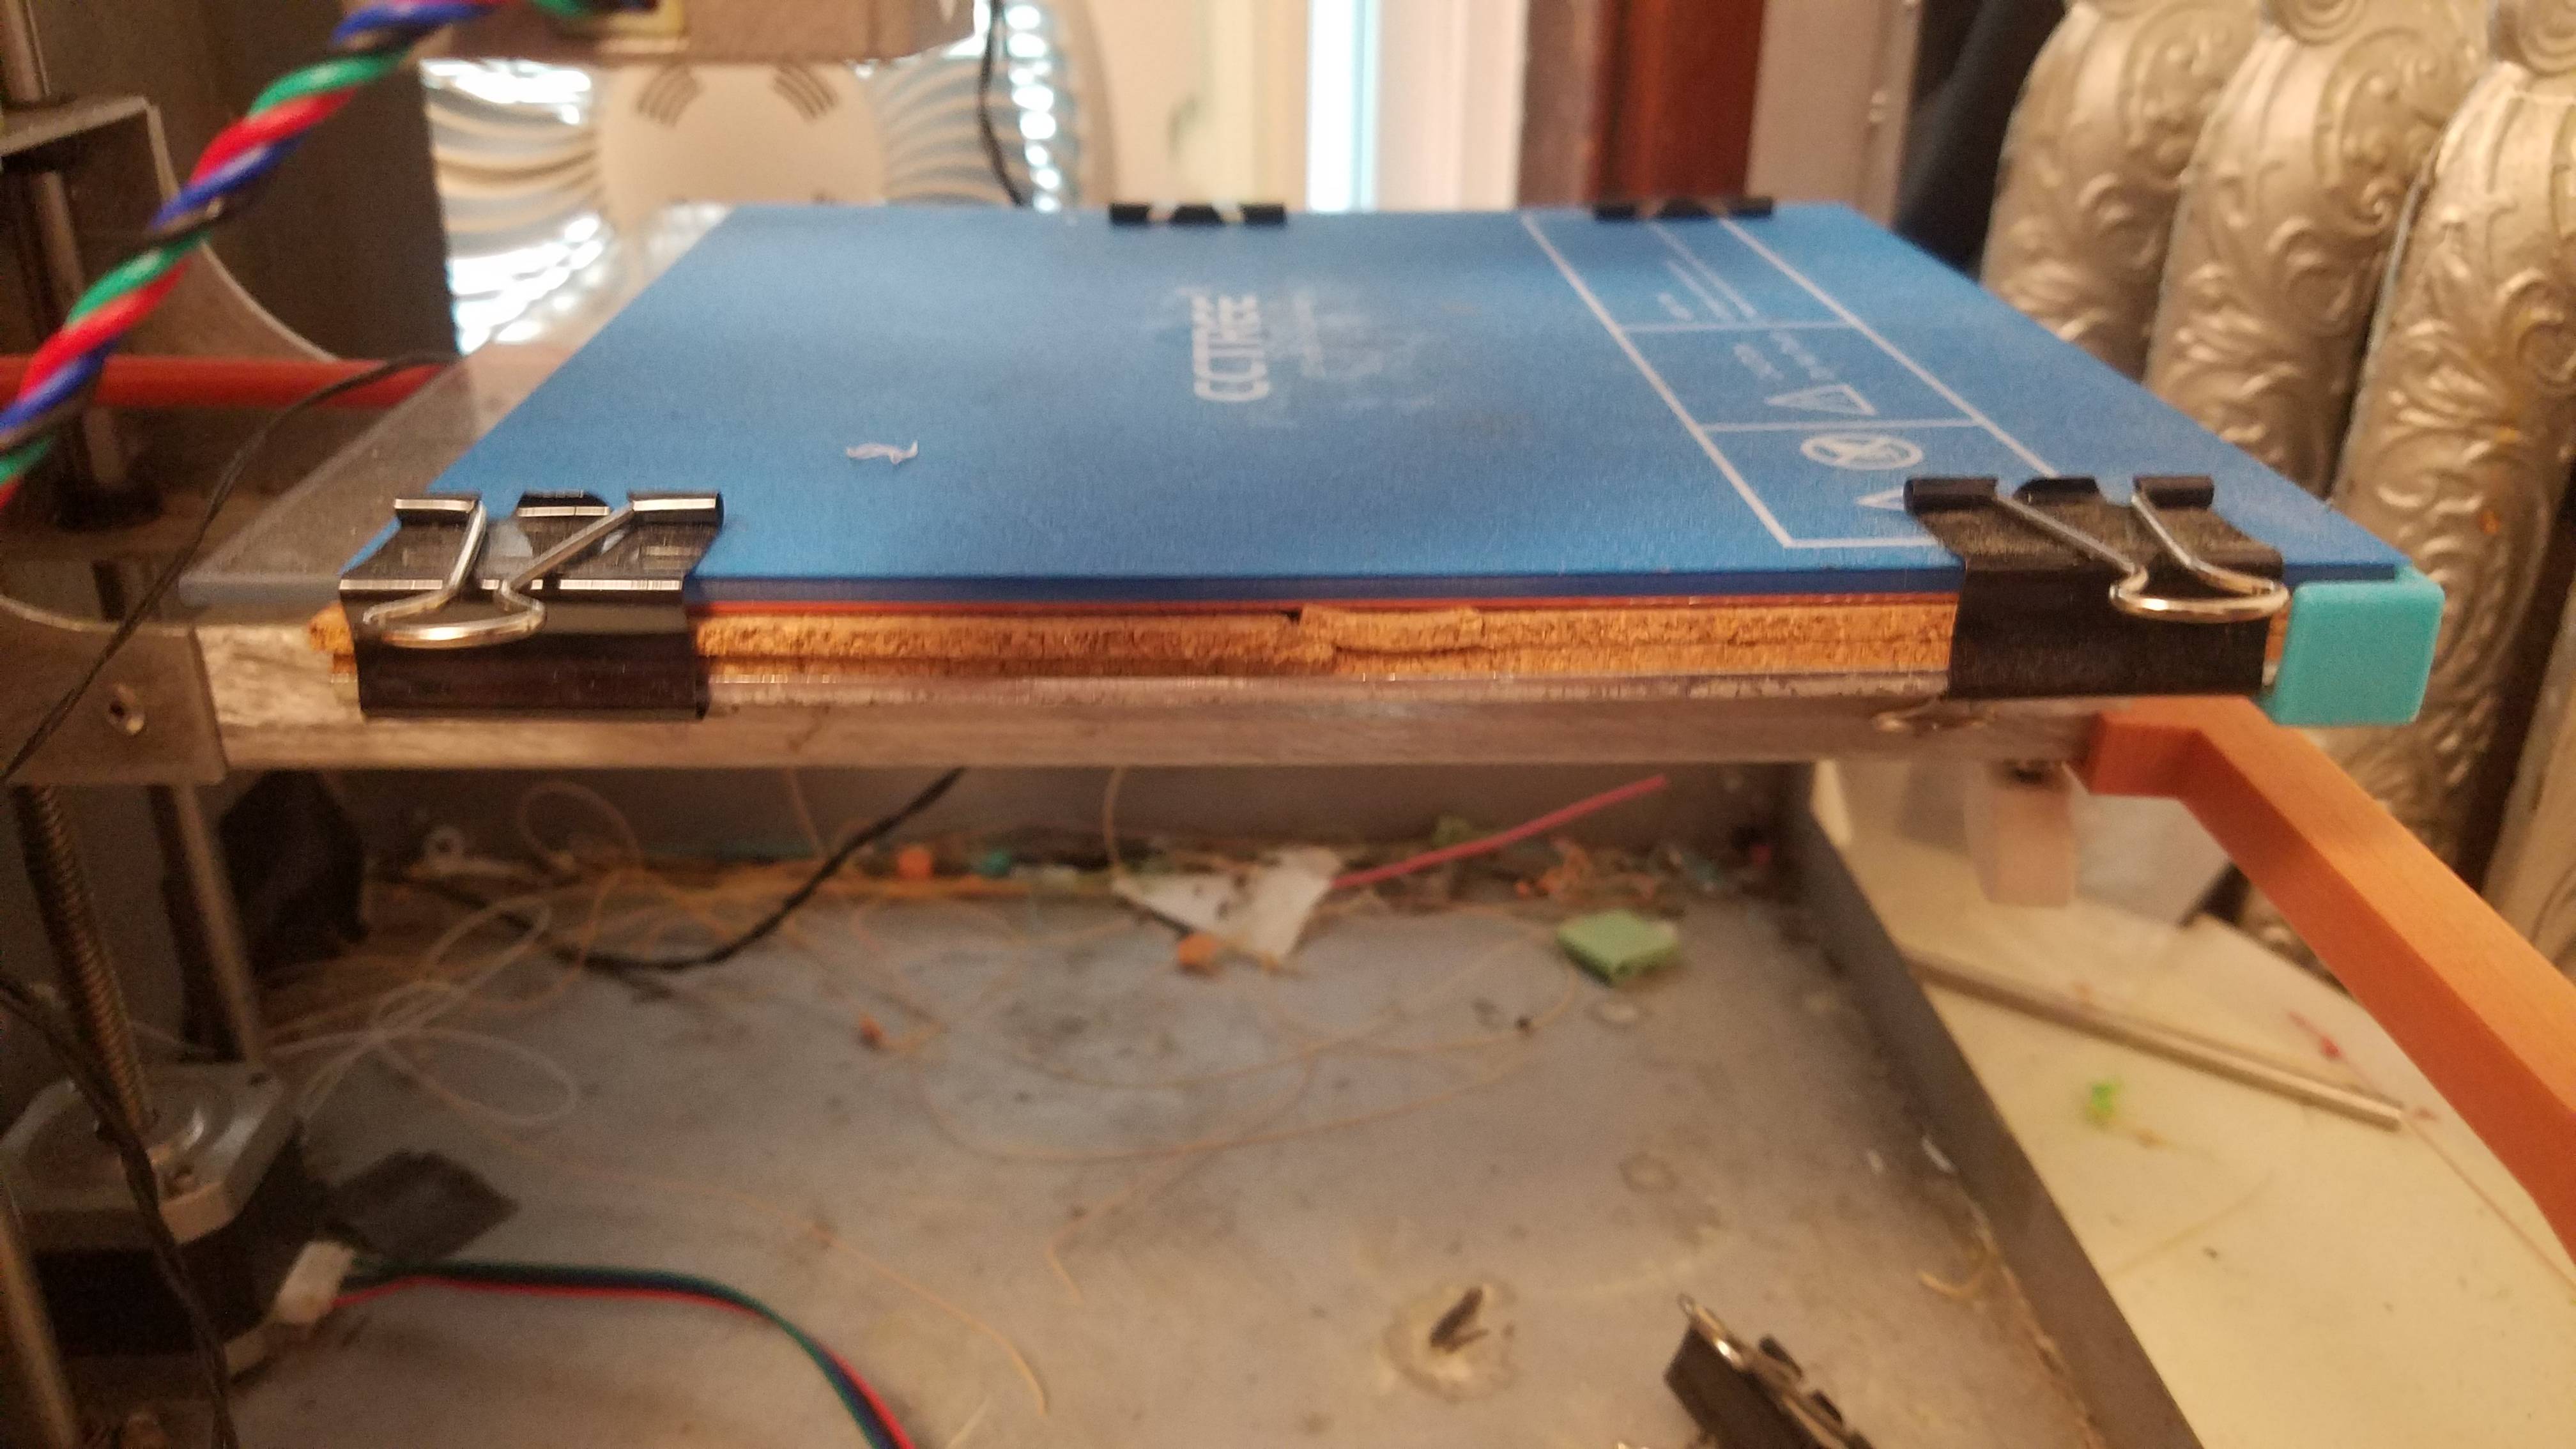
QU-BD 8 inch bed with cork pad support:
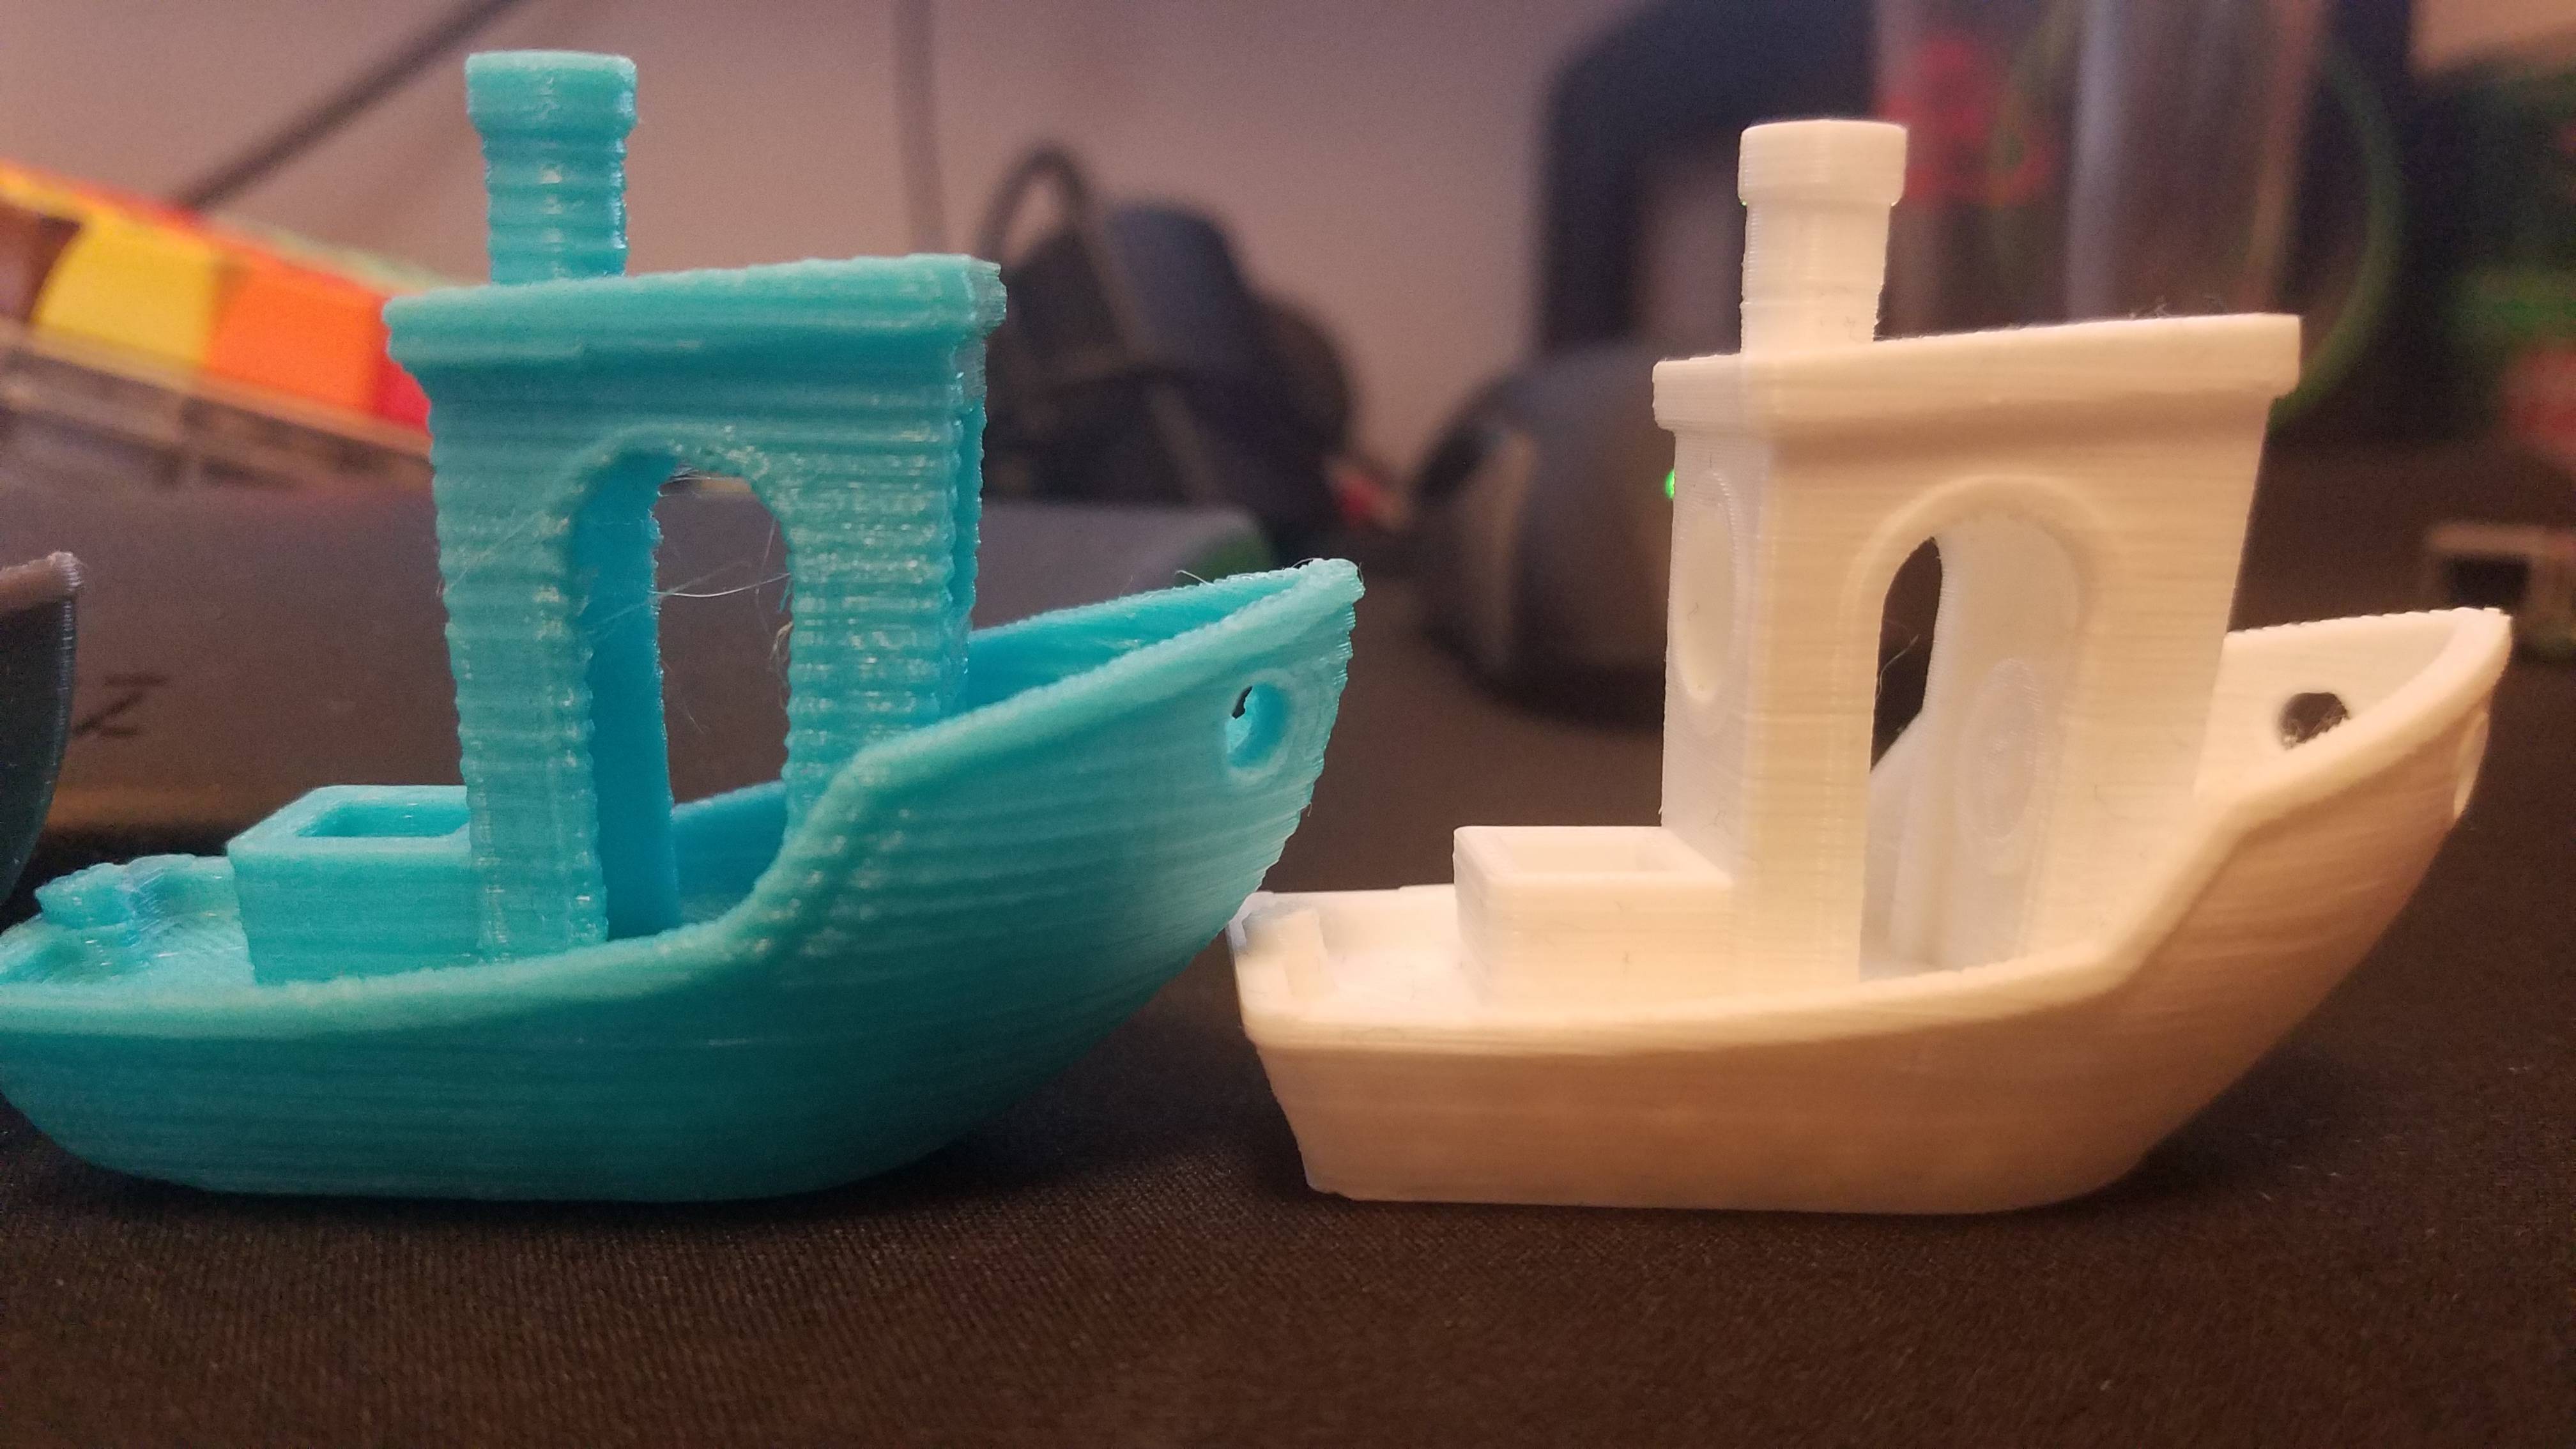
Test prints. Left is from the Makergear M2, middle is before both the stabilizer and the leadscrew, right is after. I can't find the one from before the leadscrew but after the stabilizer. It was much better but still had an apparent z-banding issue
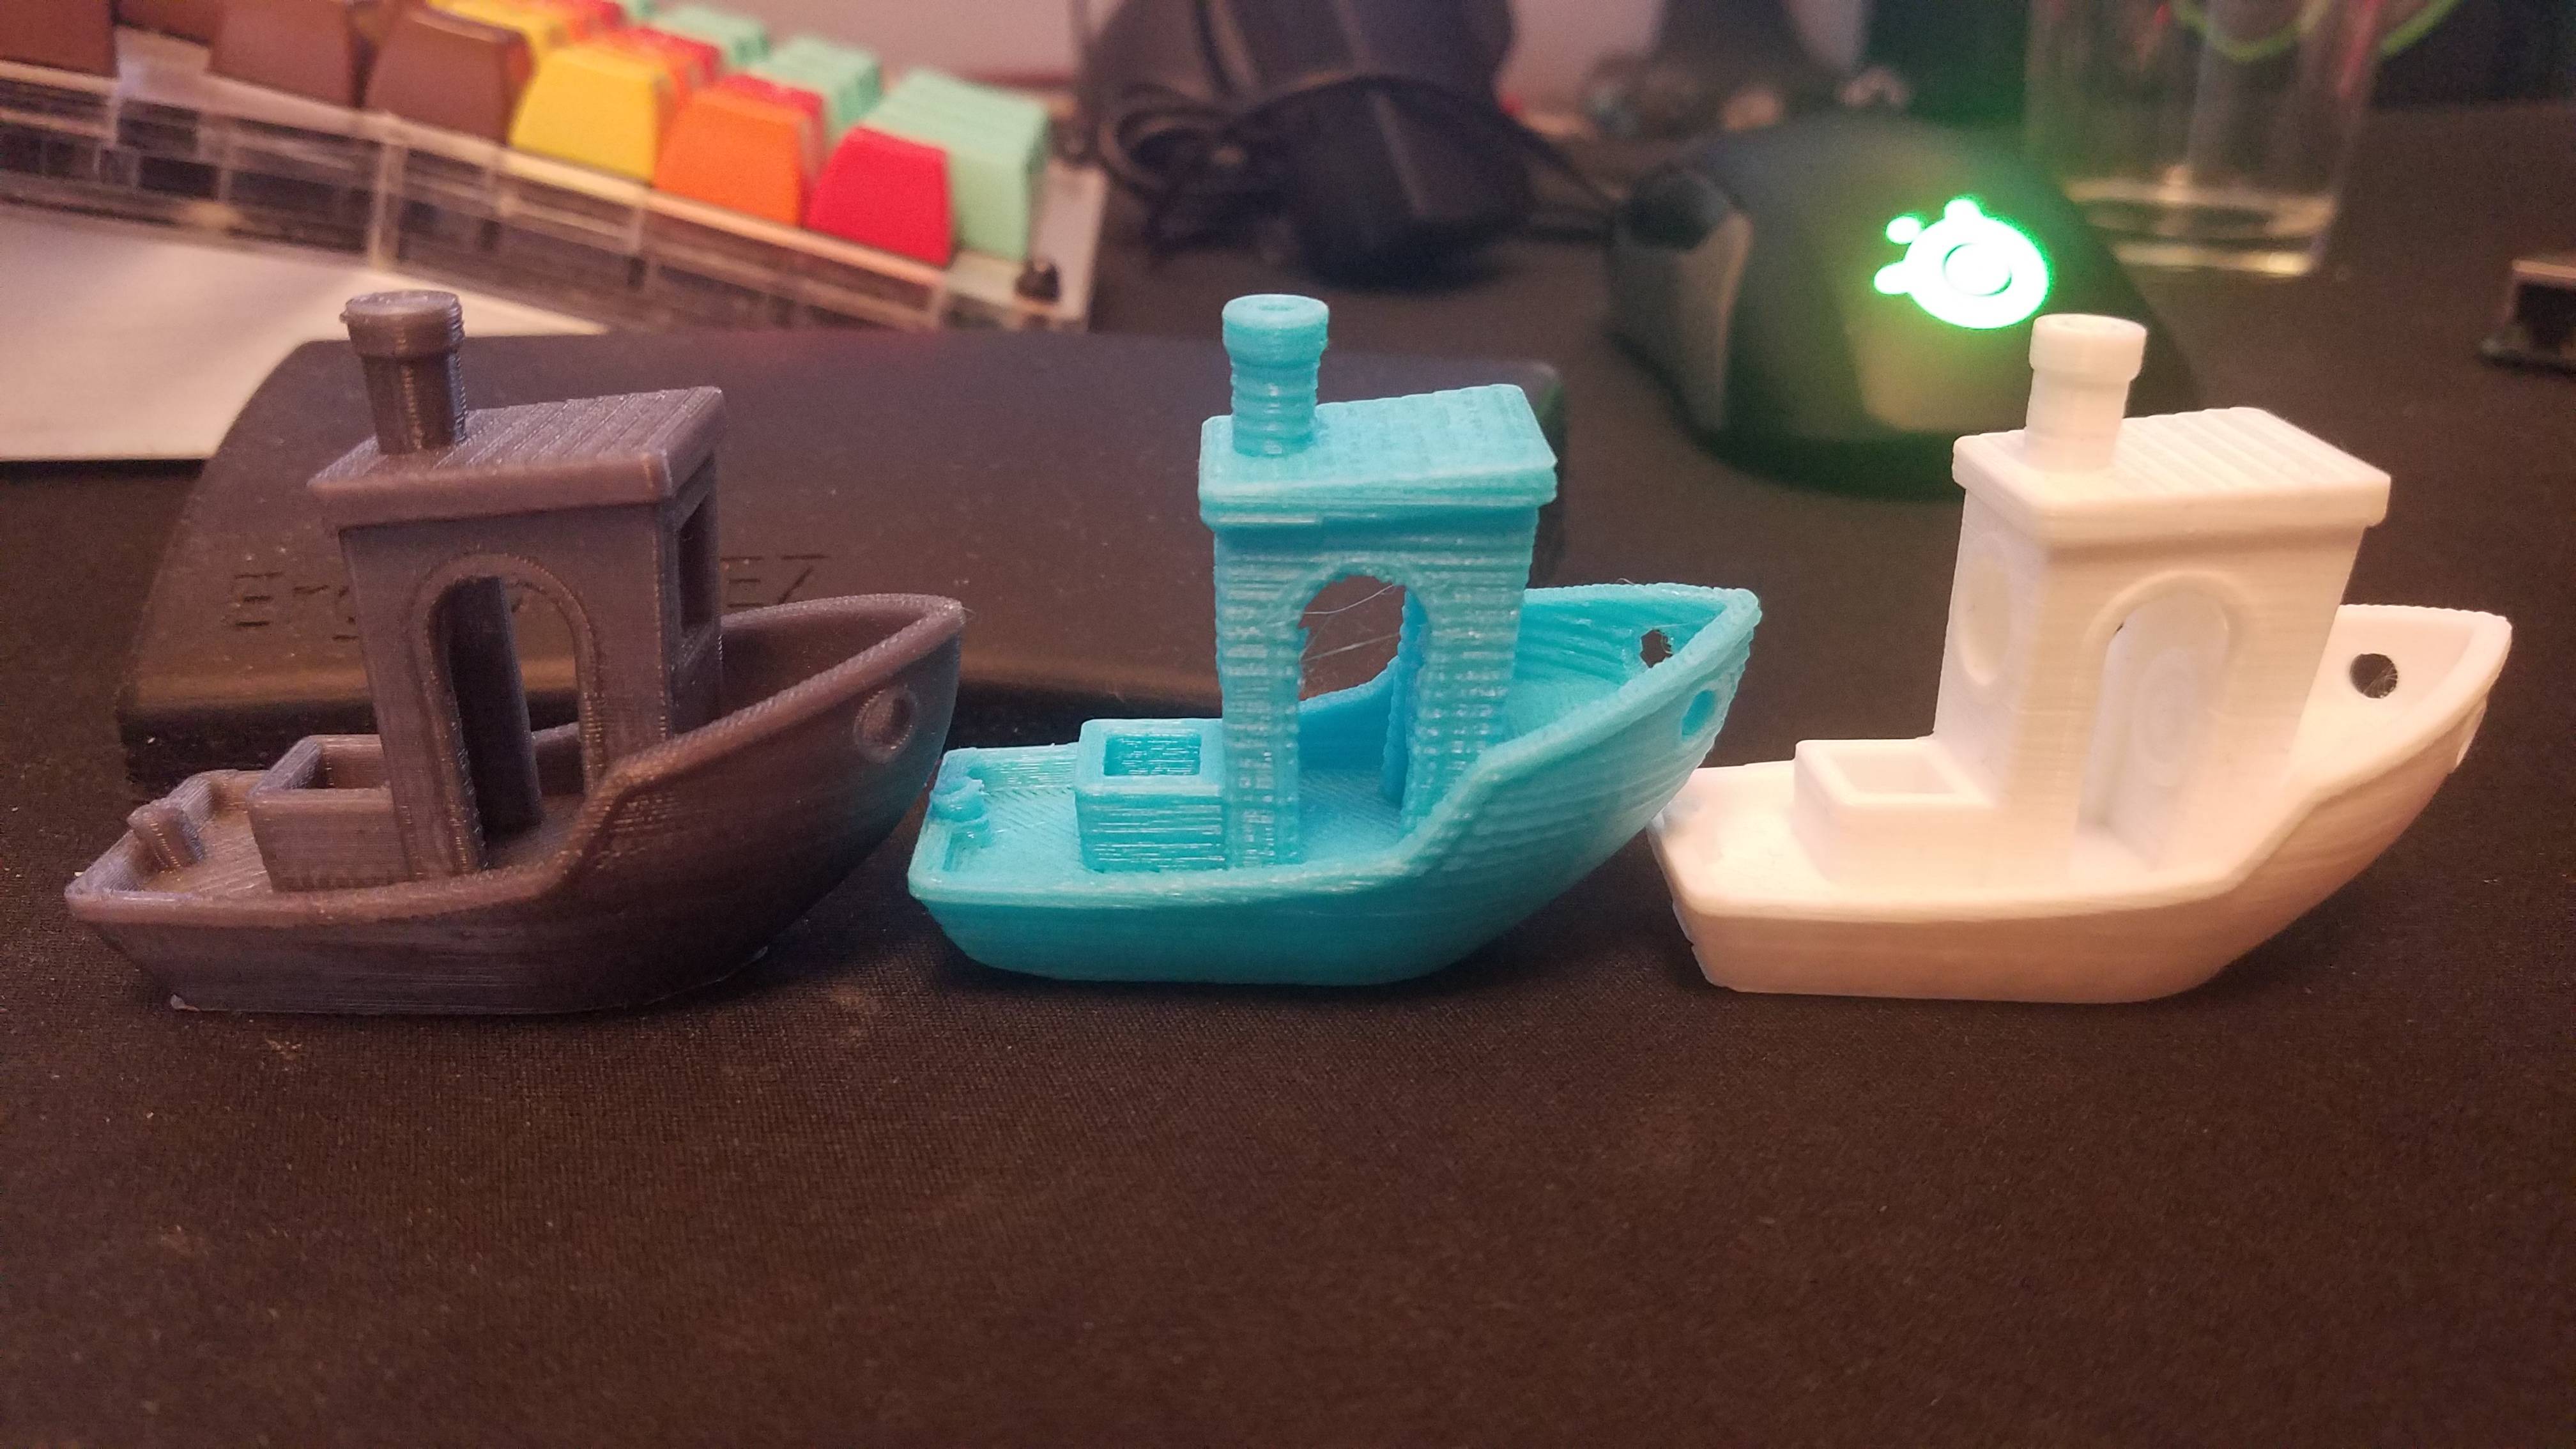
Close up on just the two Solidoodle test prints: