1

Topic: Wiring Strategies

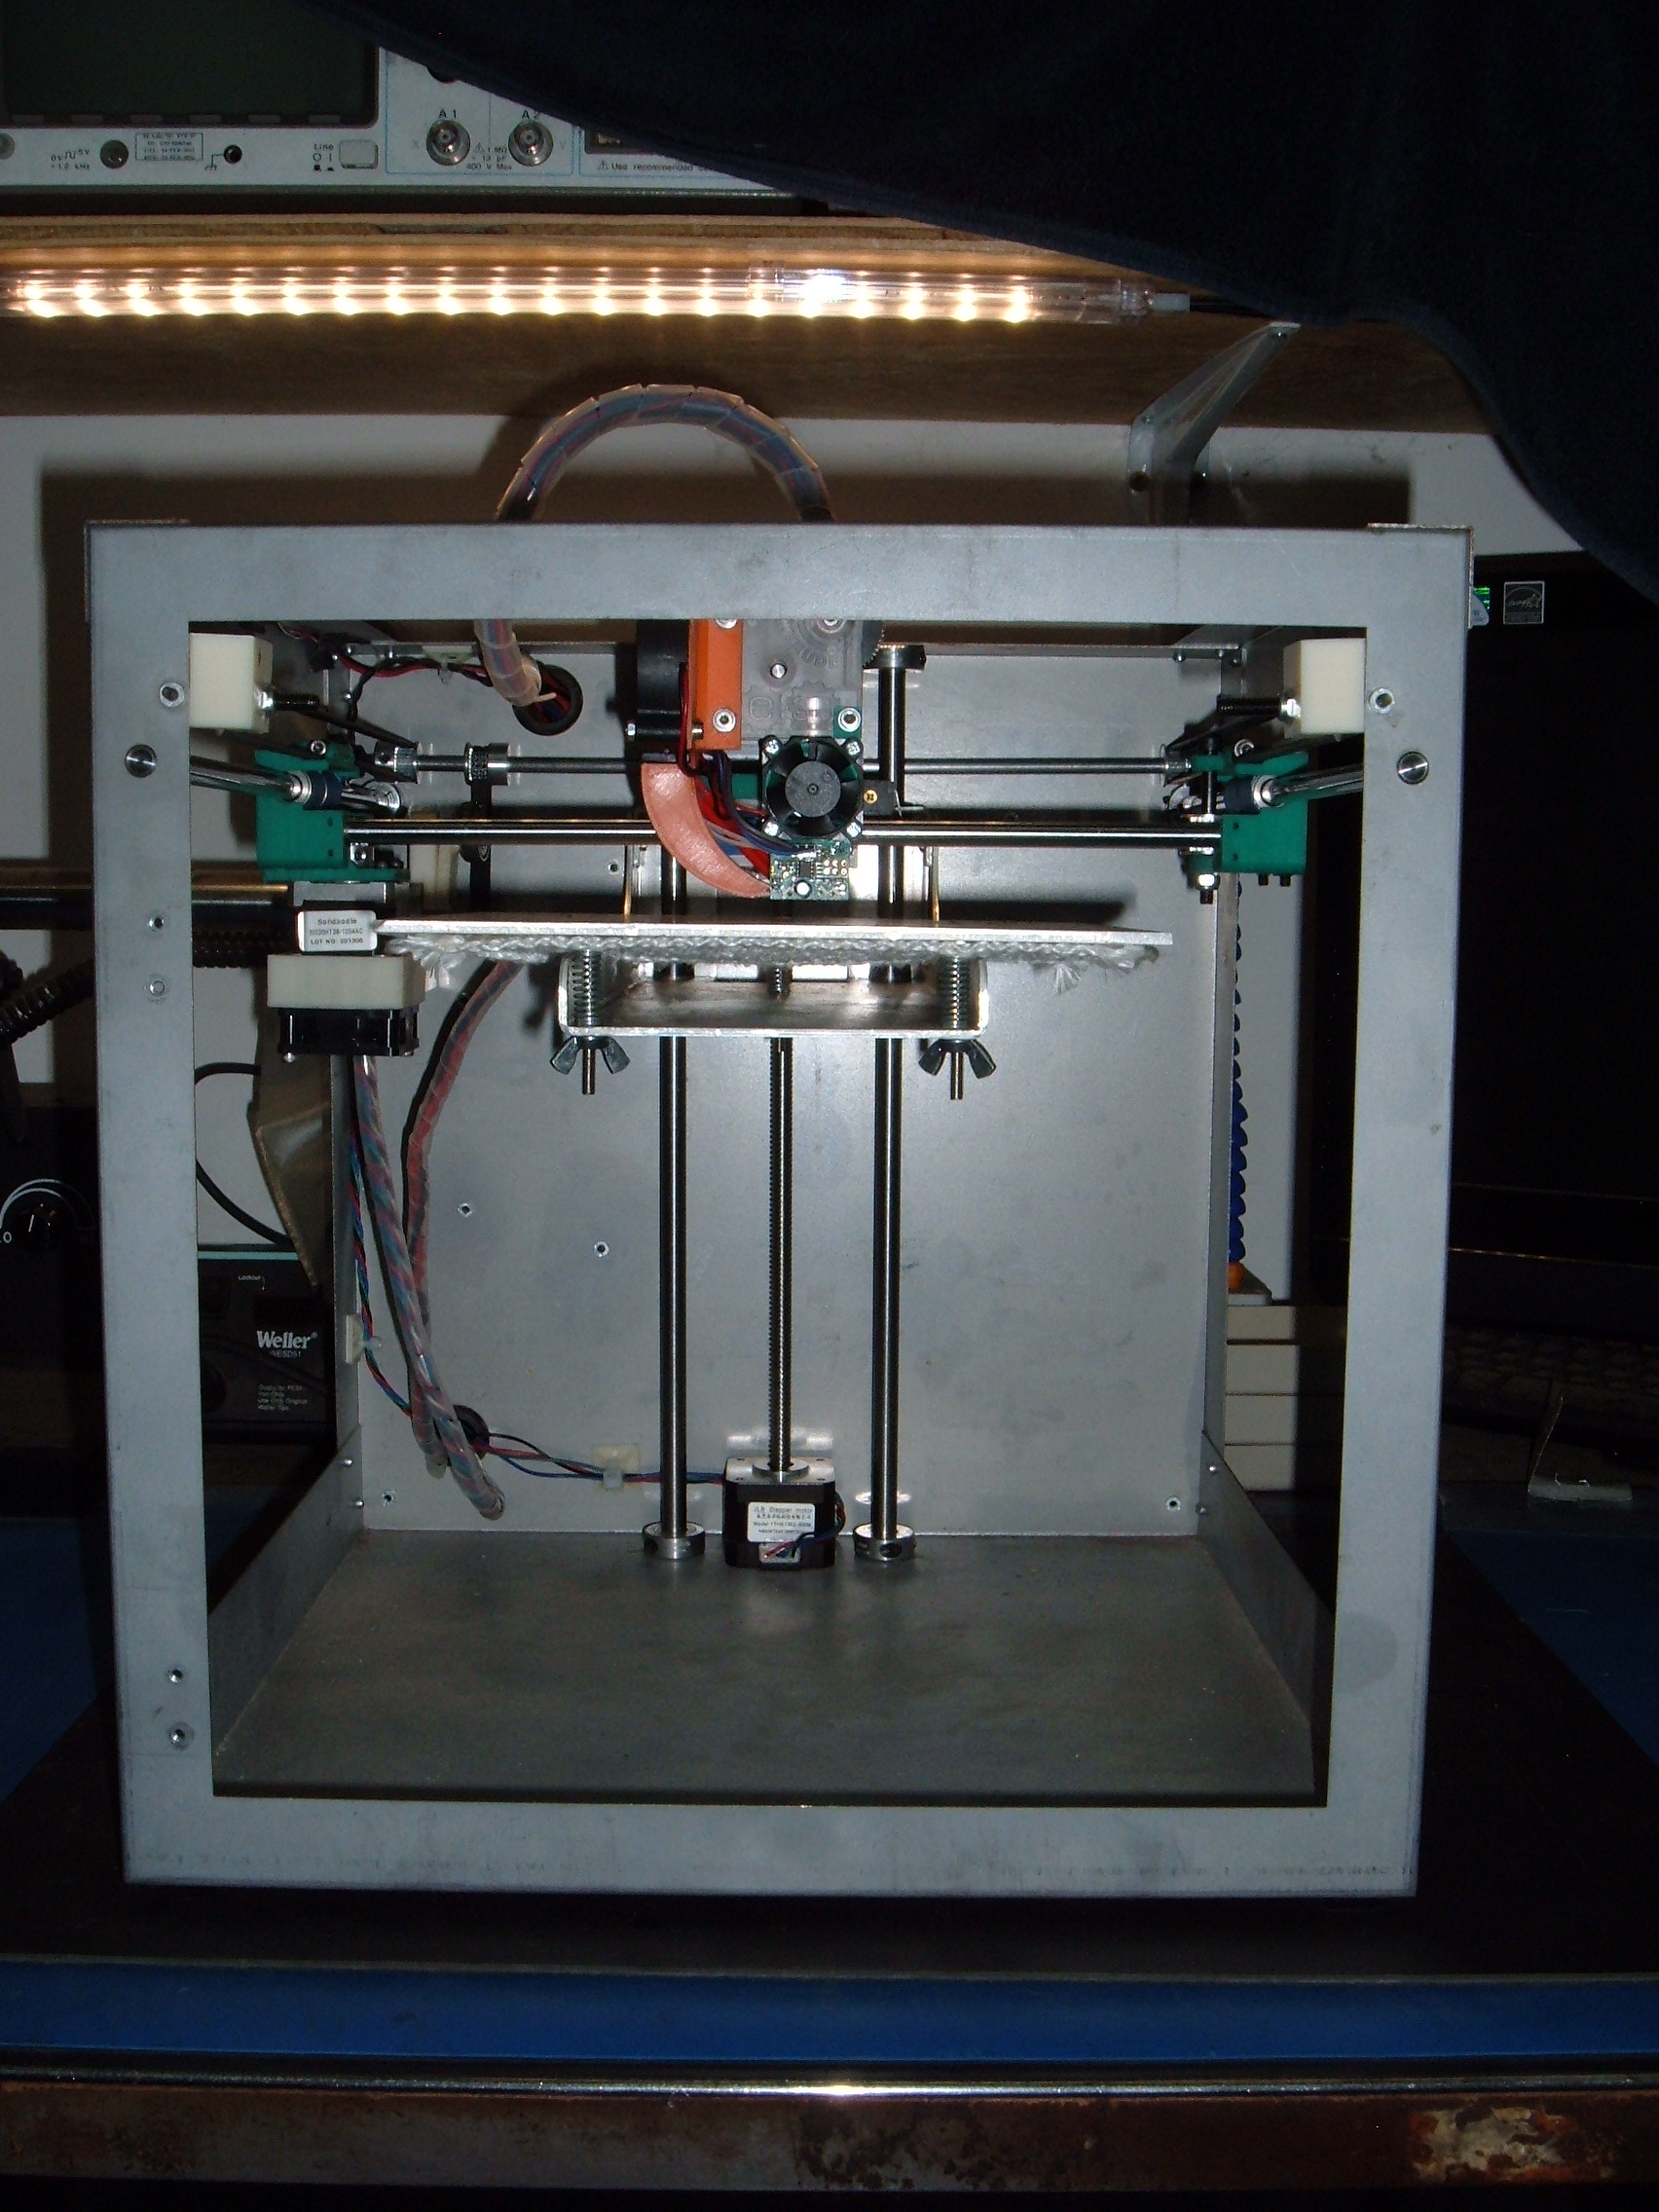
I've rebuilt a good many of my printers, both Solidoodles and non-Solidoodles alike.  While I can make the fronts look pretty decent:


http://soliforum.com/i/?KPeDxCk.jpg


I always fall flat on the wire organization in the rear:


http://soliforum.com/i/?q0dWZ6x.jpg


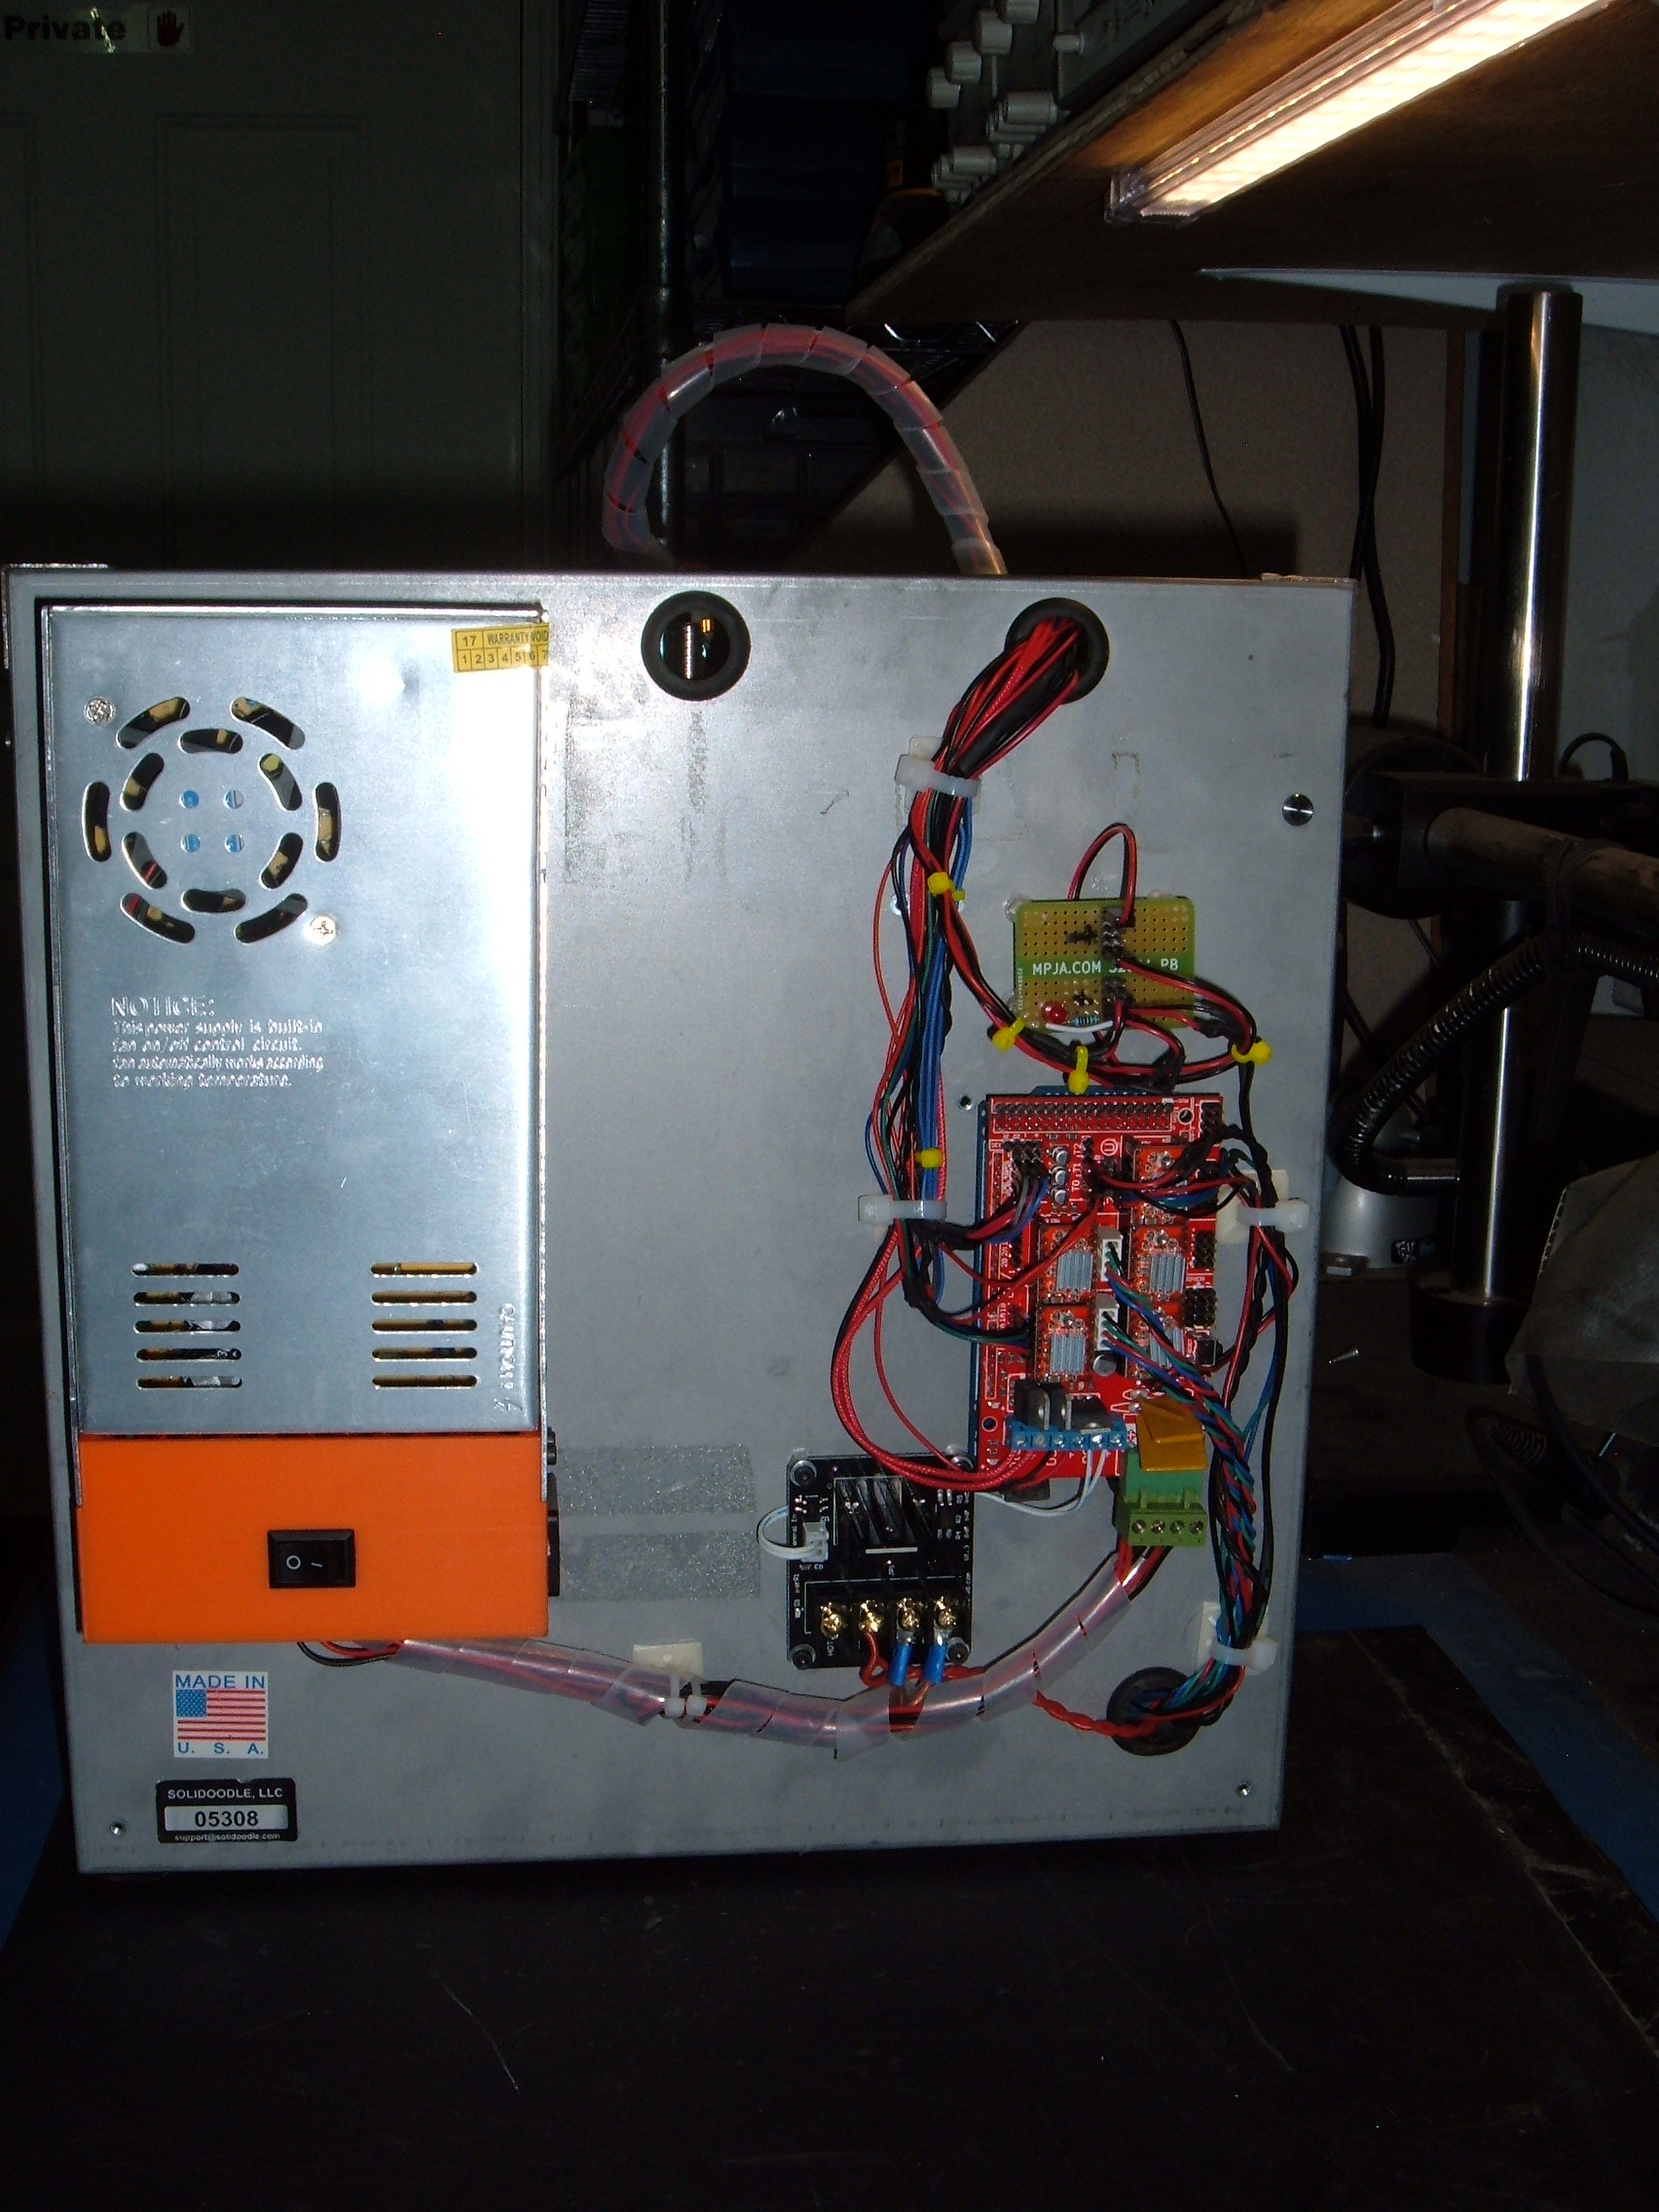
and while I think that's one of my better wiring jobs of the recent past (I refuse to show pictures of the wiring jobs I've done inside the electronics bays on my SD4s!), I can probably do better.  So my question to you all is:

How do you handle your wiring?  How does it turn out?  What strategies do you all use to make things work well -and- not look like a rat's nest?

2

Re: Wiring Strategies

I route by purpose and even cut extra holes if needed. I keep sensor wires away from motor lines and power lines to avoid the chance of noise being imposed on the sensor line and causing a glitch. I also keep power isolated to it's own route as well.

Printing since 2009 and still love it!
Anycubic 4MAX best $225 ever invested.
Voxelabs Proxima SLA. 6 inch 2k Mono LCD.
Anycubic Predator, massive Delta machine. 450 x 370 print envelope.

3 (edited by heartless 2017-09-22 01:34:23)

Re: Wiring Strategies

remove excess wiring,
twist wires to make them easier to keep neat (also helps with the "noise" thing)
wire wrap & zip ties do help, too, as long as it is flexible enough to allow movement where needed

SD4 #1 & #2 - Lawsy carriages, E3D v6, Rumba controller board, mirror bed plate, X motor fan, upgraded PSU & Mica bed heater
SD4 #3 - in the works ~ Folgertech FT-5, rev 1
Printit Industries Beta Tester - Horizon H1

4

Re: Wiring Strategies

First of all, I certainly don't think you've 'fallen flat' with your cabling!  Neat wiring is always a challenge, and yours looks pretty good.  However, we're always wanting to improve our skills a bit, so I have an idea:

Try some cable raceway, as in this photo:
https://www.iewc.com/assets/productimages/F.75X1.5LG6-A_Images.jpg
(with or without cover)

Or this:
https://www.iewc.com/assets/productimages/181-12004_Image.jpg

This sort of product is used in my laser engraver, and in my satellite truck at work.  It keeps the cables routed neatly, and lets the wires exit the bundle where needed.

Here's a Thingiverse item that's similar to the top photo:https://www.thingiverse.com/thing:2511419

This Thingiverse item is more like the lower photo:https://www.thingiverse.com/thing:1672010

A different approach that may inspire you:https://www.thingiverse.com/thing:937310/#files

There's always a Divine symmetry when you use your 3D printer to make parts for your 3D printer!

-Kevin

5 (edited by josefcub 2017-09-23 20:30:35)

Re: Wiring Strategies

heartless wrote:
remove excess wiring,
twist wires to make them easier to keep neat (also helps with the "noise" thing)

The part I hate the most about wiring up another 3d printer are all the lovely cuts and splices to the wires to get them to a usable length (about half of the stuff I use is re-used from the printer itself most of the time, and all the motors have lovely 1 meter cables that nobody ever trimmed).  It's the only part that feels like real work. ;-)  The only thing I don't try to cut are IDC-style ribbon cables, just because I lack IDC and Dupont crimping tools.  Thankfully, I only usually have one small one per printer. 

You know, twisting wires is one thing I really haven't considered.  I've usually tried to keep power and motor wires separate where I could, and I've never really had noise issues on my motors that I can detect.

knowack wrote:
First of all, I certainly don't think you've 'fallen flat' with your cabling!  Neat wiring is always a challenge, and yours looks pretty good.  However, we're always wanting to improve our skills a bit, so I have an idea:
Try some cable raceway, as in this photo:

Thanks!  I've used similar stuff inside of my rack, to neatly route Cat5 cabling.  I never considered finding stuff small enough to work with 3d printer wiring, but I bet it would look awesome.

Thank you both for your ideas! smile

6

Re: Wiring Strategies

carl_m1968 wrote:

I route by purpose and even cut extra holes if needed. I keep sensor wires away from motor lines and power lines to avoid the chance of noise being imposed on the sensor line and causing a glitch. I also keep power isolated to it's own route as well.

That sounds quite sensible.  I've tried to avoid cutting holes in my SD's frames (the SD4s' RAMPS conversions excepted).  They're steel, but my luck I'll end up twisting them or something to apply the force needed to drill into it from behind. I can re-square a Prusa i3 or a MendelMax.  A riveted steel frame, not so much.  hmm

I have kept the primary power wires separated, although running the extruder and heated bed wiring required them to run near the other wires for a while.  No effects that I can see on my prints, at least.

7

Re: Wiring Strategies

yeah, cutting down the excess wiring can be a bit of painstaking work, but it most definitely does clean things up a good deal.

I tried to order a crimp tool some time ago, along with a molex end kit, but the tool was apparently back-ordered and Amazon cancelled the order for that on me. I got the molex kit, and have since ordered some female ends to refill it, lol
As it is, I just use a pair of needle nose pliers to crimp new ends on. It works fine. On a rare occasion I may add just a tiny bit of solder as added insurance.

SD4 #1 & #2 - Lawsy carriages, E3D v6, Rumba controller board, mirror bed plate, X motor fan, upgraded PSU & Mica bed heater
SD4 #3 - in the works ~ Folgertech FT-5, rev 1
Printit Industries Beta Tester - Horizon H1

8

Re: Wiring Strategies

heartless wrote:

As it is, I just use a pair of needle nose pliers to crimp new ends on. It works fine. On a rare occasion I may add just a tiny bit of solder as added insurance.

I played around with that a bit, and tried to put a 4-pin Molex female on a motor.  I got the crimps to fit inside the housing fine, using just the needle nose pliers.  But they won't -stay- in the connector housing, and tend to come free when I try to plug it in.   What's your secret? lol

9

Re: Wiring Strategies

josefcub wrote:
heartless wrote:

As it is, I just use a pair of needle nose pliers to crimp new ends on. It works fine. On a rare occasion I may add just a tiny bit of solder as added insurance.

I played around with that a bit, and tried to put a 4-pin Molex female on a motor.  I got the crimps to fit inside the housing fine, using just the needle nose pliers.  But they won't -stay- in the connector housing, and tend to come free when I try to plug it in.   What's your secret? lol


There is a very small tab that sticks out of the back of the pins. If you are using pliers there is a possibility you are crushing that tab. It is used to lock the pin into the housing.

Printing since 2009 and still love it!
Anycubic 4MAX best $225 ever invested.
Voxelabs Proxima SLA. 6 inch 2k Mono LCD.
Anycubic Predator, massive Delta machine. 450 x 370 print envelope.

10

Re: Wiring Strategies

what carl_m1968 said... be careful to not crush the mid section - ONLY the fold over tabs that hold the wire.

SD4 #1 & #2 - Lawsy carriages, E3D v6, Rumba controller board, mirror bed plate, X motor fan, upgraded PSU & Mica bed heater
SD4 #3 - in the works ~ Folgertech FT-5, rev 1
Printit Industries Beta Tester - Horizon H1