1

Topic: Table Calibration for the Sane.

After a few goes realised, like others, that the 'Auto' calibration was going to send me bonkers pretty quick.

Here's what I ended up doing, which worked fine for me. (I'm on firmware 1.1.l)

Start a print, as soon as it starts beginning to print the little test print along the side of the glass,

turn the printer off at the switch.  You want to catch the printer at it lowest position.

Open up the top and front and gently pull the print head along the rails to the right and then forward. Careful not to touch glass or print nozzle. Clean the nozzle off with the wire brush supplied with printer.

Let it cool off.

Cut a piece of paper to manageable size, I used 80gram printer paper.

Slacken the table adjust screws off so  the printer head can be moved carefully across the whole table without touching the glass.

Slacken the table adjust screws off enough so the piece of paper slides easily between the print nozzle and the glass at all positions on the glass.

Move the print head carefully above the front adjustment screw. Tighten up the screw till the printer head goes from not touching to just starting to grip the paper, a 20th of a turn is enough to make the difference.

Repeat with the print head above the back right and left adjustment screws.

Now move the print head to about an inch back from each corner of the glass table, adjust the screws (should be small amounts now) until the same 'just gripping' distance is the same at all four corners of the table.

Turn the printer back on, let it initialise, do a test print and be ready at the off switch just in case.

If the print is ok, don't even look at the calibration.

It will still take time, but, I think better that chasing the numbers.

2

Re: Table Calibration for the Sane.

Yeah, I have been pulling my hair out (what's left of it) for the last 2 days and getting no where, the last digit is always Err. I can't seem to change that. I will try your suggestion.

3

Re: Table Calibration for the Sane.

viperz28 wrote:

Yeah, I have been pulling my hair out (what's left of it) for the last 2 days and getting no where, the last digit is always Err. I can't seem to change that. I will try your suggestion.

if you have an Err, then you are way off, either too high or too low.  To get in the ballpark, you can try a couple other things...one, if you have a bullseye bubble level, that can get you in the ballpark.  Also, just watching the calibration process on points 1-3, you can see if a point is too high or too low based on how long or short it takes for the bed to move to come in contact with the calibration contact point (i.e. if it hits early, you know you're too high on that calibration point).

Good luck.  Calibration is a pain in the ass sometimes if your bed is way off, but once it's calibrated, it should stay ok for awhile.

4

Re: Table Calibration for the Sane.

Works like a frigin charm! Thanks. Spent 2hrs trying to level that thing and wasnt getting anywhere. Did it once using a .20mm feeler gauge and was off and printing. I have a sticking problem when it makes its line off in the corner before it starts printing, but Ill fine tune it some more.

5

Re: Table Calibration for the Sane.

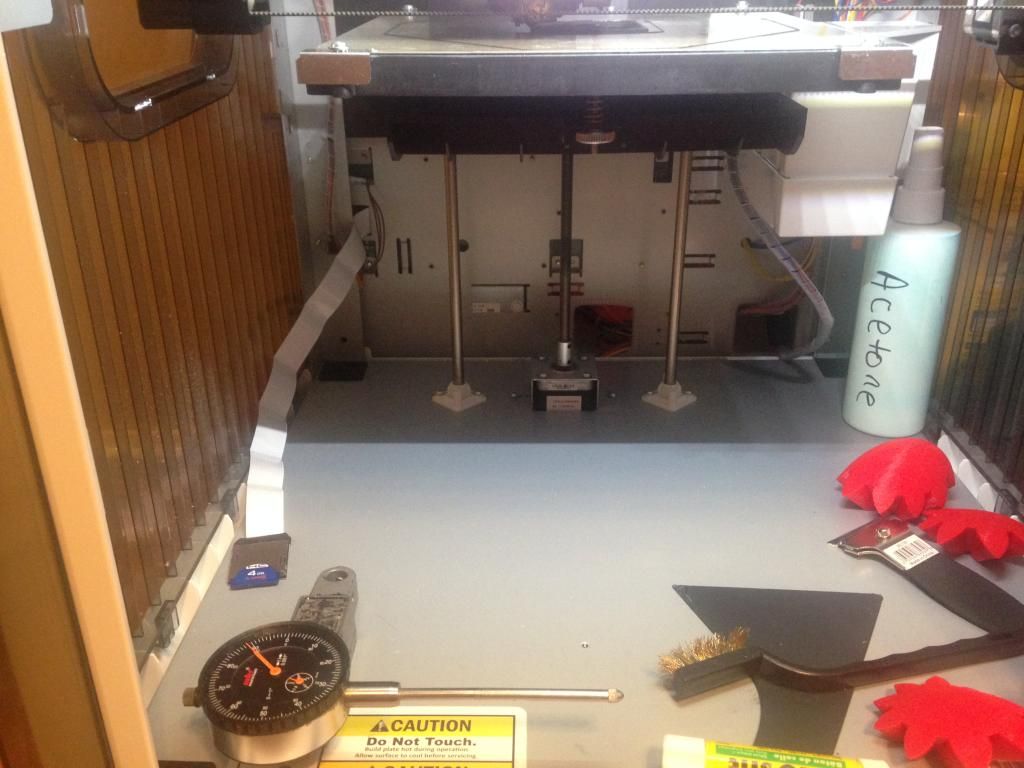
I just used an indicator.  It sticks to the metal slat above the head.  I use the panel to jog X/Y and do the back first (L to R), then in the middle of the bed I do Y (front to back). 

http://i133.photobucket.com/albums/q44/Ovrclck350/E46DC445-9C8F-4347-8673-EB743ED00BD3_zpsfadquiz1.jpg

6

Re: Table Calibration for the Sane.

I used a feeler gauge with .22mm total hile it was cold and it worked pretty well.

7

Re: Table Calibration for the Sane.

Ovrclck350 wrote:

I just used an indicator.  It sticks to the metal slat above the head.  I use the panel to jog X/Y and do the back first (L to R), then in the middle of the bed I do Y (front to back).

Could you expand on how you attach the dial indicator please.
I'm trying to find the best way to use one with the Da Vinci.

Davinci 1.0 with repetier firmware & E3D V6 Lite
Anycubic Photon DLP printer, Einscan-S 3D scanner
Simplify3d, 123D Design, Meshmixer
http://www.thingiverse.com/scobo/designs

8 (edited by mwm 2014-09-10 18:22:00)

Re: Table Calibration for the Sane.

Thank you very much. Much easier than chasing the numbers. Or even getting the never-to-be-sufficiently cursed sensors to work.

In case you don't have one, you can get my favorite level test from Thingiverse: http://www.thingiverse.com/thing:40482. Use your favorite STL editing tool to scale it up.

Also, I find that a business card makes a great measuring paper.