Re: FilaWinder Documentation
The PID controller is rated to 18 volts, as is the heater. 15 volts will be no sweat, even at the associated increase in current.
You are not logged in. Please login or register.
SoliForum - 3D Printing Community → Filastruder → FilaWinder Documentation
The PID controller is rated to 18 volts, as is the heater. 15 volts will be no sweat, even at the associated increase in current.
5 minutes to install the new pot, and it's working well. There is a glitch at the far end of travel, but that could be the pot. If it bothers me, a 1k resistor in line with one of the outside legs should fix it. Just need to finish calibration and I can fire it up.
The relay is to prevent me from opening up the filastruder and rewiring in there. It's not difficult though, so I'll probably just do it right. I was considering the reversible nature a benefit, but I doubt I would ever swap it back.
Ah - then a relay would work fine, in that case.
Got it running. It works well after getting things going. I think I need spools with a bigger hub. The ABS gets what looks like stress fractures on the surface from winding up. Could just be cosmetic. If the diameter checks out OK, I'll print some to check it out. The tests I did while it was running look good overall, but with it moving it's hard to be sure. I'm using 3mm, perhaps this is less of an issue with 1.75mm.
Weird idea... Has anyone mounted a hair dryer pointing at the spool to help the filament lay down and stay put? I thought about a heat gun, but I think that's too much heat. And I think the wife would be upset if I stole her hair dryer and put it on there. ![]()
I see why people like vertical setups with a winder though, I might try that next, but I need to print a hopper for it.
I wired up the 15V supply as well, just did it internally. I can see the difference in ability to maintain higher temps. Somewhat accidentally, as I managed to get the thermocouple slightly out of place. It was reading 185, but when I pushed it back in all the way it was really about 225. No wonder the filament was so wavy for the beginning. I need to grab a hose clamp and put it on there to keep it from moving.
Things are going good. I took another look at the pot, while testing I noticed something my R/C reflexes really should have caught....
The connector was wired improperly! The white wire should be in the middle, it and the black were swapped. So it makes sense that I would get brown-outs when turning the pot too far one way, the resistance gets as low as 7 ohm that way, so 5/7=0.71A ... facepalm
Swapped the wires at the connector, the issue went away as expected. Just figured I'd post it as a troubleshooting tip in case someone else has a similar issue.
IT'S WORKING!!!! I think I heard that in a movie somewhere...in a galaxy...hmmm......I digress.... I put this and Filastruder aside for several months after I got it....just got it all calibrated and mounted and spinning its first ABS on a spool. Excellent product sir! Can't wait to start playing with it ![]()
Anyone know what's up with my Sestos PID? It seems like it gets to the target temp (65 for PCL) but when it turns on the heat it also reboots itself.
I've gone through and set all the settings to default as were in the handout it came with, but it won't autotune because it keeps rebooting, and the extruder pauses extruding when it reboots resulting in thinner filament for that moment.
I've also gone and triple checked my wiring. It's weird because this isn't happening on my older filastruder, which works just fine.
Have you checked that you have 12 volts during this event? It sounds like the power supply is going into protection, based on the motor turning off as well.
Also 65C seems on the cooler side for PCL, the last person I talked to reported using 85C though it could have been a different PCL variant.
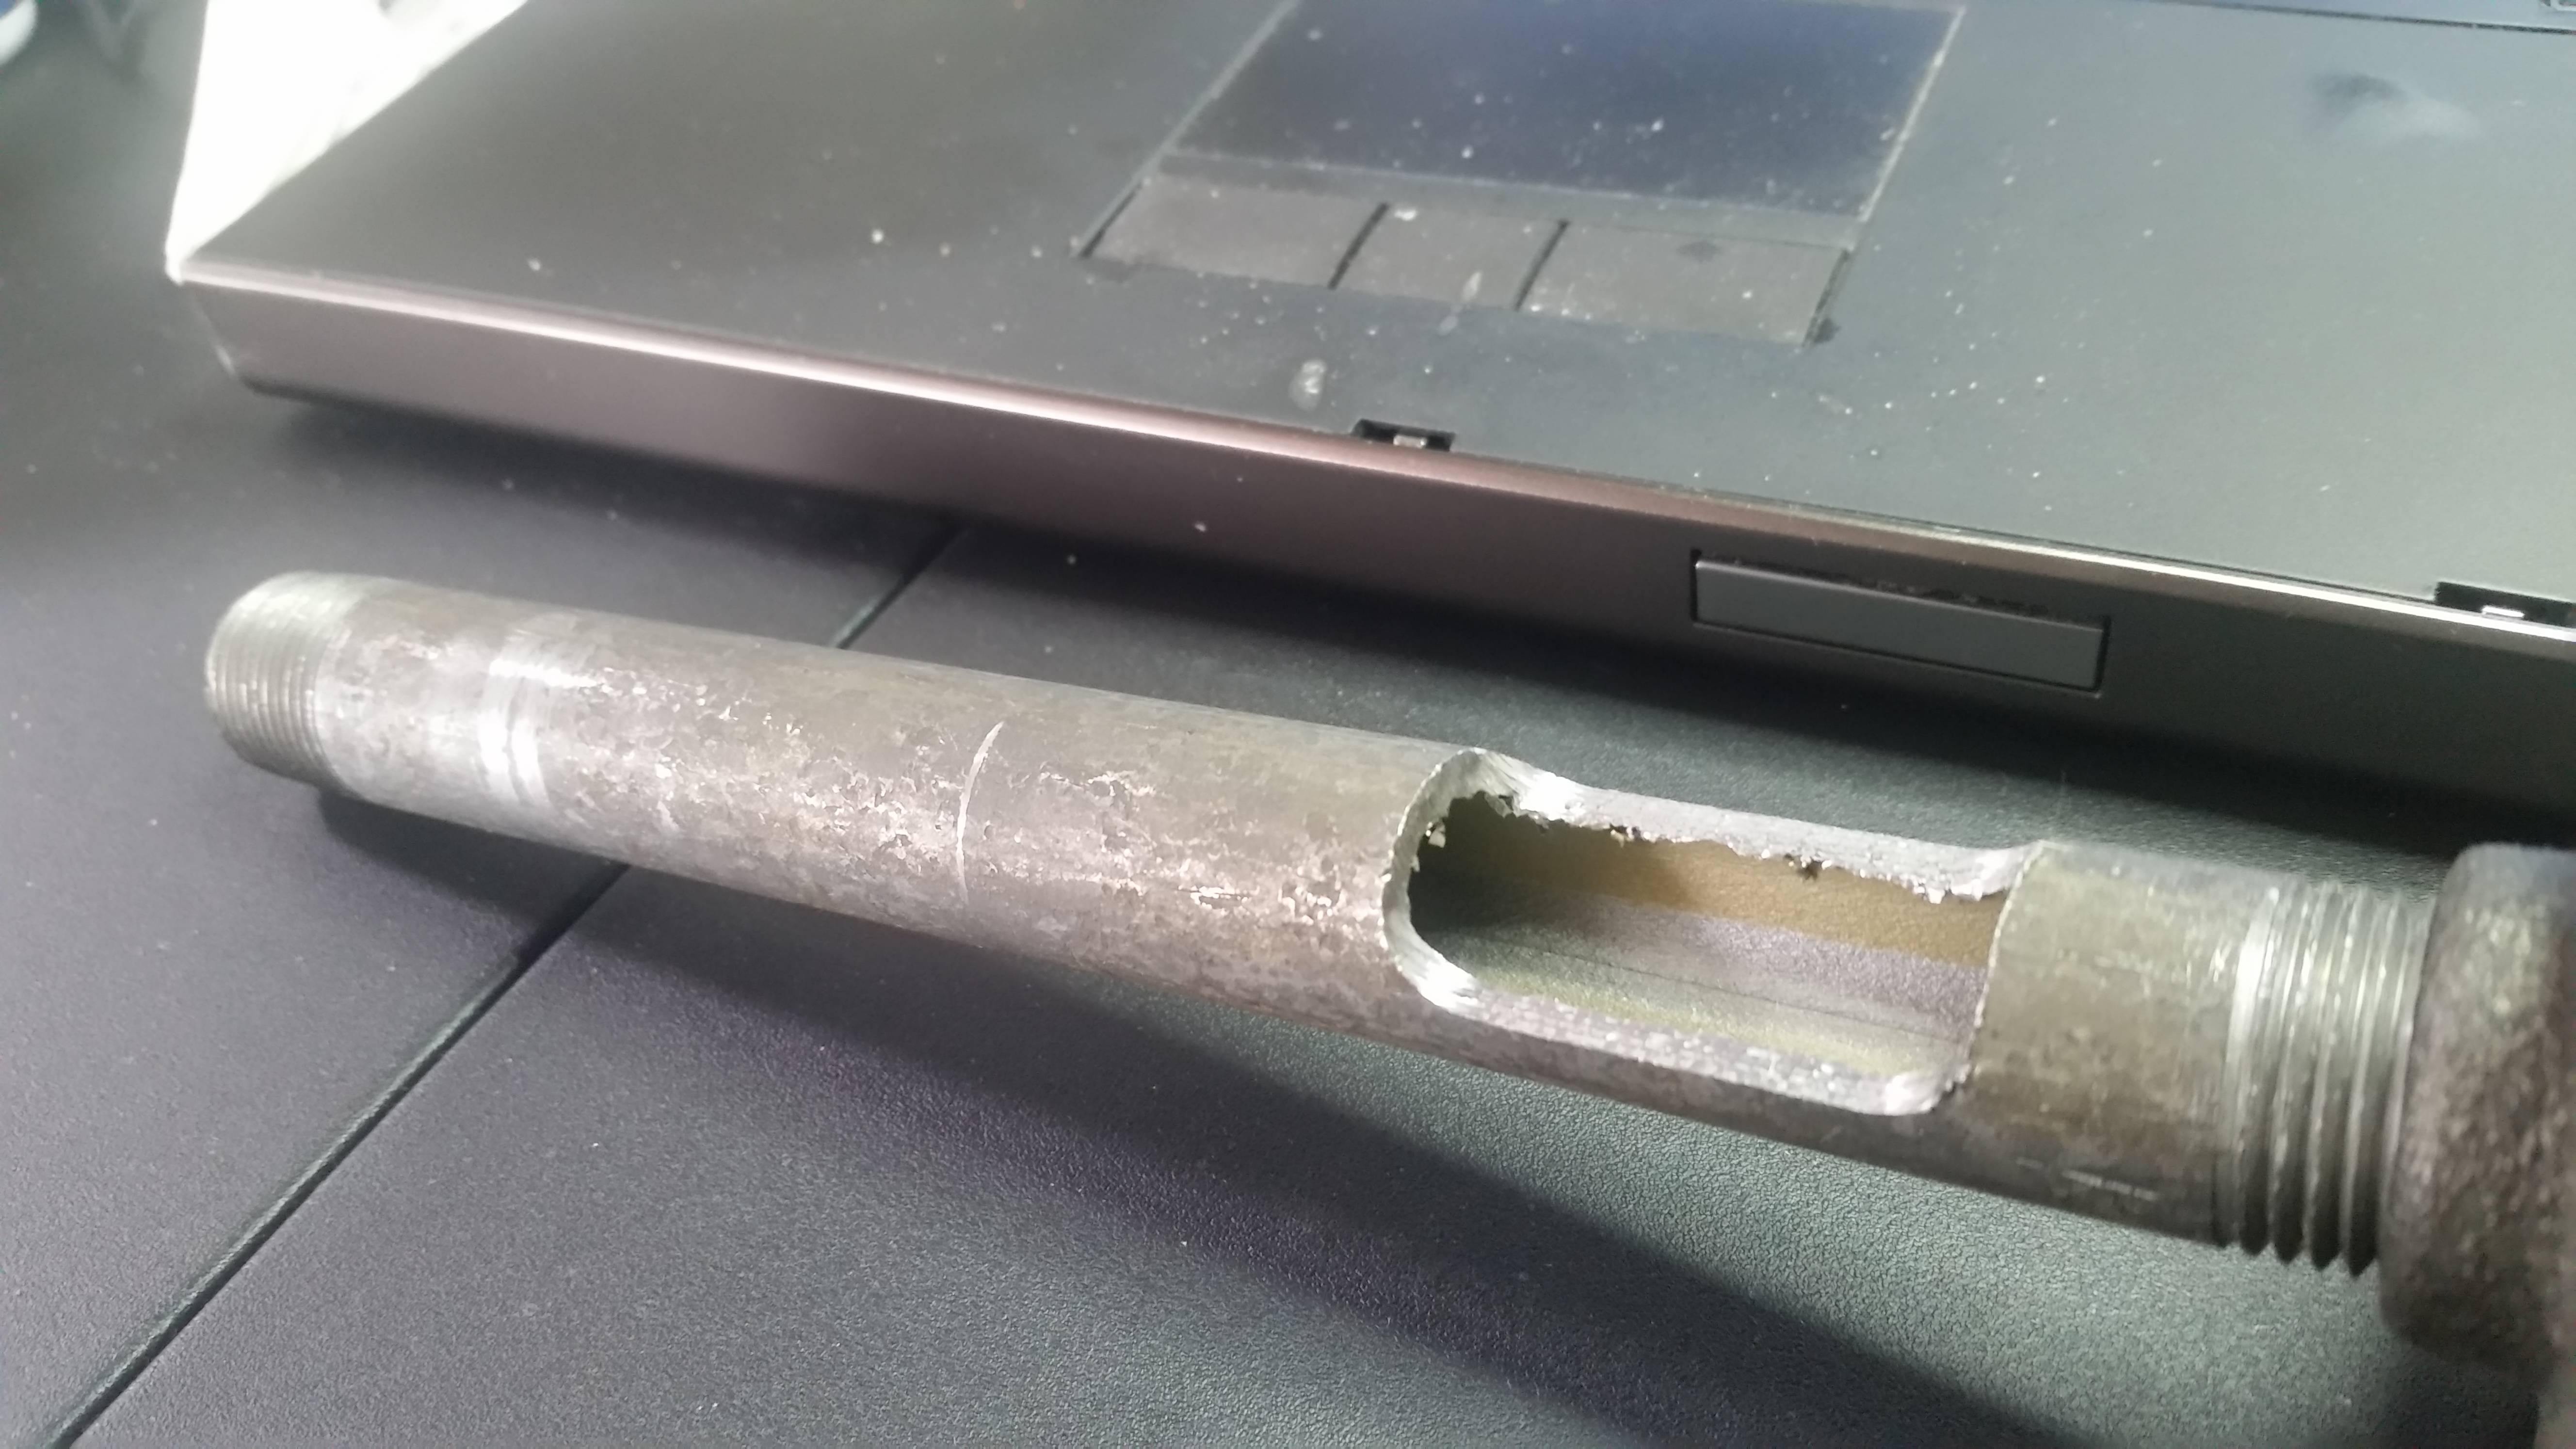
I am getting ready to start building my unit but I noticed that the machining of the pipe left quite a few burs, see below. Should I clean this up with a file before assembly? Do I need be carefull not to round any of the endeges? Or should I assumble like this and let the screw clean this up?
If I file I was planning to blow the pipe out with my air gun before assembly.
Also you mention to use oil of grease on the thrust bearing. I have some white lithium grease will this work or should I use a oil based grease.
Thanks for the help?
Bill
You can deburr if you like or let the auger do the debuting for you, either is fine.
The grease is primarily corrosion protection, white lithium is fine.
You can deburr if you like or let the auger do the debuting for you, either is fine.
The grease is primarily corrosion protection, white lithium is fine.
Thanks for the info.
I am going to deburr to reduce the amount of chips that end up going through the extruder when I run the purge after assembly,

I would highly recommend deburring before first use. A single flake of metal will cause problems with the flow, or worse, clog your printer nozzle if you don't notice during the extrusion. Running the supplied sacrificial material through will knock off most that are going to come off but there will be some stubborn flakes that decide to come off later. Did you get the extrusion nozzle with the filter? If so you may be OK, but better safe than sorry.
All Filastruder Kits have melt filter nozzles included now.
I did debur the nipple and blew it out with compressed air.
I have just finished the mechanical assembly and have some questions.
1. Does the Gray washer go between the bearing race and the aluminum plate?
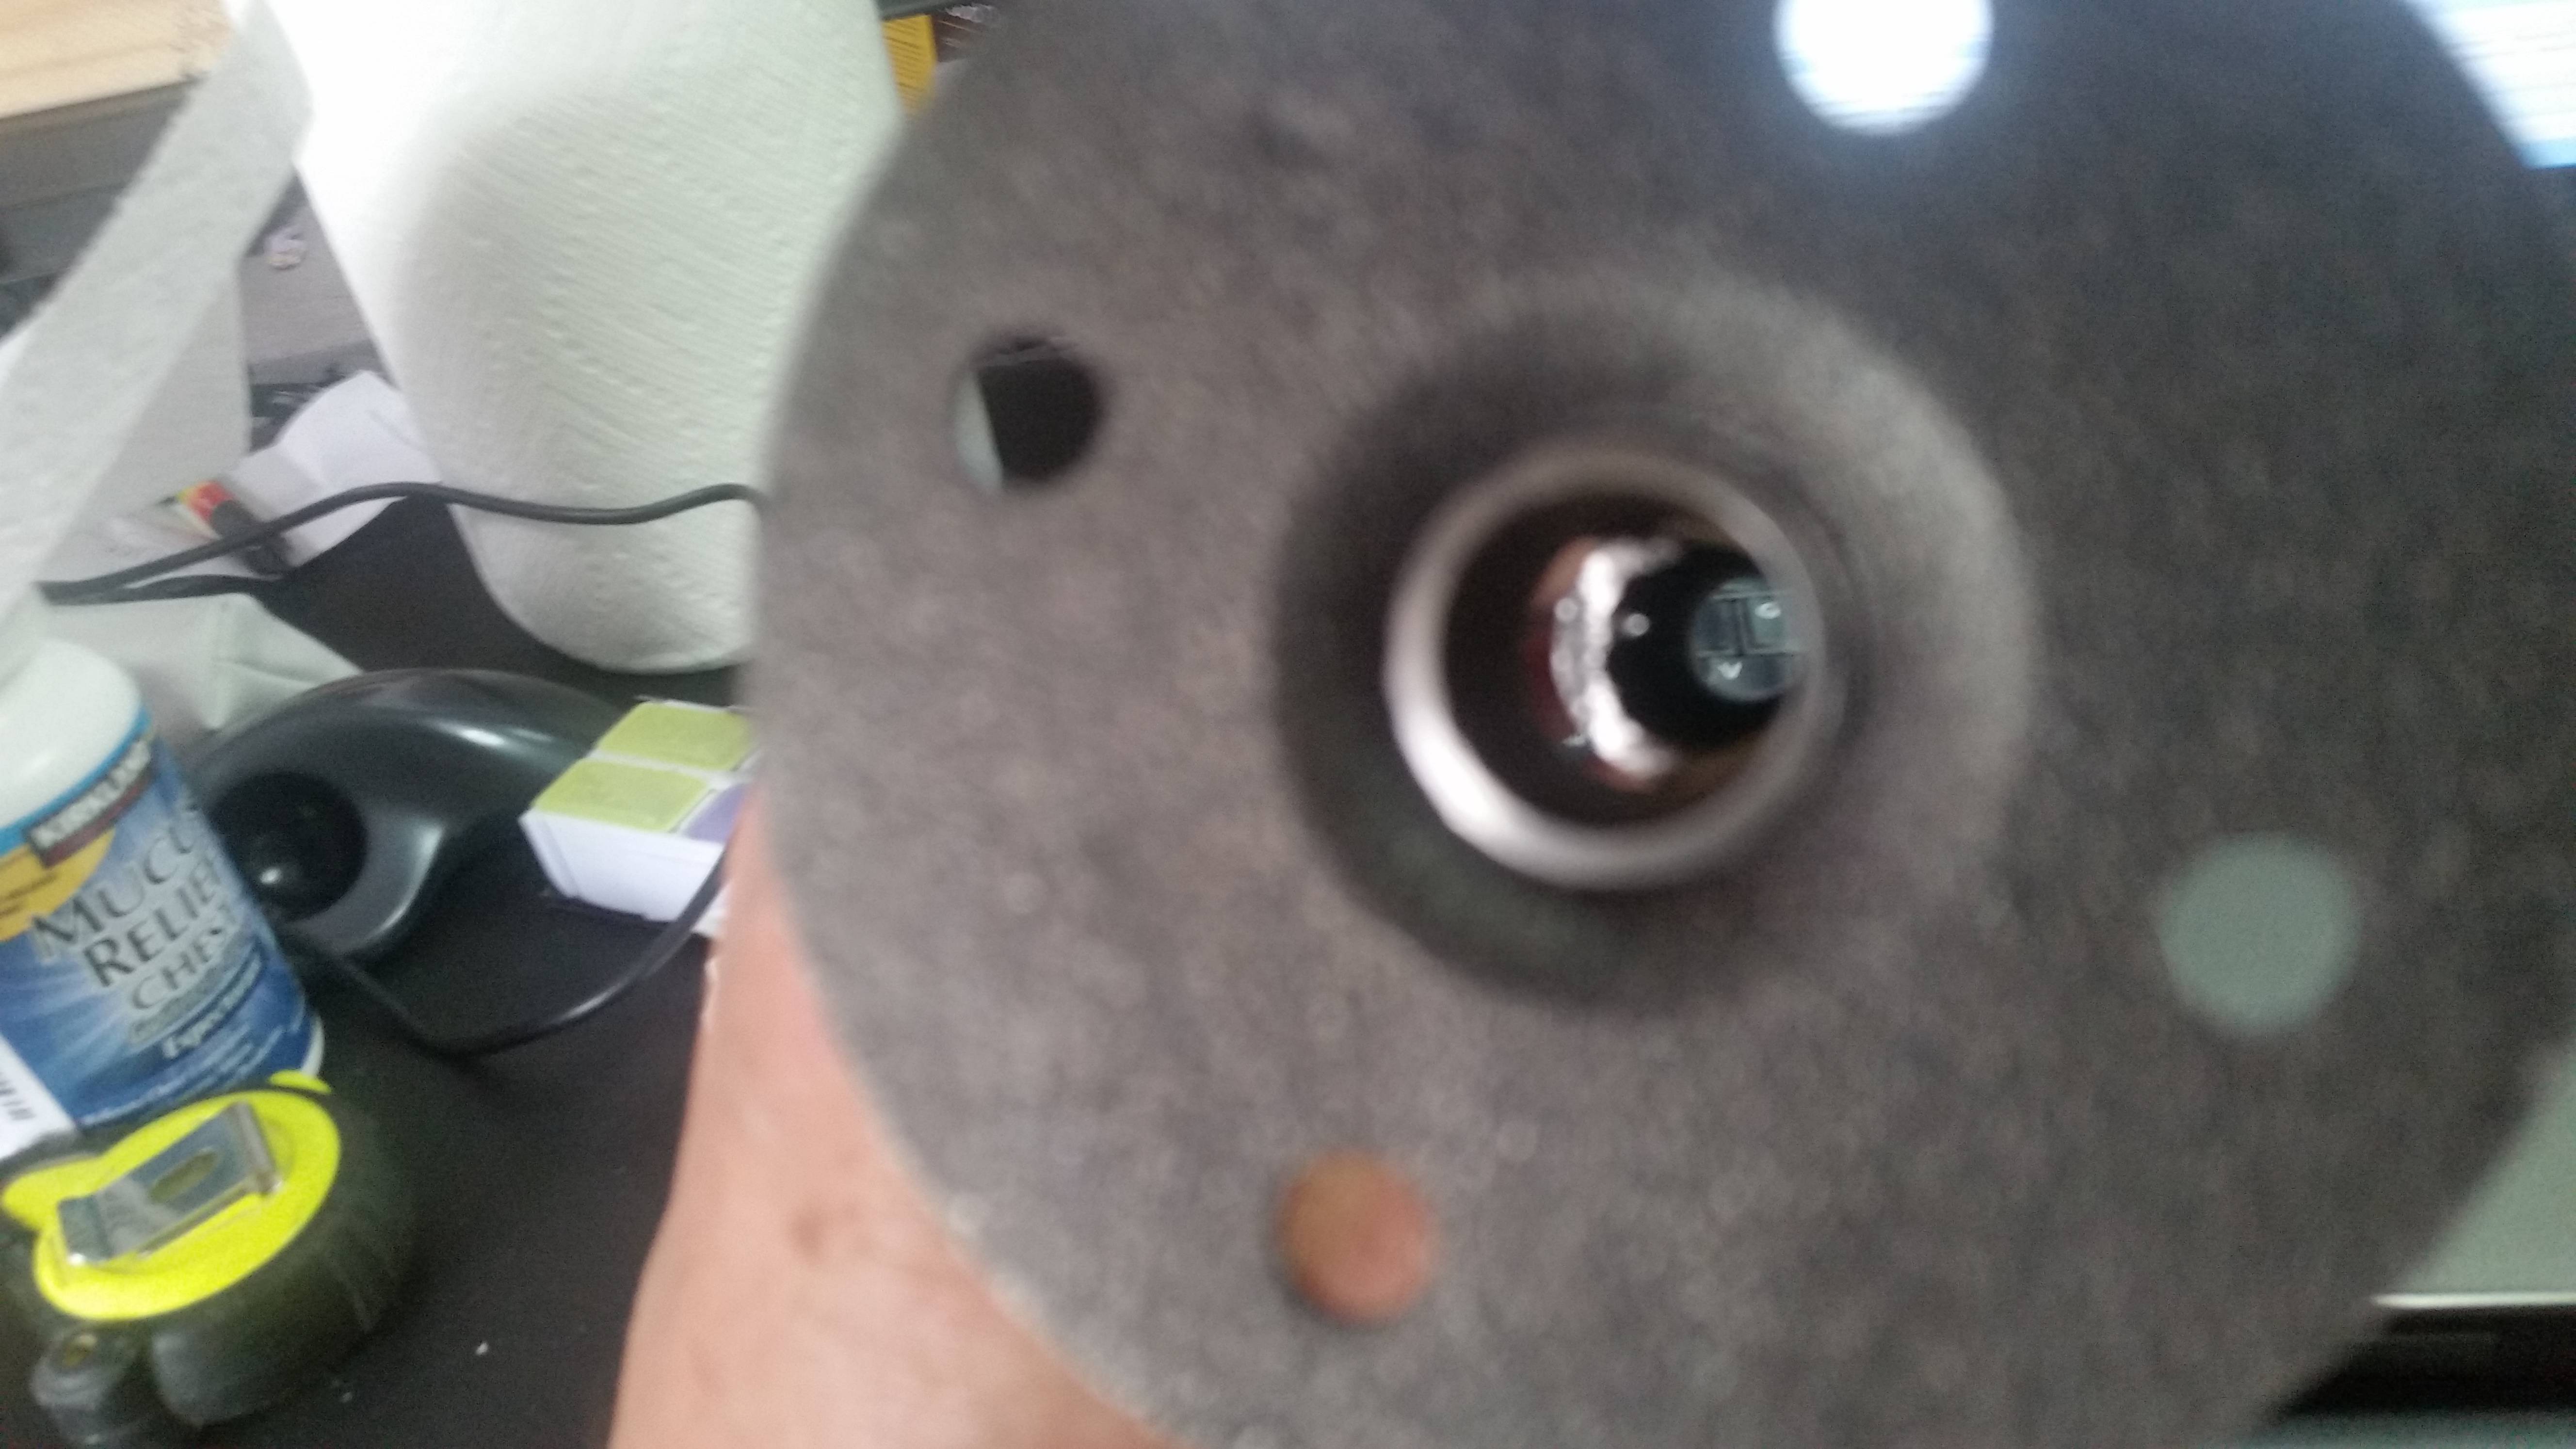
2. My opening on the nipple is not perpendicular with the flange, see photo below. Is this a problem? If so do I turn the flange 90 degrees and tighten the nipple onto the flange until the opening is parallel with the base?
3. The instructions do not talk about installing the filter. Do you put it inside the recess in the nozzle that is where the material enters and put the snap ring in next. I am a little confused because there is no grove for the snap ring.
4. Can I tighten the coupling and nozzle by hand or do I need to use a wrench?
Thanks,
Bill
1.) Yes.
2.) No, not a problem. Anything within 45 degrees is OK.
3.) Yes, that's correct. There is no need for a groove since the force drives the snap ring into the nozzle, not out of the nozzle.
4.) By hand or maybe an extra 1/8" turn with a wrench. Overdoing it will make it very difficult to remove the nozzle later.
Just in case anyone else wanders in and sees my post Ian confirmed the BOM had an incorrect part. The power supply connector should be 5.5mm x 2.1mm and you can use a connector like https://www.digikey.com/product-detail/ … ND/1644583 or any other matching one from digikey.
I assembled my Filastruder and it runs but I have not extruded with it yet.
I am about to start my Filawinder and I noticed that the wire in the parts list said two bags of wire and in the picture one is red and one is yellow. I did not receive any bags of wire but in the bag with the laser and switches there are a number of black, red and white wire. Some are terminated in DuPont connectors. Is that all the wire I need or am I missing some wire?
Thanks!
That should be all of the wire. Sometime after shooting those instructions, I switched to custom wire harnesses that already had the plugs. There should be 6 1x2 wires for the motor, 2 switches and 3 buttons, and 1 1x3 wire for the potentiometer. Also the ribbon cable for the sensor.
Thanks for the info on the wire. I started working on the winder. I discovered most of my boards were cut without any masking. See photo. You can even see where some were 1/2 masked. I am trying to clean off the soot with Acetone but it is turning into a major project. Would it be possible to get another set of boards that were masked before they were cut? They actually look better in the picture then they do in real life.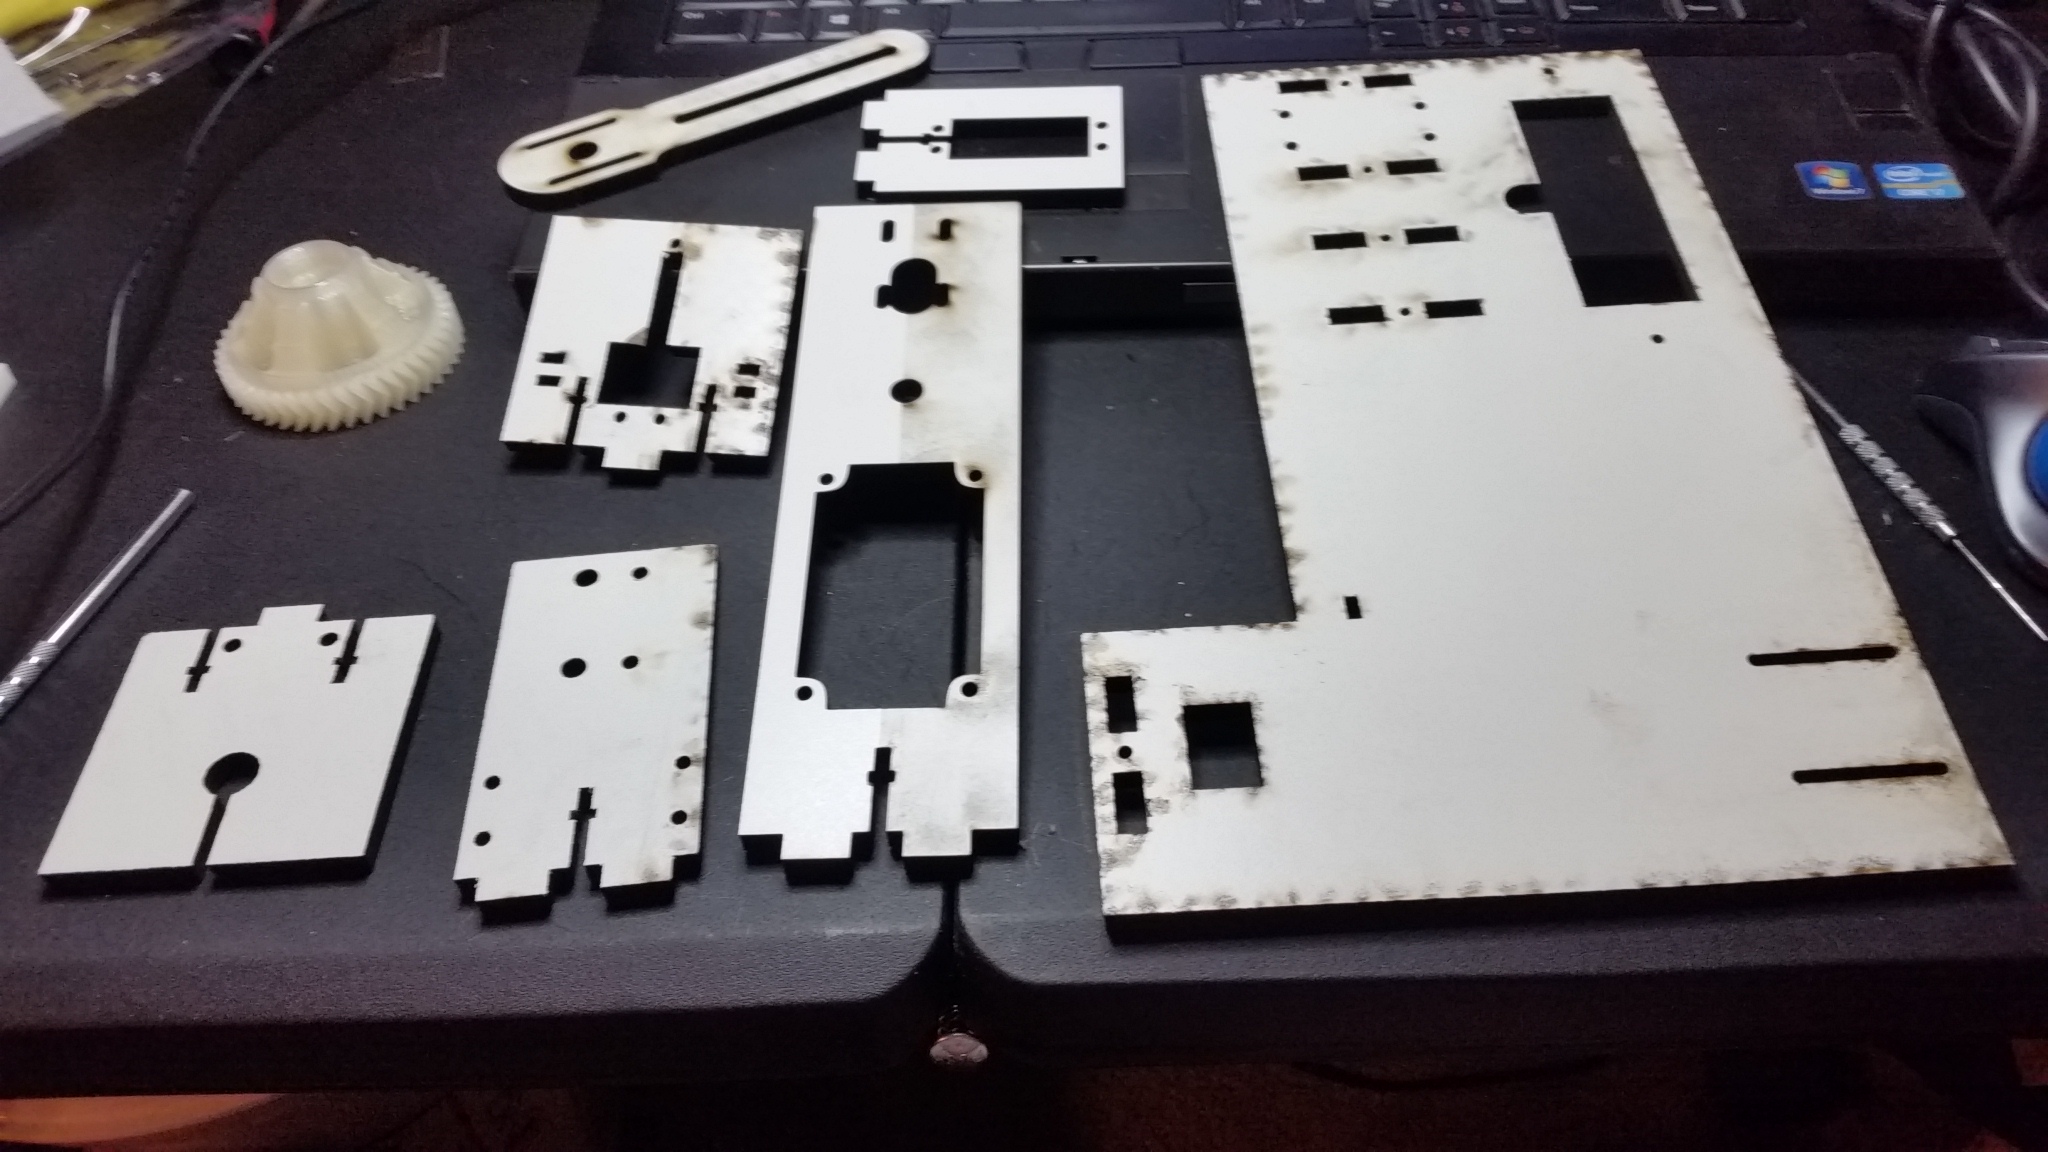
It looks like only one part was cut with partial masking, the soot on the cut lines often occurs even if masked as the air assist from the laser blows the tape up a bit on the edge. I can cherry pick a replacement set of parts if needed but they'd still need cleanup of the soot on the edges no matter what - that's a part of laser cutting MDF.
In the picture two of the parts were masked, the one on the left and the one in the middle on the top. The one in the middle right was half masked. All the other had no masking. As you can see they are much cleaner. The parts actually look much better in the picture then they actually are. In addition to the soot there are burn marks that will not come off with the acetone. They are more orange/brown then the black of the soot. There are also spots were the white has flaked off.
I built the Filistruder which all the parts were masked as well the parts here that were masked all look much better then the ones that were not masked. They only need a small amount of cleaning. The ones that were not masked require a lot of cleaning and even then I cannot get the burn marks off. It will take quite a while to clean these and the result will still be not as good as the masked parts are just by removing the masking.
If you just send me parts that are masked then you should not have to cherry pick unless most of the parts were not masked when they were cut.
I don't mean to be overly picky but for the amount of work to clean these I will just use them the way they are if I cannot get ones that were masked when they were cut.
Just because parts arrive unmasked doesn't meant they were cut without masking, sometimes the masking gets peeled partially off when separating parts from the panel and we just remove it during packaging. The masking stickiness varies from sheet to sheet depending on whether dust is on the sheet, etc. The sheets are wiped before masking is applied but very fine dust will still affect the masking, which probably explains the difference between Filastruder and Filawinder pieces you received.
Anyway, you can use the Filastruder contact form to request the specific parts you need.
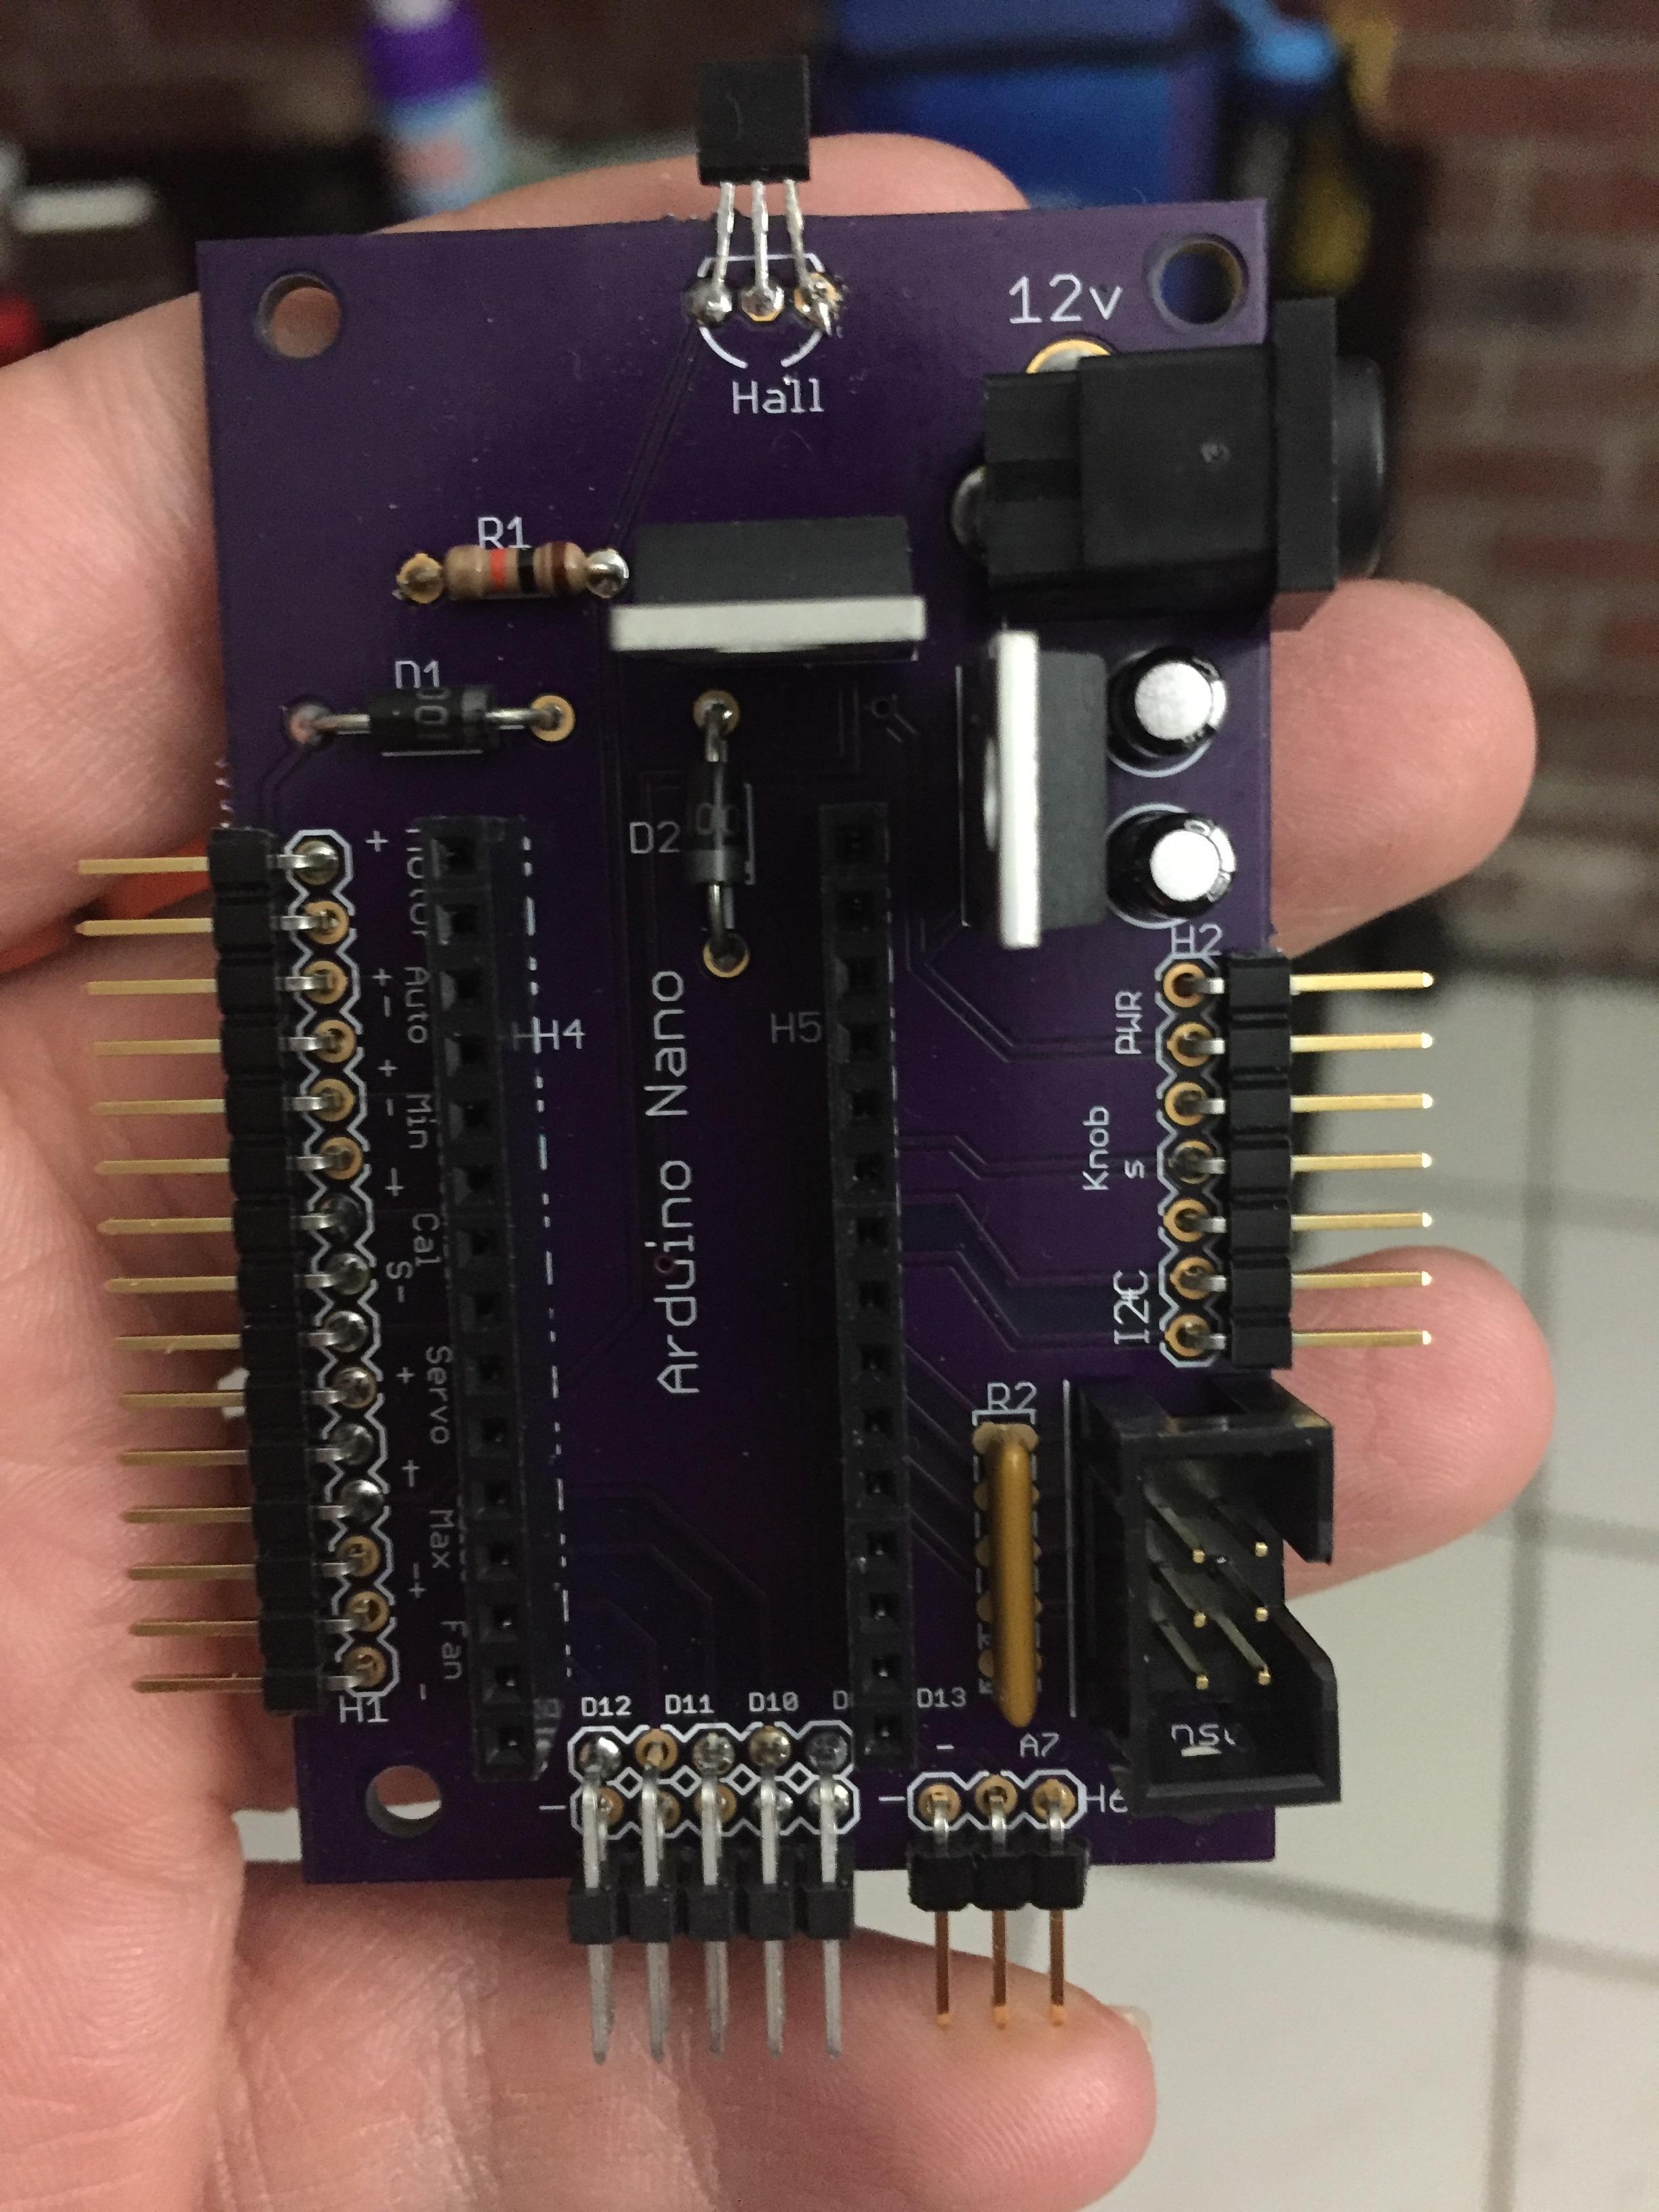
I have finished assembling the Filawinder and I tried to calibrate things using the operating instructions. I set the Auto Switch to on and position the guide to the center (straight up) and turn the power on. Pressing the buttons and adjusting the pot has no effect. What happens when I power on is the guide starts rotating to the left and comes back partially and then rotates to the left again. This continues until the guide makes contact with the board on the left side at which point it moves to the right slightly then moves to the left contacting the board again. This just keeps happening. I have tried powering up with the buttons pressed and not pressed. Pressing the buttons and turning the pot has no effect. I have measured the resistance of the pot and it measures 0 to 10.1 k ohms between the center and the other two leads. With the knob all the way one lead reads 10.1 and the other zero. Turning all the way the other way and the 10.1 goes to zero and the 0 lead goes to 10.1. I have also checked the three push buttons and the two switches with my meter and they all work properly. The laser does come on and I adjusted it so it hits the sensors. Also the motor does not turn at all.
Two times when I powered up the sensor moved to the 2:00 position but many other times it just starts wherever I position it.
What should I do?
Anyone have any suggestions what I should try?
PM me your address, and I will send a new Arduino. That is usually the issue.
SoliForum - 3D Printing Community → Filastruder → FilaWinder Documentation
Powered by PunBB, supported by Informer Technologies, Inc.