26

Re: DIY Smoothing Station II

Hey, well I know the feeling. 
I'm designing a pokemon pokeball for the two boys I have that are poke-crazy.  It features 2 halves that pop open to reveal whatever I put inside them.  One of the things I plan on making for them for Xmas if I can ever get the catch designed to keep it closed. The actual ball itself was pretty easy, but I need a way to make a spring system to allow the catch to hold the bottom on until pressed in.  It needs to be more than one piece obviously, but I'm sketching like mad to get this thing ready.  I still have a couple weeks of testing after I get the machine (2 more days!!!) but I'm going to have fun with this one!

I've attached the upper half sphere to show how it will look.  Probably about 3in diameter.  It will take a while to print, but I think it will be worth it to see their smiles at Xmas!

Post's attachments

pokeball.stl 97.25 kb, 54 downloads since 2012-11-05 

You don't have the permssions to download the attachments of this post.

27

Re: DIY Smoothing Station II

My daughters keep fishing through the discard bucket and taking random shapes and failed prints to use as beds or chairs or whatever.

28

Re: DIY Smoothing Station II

I understand the concern of my little ponies being printed.  My 3 year old girl has a billion of them so I thought I would add to the collection.  Sometimes I think my son (who is 5) and my daughter has more of an interest in printing than I do.  They can sit there for every layer watching it and never move, haha.  They keep asking me every time they hear it what are you printing what are you printing, and is it a butterfly or superman.

29

Re: DIY Smoothing Station II

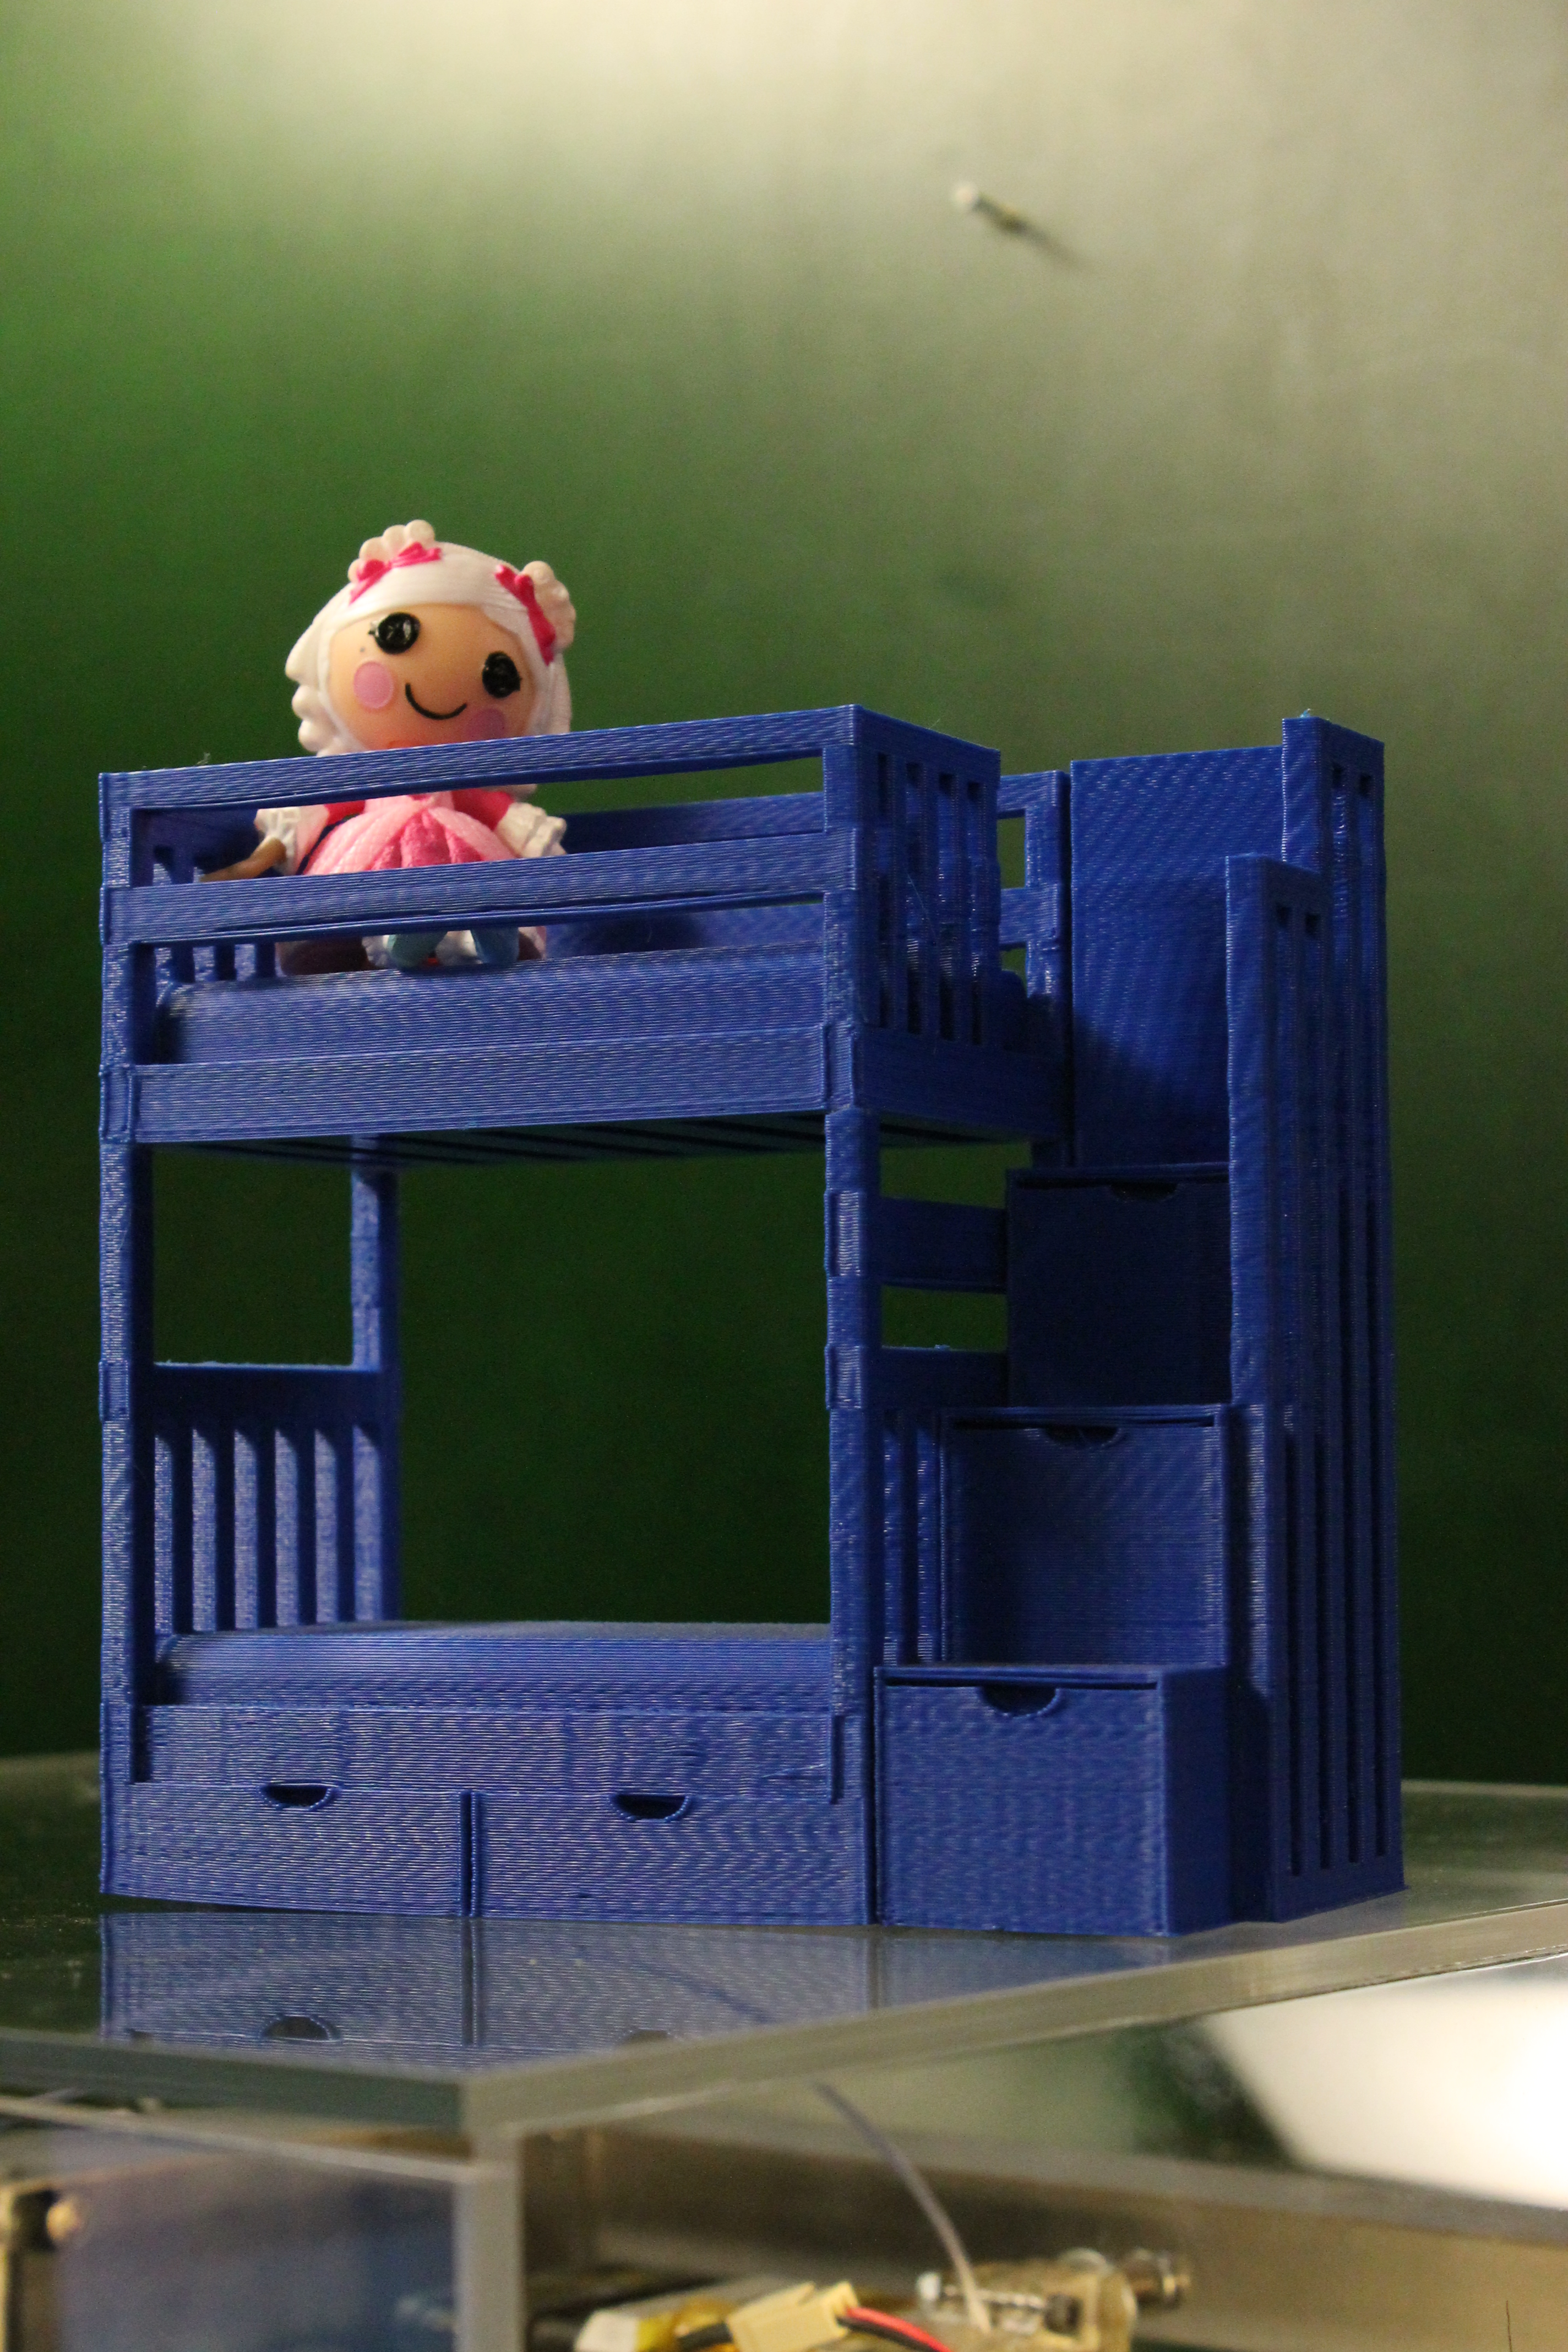
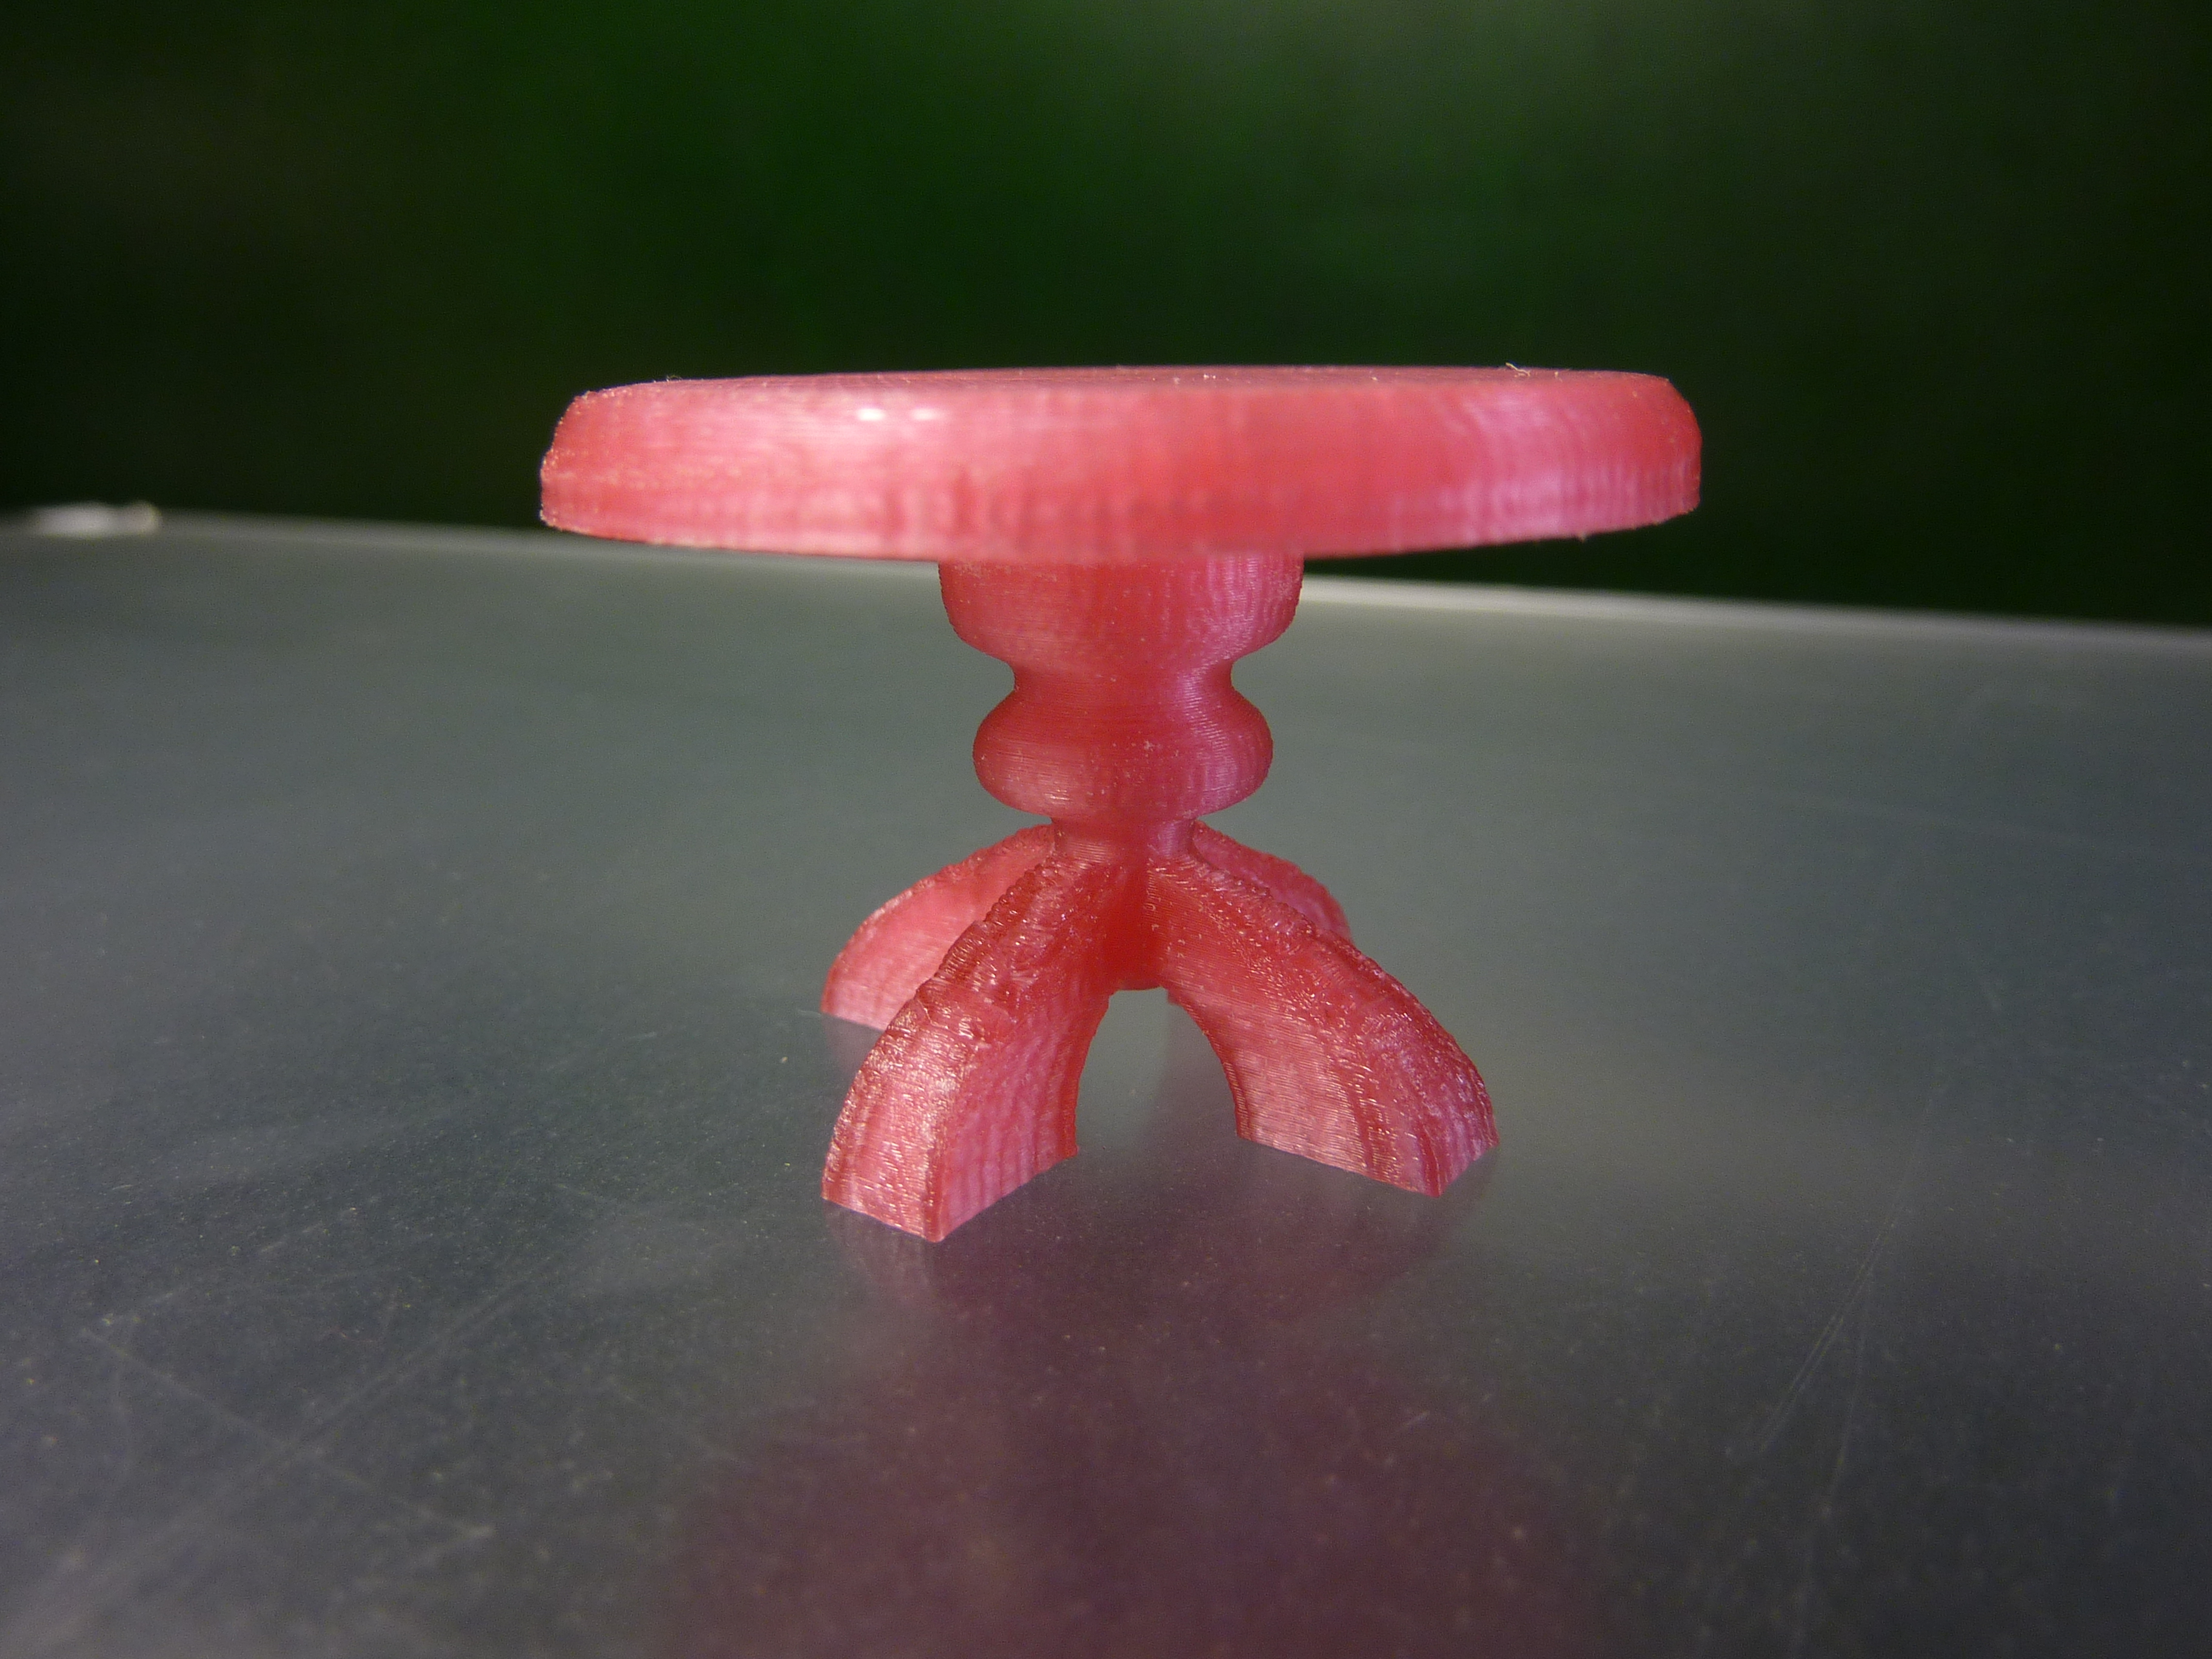
What I enjoy is taking requests.  The youngest said her Littlest Pet Shops didn't have a bed, so I made one that is a replica of their own bunk bed.   Then she wanted a table, so I made a tiny version of our dining room table.

30

Re: DIY Smoothing Station II

IanJohnson wrote:

What I enjoy is taking requests.  The youngest said her Littlest Pet Shops didn't have a bed, so I made one that is a replica of their own bunk bed.   Then she wanted a table, so I made a tiny version of our dining room table.

pics or it didn't happen...   ;-)

31

Re: DIY Smoothing Station II

OK, you all convinced me.....I am printing a pony.....no wait! I mean I am ordering my Presto Kitchen Kettle Multi-Cooker Steamer for a smoothing station. The only thing is the wife will know I spent more on my new hobby and it's not because I want to cook, because I don't.  lol

32

Re: DIY Smoothing Station II

Just tell her you were ingenious enough to spend $35 on something that gets you the same results as a $5000 machine.   That's a WAG on the price of the Stratasys machine since its never published anywhere, but it sounds good.

33

Re: DIY Smoothing Station II

pics or it didn't happen...   ;-)

http://solidoodletips.files.wordpress.com/2012/11/img_2251.jpg

Blue PLA.  I couldn't get it to stay flat in ABS, and there is still a bit of warp.

http://solidoodletips.files.wordpress.com/2012/10/red-table-1mm.jpg

Ruby Red PLA from 3DPrinterGear

34

Re: DIY Smoothing Station II

roughtyper wrote:
IanJohnson wrote:

What I enjoy is taking requests.  The youngest said her Littlest Pet Shops didn't have a bed, so I made one that is a replica of their own bunk bed.   Then she wanted a table, so I made a tiny version of our dining room table.

pics or it didn't happen...   ;-)

You must be eating your words now!  Nice job Ian smile

SD2 Sanguinololu 1.3a atmega1284p, wood platform, lawsy's carriages, braided fishing line, pallet wood overhead spool mount, carboard/magnet enclosure, glass bed, E3D v6, bed levelling knobs, extended z-stop, 25A DC-DC SSR for bed heater, everything fixed to the SD2 frame, marlin firmware with some adjustments and extra failsafes enabled.  I'll never give up on you, little printer that could(n't)!

35

Re: DIY Smoothing Station II

That bed is awesome.  I mean the print is great, but I really want that bed.. haha

Great job

36

Re: DIY Smoothing Station II

driggers wrote:
roughtyper wrote:
IanJohnson wrote:

What I enjoy is taking requests.  The youngest said her Littlest Pet Shops didn't have a bed, so I made one that is a replica of their own bunk bed.   Then she wanted a table, so I made a tiny version of our dining room table.

pics or it didn't happen...   ;-)

You must be eating your words now!  Nice job Ian smile

All in fun!

Prints are awsome!

37

Re: DIY Smoothing Station II

IanJohnson wrote:

Just tell her you were ingenious enough to spend $35 on something that gets you the same results as a $5000 machine.   That's a WAG on the price of the Stratasys machine since its never published anywhere, but it sounds good.

Yeah, I keep telling her the Sollidoodle prints as good as a machine 3x the cost and look at the money I saved!  big_smile
But she is too smart to fall for it. So I had to take her out to dinner a few extra times.
By the way I got the cooker for $25 shipped from Amazon w/Prime. So I'll tell her I saved $10 on it!

Very nice prints of the mini furniture. Was that at .1mm layers?

38

Re: DIY Smoothing Station II

The bed is .3, it was a really long print as it was.  I think I also ran that at high speed, which created some overshoot.  That's what the ridges on the front are, where the beams at the head and foot of the bed meet the supports.

The table might be .1mm  Translucent colors are more forgiving with surface appearance.  All the reflections and semi-transparency obscure the layer lines to a degree.  PLA can be very unforgiving.  If it is printed at a lower temperature, it comes out more matte and imperfections stand out a lot more.

39

Re: DIY Smoothing Station II

OK, looks very good. I thought those overshoot marks were IKEA design points.  wink
Yeah, have not printed much in PLA. Did notice how runny it can be.
Keep on print'n!  cool

40

Re: DIY Smoothing Station II

I'm trying to get the process/timing straight.

Cold cooker, 1/8" of acetone in the bottom.  Put the parts in the cooker. Heat at the lowest possible setting until the acetone starts to condense on the top.  Turn the cooker off and wait until the acetone stops condensing on the top.  Remove the parts.

Is that close to right?

41

Re: DIY Smoothing Station II

That's pretty much it.  I'm inclined to turn the dial closer to warm, rather than first light.  The vapor reaches the parts well before it hits the lid, and at the very minimum heat I'm thinking they might be spending more time in the vapor than I want before it reaches the lid.

The cool thing is that if you watch the inside of the basket closely, you can see where the vapor is.  It seems to condense on the metal and instantly evaporate in such away that you can see it rise up and slosh around, like watching water fill up a glass pitcher from the outside.   I noticed that until it hit the lid, I didn't smell any acetone, but plenty of vapor seemed to be coming through once it did.  You might be able to eyeball the level of the vapor and then kill the heat just before it reaches the top of the pot.

42 (edited by WhiteStar01 2012-12-04 12:55:31)

Re: DIY Smoothing Station II

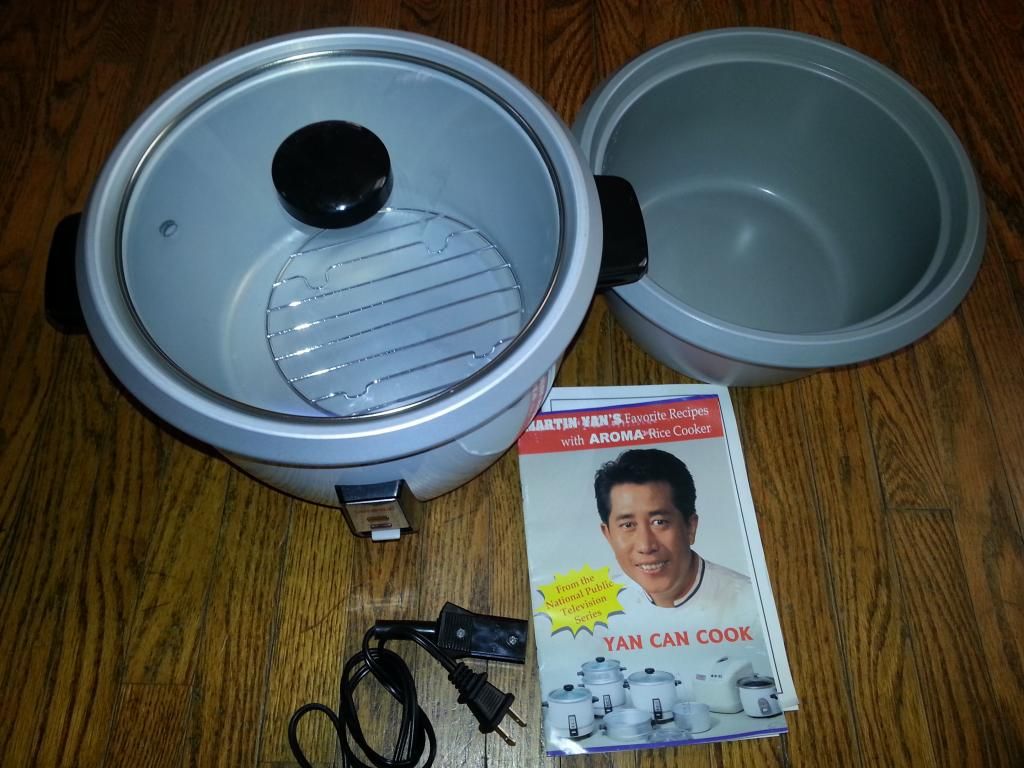
Figured this thread would be the best to post my version.  Thanks to all those who led the way on this.  A quick trip to my local second hand store found the attached  steamer/cooker.  Was still wrapped in original packaging.  The little rack is perfect to support a dollar store glass square (I think they are for candle centerpieces)  Works great.

http://i1217.photobucket.com/albums/dd396/whitestar011/20121201_141224.jpg

Post's attachments

20121201_141224.jpg
20121201_141224.jpg 2.17 mb, 4 downloads since 2012-12-04 

You don't have the permssions to download the attachments of this post.

43

Re: DIY Smoothing Station II

Whitestar, looks nice, have you tried it out yet?  Thanks for the suggestion on the dollar store glass candle bases. I was just using some foil at the bottom of mine because my glass bed parts where a smidge to large for the Presto steamer.

44

Re: DIY Smoothing Station II

Yep it works great as long as you put it on Warm and not cook- on cook it will boil the acetone quite quickly wink

Ya the glass plate works great and sits nicely on the rack.  I just lift it out and set in the next batch on another plate.

Cheers
Eric

45

Re: DIY Smoothing Station II

hmm damn, now I have another project to add to the list!

46

Re: DIY Smoothing Station II

IanJohnson wrote:

pics or it didn't happen...   ;-)

http://solidoodletips.files.wordpress.com/2012/11/img_2251.jpg

Blue PLA.  I couldn't get it to stay flat in ABS, and there is still a bit of warp.

http://solidoodletips.files.wordpress.com/2012/10/red-table-1mm.jpg

Ruby Red PLA from 3DPrinterGear

Heart warming.

Former Solidoodle employee, no longer associated with the company.

47

Re: DIY Smoothing Station II

I've made a Smoothing Station from an old cofee maker. I'm very pleased with the results.In the 3rd attachement I've compared two pieces: one smoothed and one as resulted from printing. You could see the results.

Post's attachments

filtru1.jpg
filtru1.jpg 850.34 kb, file has never been downloaded. 

filtru3.jpg 718.54 kb, file has never been downloaded. 

result finishing.jpg
result finishing.jpg 628.73 kb, file has never been downloaded. 

You don't have the permssions to download the attachments of this post.
“The majority believes that everything hard to comprehend must be very profound. This is incorrect.
What is hard to understand is what is immature, unclear and often false.
The highest wisdom is simple and passes through the brain directly into the heart.”
(Viktor Schauberger)

48

Re: DIY Smoothing Station II

Hi joosha

What does this exactly mean, The 25% quality region?

As soon as the acetone is condensing on the lid, the 2 phase mixture is hitting and maybe even exceeding the 25% quality region.

Thanks
Wayne

49

Re: DIY Smoothing Station II

jooshs wrote:
cckens wrote:

Wonder if instead of the kapton, you could use a square (or circular, but that may be harder to accomplish) plate of glass to rest on the bottom of the basket.  This would level it out and you wouldn't have to worry about the bolt heads used to raise it off the bottom of the heated acetone.  Shouldn't be too expensive an addition to do this and the glass wouldn't be affected by the acetone.

Yes I wanted to use glass, but my 6x6 piece was too big to fit in the basket and I didn't find any glass circles... I almost stole the mirror from one of my gf's little handheld mirrors, but I didn't think she would appreciate it. I would still use the bolts because it allows the vapors to flow in that space... Plus the bolts come with the pot.

New here!

I am going to get the Presto 06003 Options Electric Multi-Cooker/Steamer at amazon.

Also a Darice 6 inch Round Mirror.

Is the bottom smaller than 6" (is that why the glass you have wouldn't fit)?

Thanks for sharing!

50

Re: DIY Smoothing Station II

6" mirror fits fine.
No bolts came with mine so got to get from HW store.