Topic: Upgrading my version 1.6 Filastruder to use the new acrylic case
I purchased my Filastruder (#1956) from another user and didn't get the joy of assembling it myself. Although it has worked great and I actually did print custom electronics enclosures and rewire it, I still felt like I had missed out on something. The arrival of the new acrylic case gave me a chance to experience that joy. Tim would be the expert on what you would need to actually outfit your specific model and I would definitely recommend you ask him, but here is my experience for upgrading Filastruder #1956. It was a model 1.6 with the "beta" motor and stall protection board without display.
1. Main items needed: Acrylic case, aluminum chassis, grey PVC washer
2. Additional items needed / desired: Stall protection board with display, 4 1.5 inch flange mounting bolts (my originals were longer), 4 100mm mounting bolts for case, 3 rubber grommets, some wire for lengthening the cable runs for the stall protection board and heater elements, an additional fan, and a means of mounting vertically
3. Steps taken:
a. Heated up barrel to allow disassembly and cleaning. Removed brass nozzle, heating clamp and band, coupling.
b. Removed hopper mount, removed flange mounting bolts and pulled auger from barrel.
c. Took numerous photos of my existing wiring (since it was working properly). I had a dual power supply due to frying my original and not having a suitable amperage replacement. I substituted 2 12v (4.6 and 5 amp) replacements since that it what I had on hand. One powers the heater/PID and the other powers the fans and motor).
d. Downloaded the instructions for the 2.1 version and assembled per instructions with the following exceptions:
i) My auger/socket didn't seem to match the dimensions of the 2.1. When assembled per directions, my auger pressed against the motor before the thrust bearing compressed. If I adjusted the thrust bearing, I would have had excessive auger sticking out of the end of my barrel and if I didn't change the thrust bearing, I would have needed to move the motor back with spacers. I decided instead to saw off part of my auger shaft. DON"T DO THIS! That thing is made out of the same material as Captain America's shield. I went through 2 hacksaw blades, my entire vocabulary of swear words which is significant since I spent 21 years in the Navy, and in the end, accomplished the same result that I would have by just removing the 4 motor bolts and putting in the spacers that I already had (and that Tim had told me to do). Regardless, I did eventually get about 9mm sawed off of the end of my auger shaft, basically right at the groove for the quick disconnect. I now have the proper 1-2mm give in the socket and 5mm auger extension from the barrel.
ii) Since I have 2 power supplies and had a choice in which grommets to buy, I purchased 1/4 inch grommets and drilled out the holes to match this grommet size. This allows the 2 power supply wires to just fit into the hole. I also drilled an additional hole in the front top of the aluminum frame to allow for the fan wiring and stall protection board wiring
iii) Since I didn't have 2 60mm fans, I used a 50 mm fan I had on hand and my original 60mm fan. I mount my Filastruder vertically, so I don't use a filament guide. Rather than use the included fan bracket (60mm), I printed this one (http://www.thingiverse.com/thing:219240) rescaled the fan portion to 50mm and removed the ears for the filament guide. I used my original Filastruder 60mm fan in the case mount.
iv) I wanted to hang my Filastruder on pegboard. For the mount, I purchased an angle bracket from Lowes, cut off a portion to avoid interfering with the motor mounting holes, bored it out for the wiring hole, and added holes that matched the spacing on my pegboard. I then drilled 4 mounting holes in the aluminum frame and tapped them to accept some hard drive mounting screws that I had on hand. Now is probably a good time to mention that I typically "seal" most of my bolts with a bit of fingernail polish to help lock them. It is cheaper than lock-tite and so far has worked for me. I typically either steal it from my daughter or buy the cheapest stuff at the drug store. Color depends on my mood at the time.
v) I couldn't find 100mm M5 bolts locally for a good price, so instead I bought a 3 ft section of 10-24 threaded rod and cut 4 100mm pieces from it and printed some acorn nuts in black ABS to hold the enclosure together.
vi)Since mounting vertically, I rotated the PID so that it displays correctly in the vertical position. I also printed a bracket to move the stall protection board to the same side as the PID. I added 4 printed feet to the bottom with double sided tape to move it out from the pegboard so that it hangs vertically since the pegboard hooks cause the end to no be flush with the pegboard. Finally, I carefully removed the sticker from my old mount and applied it to the bottom of the aluminum chassis.
E. Overall, I'm pleased with the way everything turned out. I have experienced the sense of ownership that comes with actually putting something together and mostly understanding how and why it works. It also seems much more compact now and looks really sharp. I haven't actually used it yet, hopefully by next weekend, but I did turn it on to verify proper rotation and that it was wired correctly. That's why the picture shows the motor running with the temperature at basically room temp. Since I had cleaned it prior to reassembly and hadn't added any pellets, I wasn't worried about any binding. Next step is to create some filament with the Eastar 6763 and print a new vertical bottle holder http://www.thingiverse.com/thing:1195942) to go with the new look.
Bracket for hanging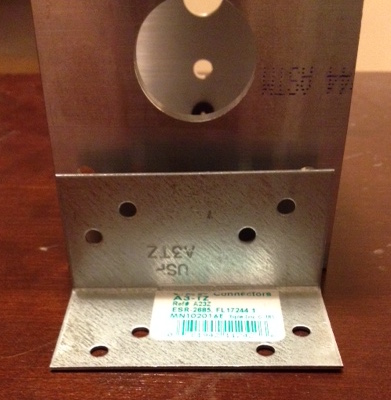
After "professionally" machining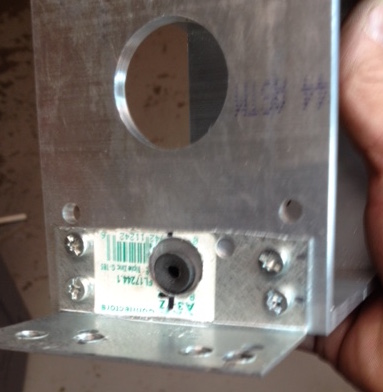
Extra grommet hole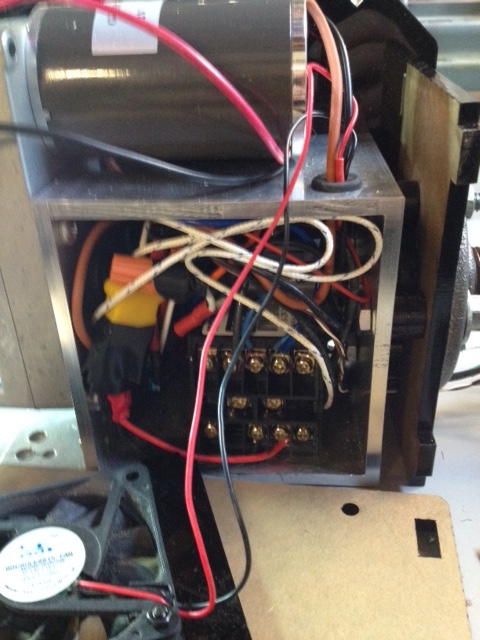
Extruder fan mount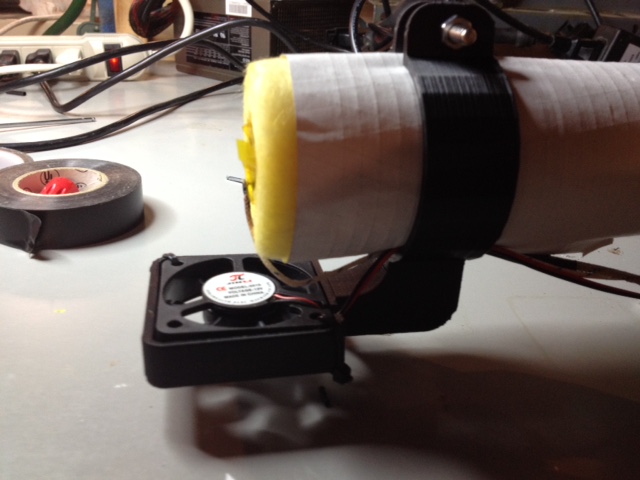
Vertically mounted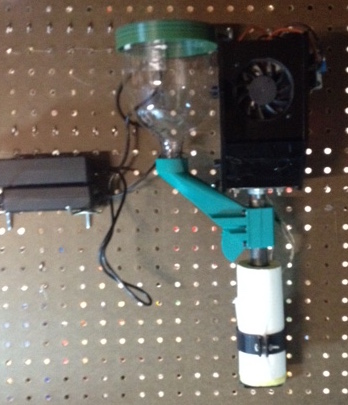
Electrical test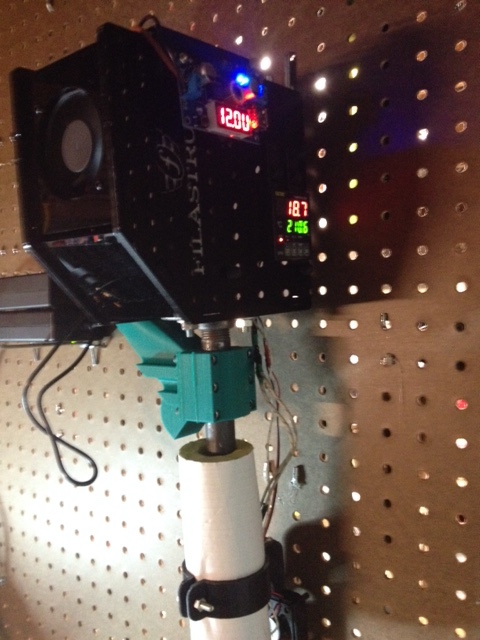
Bottom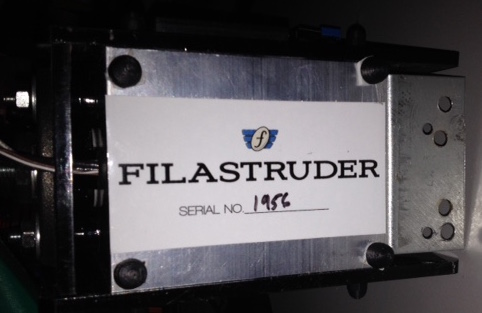
Special thanks to Tim for his assistance and putting up with all my questions.