Topic: Homemade Nichrome heat mat
I really liked danny's nichrome heat bed he made. To me it had a major advantage, although the silicone heat mat from qu-bd is awesome, I didn't have a power supply around that could deliver that kind of current at 12v. But I do have a universal laptop adaptor that can do 5 amps and 24v, 100 watt limit.
So by my maths I needed to make a 6 Ohm heating element, and make a new mosfet circuit to run it. I also wanted this to be as fully reversible as possible. So I found some wafer thin (0.5mm) silicone matting, and brought myself the other components. So the plan was/is to have it laid out Alu / Silicone / Nichrome / Silicone / Glass.
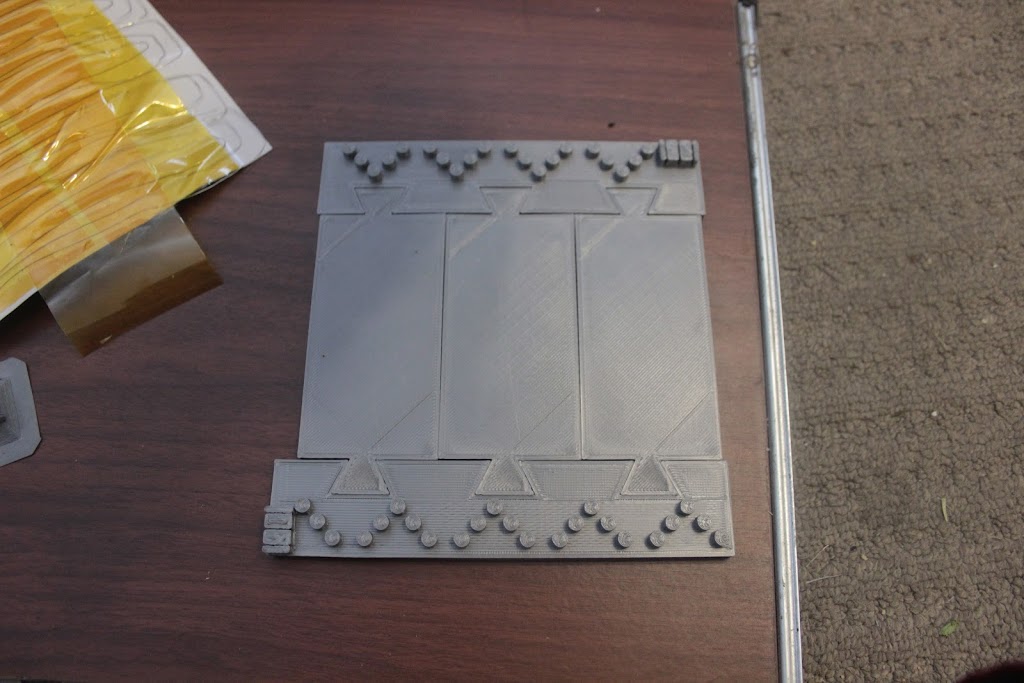
I needed to work out what nice paths I can make for the nichrome, that would get me the resistance I wanted. So pen and papered a couple of designs, until I got the length and runs needed. Then design a loom jig to form the nichrome into the correct shape.
Here is the jig:
I then placed some kaptop tape, to stick and hold the wires down:
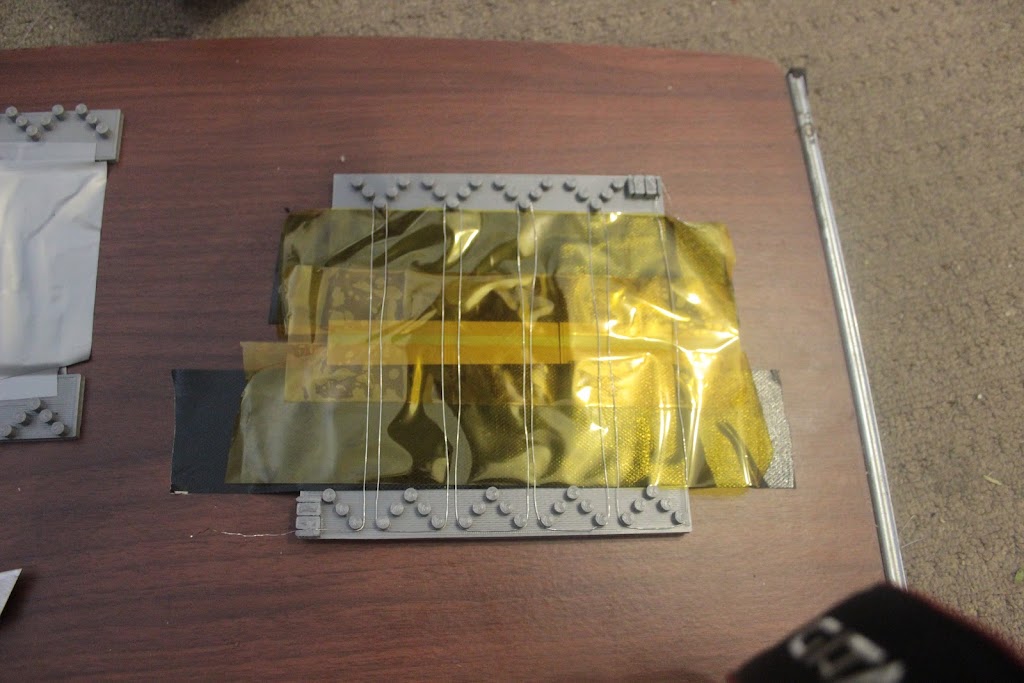
Then do the other runs:
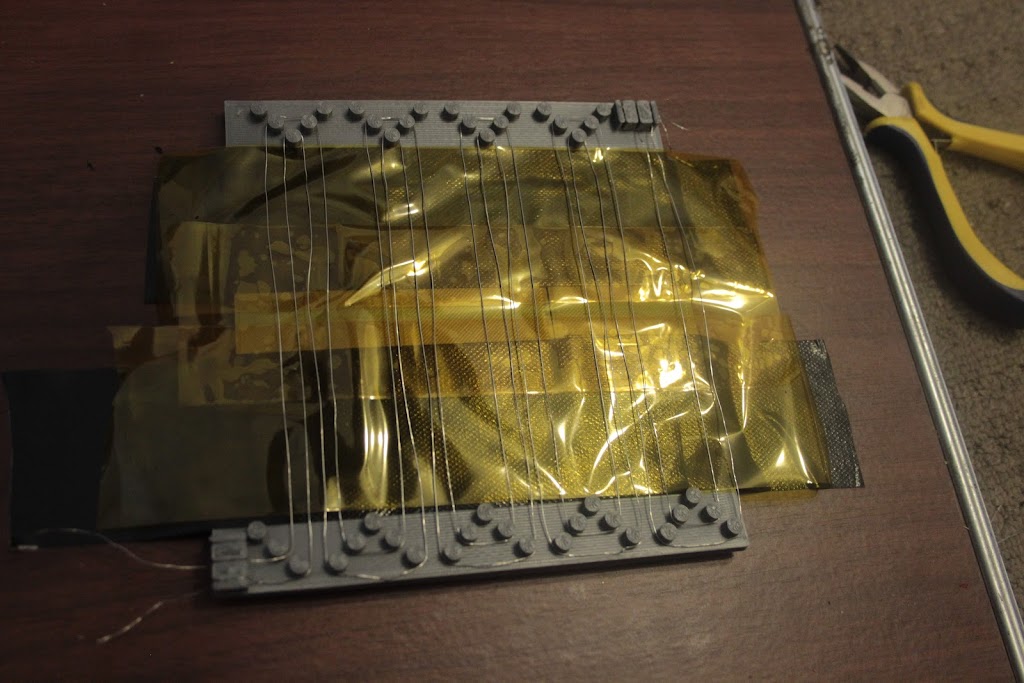
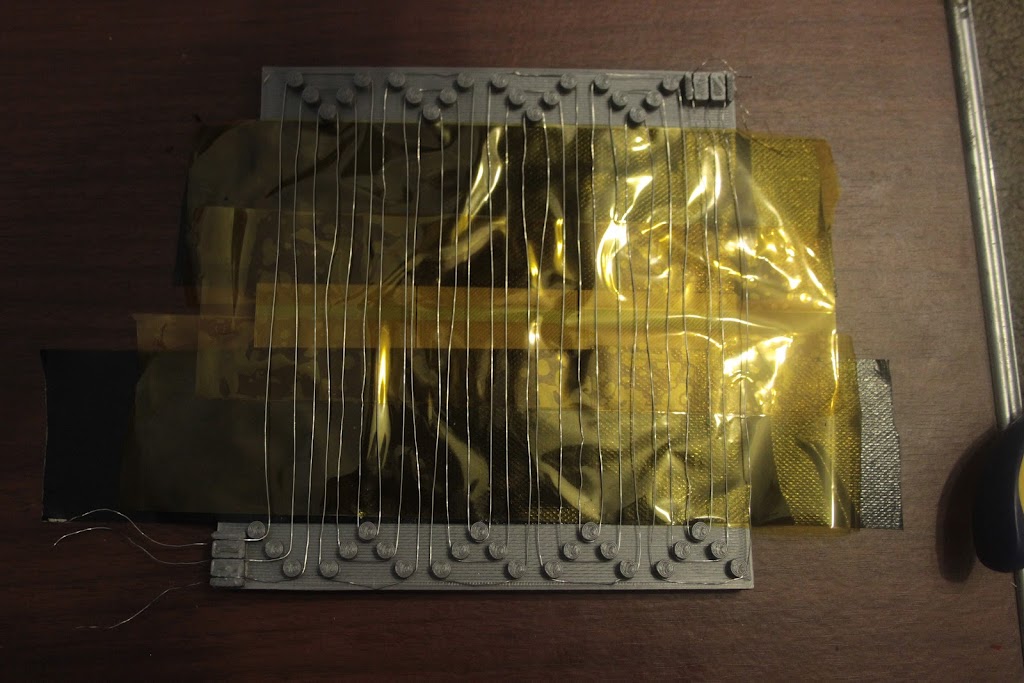
The lift it off, and stick the tape to the silicone:
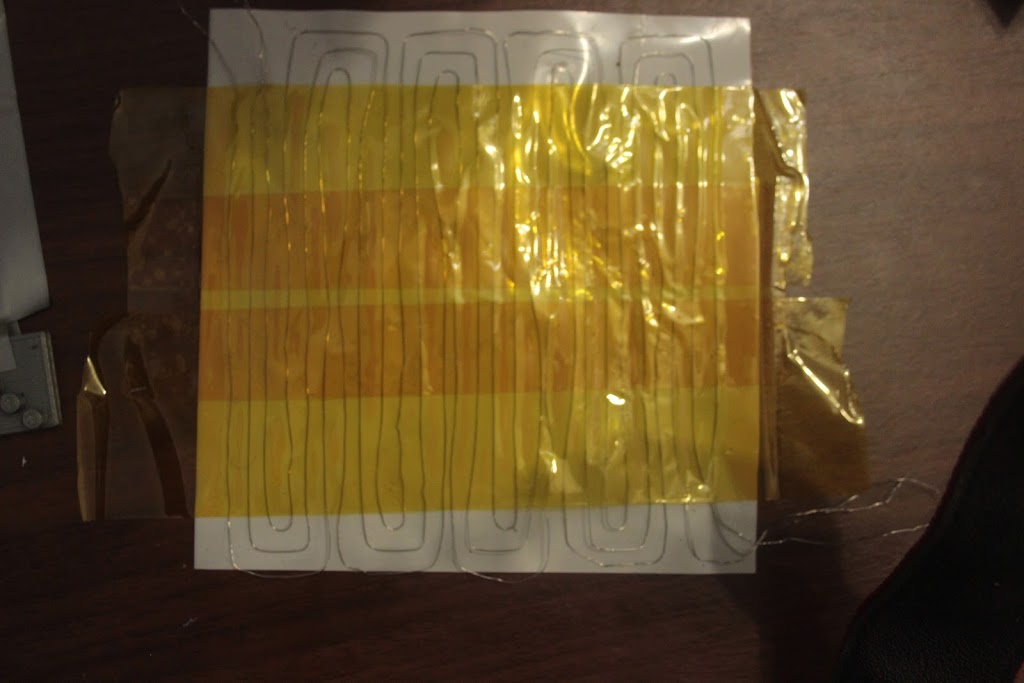
Add some extra kapton, stick the edges down to the opposite side of the silicone, twist the ends up of the nichrome up, solder and heatshrink the cables on, and forget to take any more pictures. Until testing:
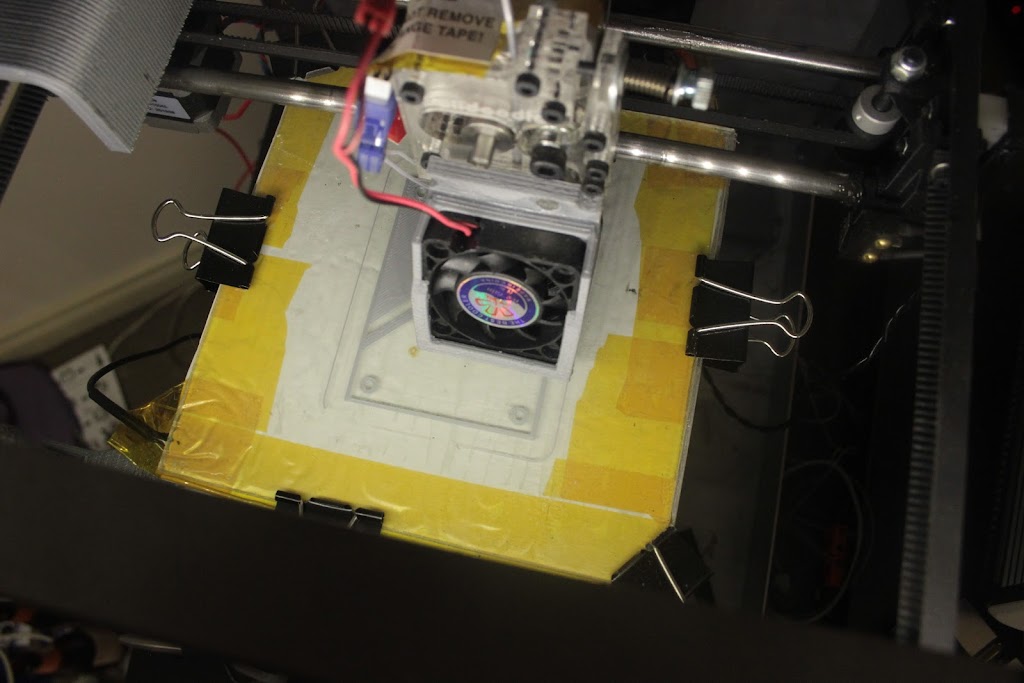
I use this in conjunction with the stock heater, giving me about 150 watts of heating in total, and also a more even heating area, which I hope should lead to less warping. I believe that as the heat element is at the centre of the bed, the circular drop off of heat to the outside exasperates the warping.
I have soldered a signal wire, from the gate pin of the Sanguinololu to signal my mosfet, both grounds of the power supplies are common.