Those are all good questions. You first need to calibrate your scanner, before expecting to achieve good results.
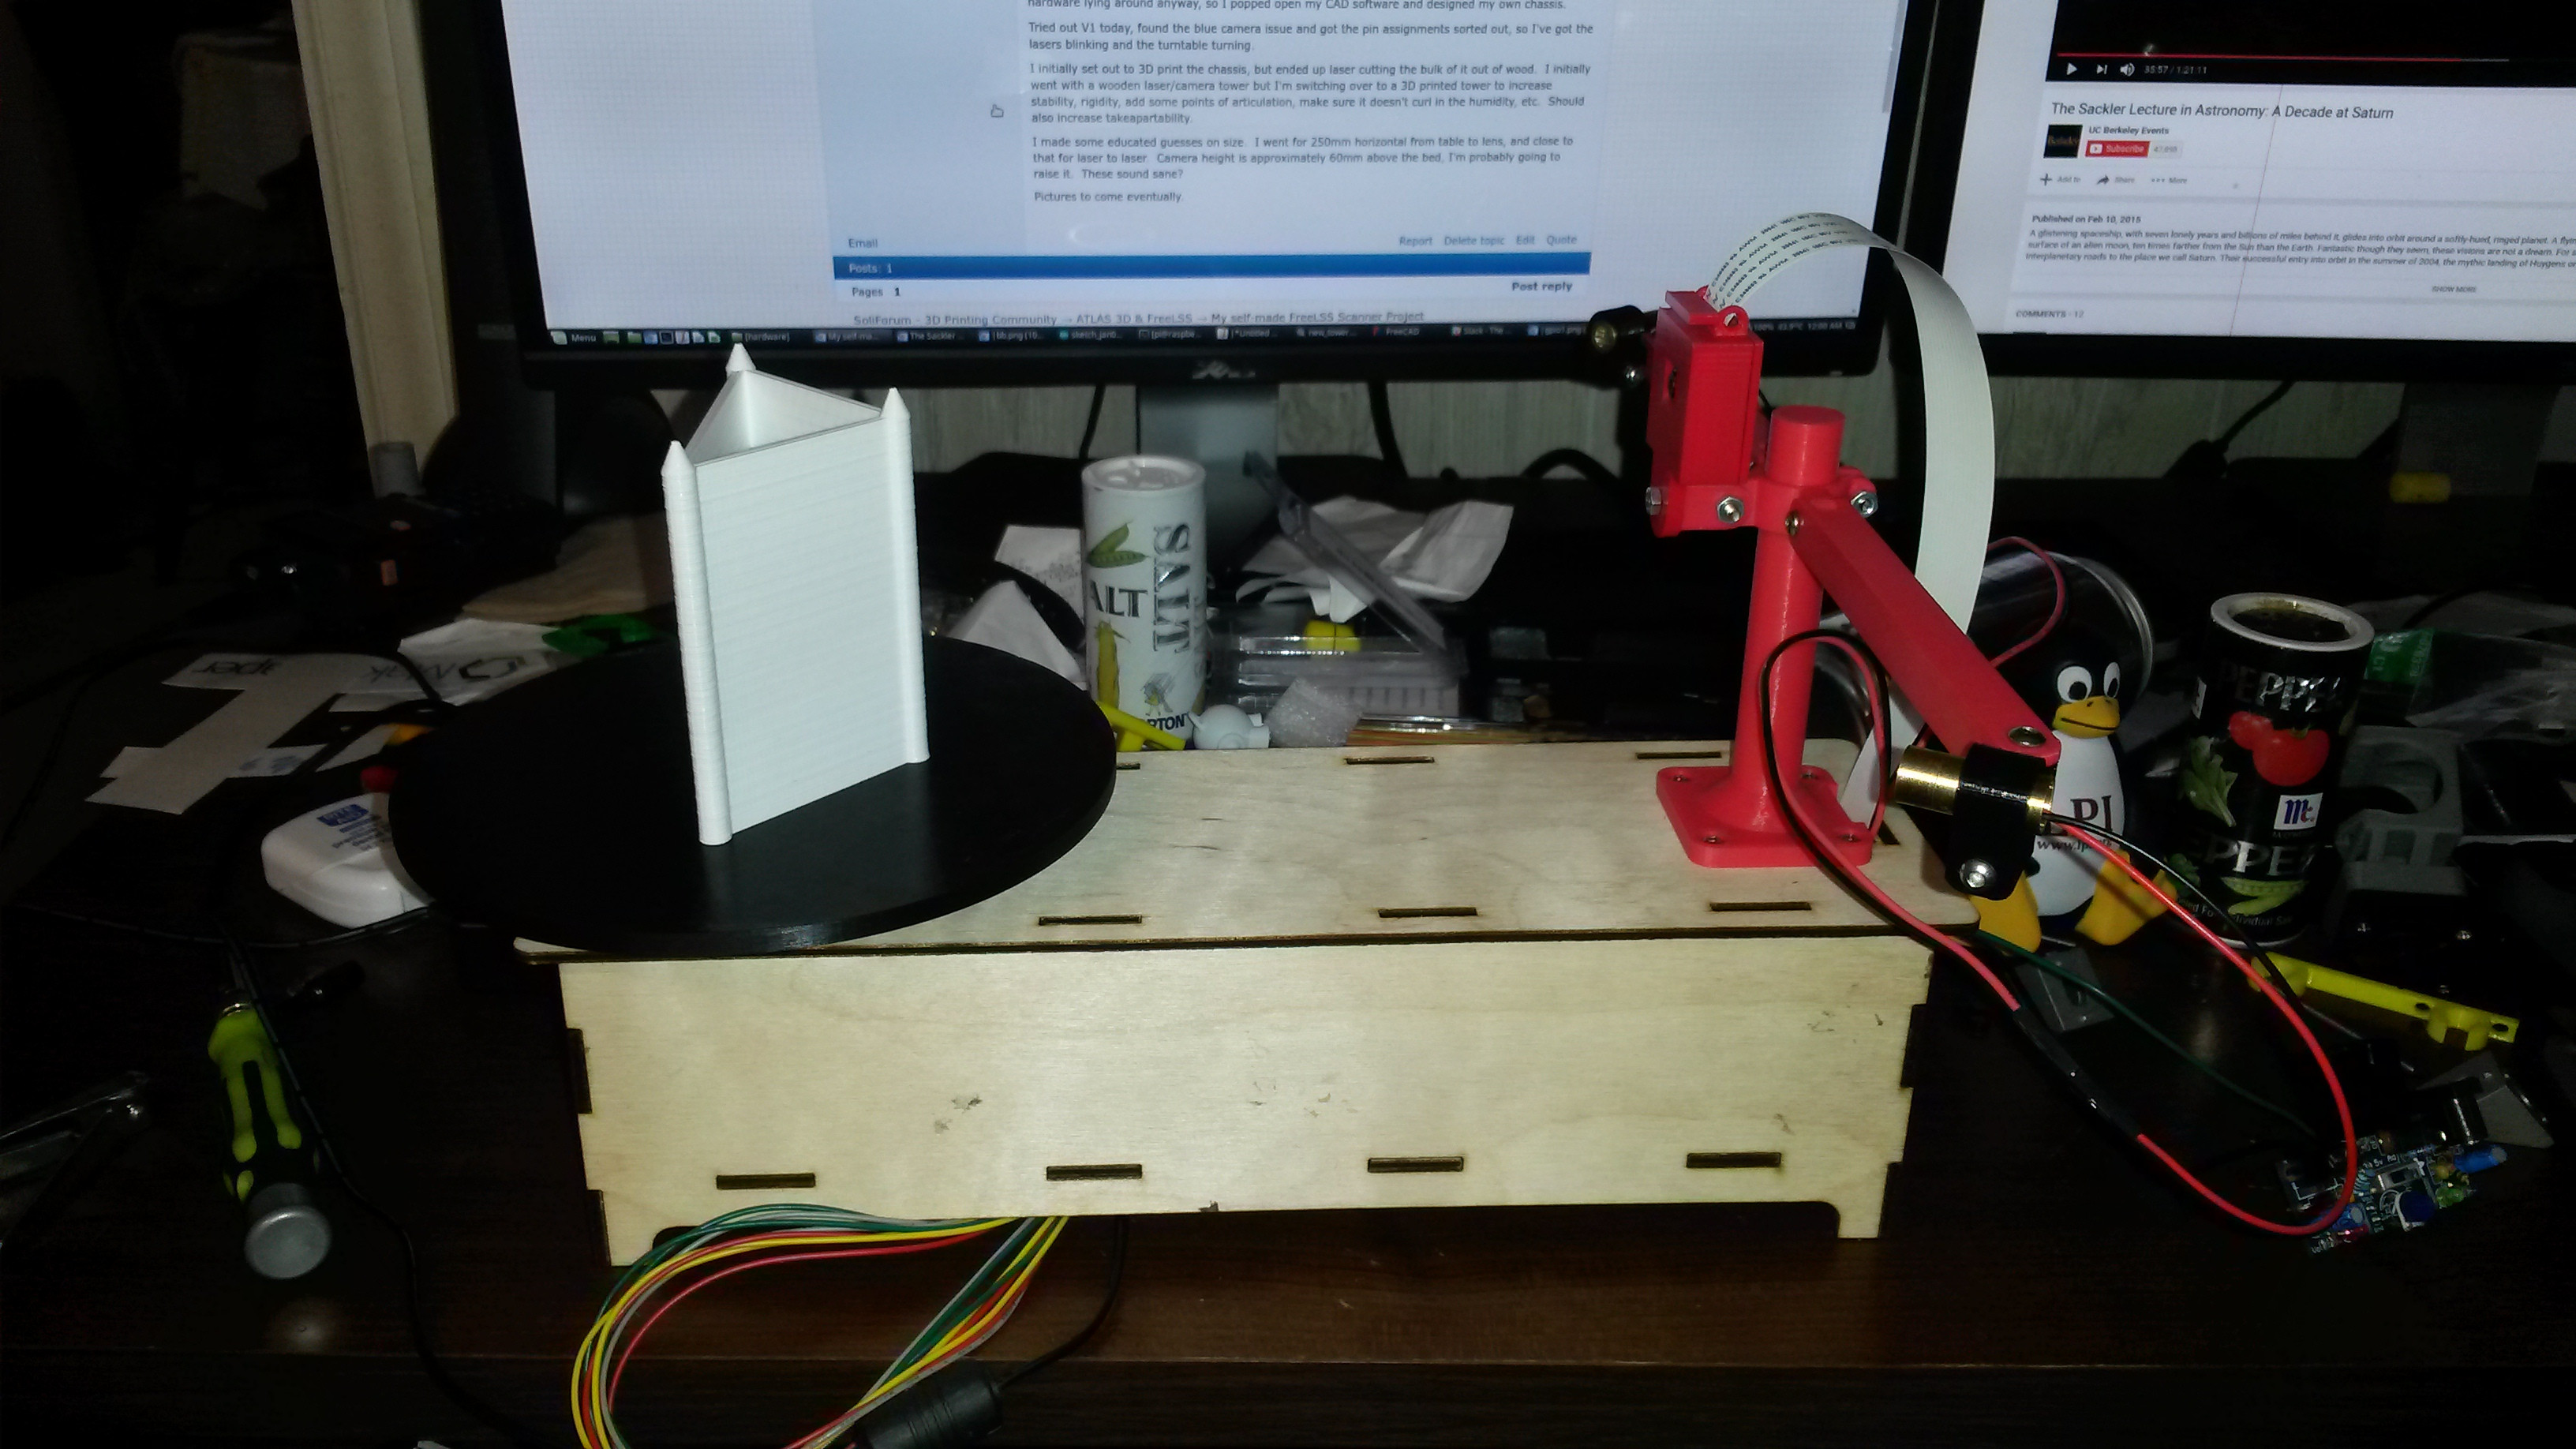
I will also try to find something spherical to scan.
I'm going from memory here, but the documentation points you to the ATLAS 3D & FreeLSS topics in this forum. There are Welcome, Calibration, Instructions, and Troubleshooting topics that are sticky at the top of the list. They will answer all your questions in detail, but I will give you an overview:
In camera view, the horizontal mark at the bottom of the crossed red lines show where the camera is supposed to see the center of the turntable. The larger crossed lines are used to help align the camera in the vertical and horizontal planes. If your camera is not aligned correctly, you will not get good geometry to your scans.
The 'test' generates a .png file to show you how well the camera is detecting the lasers as they strike the target object. This is used to select the best settings for your object and lighting environment.
Once you've done the best physical alignment of the lasers possible, the 'calibrate lasers' option will look at the lasers and calculate a software correction for further compensation. The calibrate feature only works in hi-res camera modes. Calibration stays true between all camera modes; if it is not, then most likely the calibration is not yet optimal.
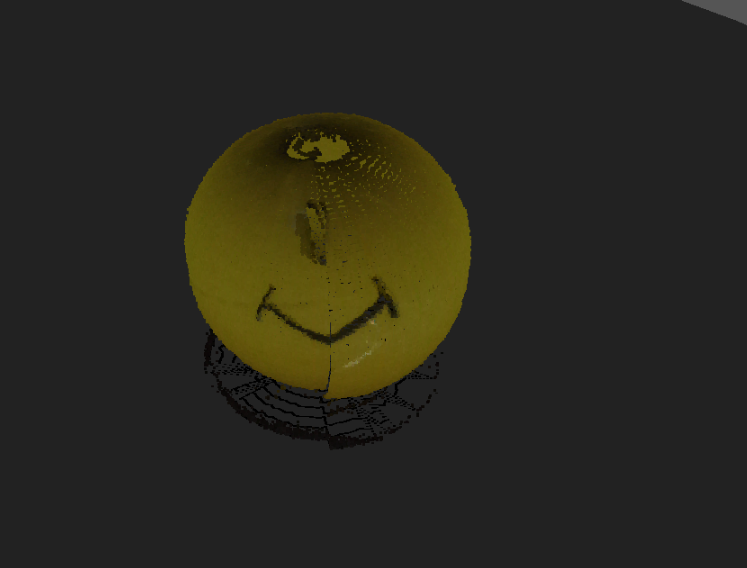
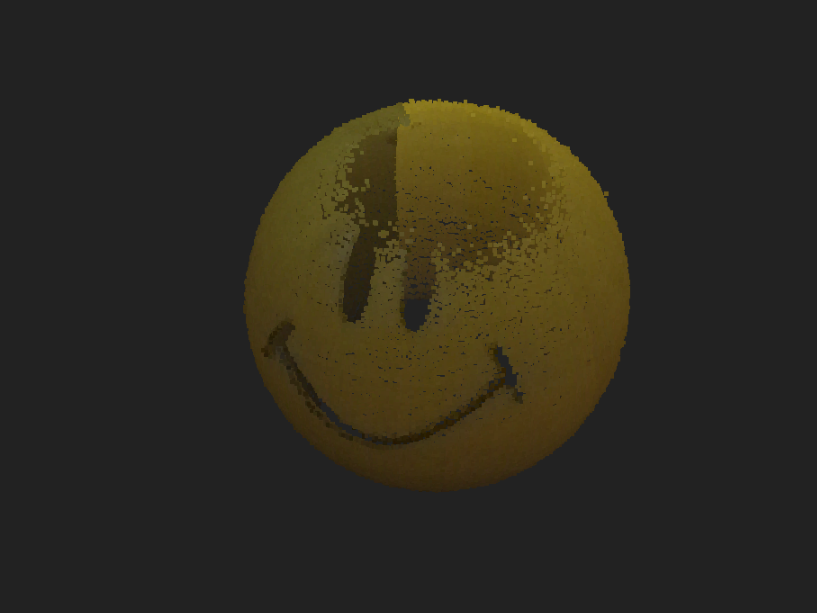
When completed, the results are quite good. You cannot expect satisfactory results from any 3D scanner, if it is not properly calibrated. As I have mentioned elsewhere, I've used a Matter and Form (commercially produced) scanner in the past, and the Altas3D does a better job.
If you're having trouble with color, use different lighting. LED lighting is problematic, since a white LED is actually a blue or UV LED whose output is jinked by phosphor. Even though our eyes see a relatively white color, depending on whether the phosphor is being excited by blue or UV, there is a resultant color shift that digital cameras can detect. Halogen lighting also looks good to our eyes, but digital cameras seem to detect a yellowish hue from that lighting. In my experience, incandescent lighting works best, and you may have to play around with a few types (e.g. cool white, soft white, Reveal) to find what works best for you. I've also found that 'over-illuminating' the scanning target causes as many problems as 'under-illuminating' it.
A final thing to note is that any 3D scanner works best when the camera can see a sharp laser strike upon the target object. A reflective object needs to be 'dulled down' with powder in order to capture the laser. For example, a glass mug does not scan well, since the vast majority of the laser energy will either be reflected off the surface, or transmitted on through the structure. When I scan matchbox cars, I simply powder them to overcome the glossy paint, and define the clear plastic windows.
The opposite of gloss is an object that absorbs and diffuses the laser. Some types of plastic are bad for this (3D printed objects can be terrible to 3D scan). Plaster casts are also poor targets due to their porous and grainy surface; I paint such object in a neutral gray before scanning. Black objects absorb the laser energy, and need to be powdered. Of course, a tennis ball would be terrible to scan, due to the fibrous texture of its surface.
Using the 'test' feature to view the laser detection upon object can aid you in deciding if powder or paint could help to better define the laser line.
I hope this helps, but you really need to look at the documentation. Calibrate. Illuminate. Scan.