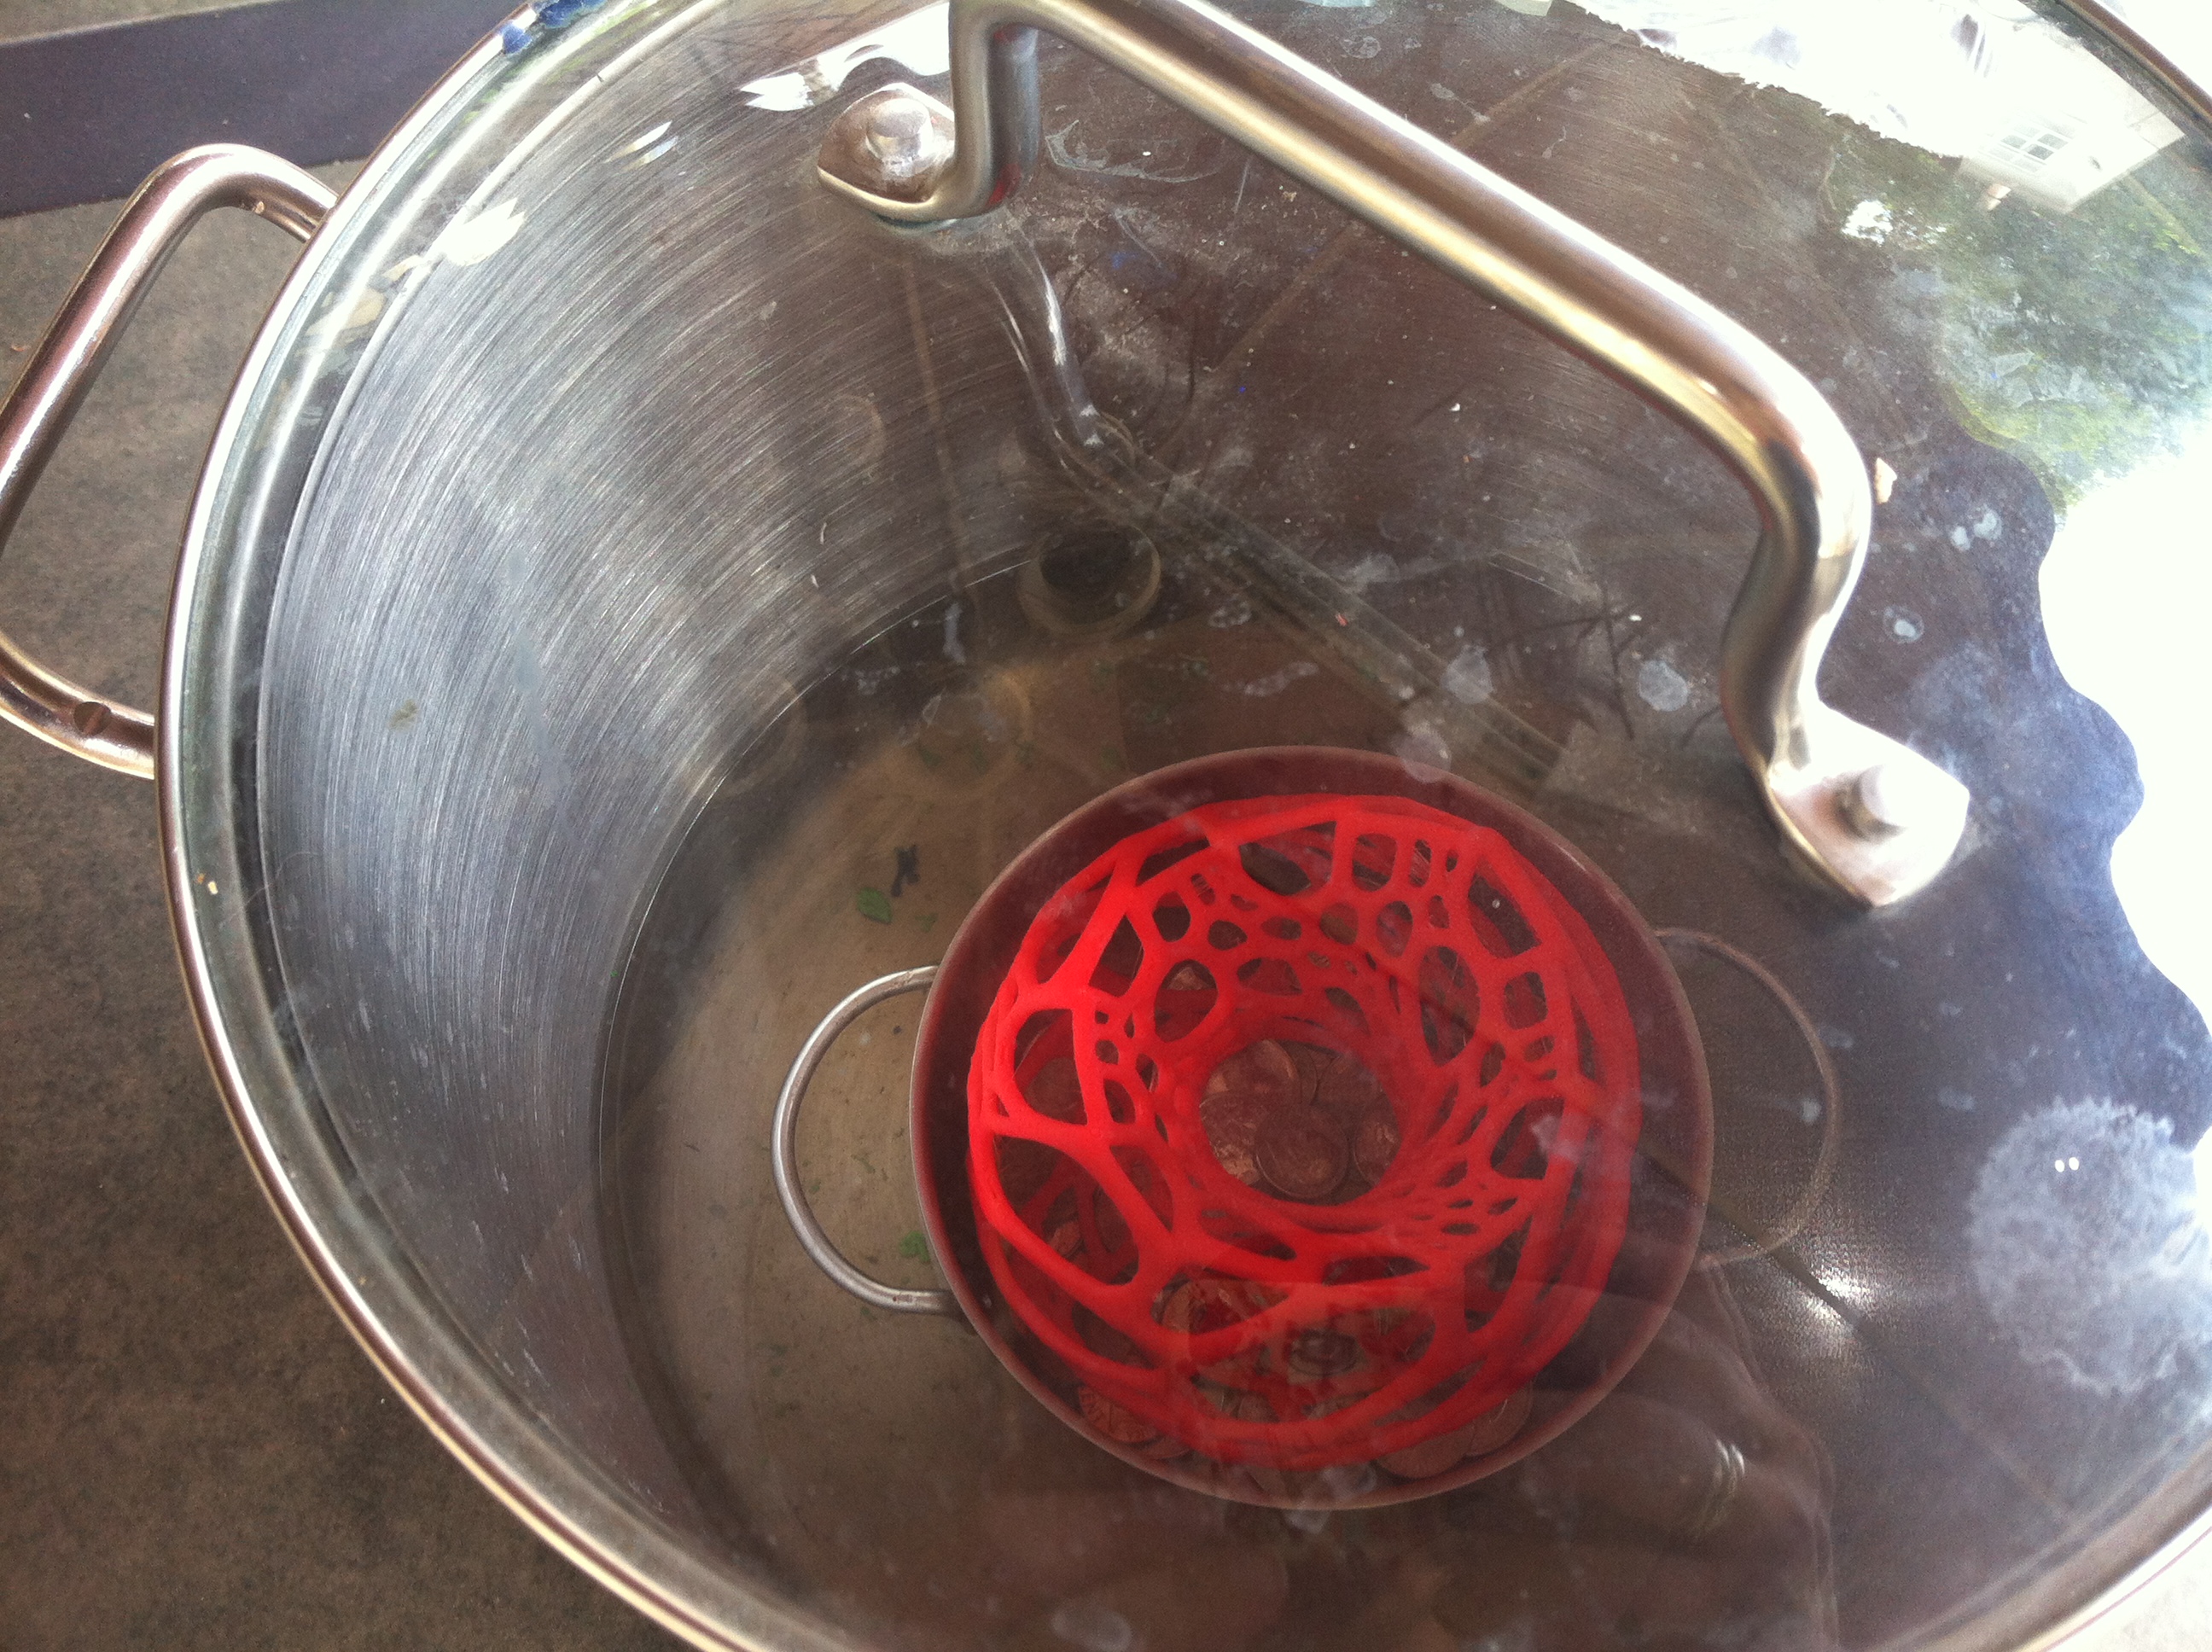
I'm starting to get the hang of it. It's best to get several exposures with plenty of drying time in between. Ideally the effect will be kept to skin deep. I've been putting the models on an upside down cup, which places them about 1" above the surface of the acetone. I can see a definite difference in effect from bottom to top, corresponding with the change in density of the acetone vapor. The zone only seems to be about 3" deep before it tapers off quickly.
It will take shorter exposures if I can make the vapor zone taller and denser. Taking a cue from vapor degreasers, I could warm the pot enough to boil the acetone (100F or so). Near the top of the pot I would run a coil or two of copper pipe with ice water pumped through it. This would create a layer of cool air which will condense the acetone and keep the vapor concentrated in the bottom. I would be doing this outside with the top off of the pot.
One thing I tried, which seemed promising, was to chill the model before placing it in the pot. The process works by acetone vapor condensing onto the plastic and then melting it. Chilling the model encourages more acetone to condense, which would increase the effectiveness of the less dense upper range of the vapor zone. I would still like to get the vapor dense enough to require 30-40 second exposures rather than 30-60 minutes.
I printed this at .1mm layer height to give the smoothing process a head start. I noticed that even after pulling the model out, it continued to smooth more as it dried. So don't wait for all the lines to disappear before pulling it. Take it out while they are still visible, and when you come back 30 minutes later, more of them will be gone.
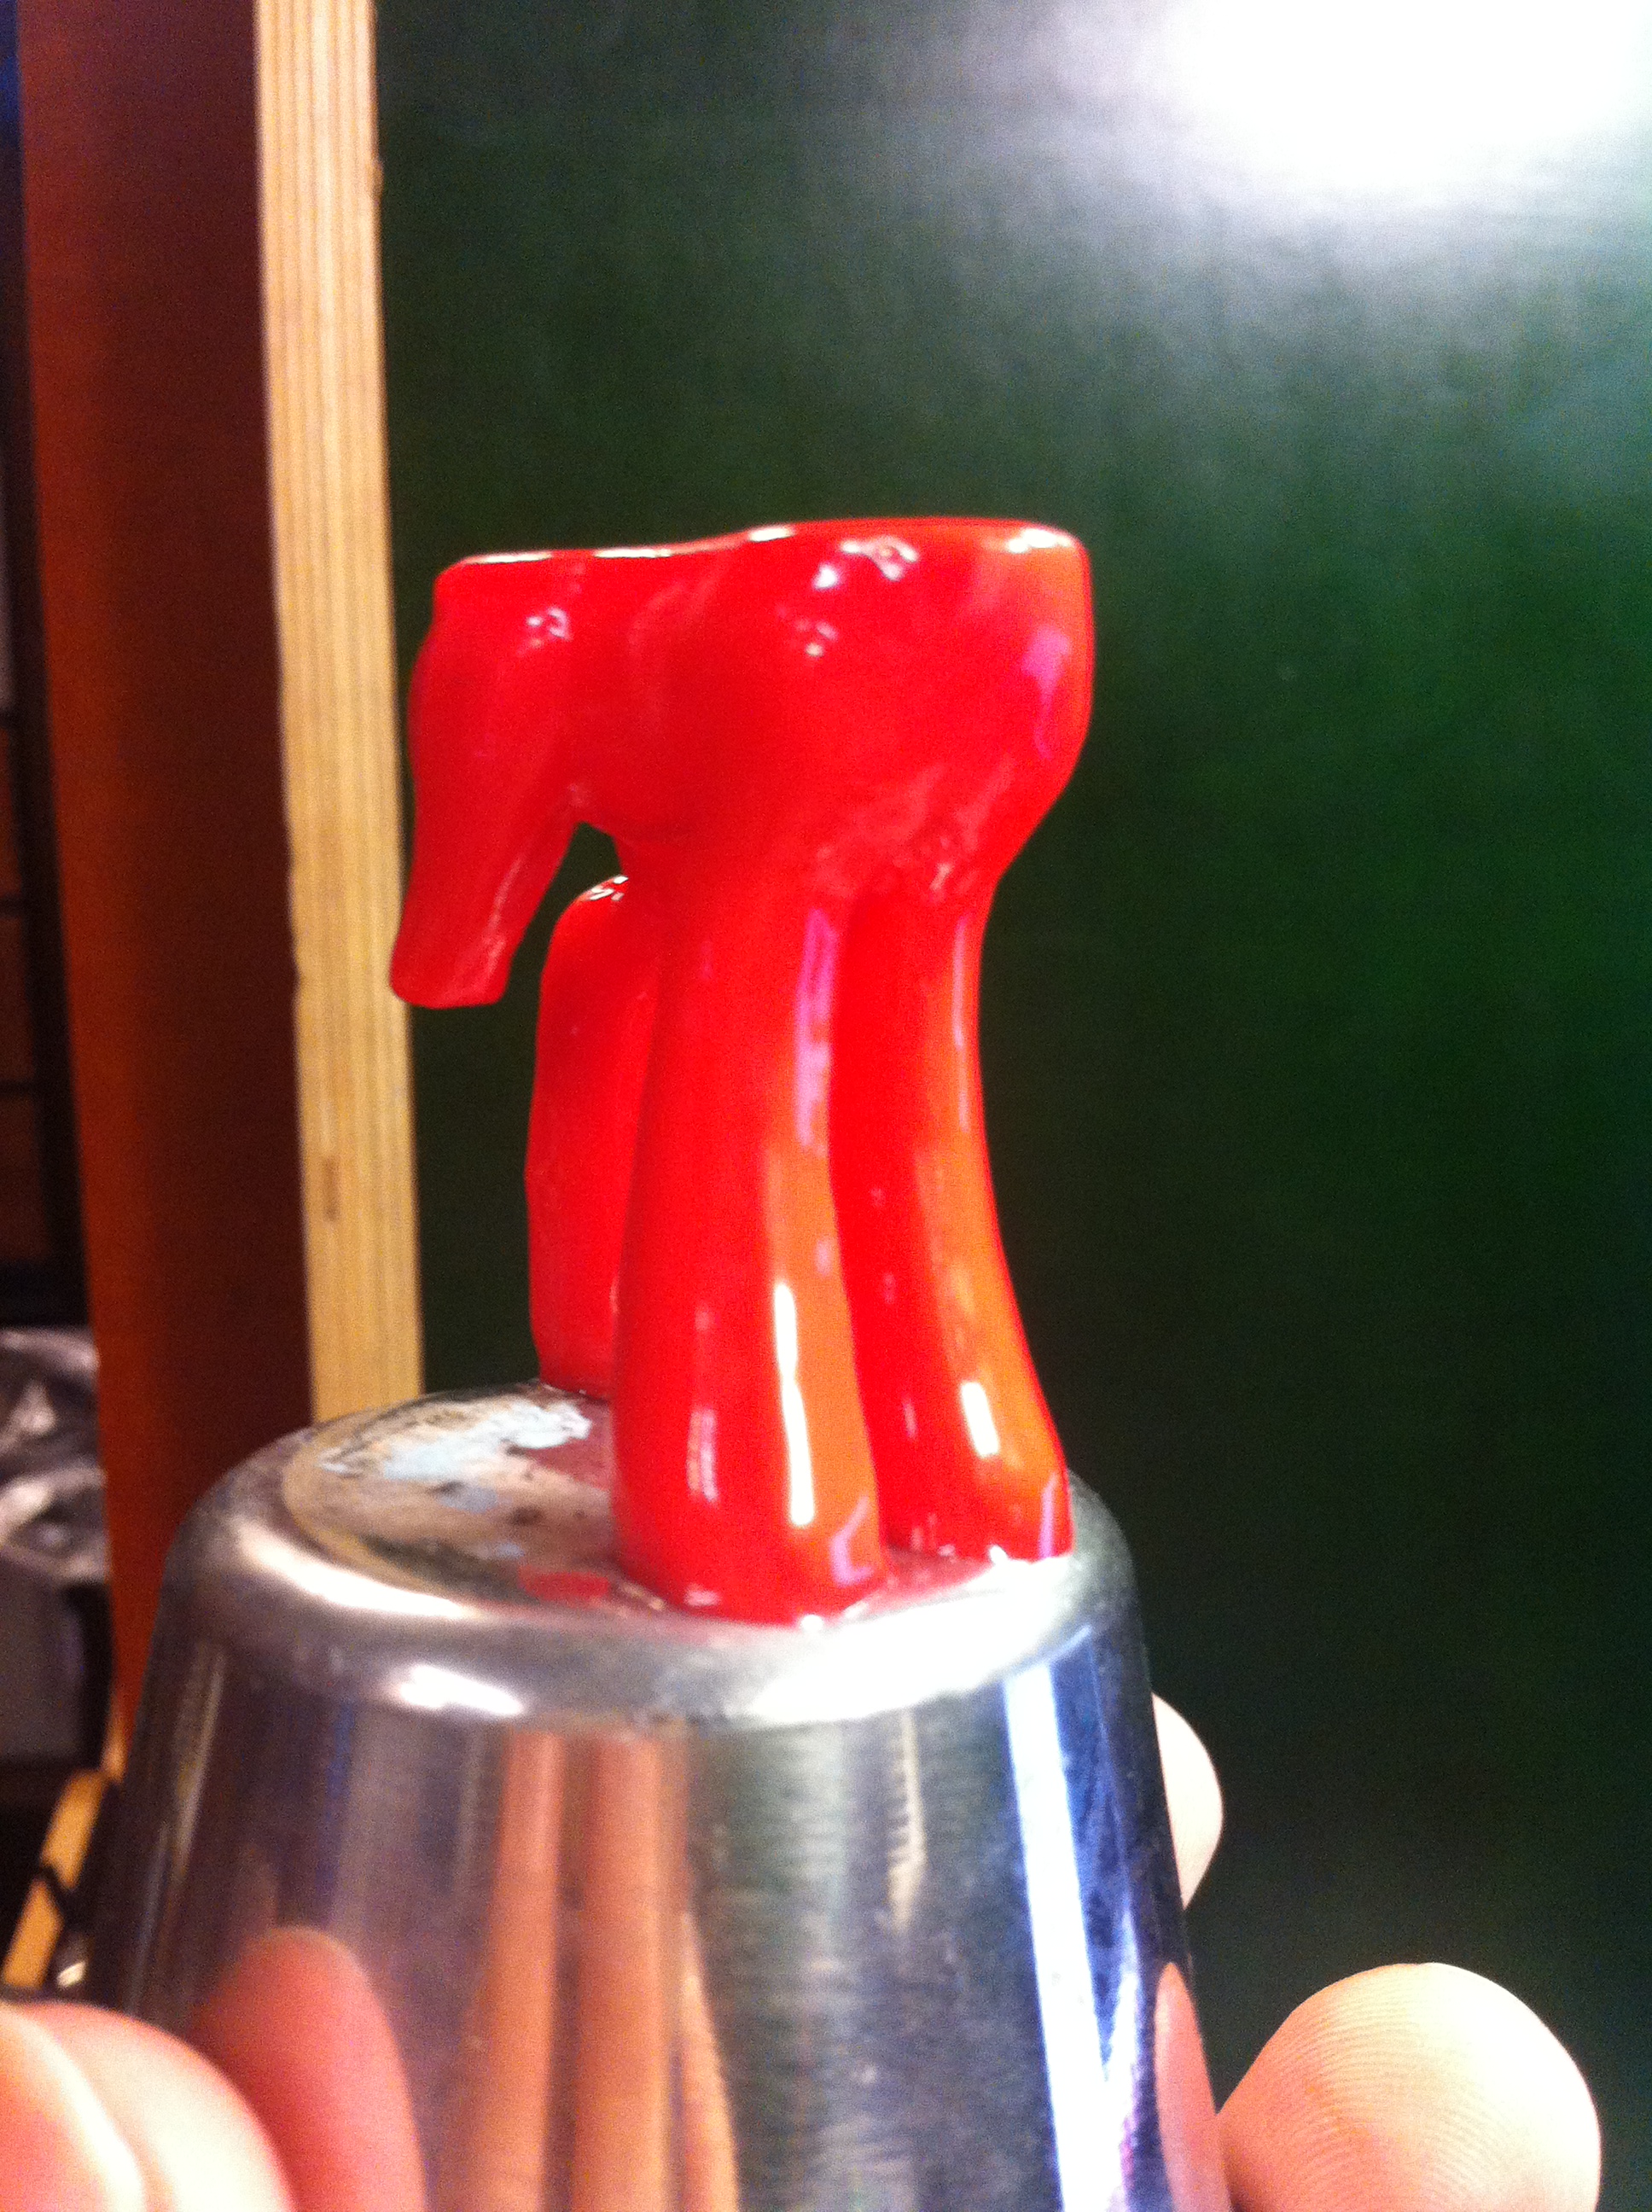
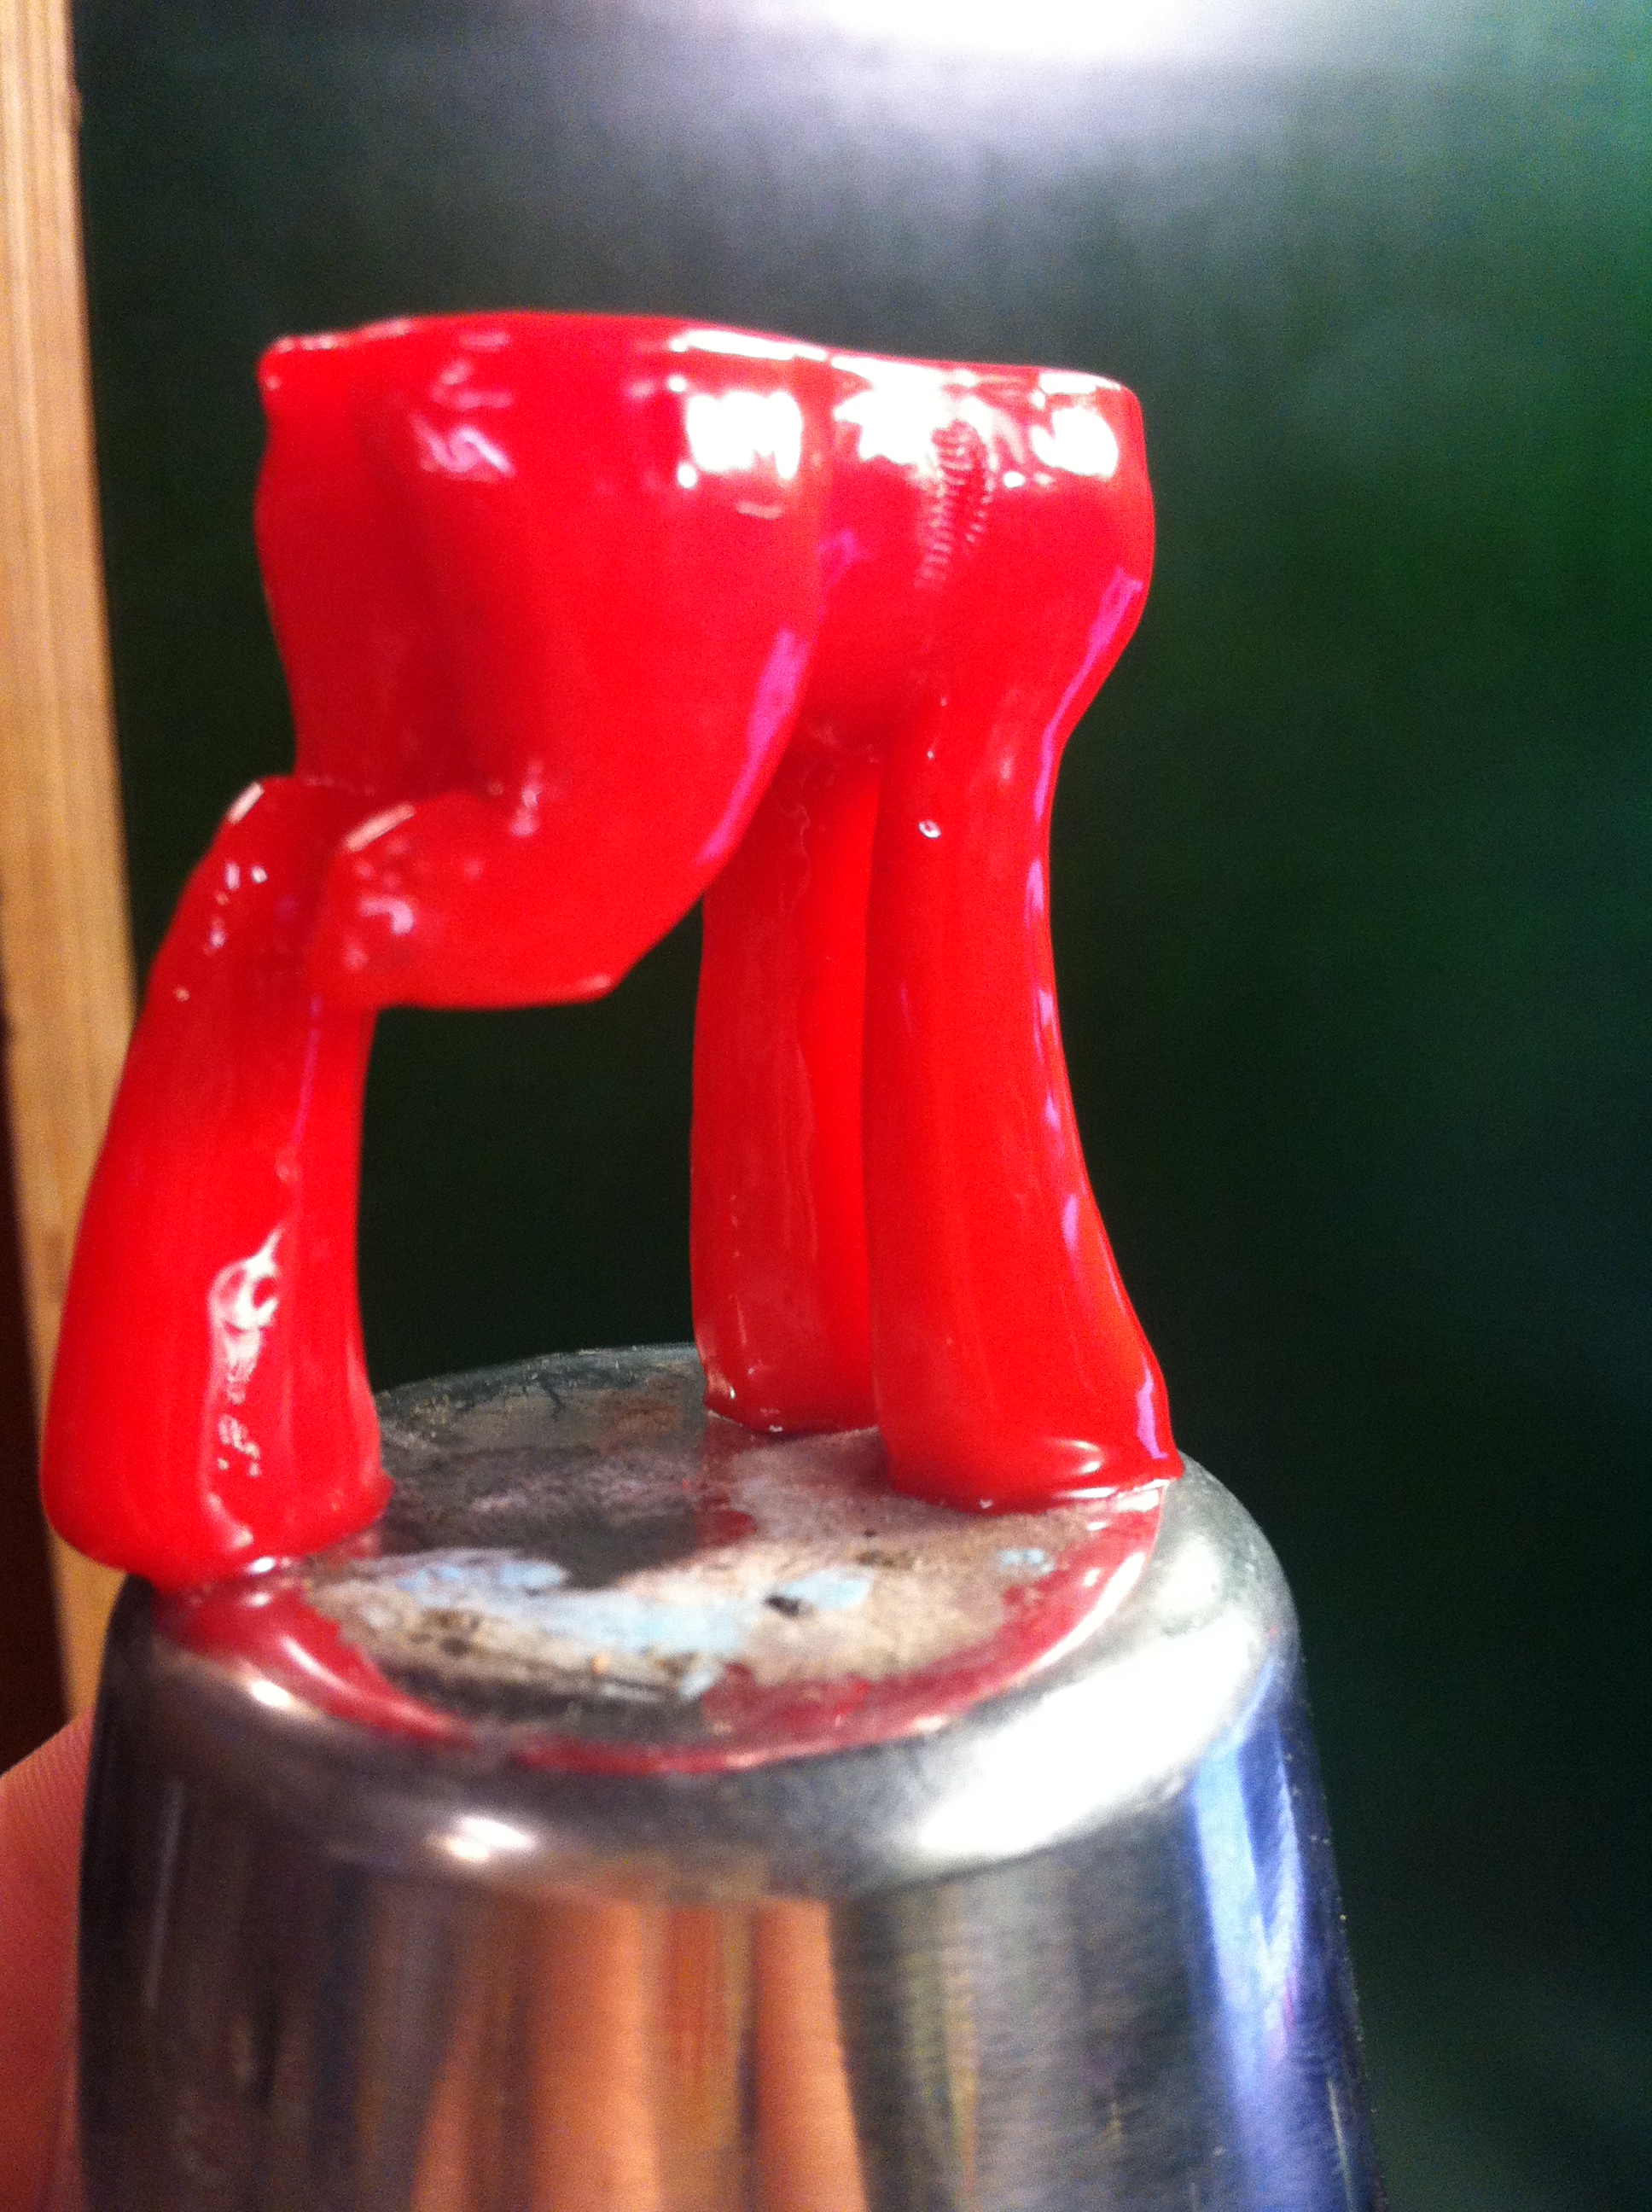
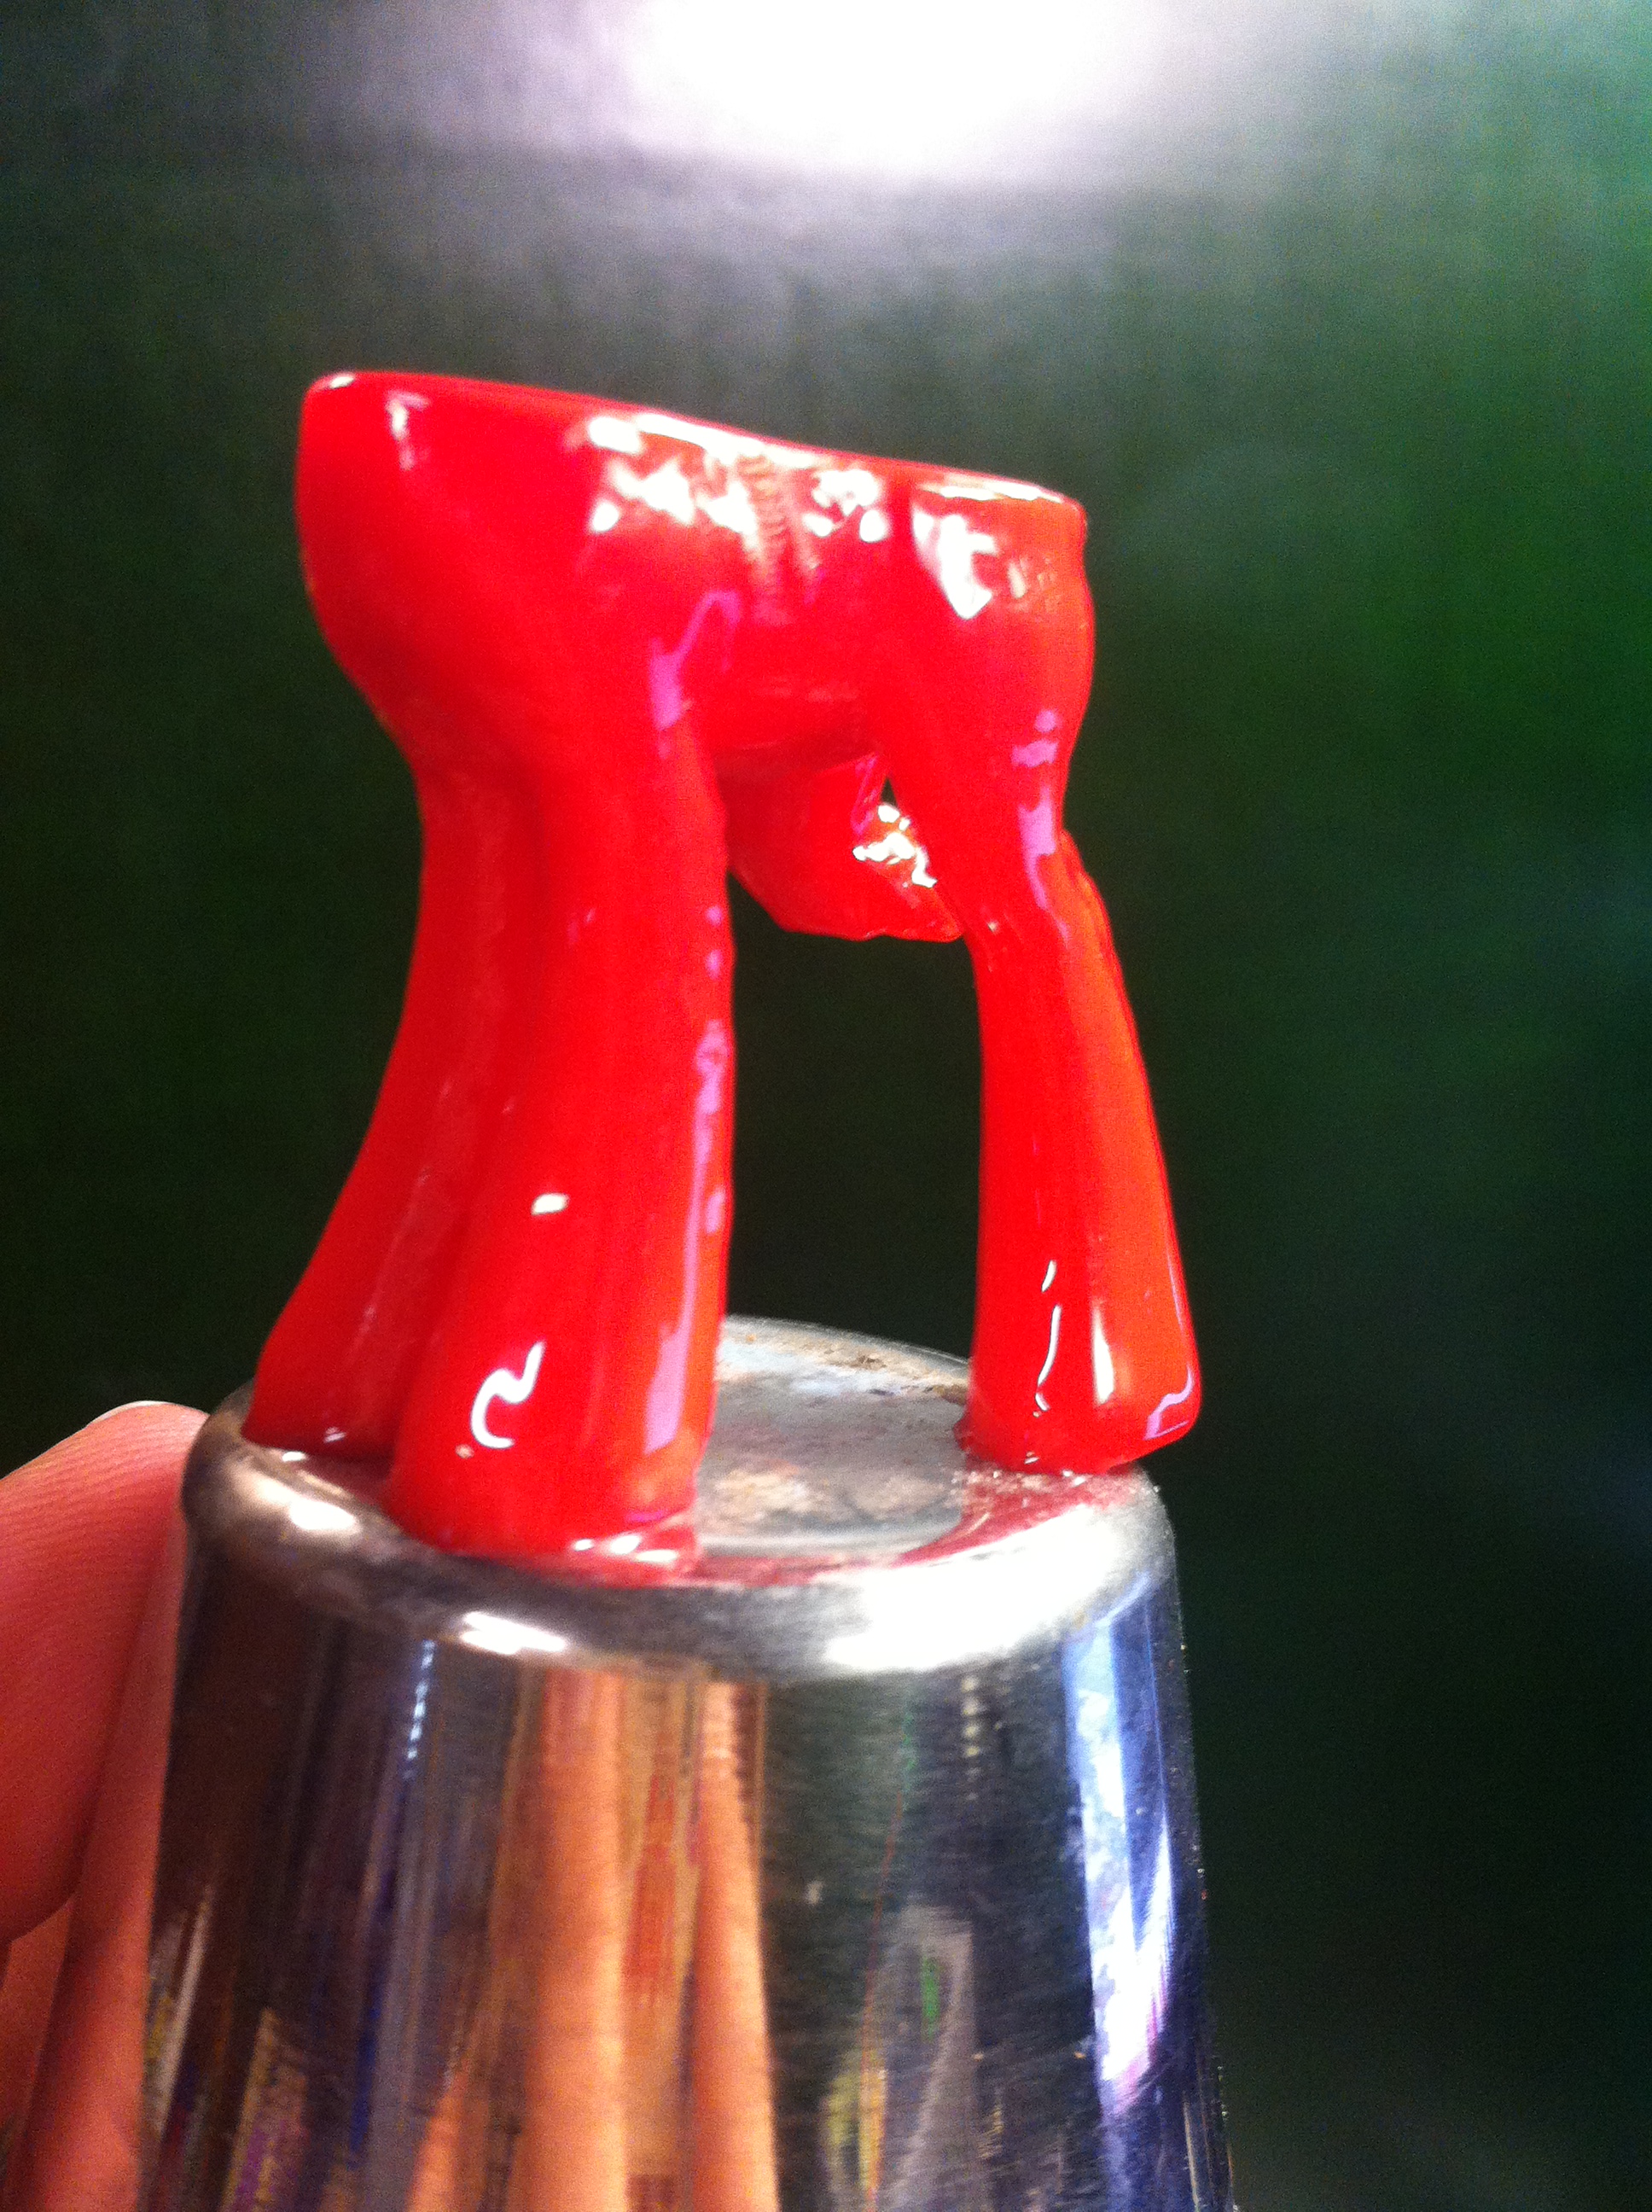
Before- 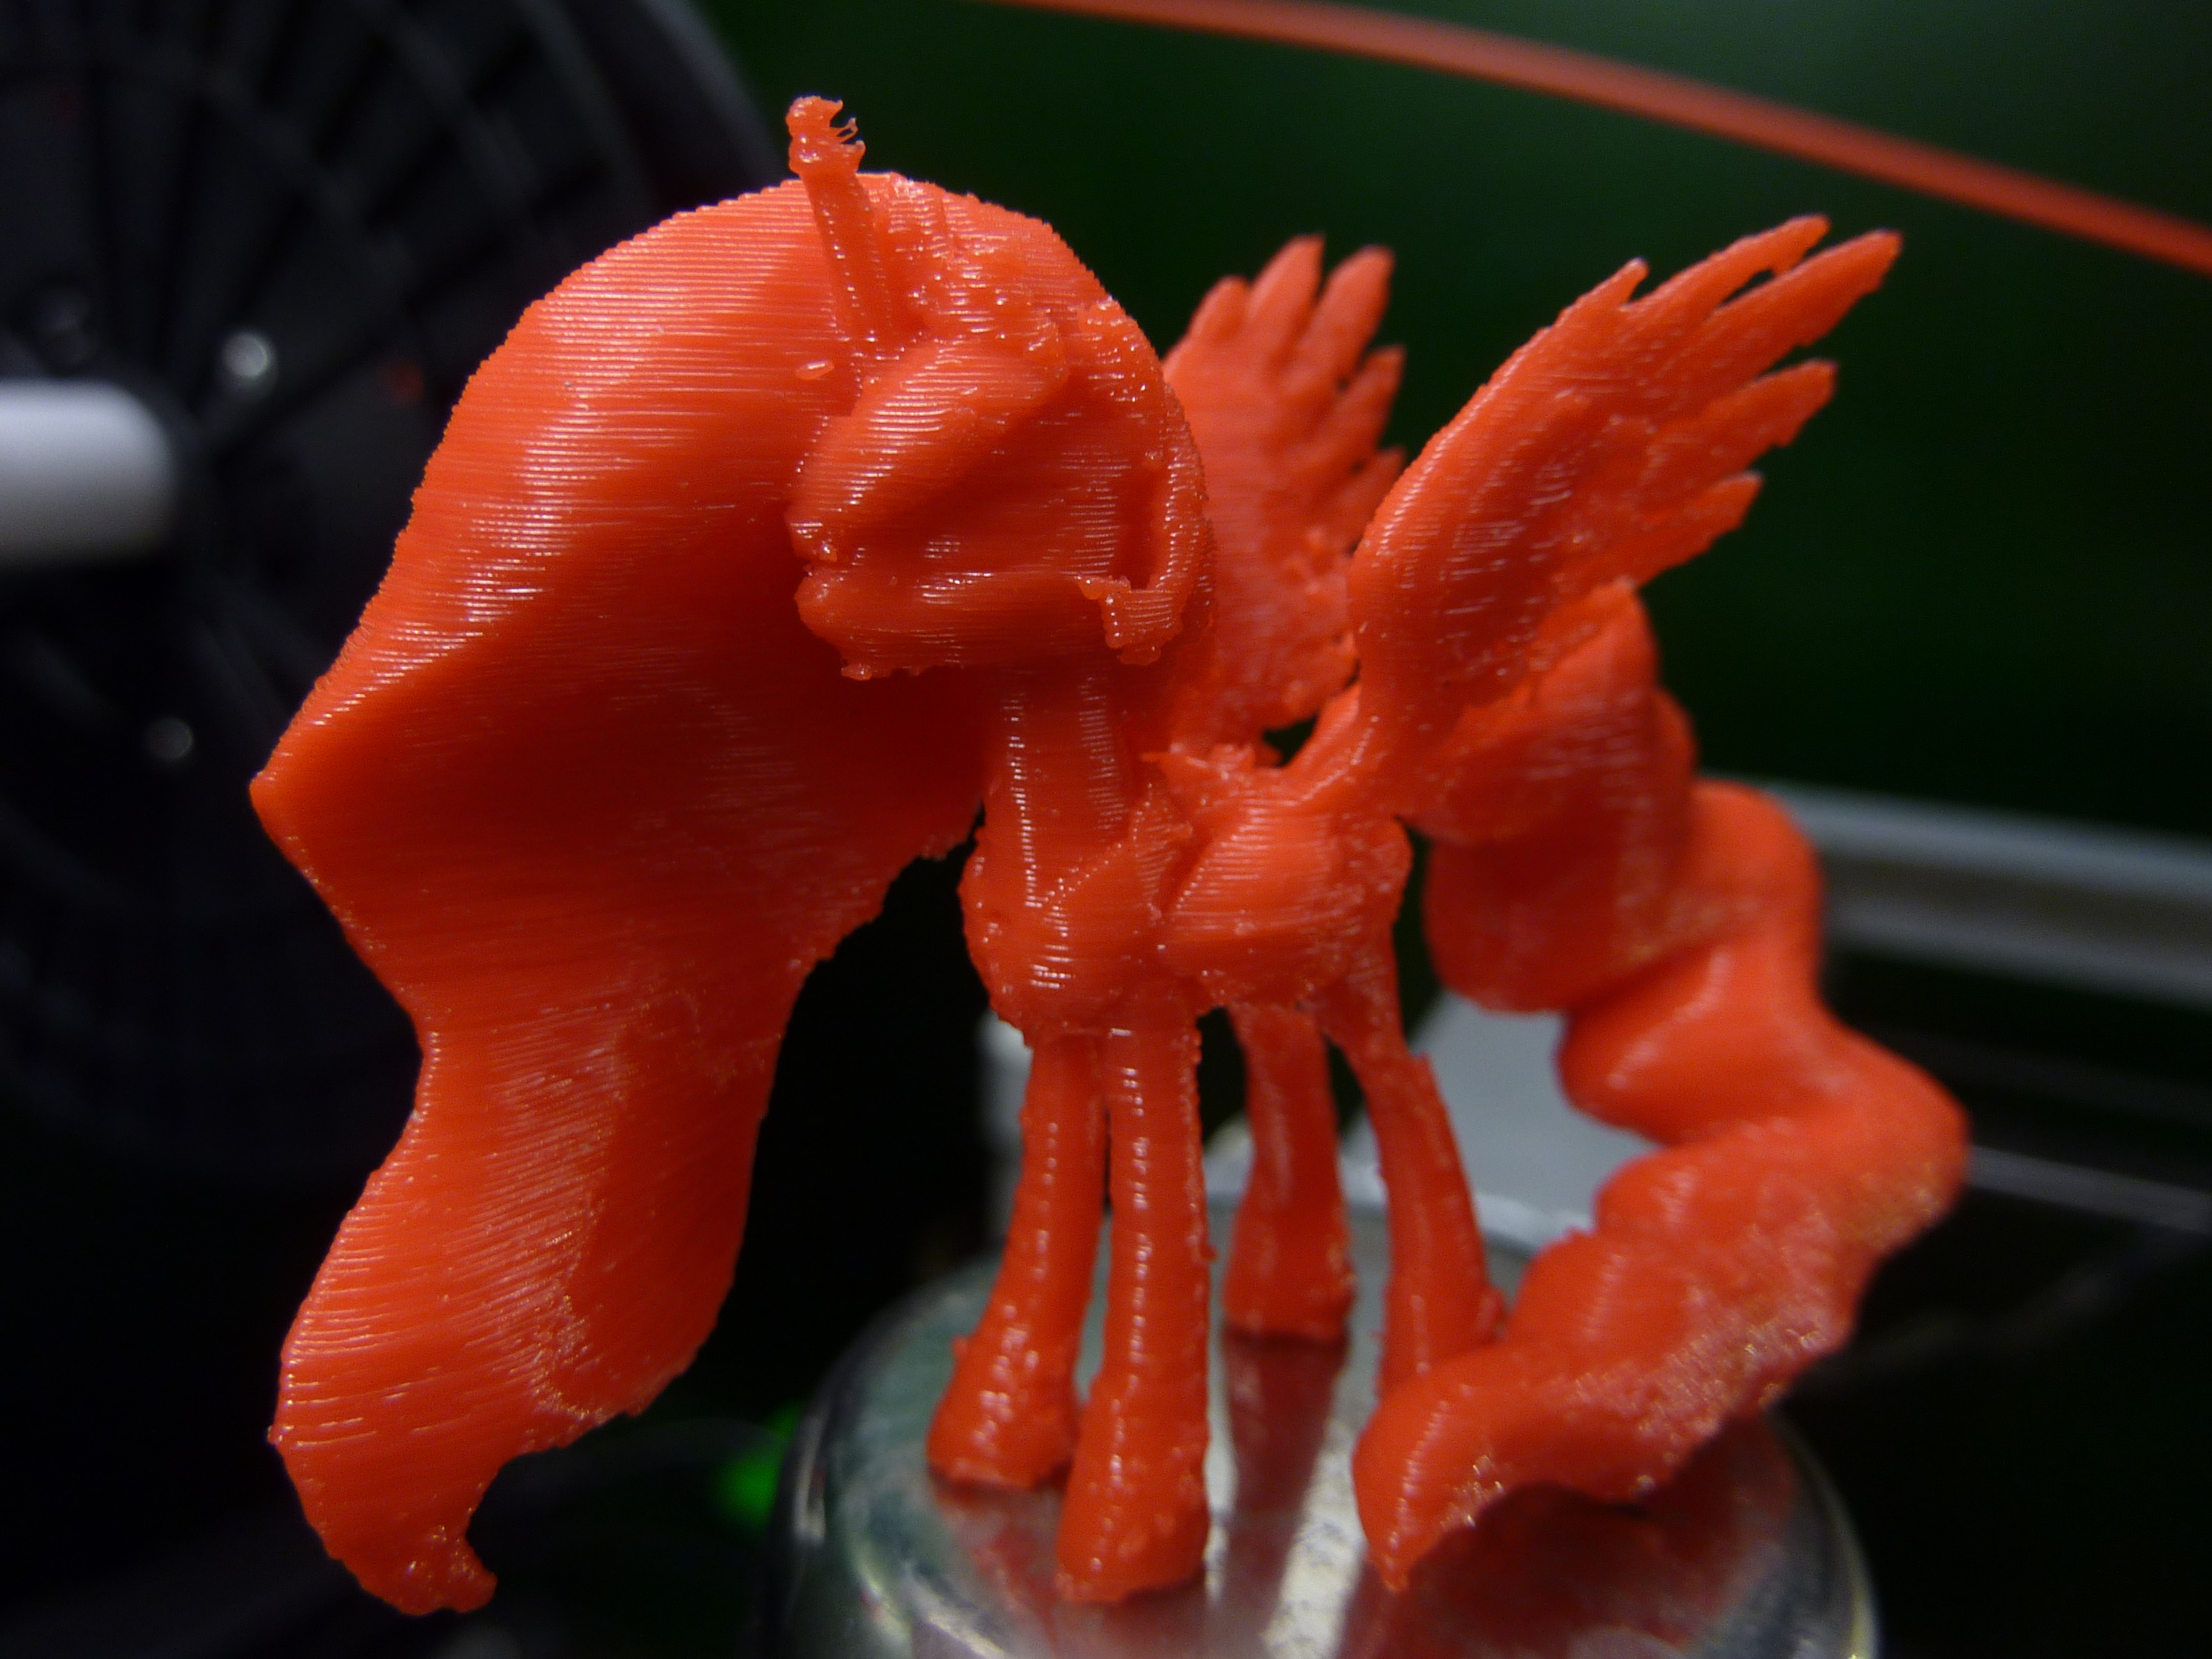
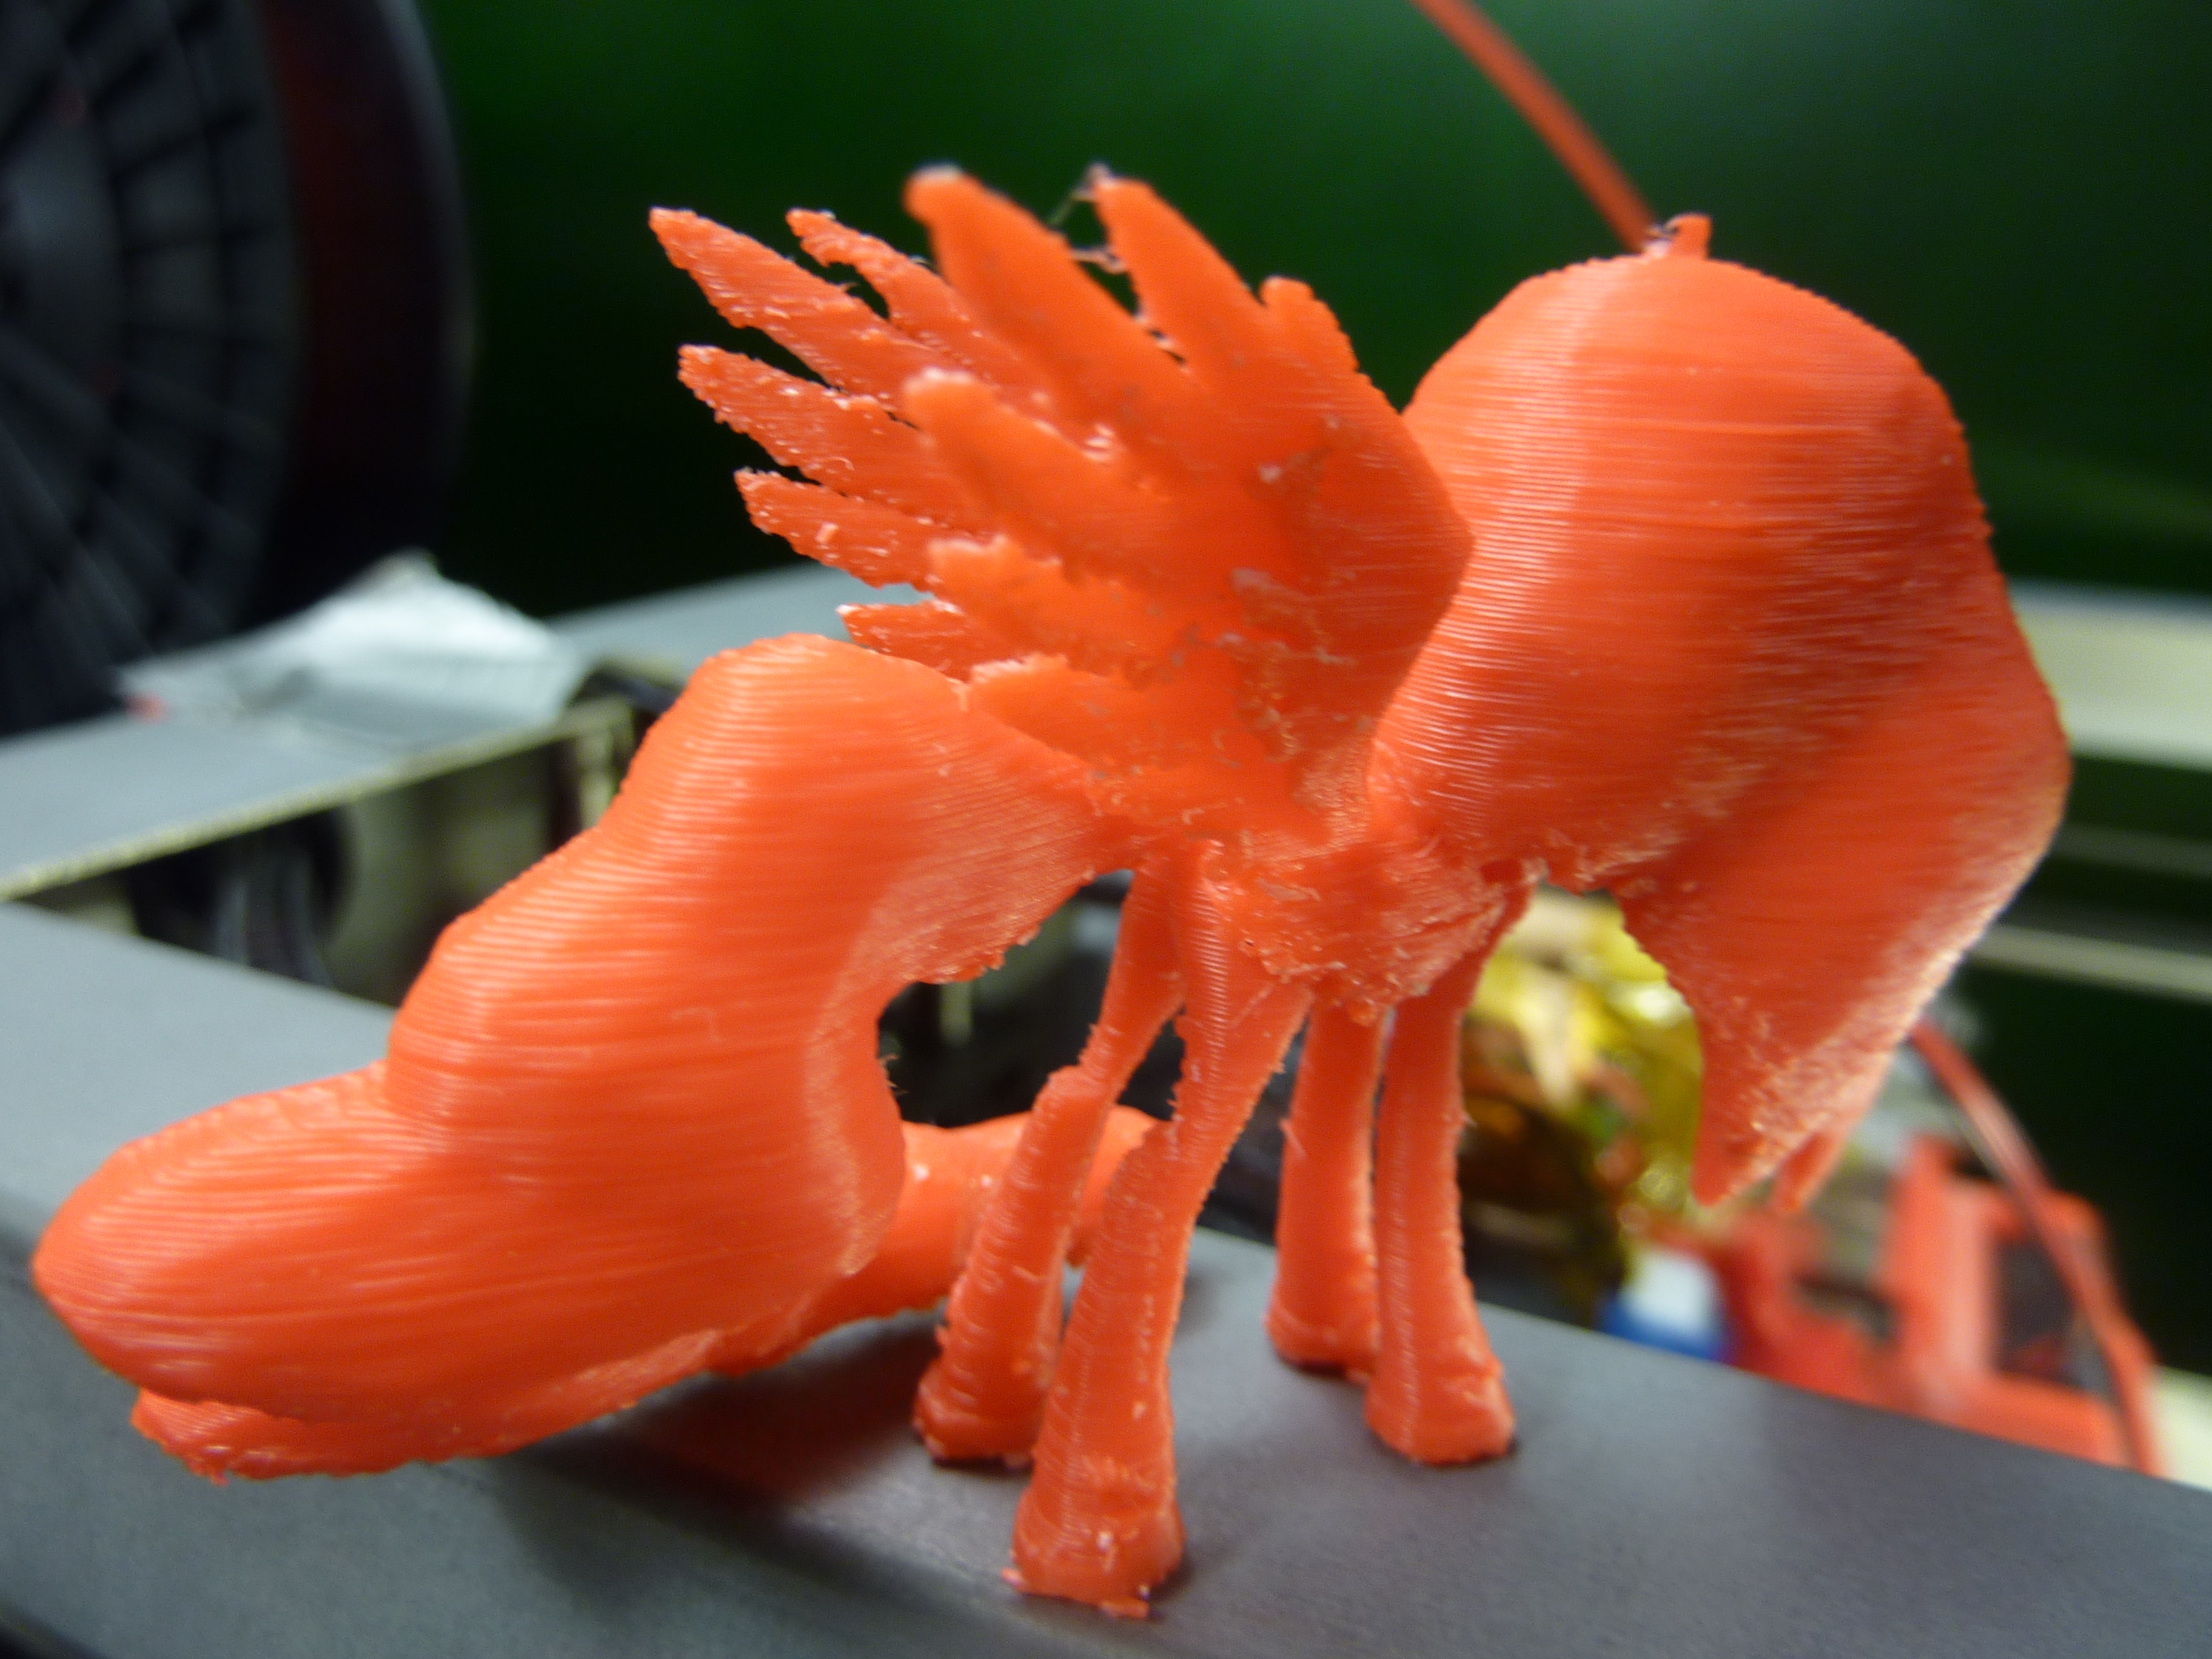
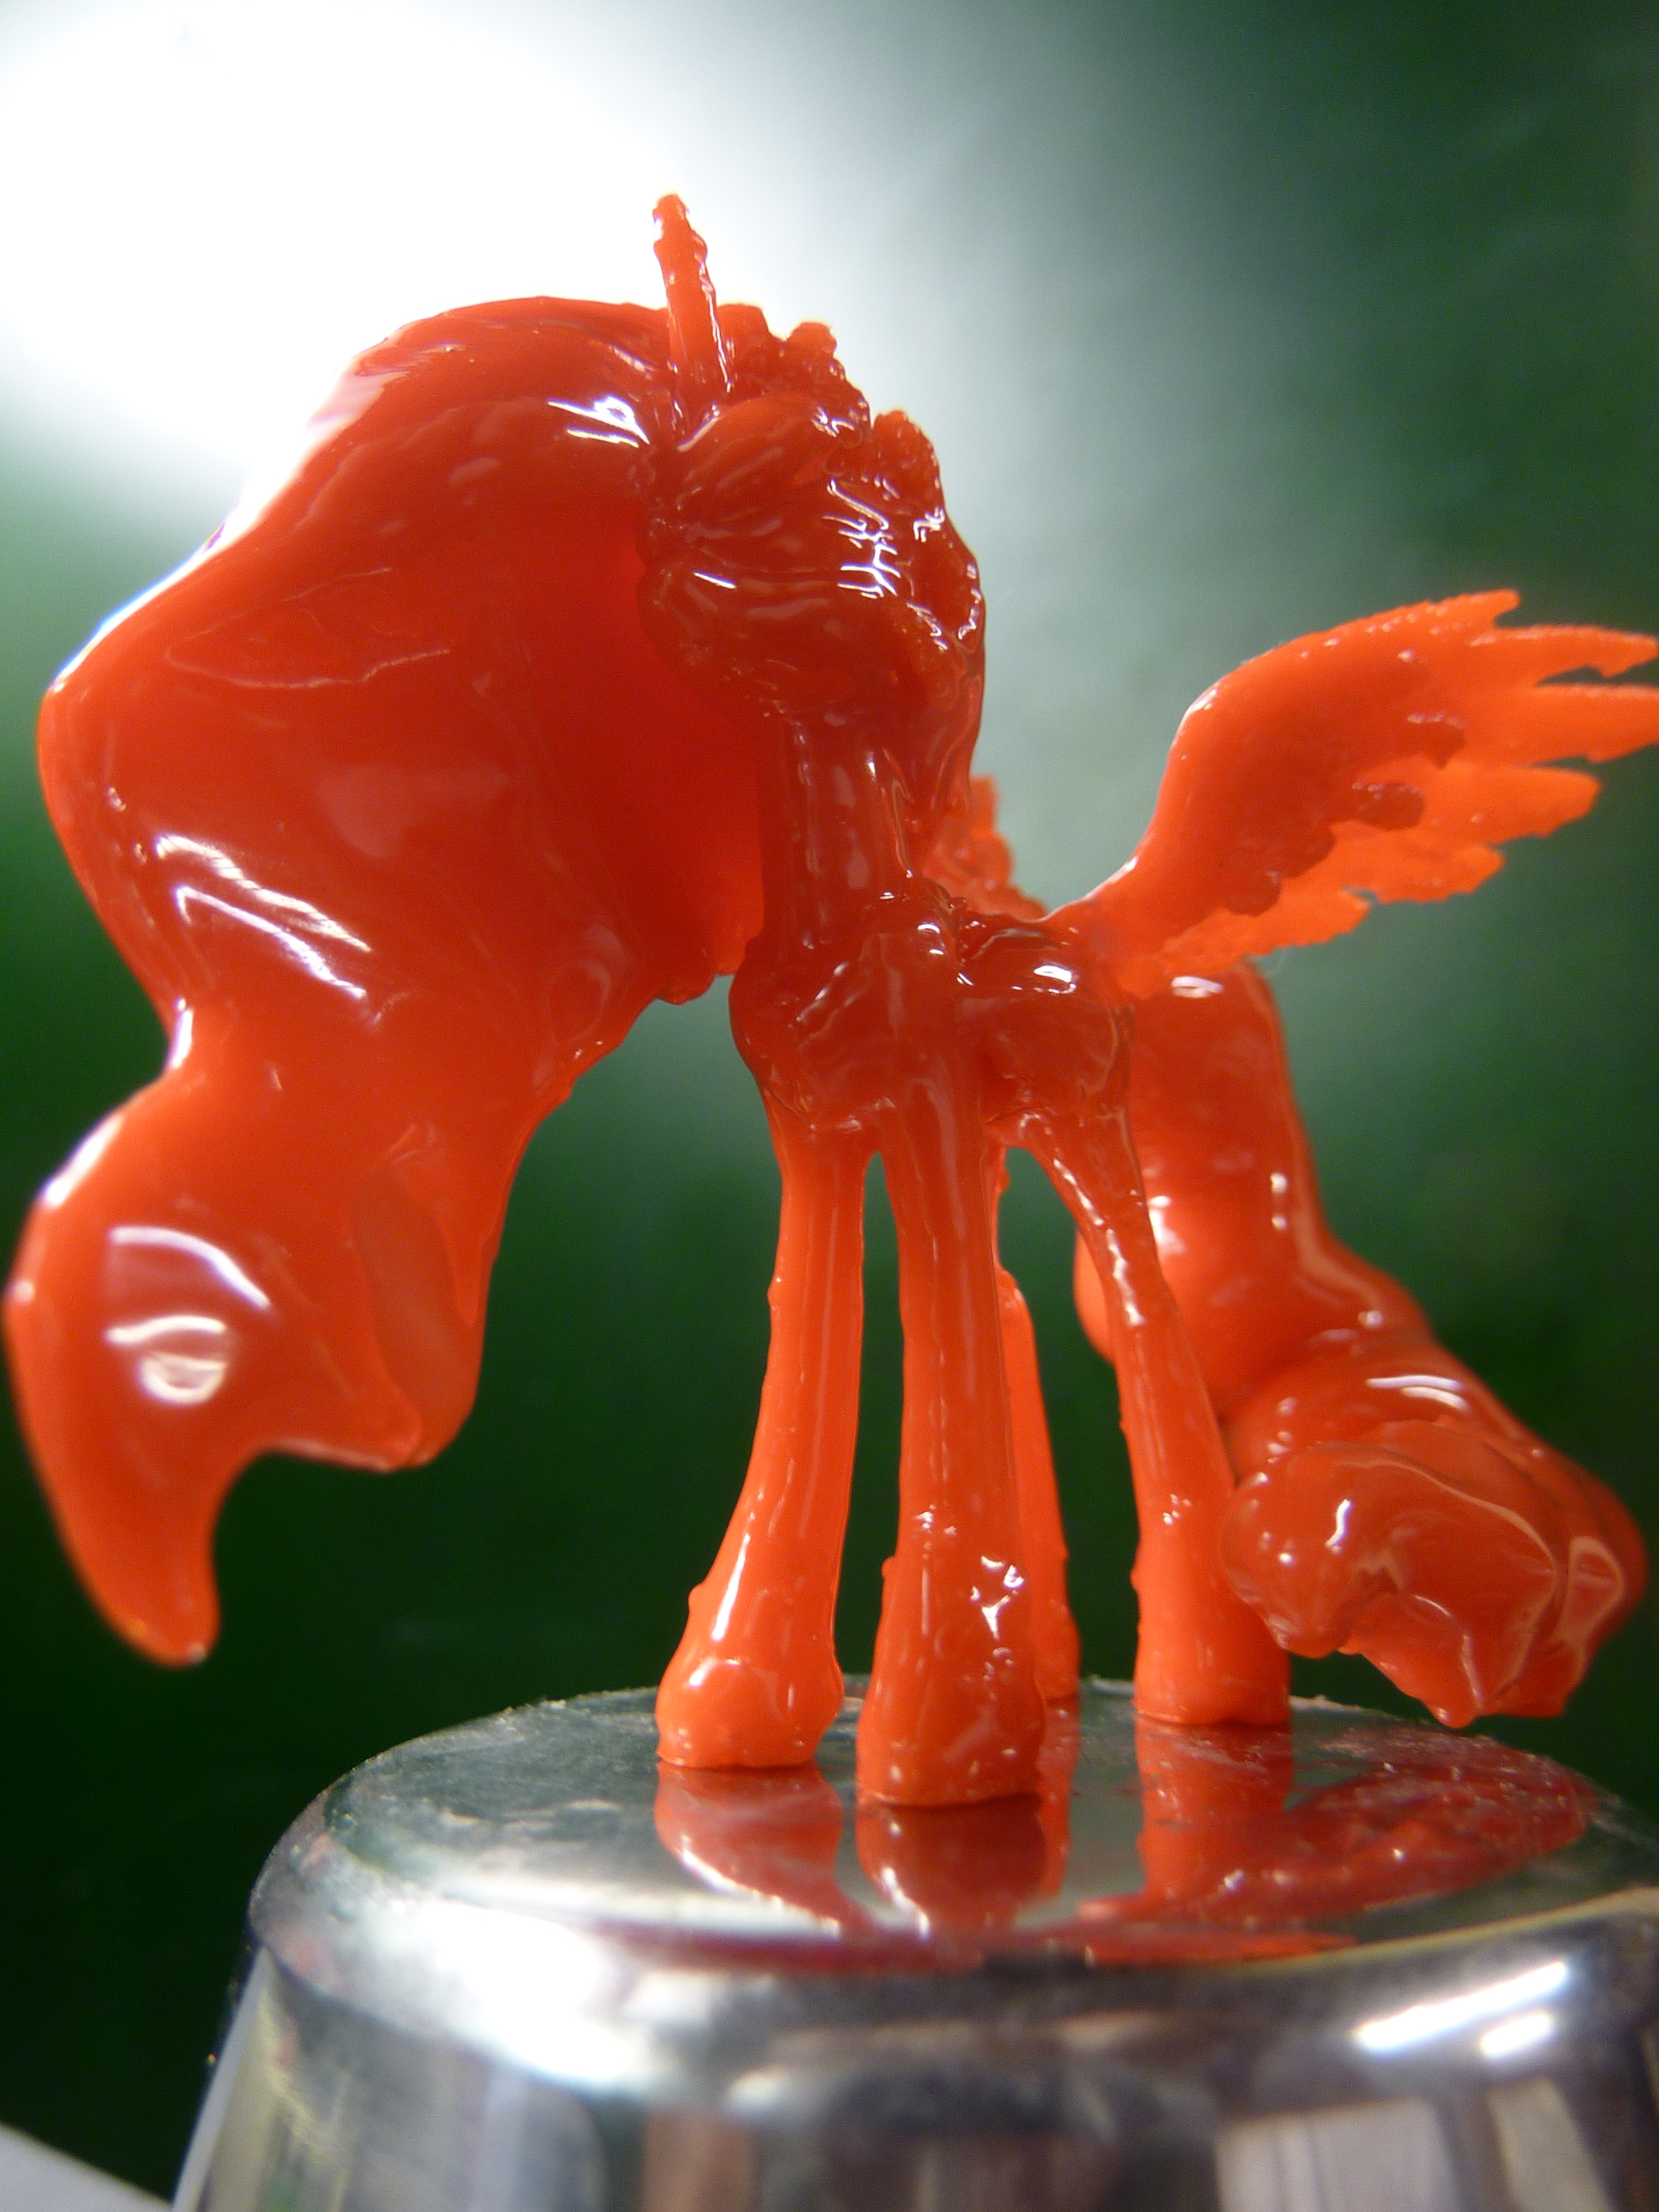
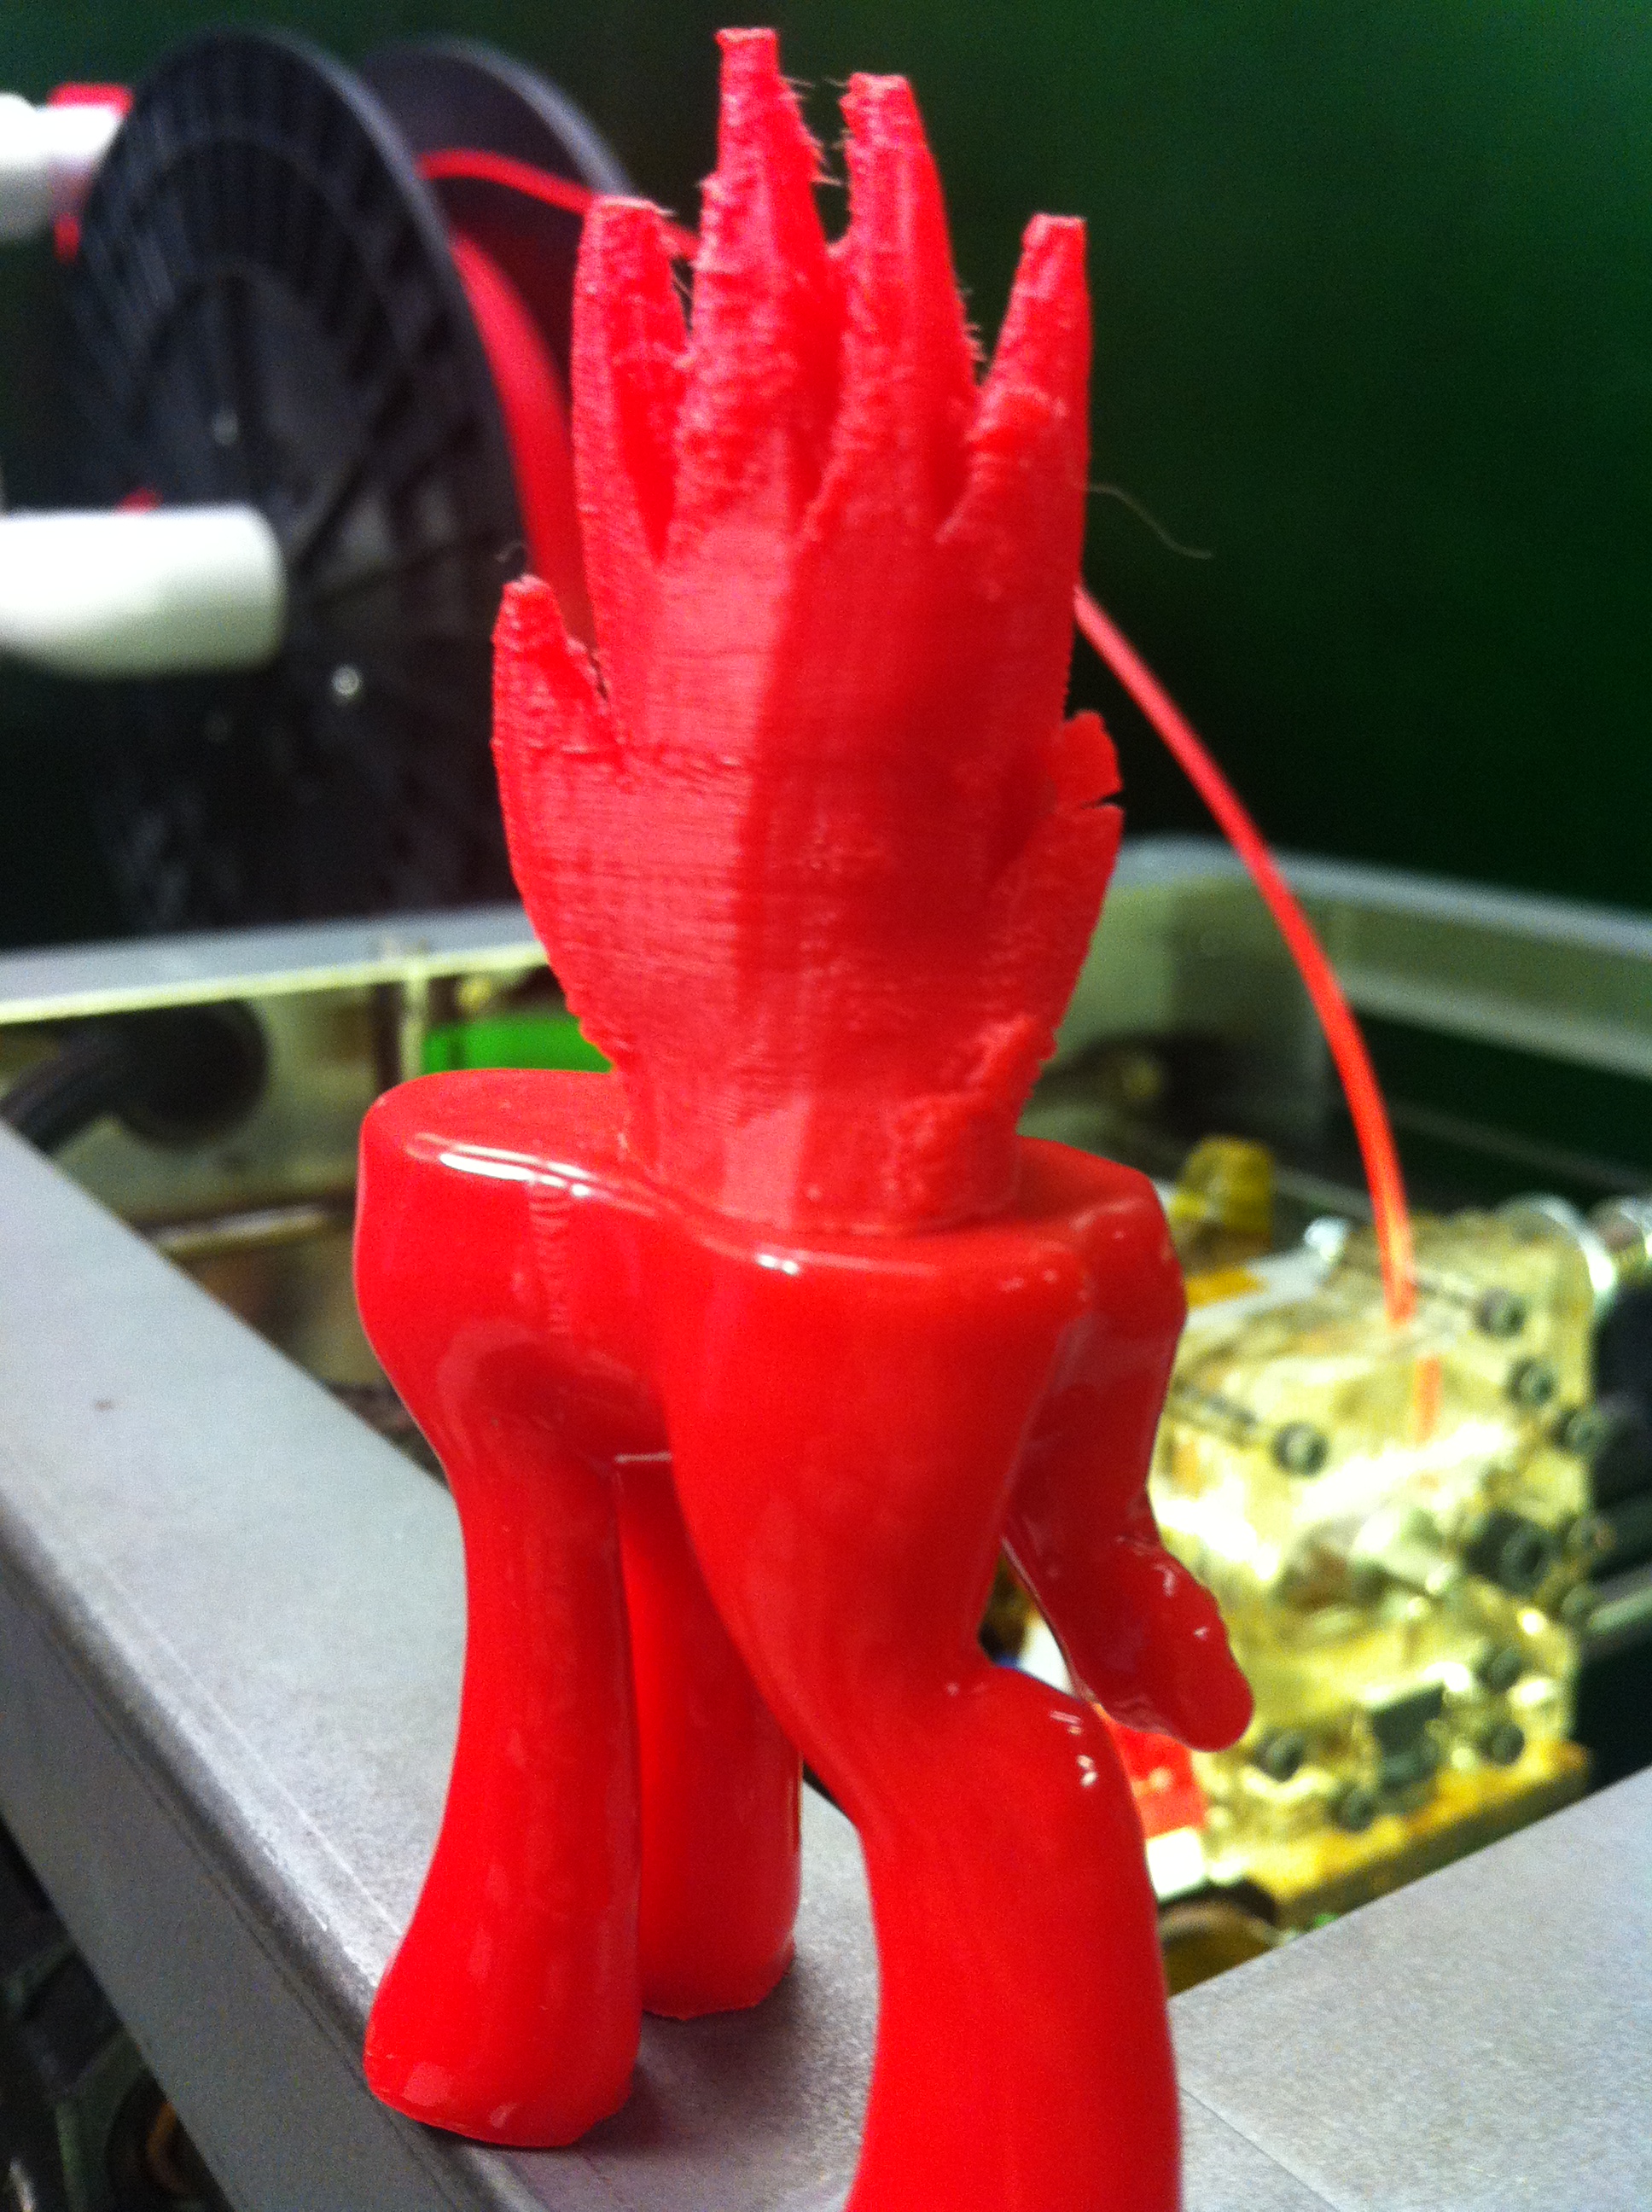
After one or two exposures-
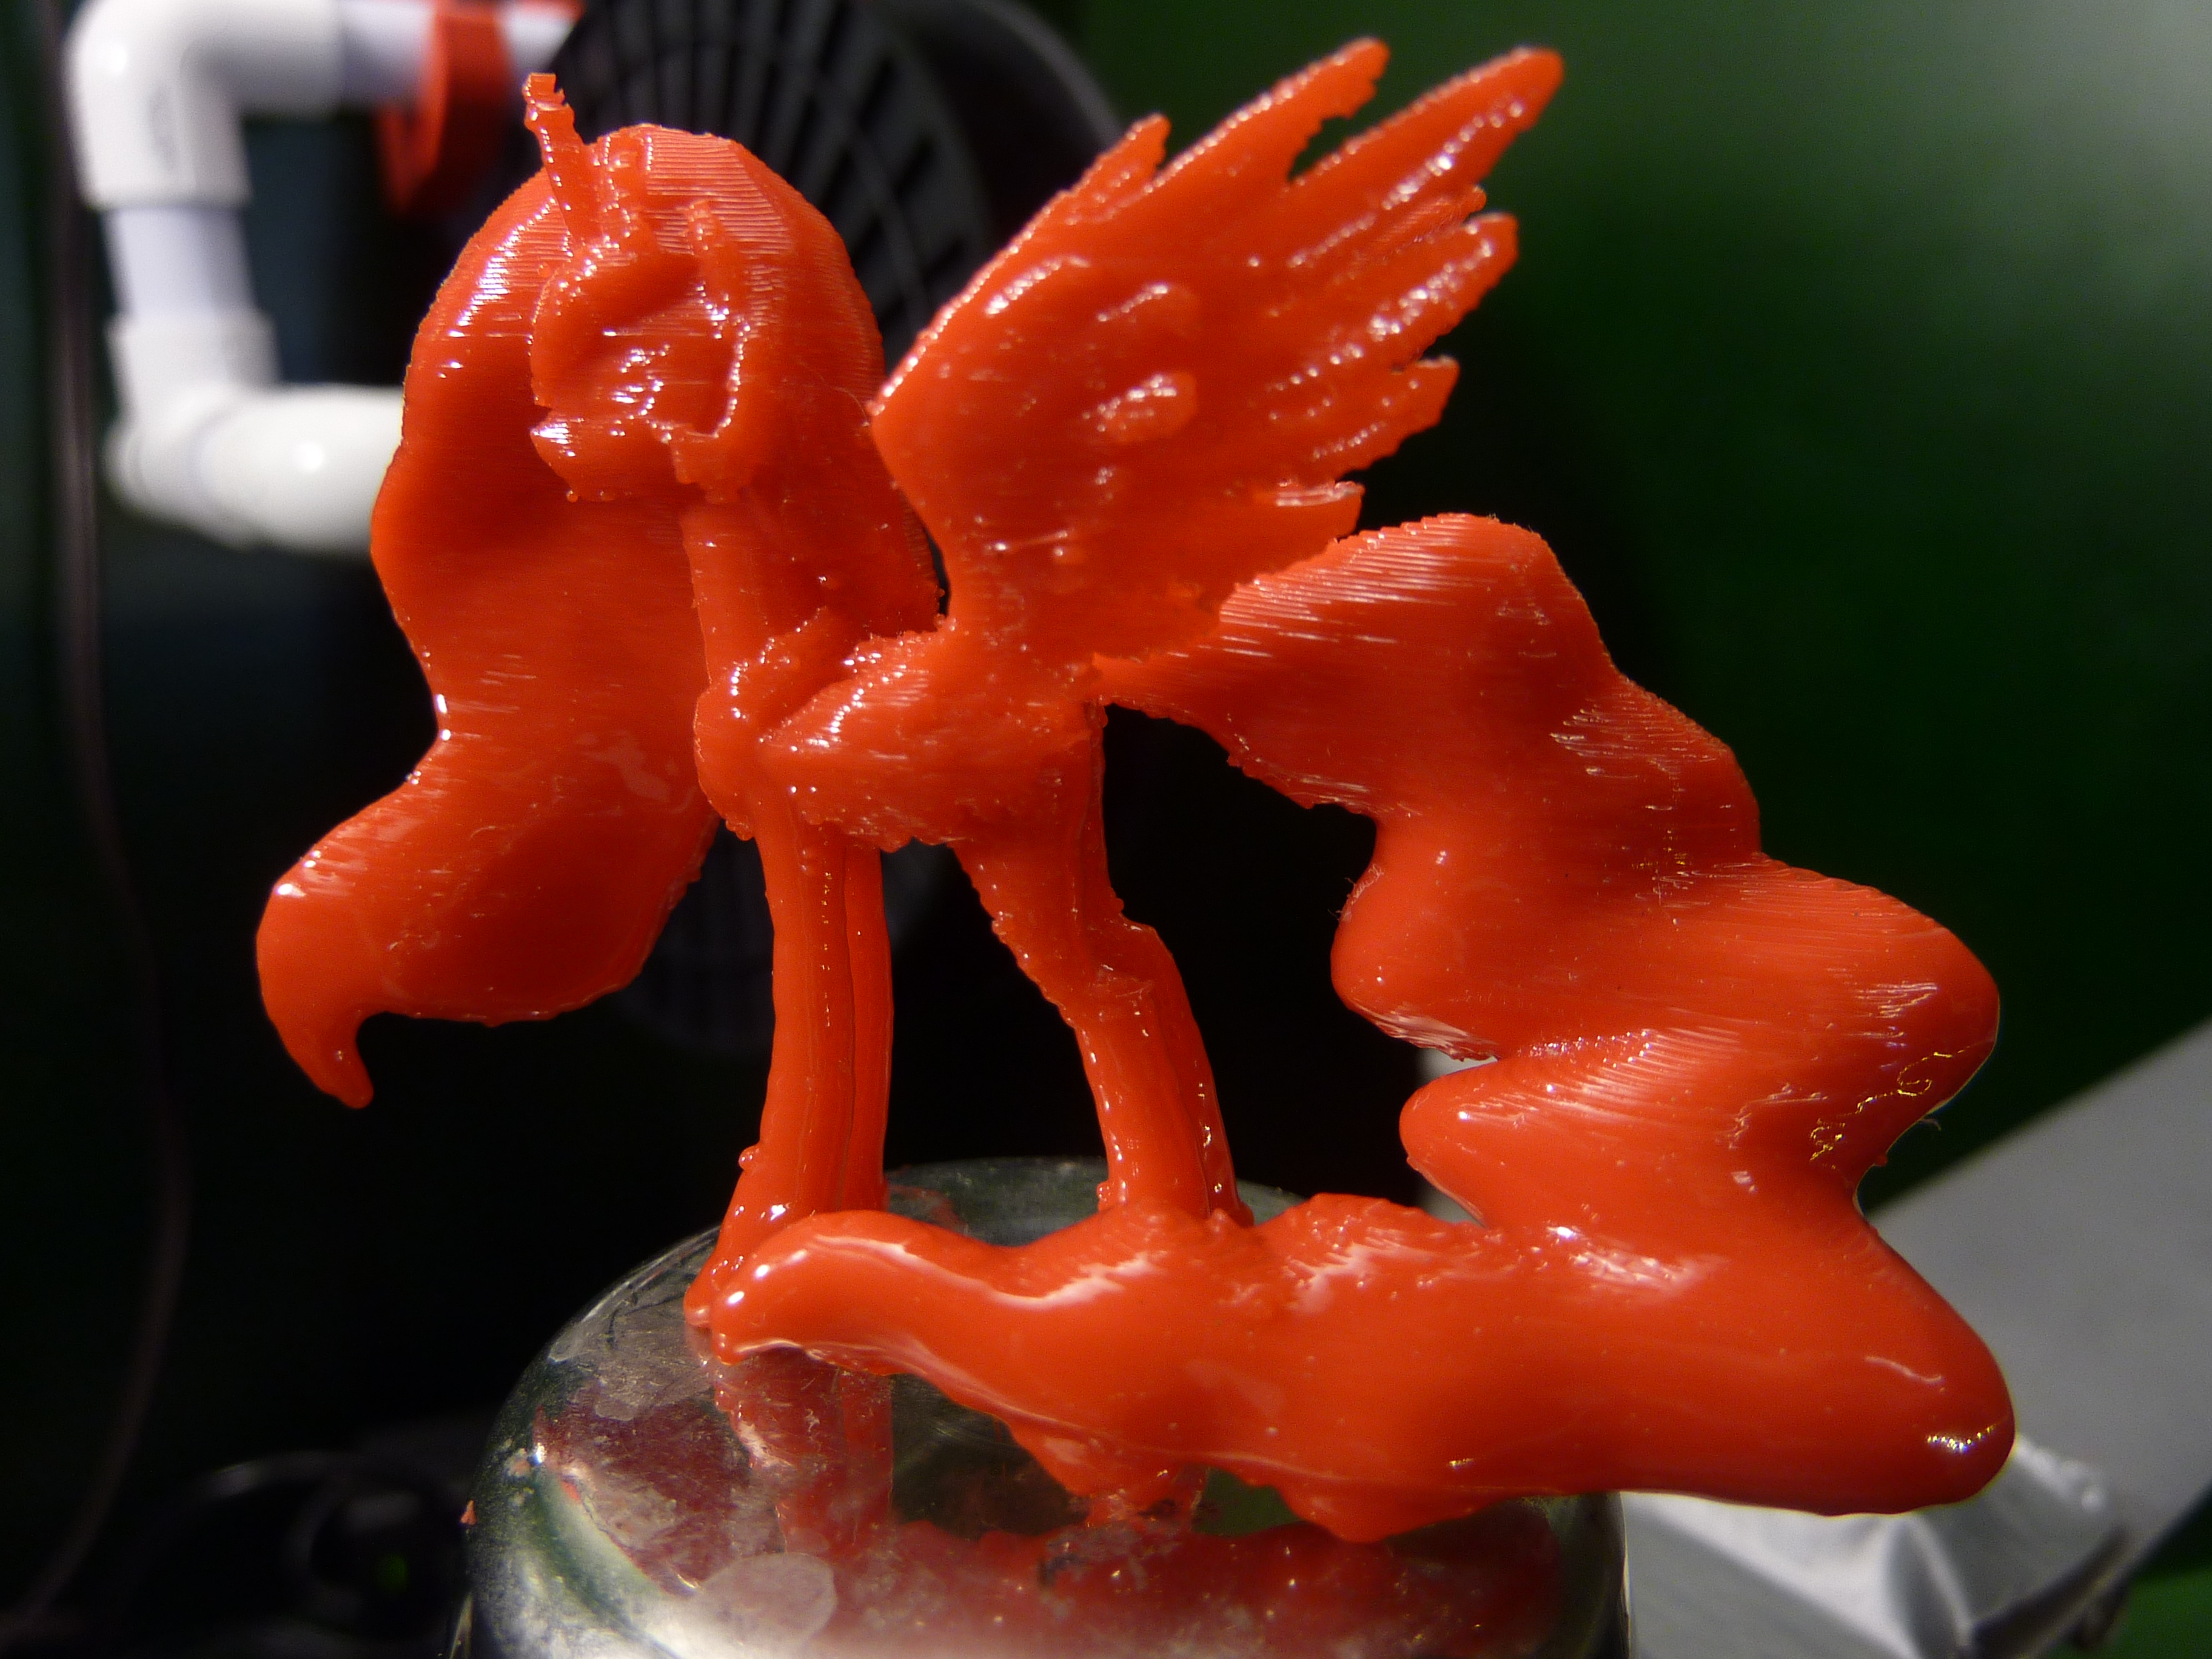
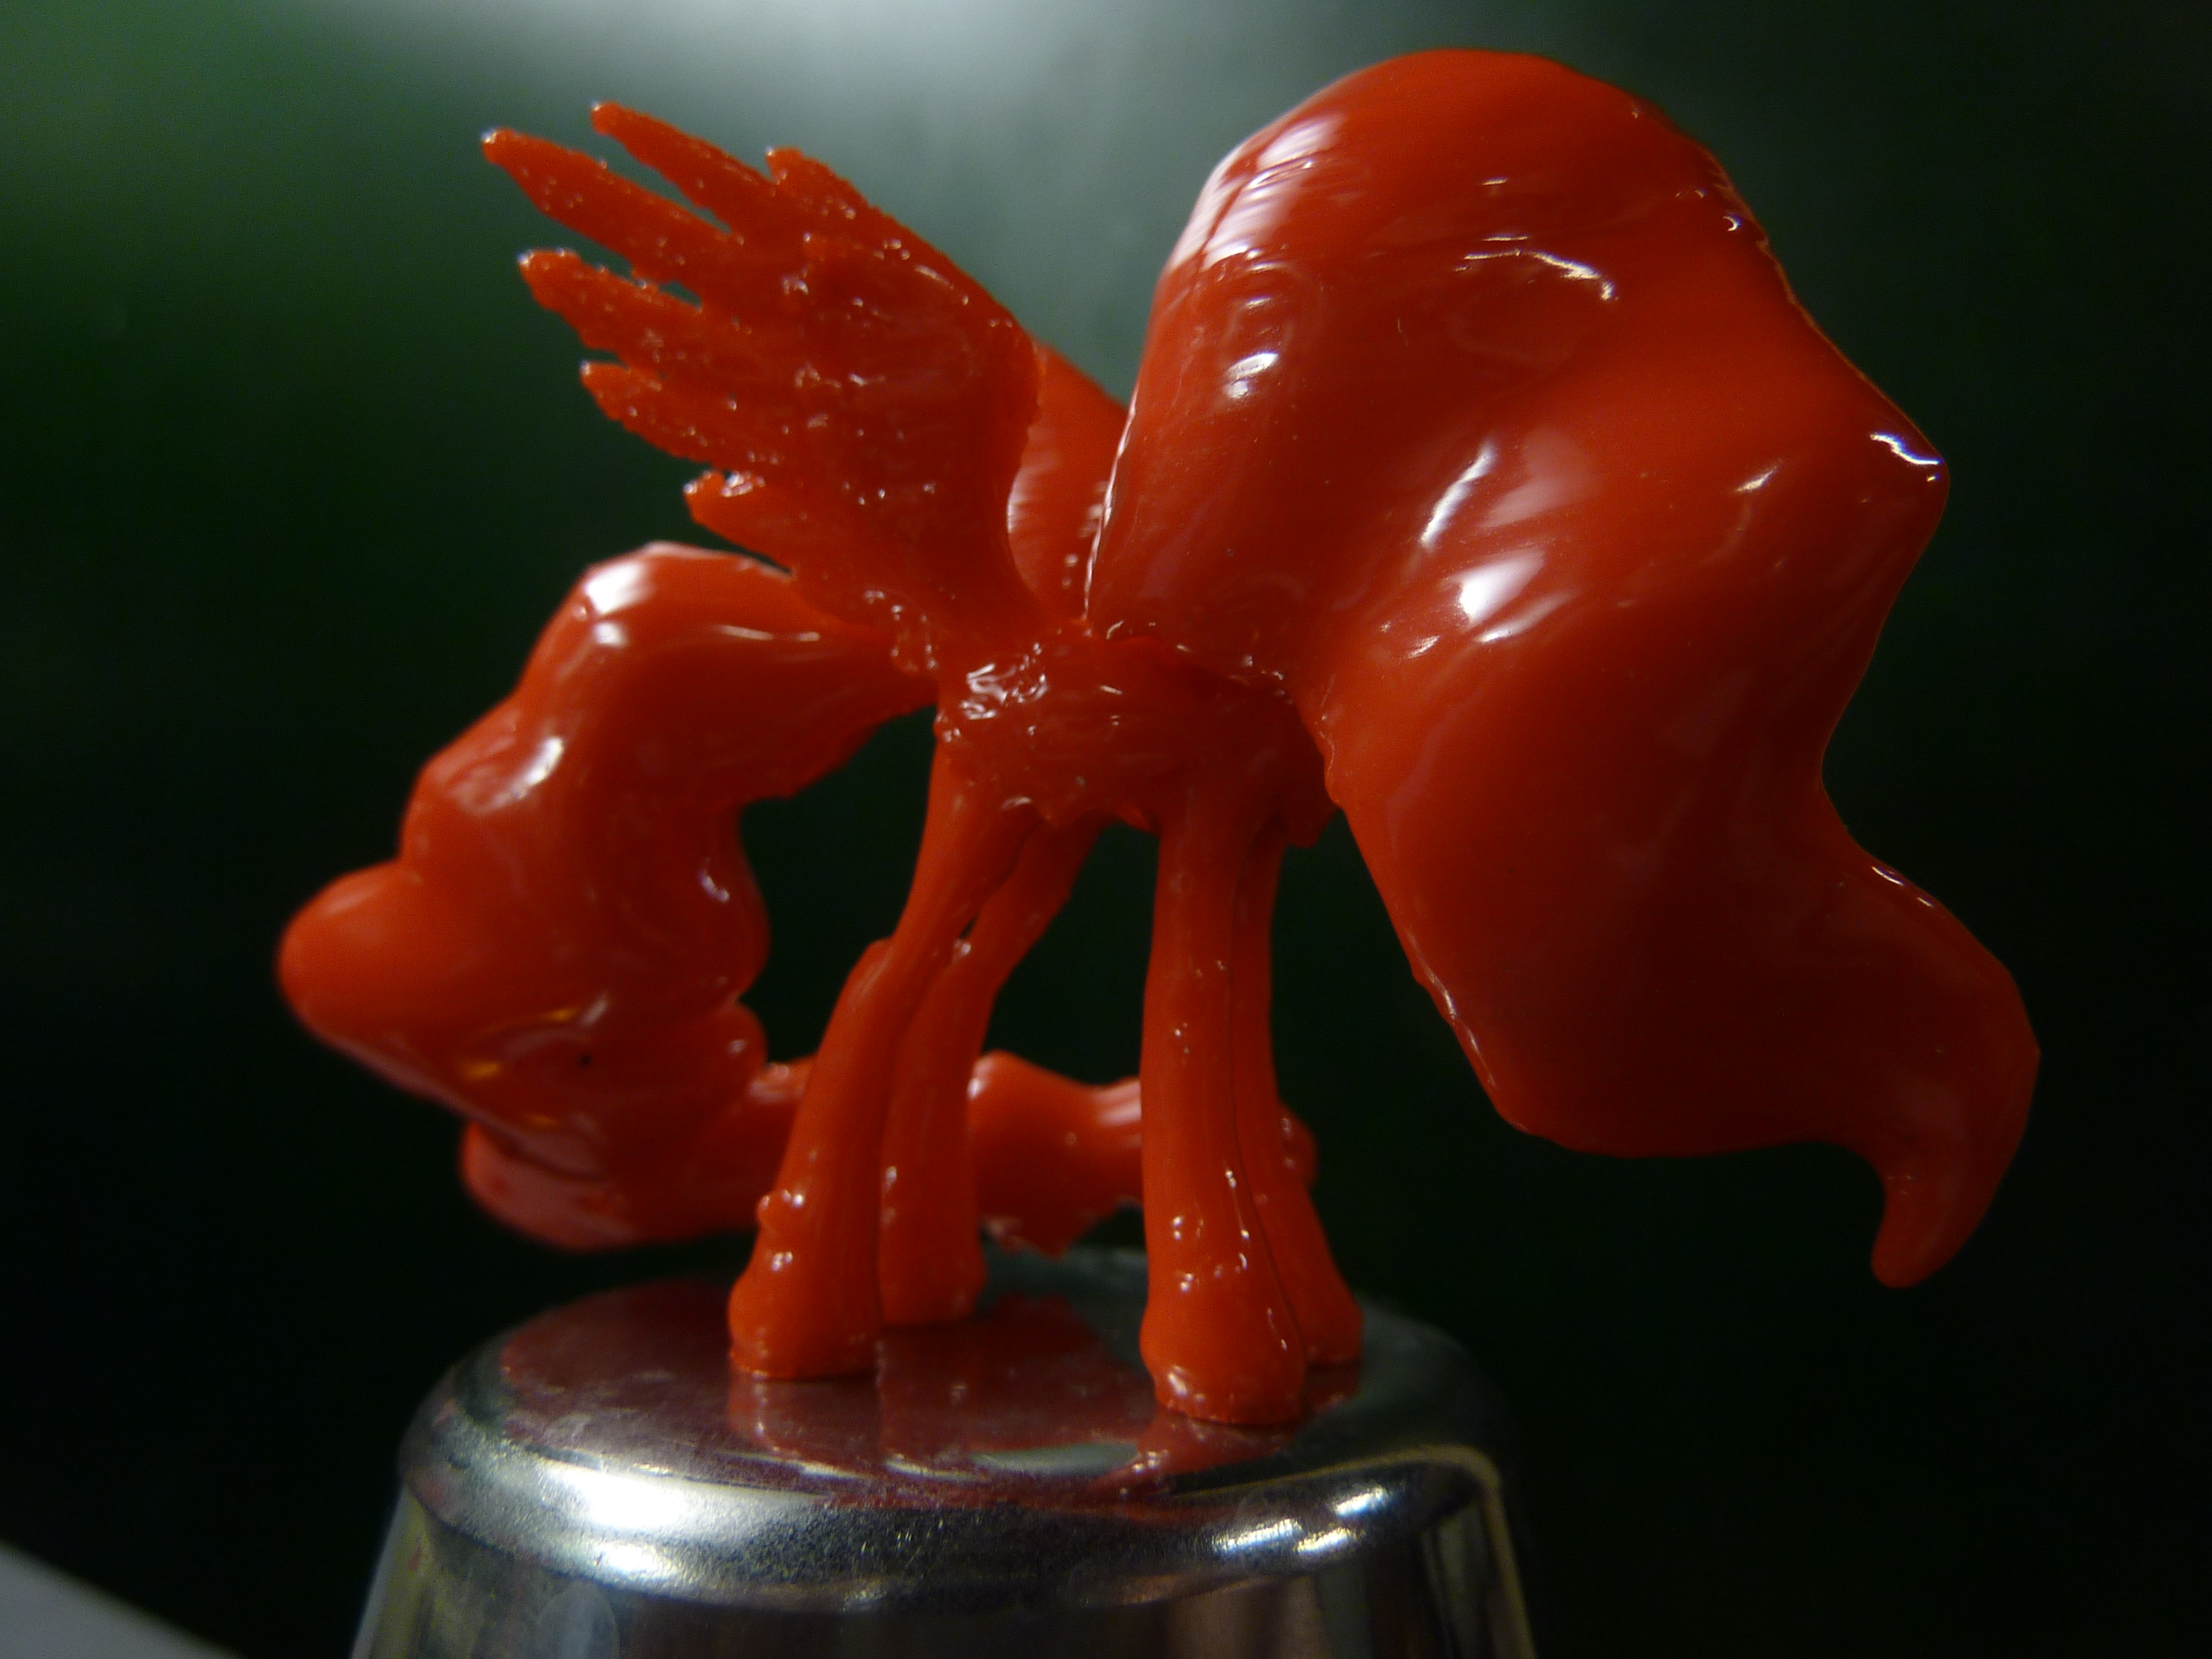
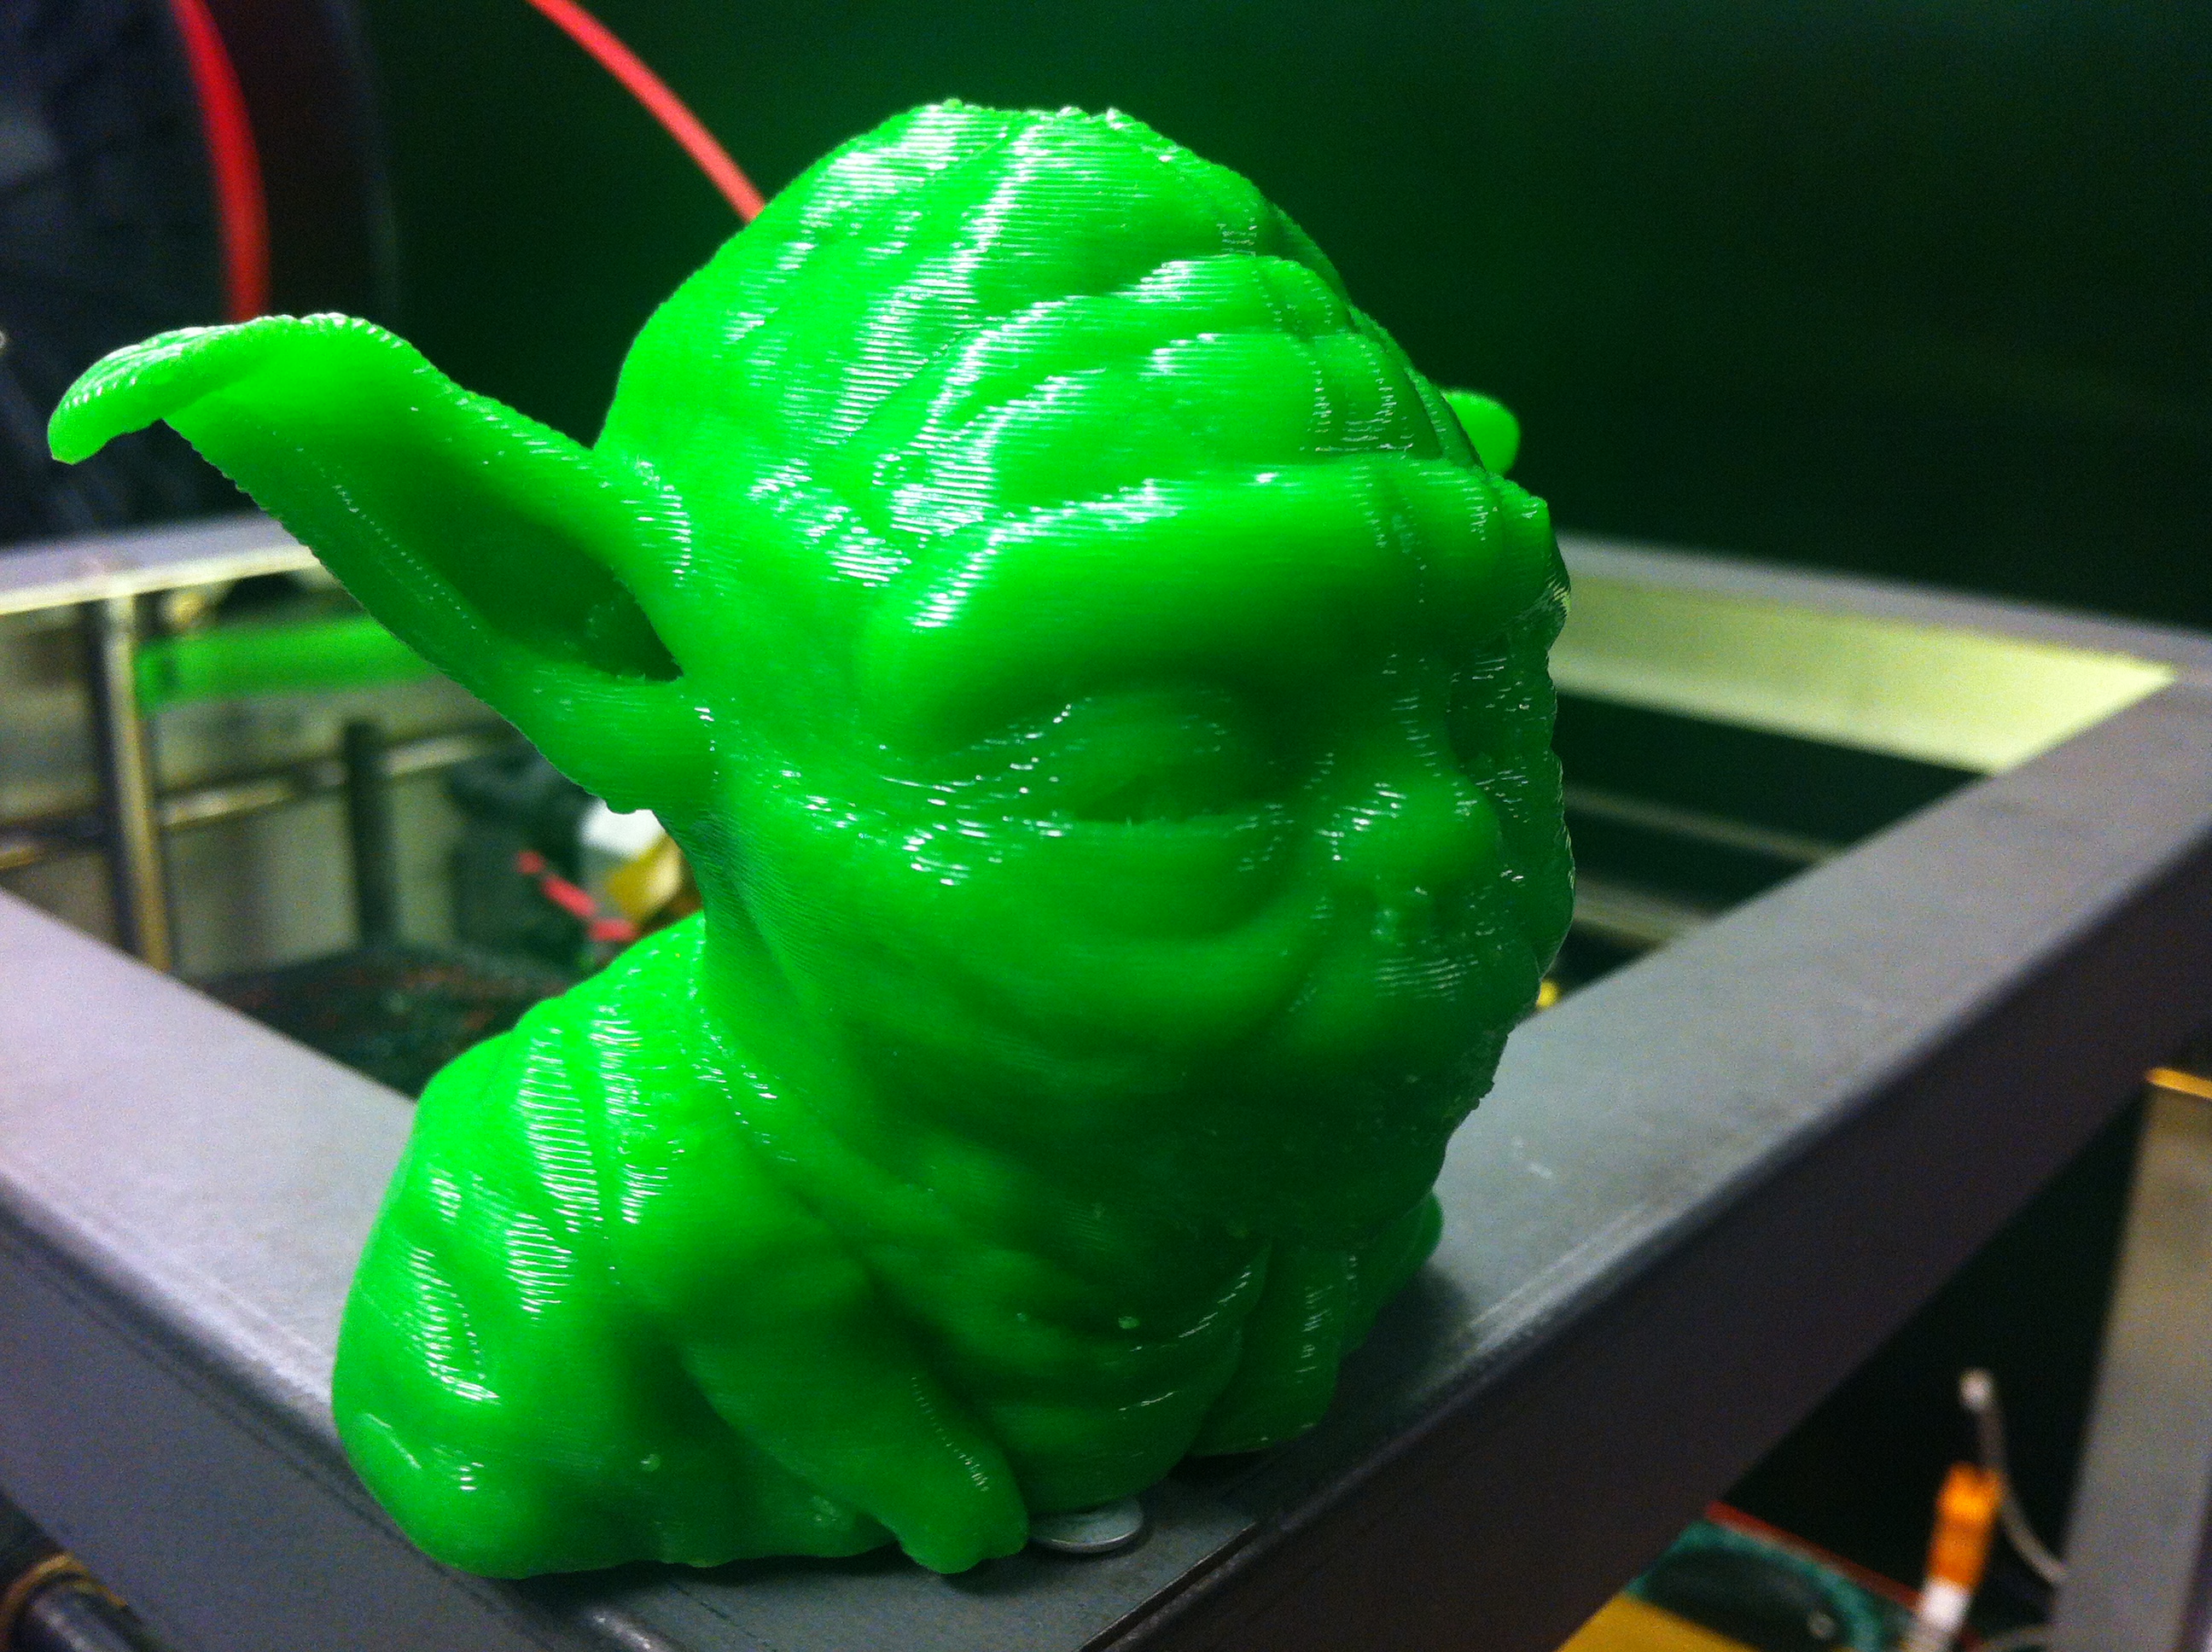
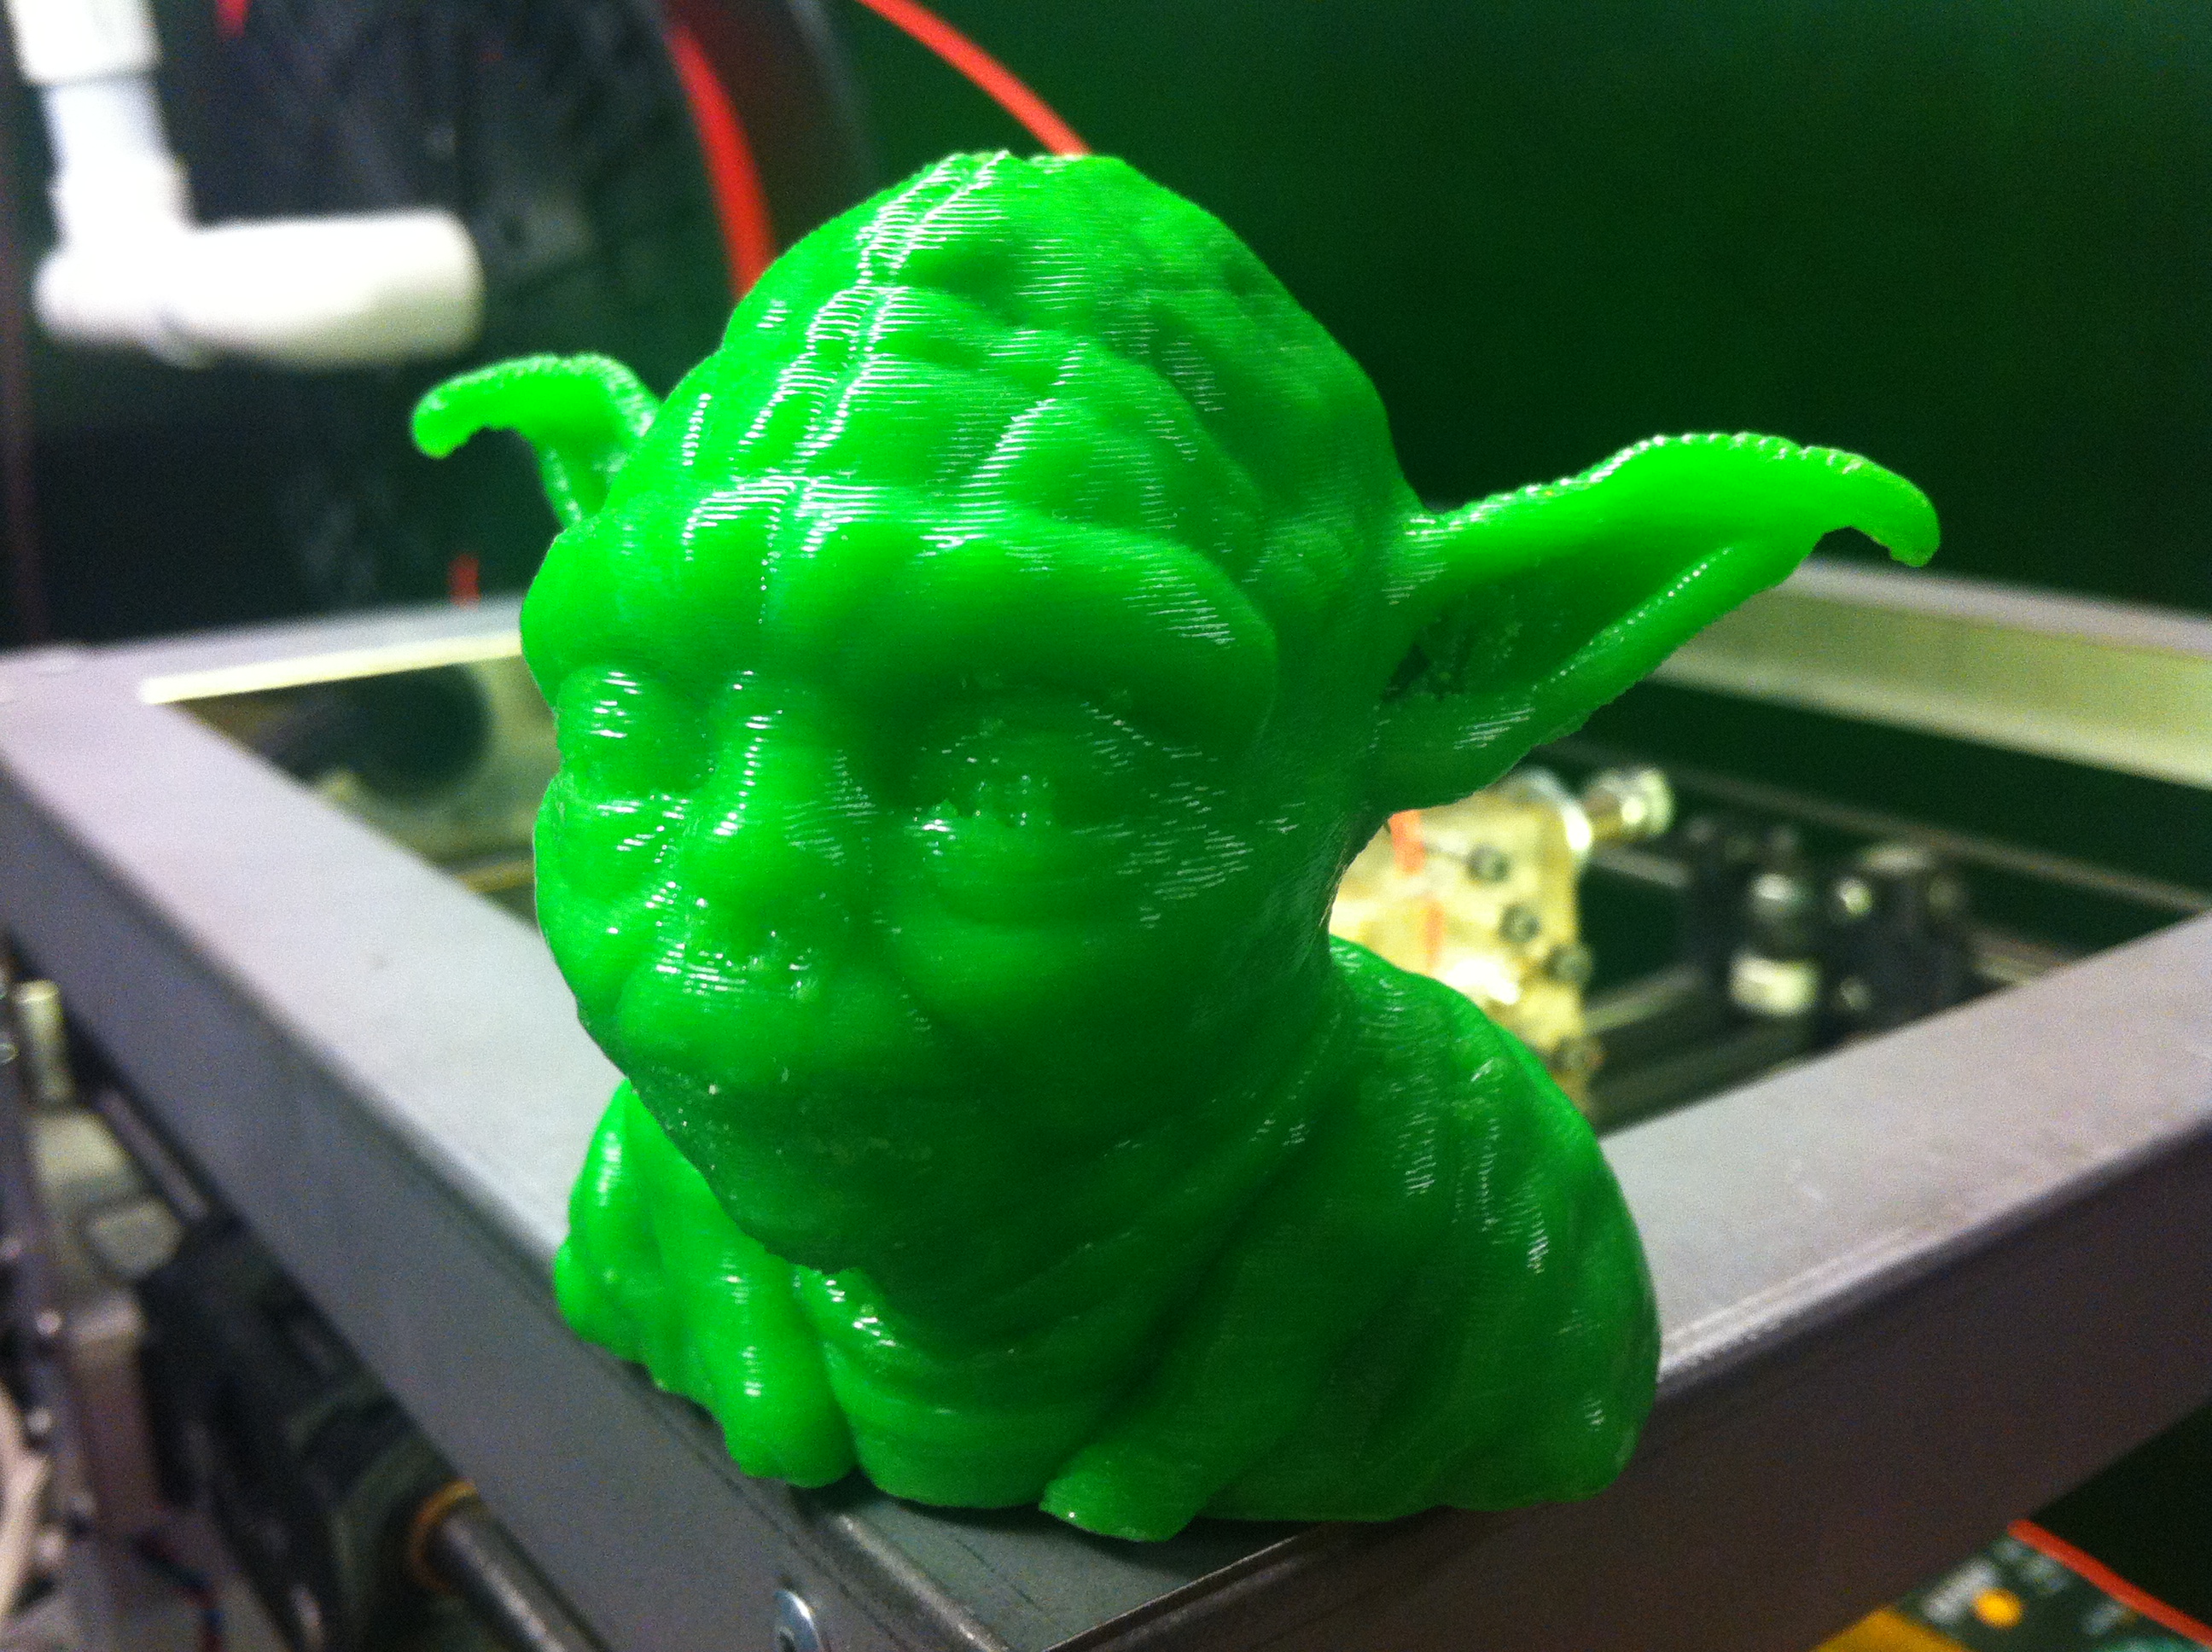
Finished