251

Re: Printable x and y carriage replacements (Level 2 - Techie Consumer)

Will it work with using all the rods that are stock on the printer with those bearings even though they aren't case hardened? Is there a certain type of lubricant to use with them?

252

Re: Printable x and y carriage replacements (Level 2 - Techie Consumer)

Typically no, most switch the rods at the same time.

Printit Industries Model 8.10 fully enclosed CoreXY, Chamber heat
3-SD3's & a Workbench all fully enclosed, RH-Slic3r Win7pro, E3D V6, Volcano & Cyclops Hot End
SSR/500W AC Heated Glass Bed, Linear bearings on SS rods. Direct Drive Y-axis, BulldogXL
Thanks to all for your contributions

253

Re: Printable x and y carriage replacements (Level 2 - Techie Consumer)

order 2 of these: http://www.amazon.com/gp/product/B002BB … ge_o01_s00

you can then cut them to the correct lengths using either an angle grinder or a dremel with a cut-off wheel using the old rods for getting the correct lengths. (you will get 2 pieces out of each one)

I have used these rods on both of my SD4s and have had no problems with them - one has had these installed for several months now and runs quite a bit - several hours a day 5-6 days a week - no signs of wearing yet. smile

SD4 #1 & #2 - Lawsy carriages, E3D v6, Rumba controller board, mirror bed plate, X motor fan, upgraded PSU & Mica bed heater
SD4 #3 - in the works ~ Folgertech FT-5, rev 1
Printit Industries Beta Tester - Horizon H1

254

Re: Printable x and y carriage replacements (Level 2 - Techie Consumer)

Right now I don't have a dremel but am looking to get one. Which one do you recommend?

255 (edited by heartless 2015-11-02 19:25:51)

Re: Printable x and y carriage replacements (Level 2 - Techie Consumer)

personally, I use an off brand one - cheaper and has outlasted the branded version by far (burned out brushes on the branded one)
this one is very similar to what I have

same name, but mine came in a plastic storage case and had a flex shaft and stand included

SD4 #1 & #2 - Lawsy carriages, E3D v6, Rumba controller board, mirror bed plate, X motor fan, upgraded PSU & Mica bed heater
SD4 #3 - in the works ~ Folgertech FT-5, rev 1
Printit Industries Beta Tester - Horizon H1

256

Re: Printable x and y carriage replacements (Level 2 - Techie Consumer)

I bought a refurbished sd4 and can't get a good print out of it at all. Looks like x axis were bent in shipping and a few printed pieces were laying in the bottom of the case. One of which was the z axis limiter screw. Needless to say when I plugged it in and found where parts went. But now nothing is printing well; layers aren't stable and plate constantly shifts. Anyways I'd really like some new carriages printed if somebody is willing to help me out with those parts since mines ooc for now, I'll pay costs of shipping, parts, and labor to 92649.  Nothing like tearing down and rebuilding a brand new machine

257

Re: Printable x and y carriage replacements (Level 2 - Techie Consumer)

Bampi wrote:

Anyways I'd really like some new carriages printed if somebody is willing to help me out with those parts since mines ooc for now, I'll pay costs of shipping, parts, and labor to 92649.  Nothing like tearing down and rebuilding a brand new machine

PM sent

Printit Mason and Printit Horizon printers
Multiple SD2s- Bulldog XL, E3D v5/v6/Lite6, Volcano, Hobb Goblin, Titan, .9 motor, Lawsy carriages, direct Y drive, fishing line...the list goes on
Filawinder and Filastruder #1870.....worth every penny!

258

Re: Printable x and y carriage replacements (Level 2 - Techie Consumer)

Thanks for all the replies!  It's great to see a community helping each other out!  Much appreciated for all the assistance!

259

Re: Printable x and y carriage replacements (Level 2 - Techie Consumer)

Located in Baltimore MD, looking for replacement carriages for my SD4 to be printed (using stock extruder) if the price is right.
Please PM if able to assist.

260

Re: Printable x and y carriage replacements (Level 2 - Techie Consumer)

PM sent

Printit Mason and Printit Horizon printers
Multiple SD2s- Bulldog XL, E3D v5/v6/Lite6, Volcano, Hobb Goblin, Titan, .9 motor, Lawsy carriages, direct Y drive, fishing line...the list goes on
Filawinder and Filastruder #1870.....worth every penny!

261 (edited by eflyguy 2015-11-19 16:53:41)

Re: Printable x and y carriage replacements (Level 2 - Techie Consumer)

Well I solved this problem. I looked at pictures and saw how the switch is mounted to the right carriage. I'm messing with wiring anyway (new fans) so I just pulled the X-axis switch wires back thru the conduit, and will put it on the right carriage.

_____
(original post:) So I'm rebuilding mine with the upgraded carriage parts and I've got gotten started and run into an issue. On the SD4, the x-axis limit switch is on the extruder carriage, and the stop is part of the right side Y carriage. There is no place to mount the limit switch on the extruder carriage, and no stop on the right carriage.

There are also no holes in the center top plate to allow the aluminum extruder bracket to bolt in place, but that's easily fixed with a drill..

Suggestions?

http://soliforum.com/i/?y9jIg75.jpg

http://soliforum.com/i/?UyMqXEh.jpg

Stock SD4 with 3/16" glass attached to stock (kapton-covered) bed with Aquanet.

262

Re: Printable x and y carriage replacements (Level 2 - Techie Consumer)

Skip the aluminum piece altogether and ditch the side fan, you don't need it. No one really knows why Solidoodle put that fan there. No need to drill extra holes in the carriage to support it, because it's not needed. It comes right off the motor with the bolts in the back.

263

Re: Printable x and y carriage replacements (Level 2 - Techie Consumer)

Then how do I attach the extruder stepper motor to the center top plate?

My extruder will not bolt directly to the front of the extruder motor without a spacer (which is currently the plate)..

http://soliforum.com/i/?MJtvRDB.jpg

Stock SD4 with 3/16" glass attached to stock (kapton-covered) bed with Aquanet.

264

Re: Printable x and y carriage replacements (Level 2 - Techie Consumer)

The long screws in the lower stepper motor holes go thru the extruder piece, thru the bracket, then into the motor.
http://soliforum.com/i/?NAEBZF1.jpg

Stock SD4 with 3/16" glass attached to stock (kapton-covered) bed with Aquanet.

265

Re: Printable x and y carriage replacements (Level 2 - Techie Consumer)

there is a different top center plate on thingiverse designed specifically for the SD4 to address the endstop issue

http://www.thingiverse.com/thing:682970

before that one came out, i made an adjustable mount for use on my SD4 that attaches to the back of the original center top plate.

SD4 #1 & #2 - Lawsy carriages, E3D v6, Rumba controller board, mirror bed plate, X motor fan, upgraded PSU & Mica bed heater
SD4 #3 - in the works ~ Folgertech FT-5, rev 1
Printit Industries Beta Tester - Horizon H1

266

Re: Printable x and y carriage replacements (Level 2 - Techie Consumer)

Hehe.. thank you. Of course there's a part out there, now that my printer is torn apart!! Hehe.. Well I'll let everyone know how I solve it. I think I can just drill holes and bolt up from below to use the aluminum bracket.

Oh the comment about the side fan? I read a post about that being to prevent "heat creep" from the extruder damaging the non-metal parts/liner.

Stock SD4 with 3/16" glass attached to stock (kapton-covered) bed with Aquanet.

267

Re: Printable x and y carriage replacements (Level 2 - Techie Consumer)

lol, yeah, having multiple printers, I forget that not everyone has the ability to print extra parts when one is out of commission...

if you need a part or two printed, just ask, one of us here would be happy to help out. smile

SD4 #1 & #2 - Lawsy carriages, E3D v6, Rumba controller board, mirror bed plate, X motor fan, upgraded PSU & Mica bed heater
SD4 #3 - in the works ~ Folgertech FT-5, rev 1
Printit Industries Beta Tester - Horizon H1

268

Re: Printable x and y carriage replacements (Level 2 - Techie Consumer)

Solved

http://soliforum.com/i/?N6YWyFP.jpg
http://soliforum.com/i/?LSx0hMg.jpg

Stock SD4 with 3/16" glass attached to stock (kapton-covered) bed with Aquanet.

269

Re: Printable x and y carriage replacements (Level 2 - Techie Consumer)

Any recommendations regarding extruder and bed temperatures after upgrading from a stock SD4 setup to e3dv6 setup?

270

Re: Printable x and y carriage replacements (Level 2 - Techie Consumer)

Bed temps should stay the same (you haven't changed anything there!). For ABS it seems 90-100C is often advised.

Extruder temp will change: the solidoodle stock hotends measure temperature in a different place to the E3D hotends. For ABS, the E3D will tend to be happy somewhere between 230 and 240C (which you'll note is a bit higher than the stock hotend temps, generally recommended 205-220C).

Of course, depends quite a lot on the filament, a little bit on the print speed, so experiment and see how you go.

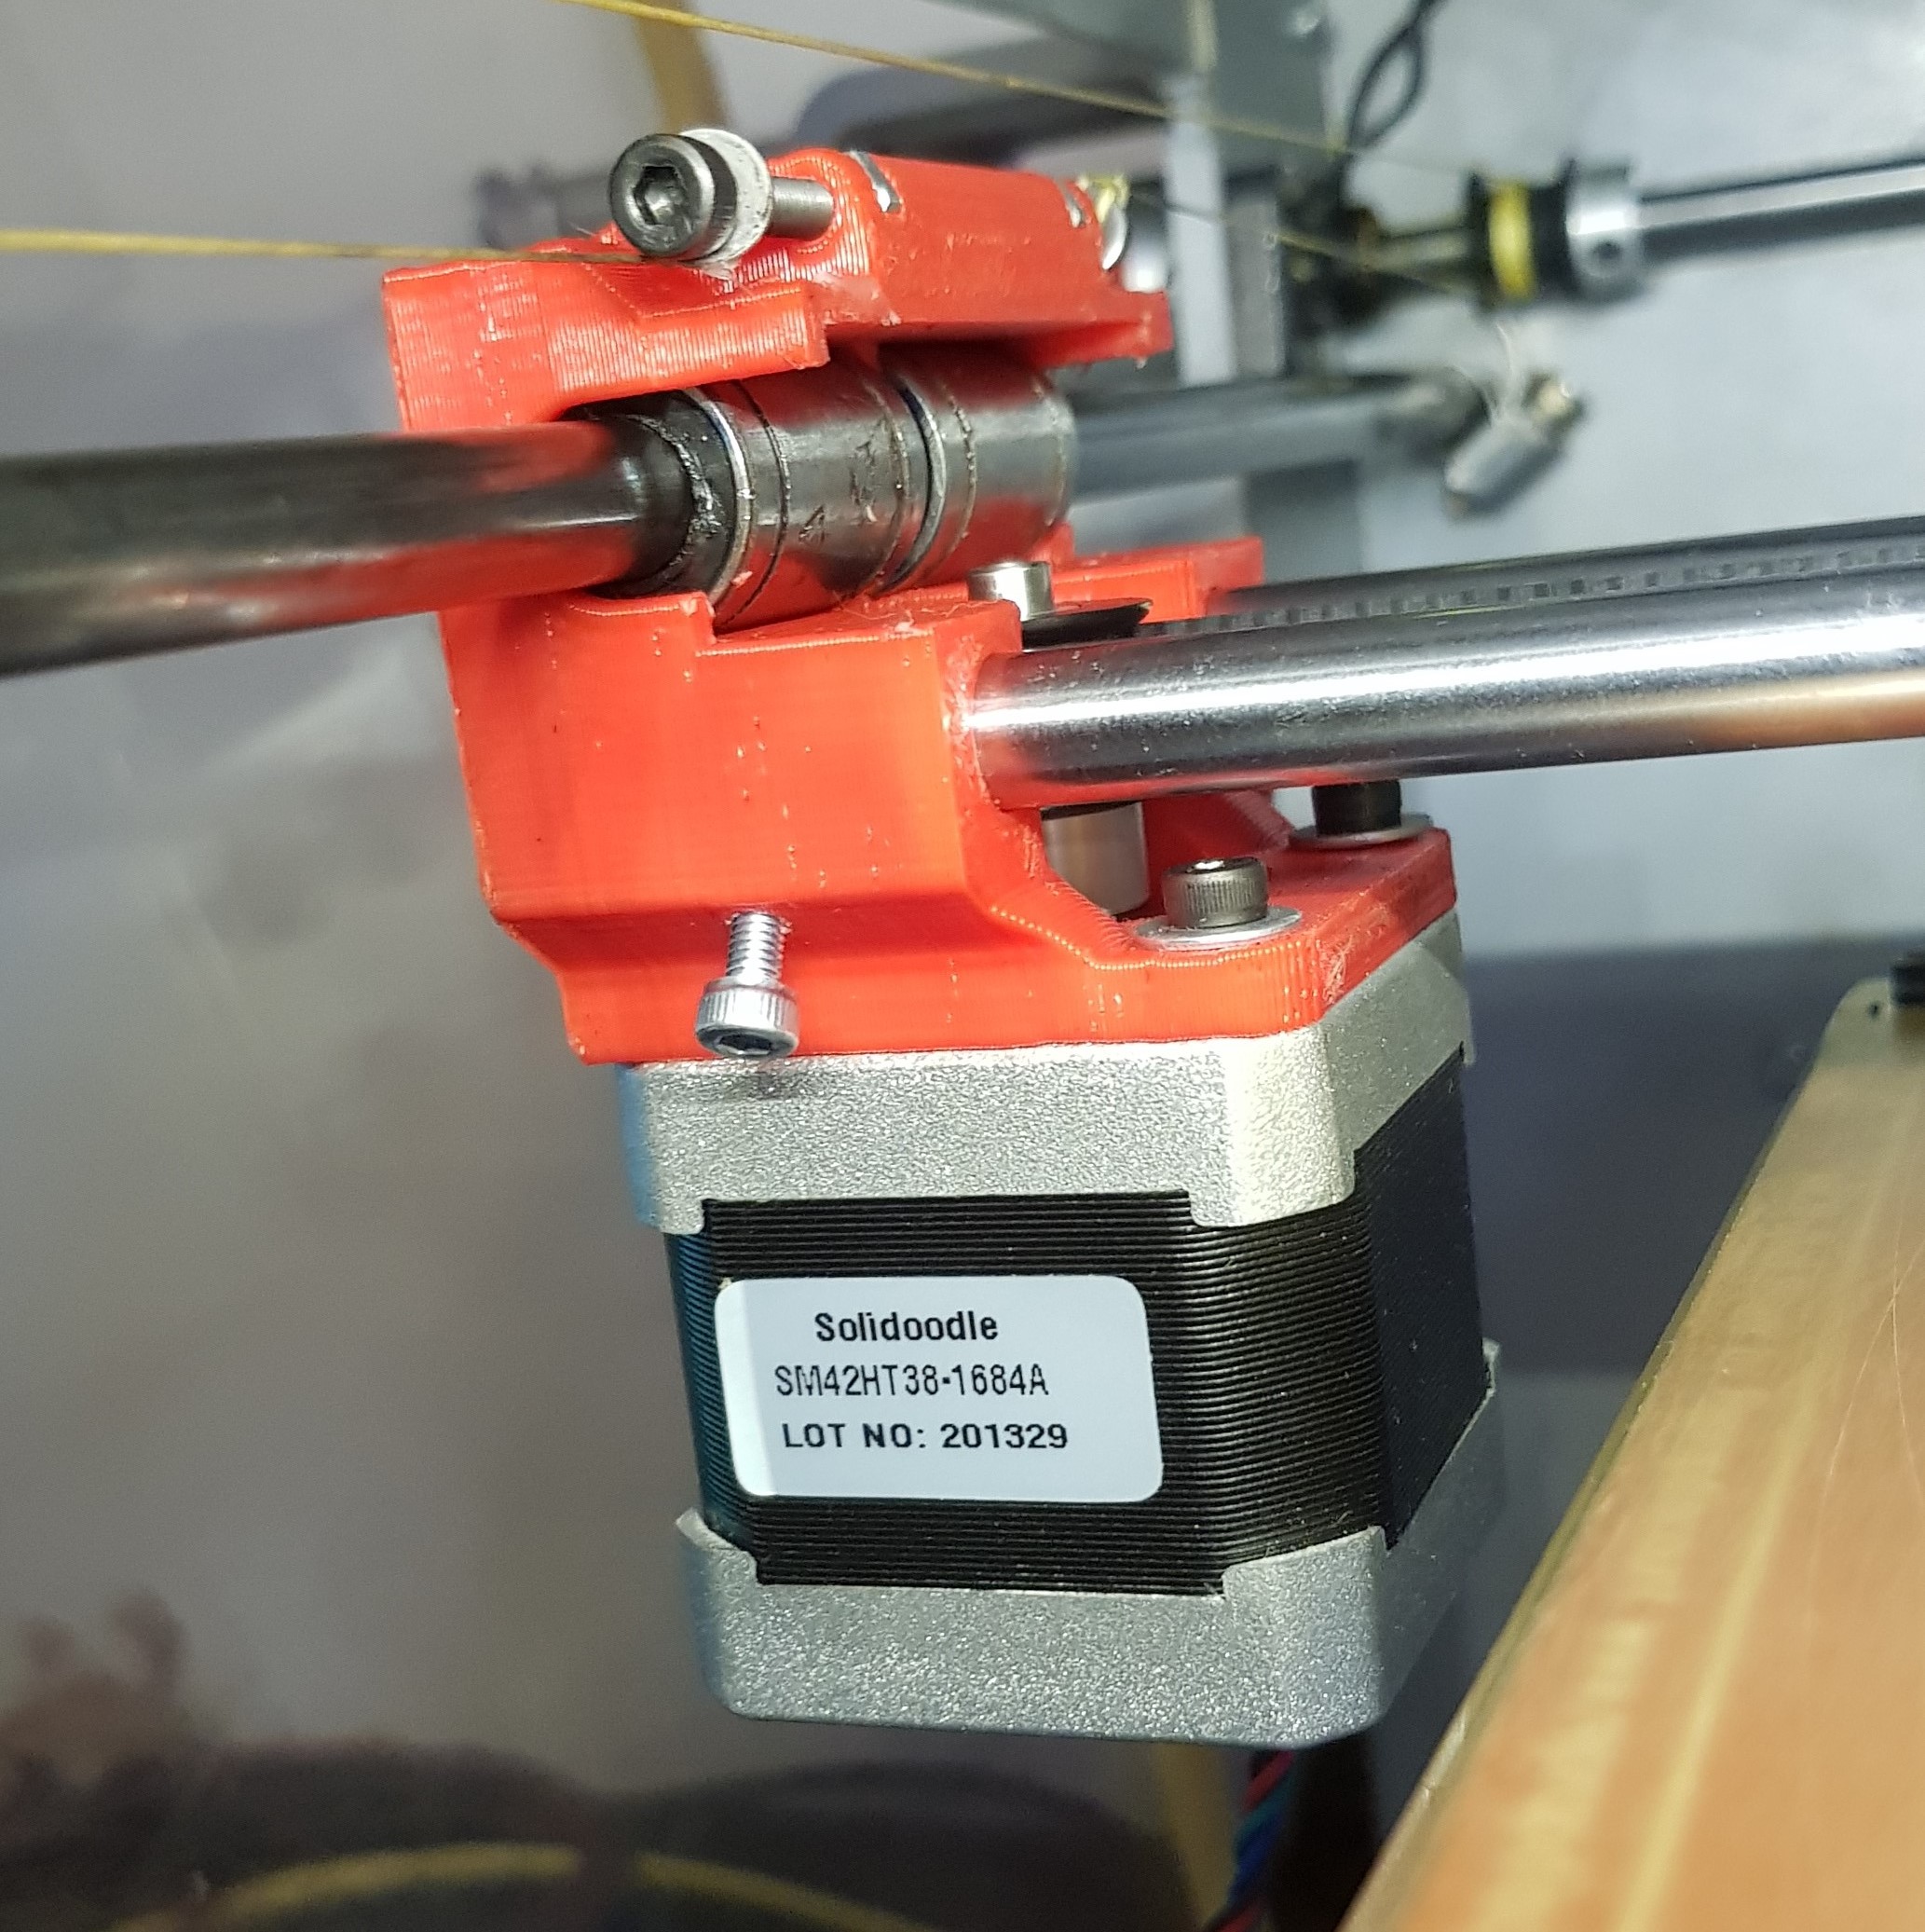
SD3. Mk2b + glass, heated enclosure, GT2 belts, direct drive y shaft, linear bearings, bowden-feed E3D v5 w/ 0.9° stepper
Smoothieboard via Octoprint on RPi

271

Re: Printable x and y carriage replacements (Level 2 - Techie Consumer)

what grob said.

the E3D v6 on my #1 SD4 seems to be happiest around 235-237C for ABS, and around 215C for PLA.

bed i usually run about 95-100C for ABS - depending on the size of the print, and 60C for PLA

as an example - this portal companion cube was printed at 237C on a 100C bed - Octave brand green ABS, 0.25 layer height at 45mm/s. the cube measures 1-1/16" square.

http://soliforum.com/i/?SktCHo8.jpg

SD4 #1 & #2 - Lawsy carriages, E3D v6, Rumba controller board, mirror bed plate, X motor fan, upgraded PSU & Mica bed heater
SD4 #3 - in the works ~ Folgertech FT-5, rev 1
Printit Industries Beta Tester - Horizon H1

272

Re: Printable x and y carriage replacements (Level 2 - Techie Consumer)

I take it a firmware upgrade is in order...... (said nervously )

273

Re: Printable x and y carriage replacements (Level 2 - Techie Consumer)

yes, firmware adjustments are in order to upgrade to the E3D.

It really isnt as hard as it might seem and there are some excellent write-ups around here.

SD4 #1 & #2 - Lawsy carriages, E3D v6, Rumba controller board, mirror bed plate, X motor fan, upgraded PSU & Mica bed heater
SD4 #3 - in the works ~ Folgertech FT-5, rev 1
Printit Industries Beta Tester - Horizon H1

274

Re: Printable x and y carriage replacements (Level 2 - Techie Consumer)

https://www.thingiverse.com/thing:3515542

i upgraded my solidoodle 3 control board to a duet 2 maestro
my x axis was really noisy with the silent drivers so i wanted to try a different stepper motor to see if it was the stock nema14 making all the noise
so i decided to redesign the x carriage to mount a nema17 on there to try.
i first used the extruder stepper and that was worse then i used the z axis stepper and now its silent
http://soliforum.com/i/?er9OVUO.jpg